 by
by Sure! Here’s a detailed guide on how to make a beautiful crochet women’s sweater or jacket with a new stitch pattern. This will be perfect for creating a stylish crochet top or blouse using a new stitch design. This guide is beginner-friendly but detailed enough for intermediate crocheters too.
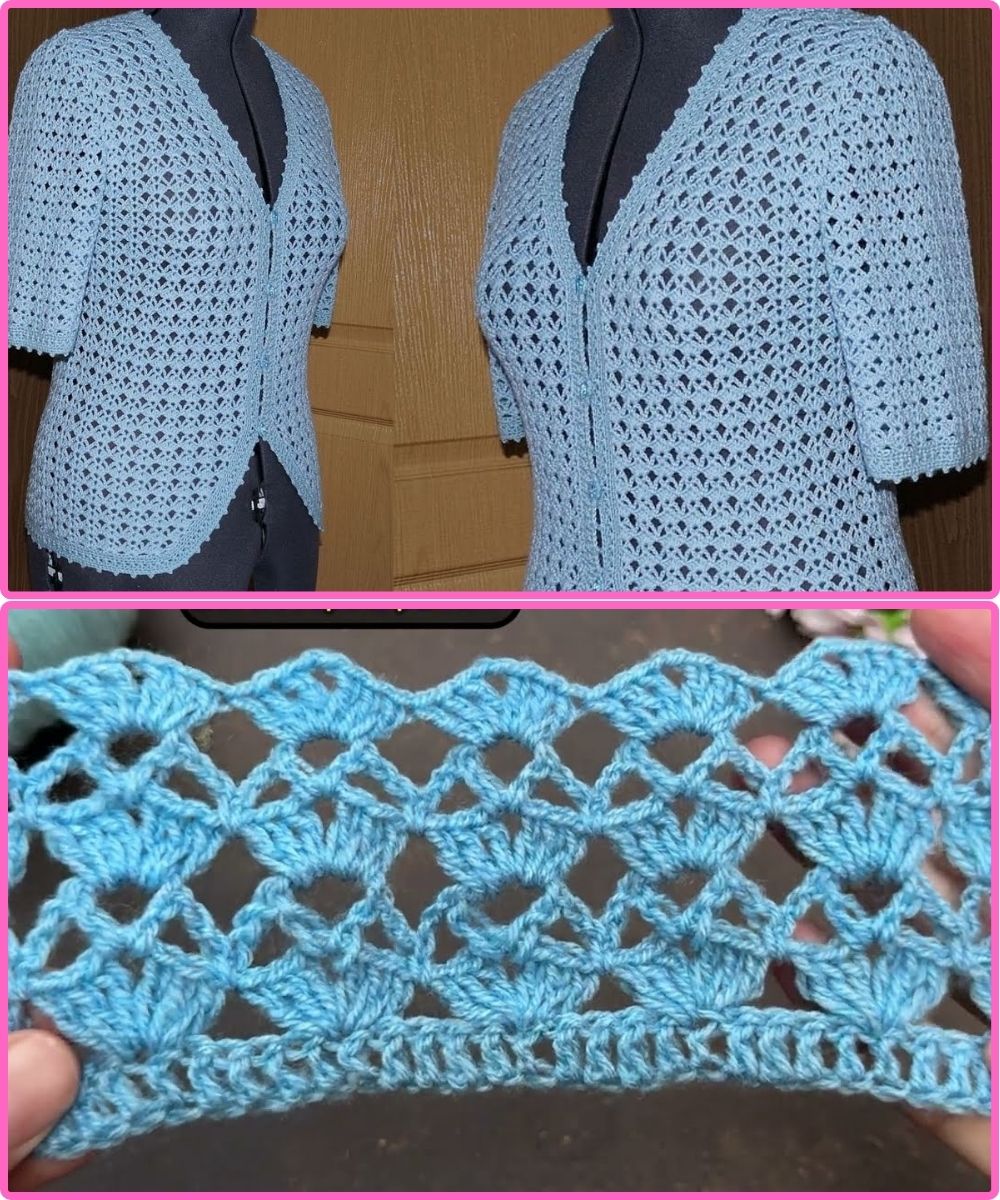
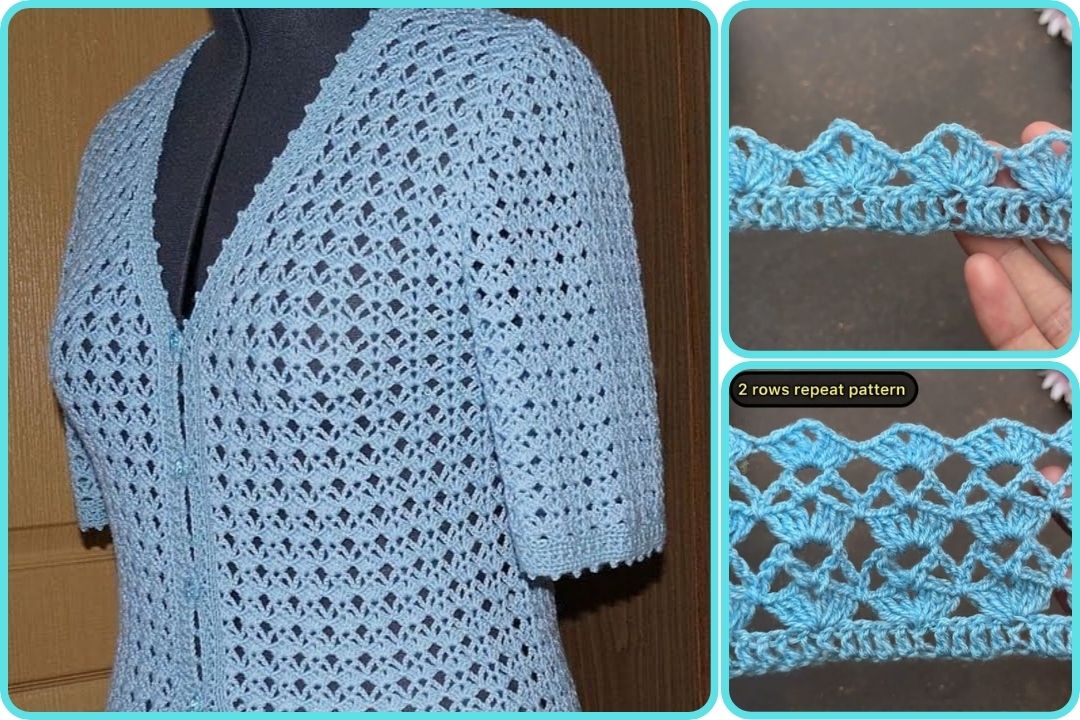
🧶 How to Make 💯😍 Crochet Women’s Sweater / Jacket / Top with a New Stitch Pattern
🪡 What You’ll Need:
-
Yarn: Medium weight (Category 3 or 4), cotton or acrylic blend for comfort
-
Hook: Size 4.0 mm – 5.0 mm (depending on your yarn)
-
Stitch markers
-
Scissors
-
Tapestry needle
-
Measuring tape
📏 Sizes (Adjustable):
You can adjust the stitch count for XS to XXL sizes by measuring around the bust and modifying foundation chains accordingly.
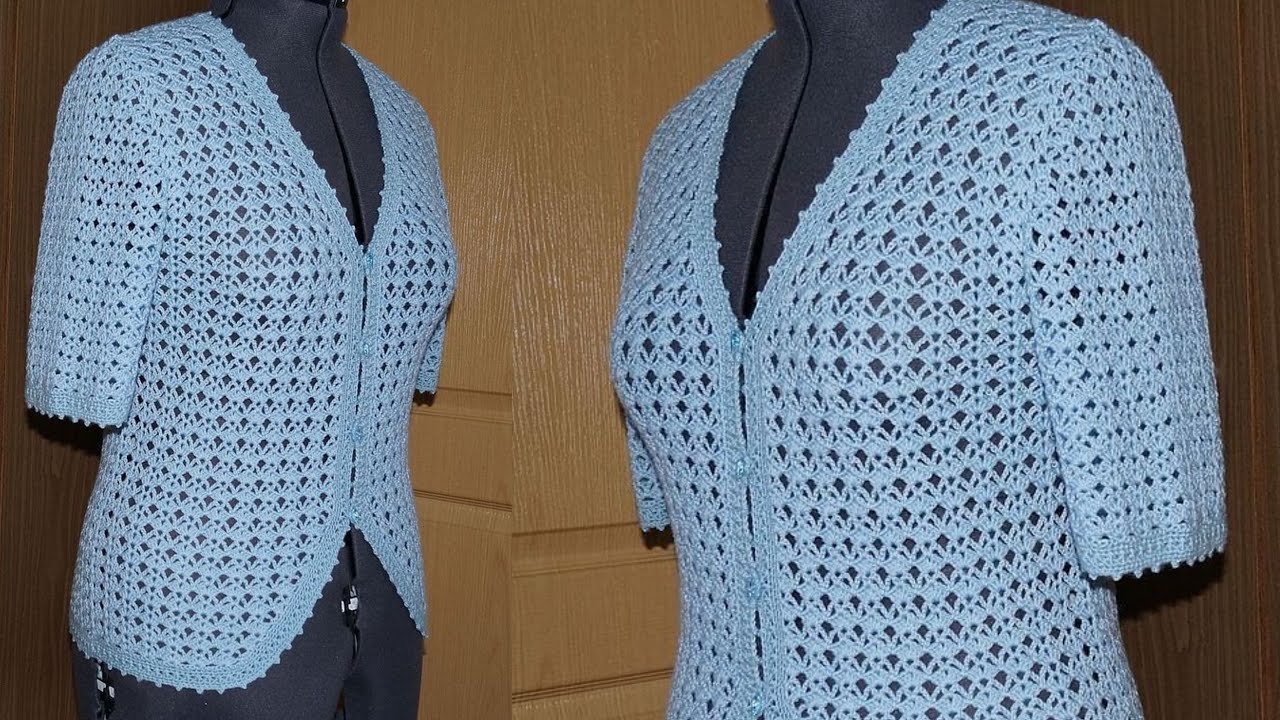
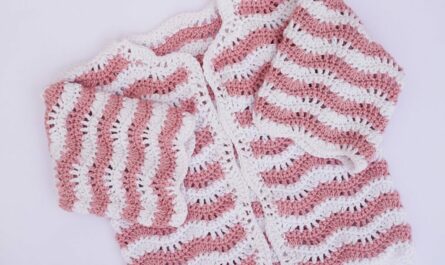
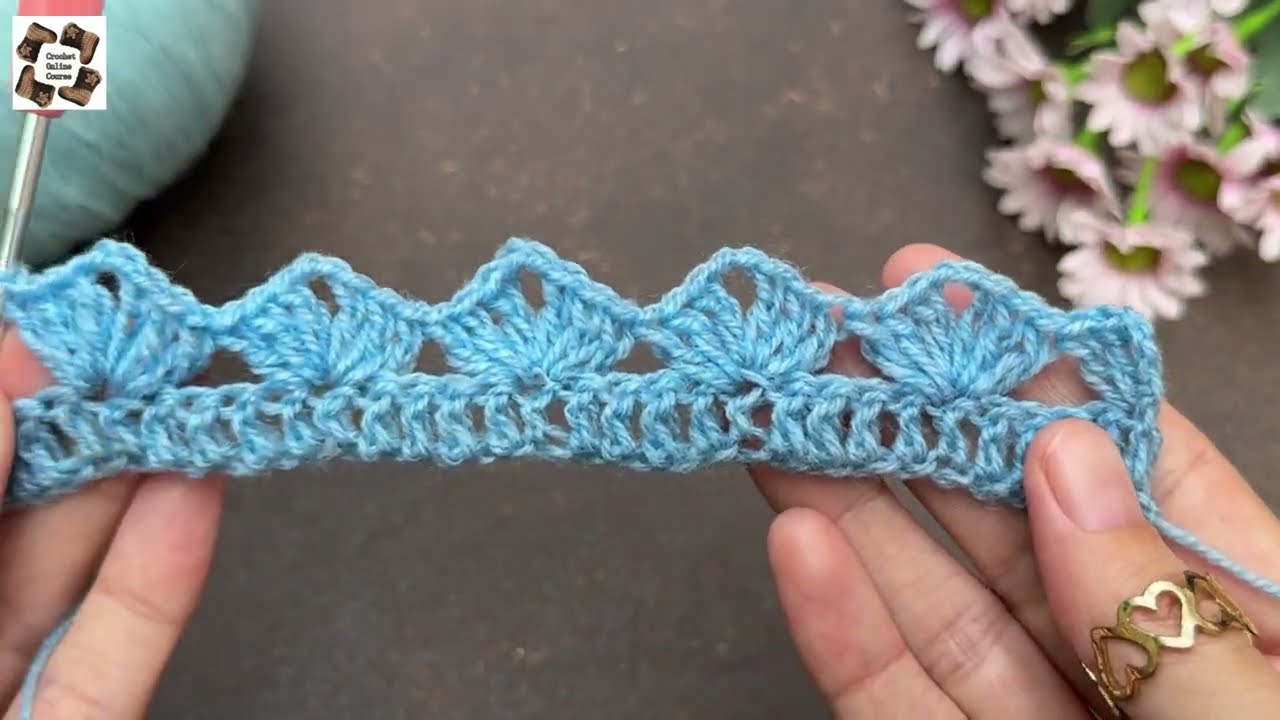
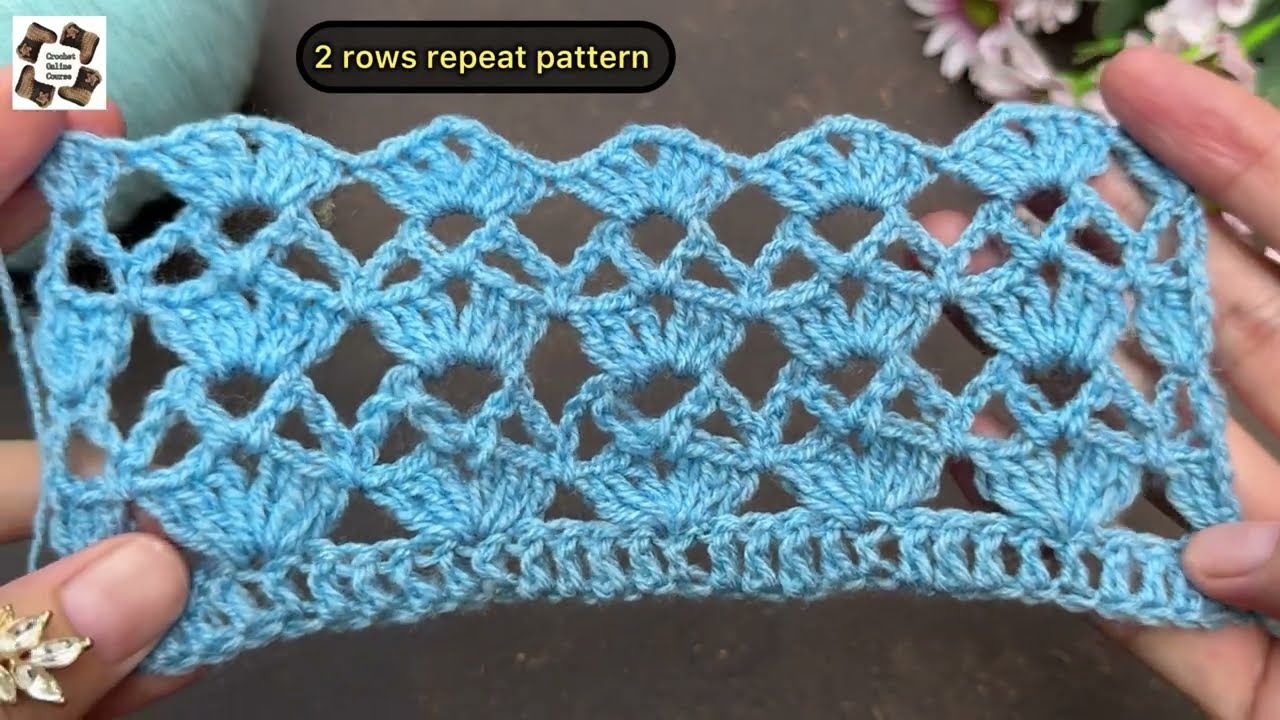
🌟 NEW STITCH PATTERN – “Wavy Lattice Shell”
This beautiful and modern stitch combines:
-
Shell stitch for elegance
-
Lattice mesh for texture
-
V-stitch rows for flexibility
💡 Pattern Repeat:
-
Multiple of 6 + 2 (foundation chain)
🔄 Step-by-Step Pattern Breakdown:
🧵 Step 1: Make a Swatch
Make a 20x20cm swatch using the stitch pattern below to determine your gauge.
🧵 Step 2: Crochet the Back Panel
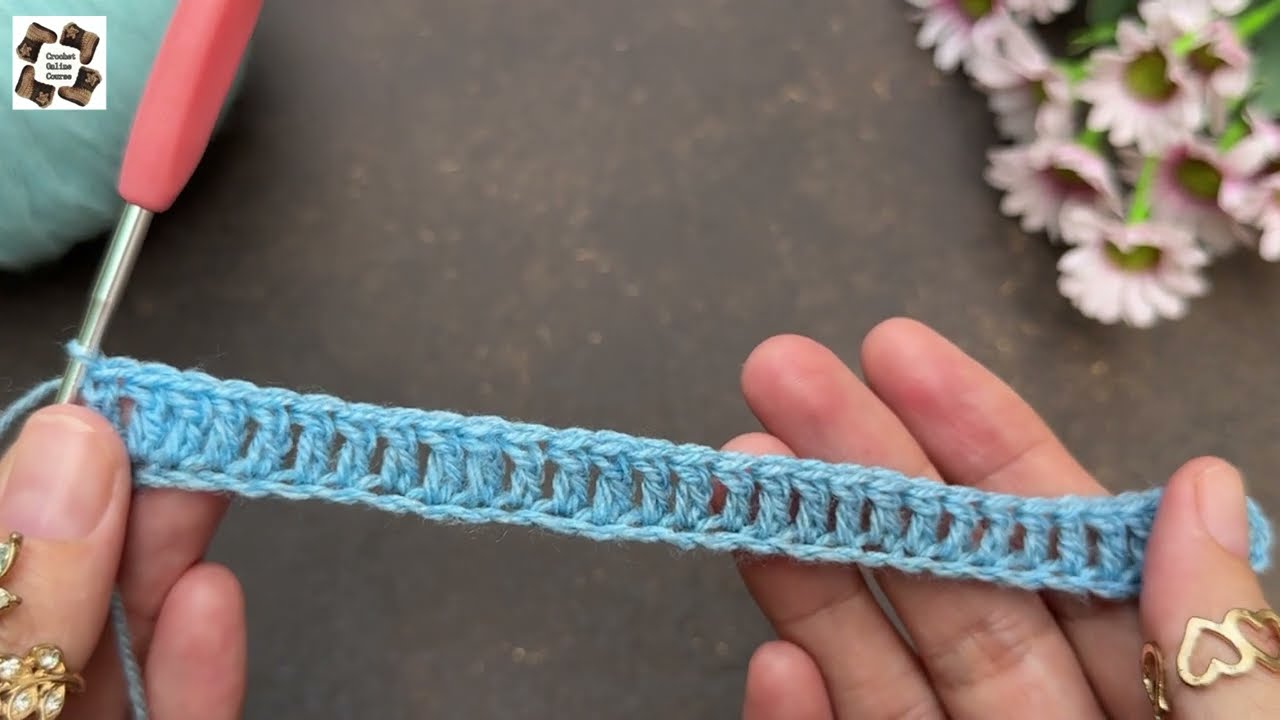
Foundation Row:
-
Chain a multiple of 6 + 2 to desired width.
-
For a medium size: Ch 92
Row 1:
-
SC in 2nd ch from hook, ch 3, skip 2, SC in next – repeat across.
-
Turn.
Row 2:
-
Ch 3 (counts as DC), 2 DC in first ch-3 space, skip SC, 3 DC in next ch-3 space – repeat.
-
Turn.
Row 3:
-
Ch 1, SC in 1st DC, ch 3, skip 2 DC, SC in next – repeat.
Repeat Rows 2 and 3 until the piece measures the desired length (e.g. 18–20 inches for the back).
🧵 Step 3: Crochet Front Panels (Make 2)
Same pattern as the back, but work only half the stitch count. For a medium: Ch 46
Leave space for neckline (you’ll seam later).
🧵 Step 4: Shape Neckline
Once front panels reach chest height:
-
Begin decreasing 1 shell stitch every 2 rows to shape the neck opening.
-
Continue until shoulder length is reached.
🧵 Step 5: Sleeves (Optional for Blouse, Recommended for Jacket)
Foundation Row:
-
Ch 62 (or adjust for wrist circumference)
Follow same stitch pattern, increasing at both ends every few rows until sleeve is wide enough for upper arm (bell-shaped or straight).
🧵 Step 6: Join Panels
-
Use mattress stitch or slip stitch to seam:
-
Front panels to back at the shoulders
-
Sides from hem up to underarm
-
Sleeves to armholes
-
🧵 Step 7: Edging (Optional)
Add a border:
-
Ch 1, SC all around the edges (neck, hem, and cuffs)
-
Optionally add picot edging: (SC, ch 3, SC in same st)
✨ Finishing Touches
-
Weave in all ends
-
Lightly block the garment to shape it
-
Add wooden or pearl buttons for style
🧶 Tips:
-
Use contrasting yarn for a color block effect
-
Try using sparkly yarn for party wear
-
Want a crop-top? Shorten the body panels
📸 Want a Video Tutorial?
Search YouTube for:
“Crochet Wavy Lattice Shell Stitch Sweater Tutorial” or
“Easy Crochet Mesh Shell Stitch Jacket”
I can also help you create a PDF pattern or chart diagram—just let me know!
Watch video: