 by
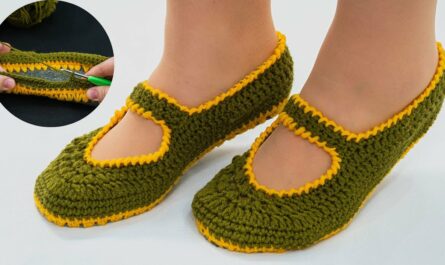
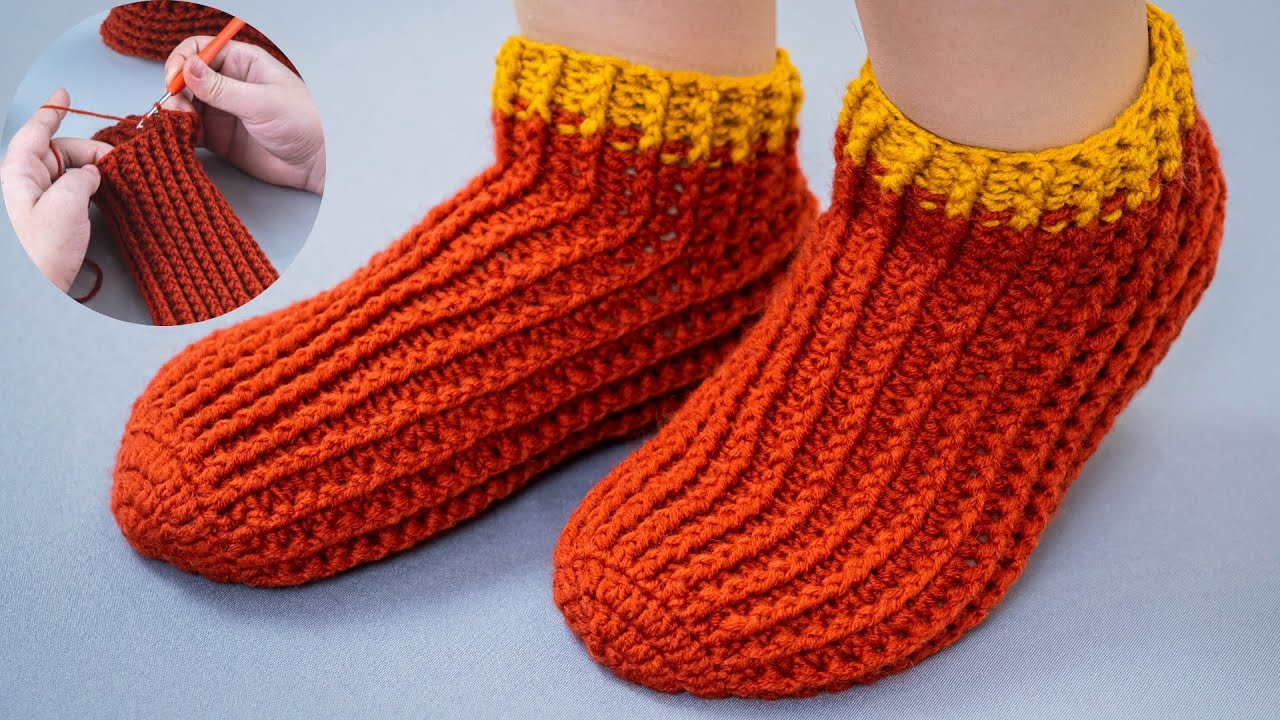
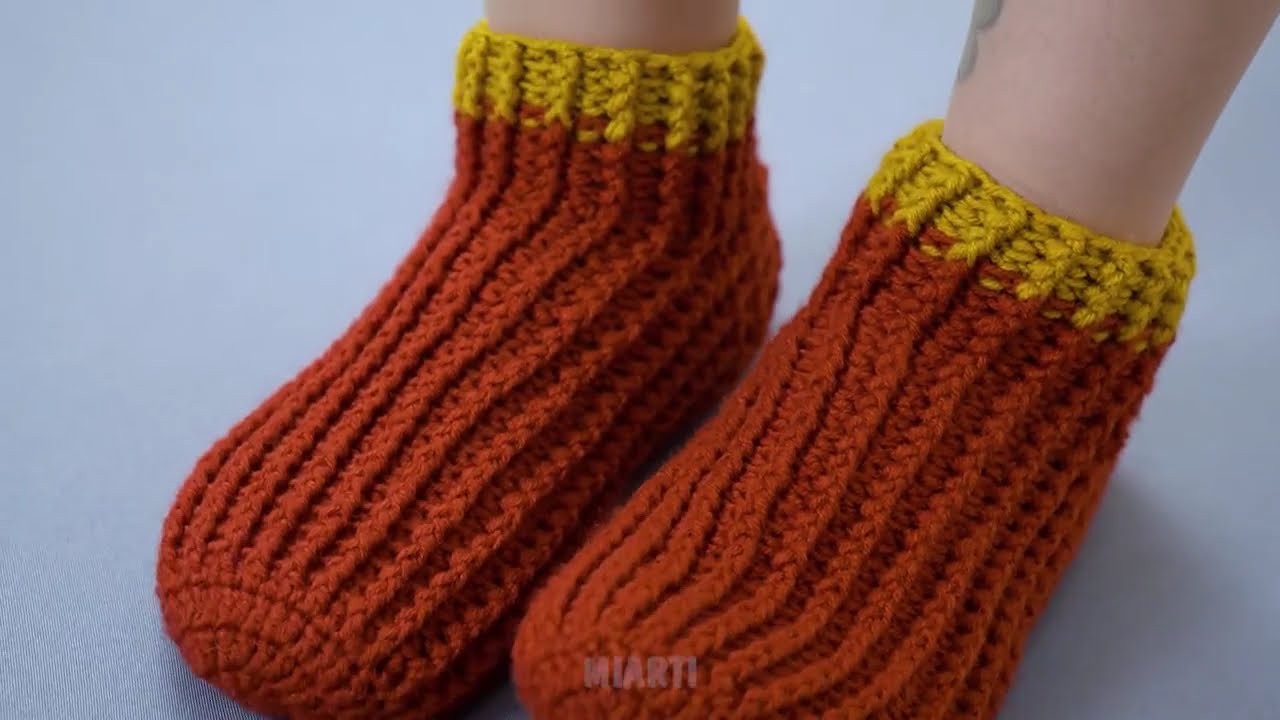
by Absolutely! I can give you a detailed, step-by-step guide on how to crochet simple socks or slippers from leftover yarn. I’ll make it beginner-friendly, so you don’t get lost. This method is flexible—you can adjust it to fit any foot size.
Materials Needed
-
Yarn: Any leftover yarn works. Worsted weight (medium) is easiest, but you can adjust hook size for thinner or thicker yarn.
-
Crochet hook: Size that matches your yarn (usually recommended on yarn label).
-
Scissors
-
Tapestry needle (for weaving in ends)
-
Measuring tape (optional, but helpful for fitting)
Step 1: Measure Your Foot
-
Measure the length of your foot from heel to tip of the toes.
-
Measure the width at the widest part of your foot.
-
This will help you know how many stitches to start with.
Step 2: Start with a Chain
-
Make a chain slightly shorter than the length of your foot (from toes to heel).
-
Example: If your foot is 24 cm long, chain about 20–22 cm.
-
-
Add 1 extra chain to turn.
Step 3: Crochet the Sole
-
Work in single crochet (SC) stitches back along your chain.
-
When you reach the end of the chain, turn your work and continue SC along the other side of the chain to form an oval.
-
You will be crocheting in rounds to form the sole.
-
-
Continue crocheting around until the oval matches the length and width of your foot.
Tip: You can also use half-double crochet (HDC) for a softer, stretchier sole.
Step 4: Start the Upper Part
-
After making the sole, start crocheting upwards along the edges to form the top of the sock/slipper.
-
Use SC or HDC and crochet in a spiral or rounds.
-
Crochet until the upper covers the top of your foot comfortably.
-
Usually about 6–10 rows depending on your foot size and desired coverage.
-
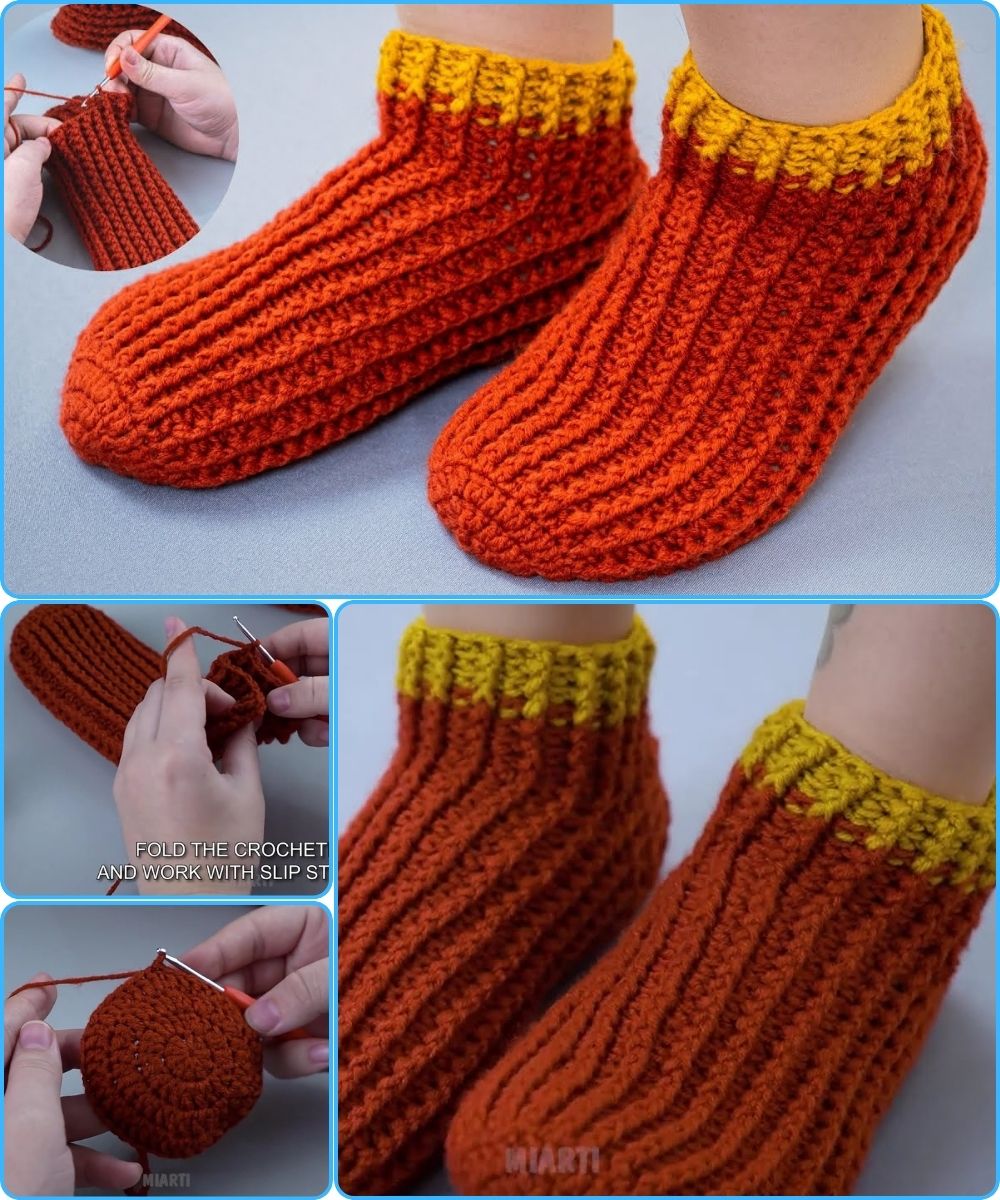
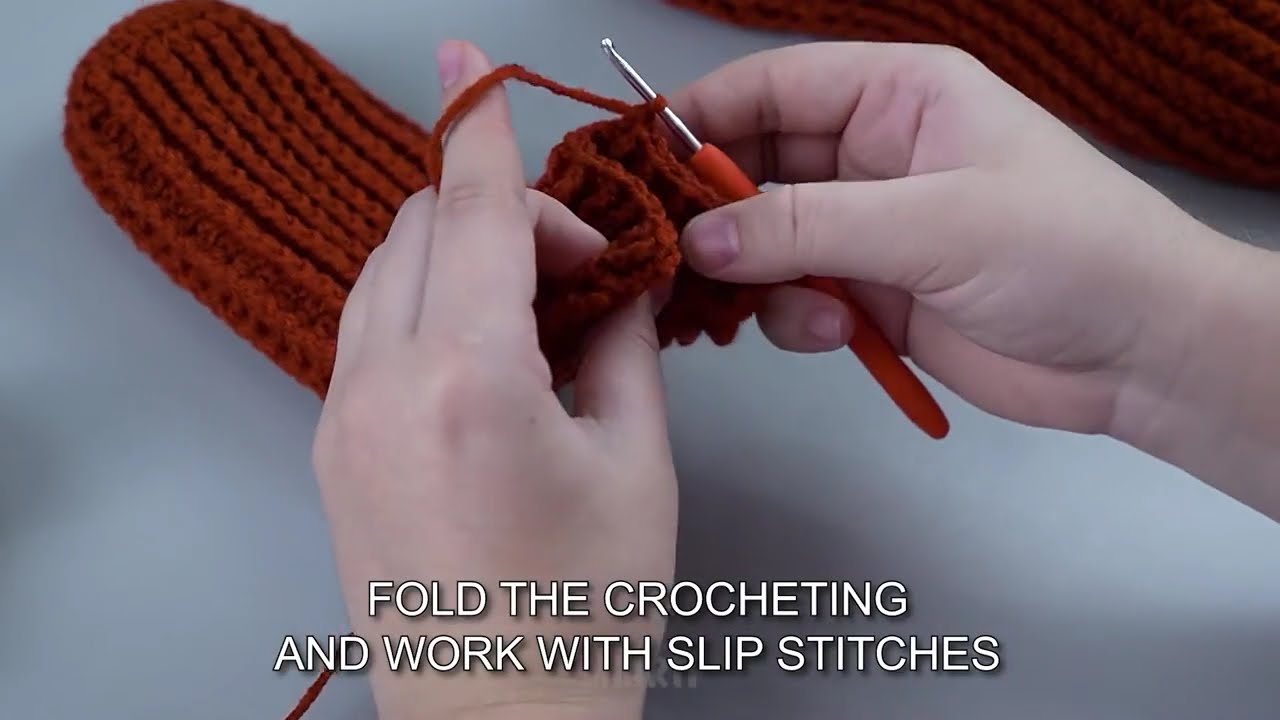
Step 5: Make the Heel
-
To make the heel snug:
-
Fold the slipper in half lengthwise (sole to top).
-
Crochet SC along the back of the heel, joining the edges together.
-
Keep crocheting in rounds if you want a fully enclosed heel.
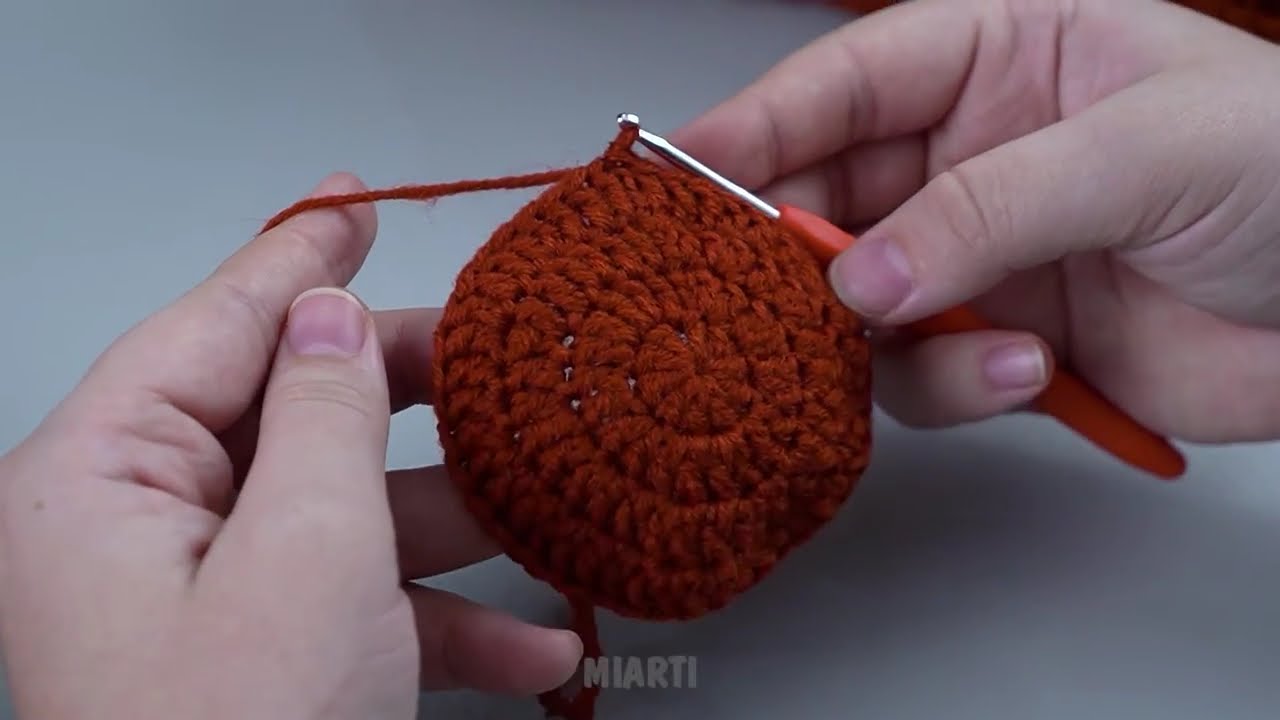
Step 6: Shape the Toe
-
Start decreasing near the front (toe area):
-
Crochet 2 stitches together (SC2tog) evenly across the last few rounds.
-
-
Continue decreasing until the toe is closed enough for a snug fit.
-
Fasten off, leaving a long tail.
-
Use the tapestry needle to sew the toe shut.
Step 7: Add Finishing Touches
-
Weave in all yarn ends using a tapestry needle.
-
Optional: Add a decorative border, pom-pom, or cuff at the top of the sock.
-
Try them on and adjust if needed.
Tips for Using Leftover Yarn
-
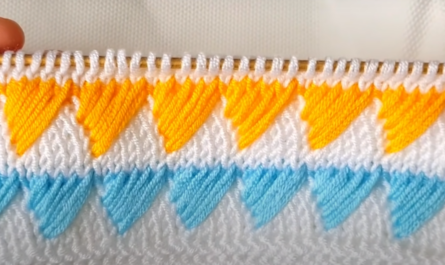
Mix colors to make stripes or patterns.
-
Use a tighter stitch if the yarn is thin.
-
Combine different textures for extra coziness.
This method is fast, beginner-friendly, and flexible, perfect for leftover yarn. You can make matching pairs or fun multicolor slippers easily.
If you want, I can also draw a simple diagram showing the stitch layout so you can visualize the slipper from start to finish—it makes this much easier to follow.
Do you want me to make that diagram?
Watch video: