by
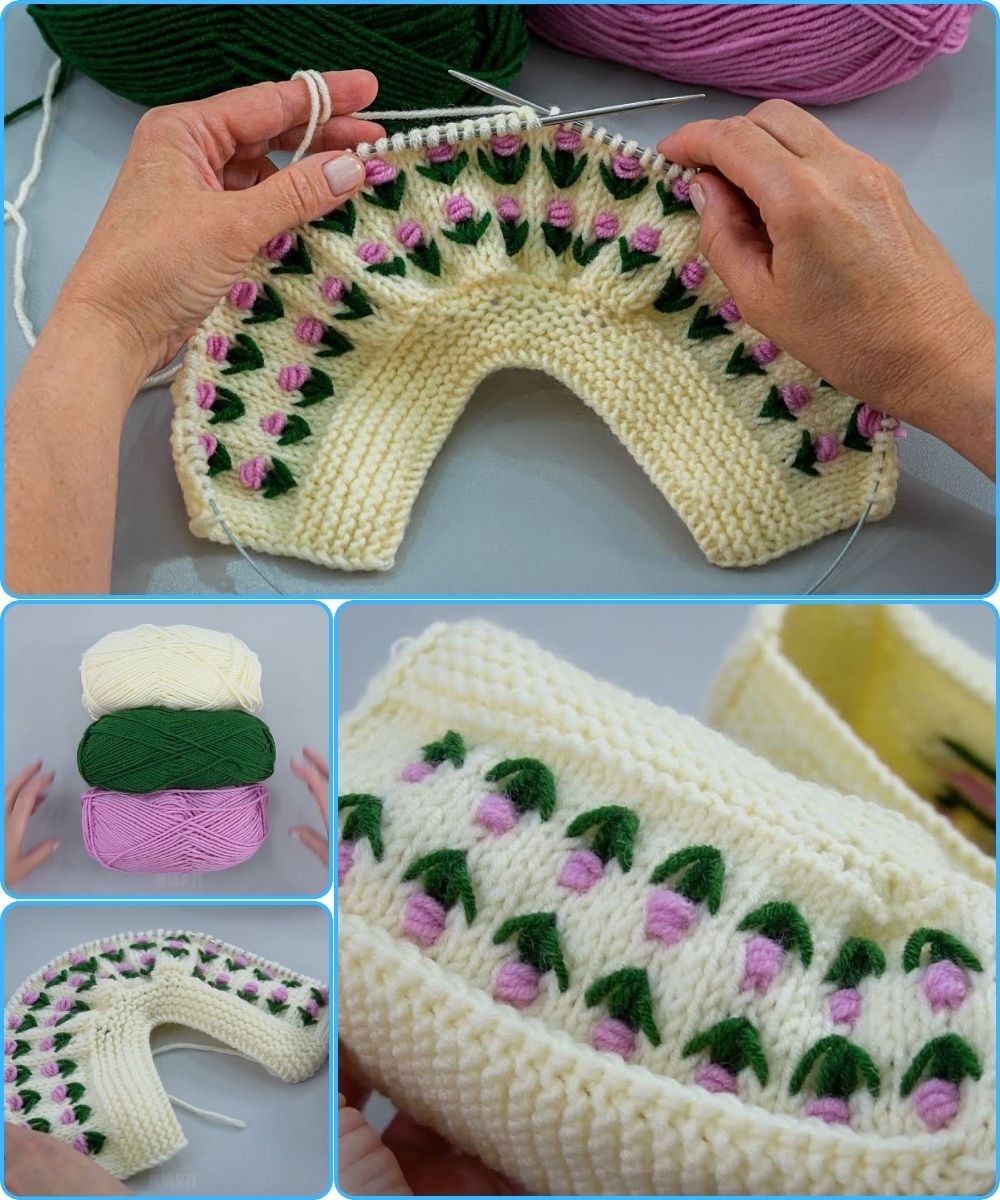
by Absolutely! I can give you a step-by-step guide to make simple, seamless-soled knitted slippers on 2 needles. This method is perfect for beginners because it uses just basic knit and purl stitches, and there’s no sewing at the end. Let’s dive in.
Materials Needed
-
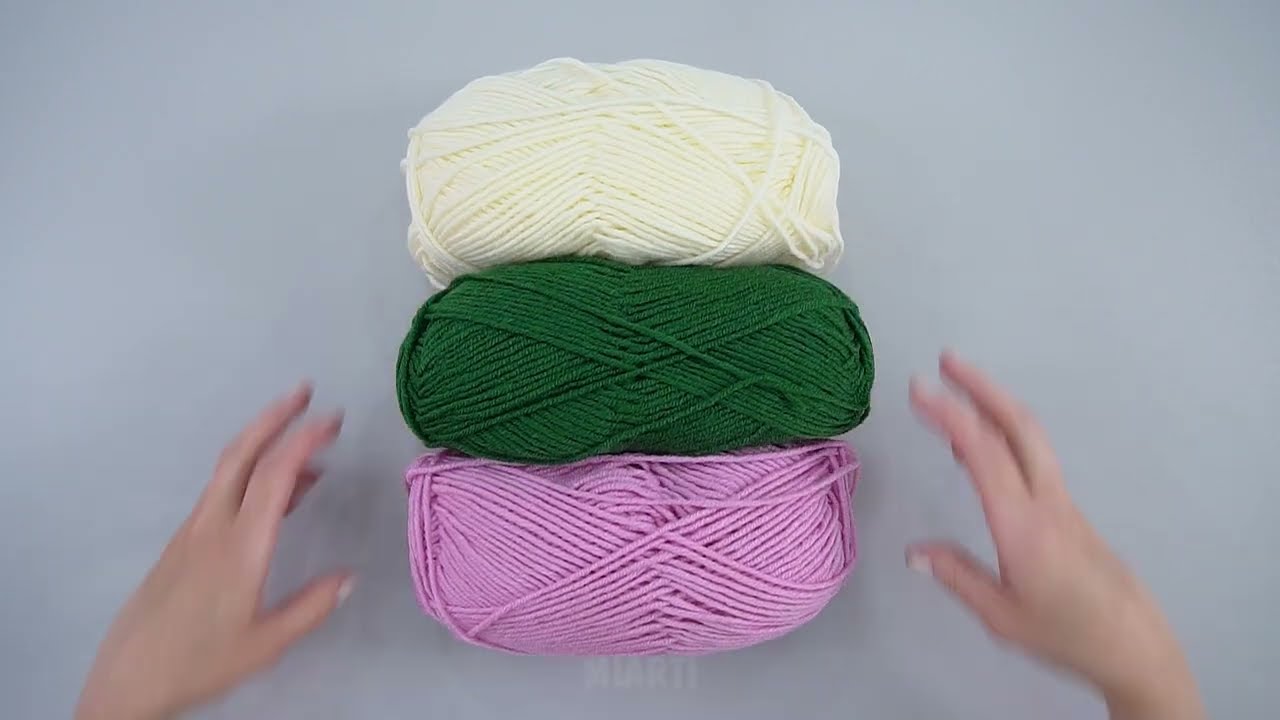
Medium-weight yarn (like worsted weight)
-
2 straight knitting needles (size recommended on your yarn, usually 4–5 mm)
-
Scissors
-
Tapestry needle (for weaving in ends, no sewing of seams needed)
-
Measuring tape (optional)
Step 1: Measure Your Foot
-
Measure the length of your foot from heel to toe.
-
Measure the width of the widest part (usually the ball of your foot).
-
Add a little extra for comfort (about 0.5–1 cm).
This will determine how many stitches to cast on.
Step 2: Cast On
-
Cast on enough stitches to match the width of your foot.
-
Example: If your foot is 8 inches wide and your gauge is 5 stitches per inch, cast on 40 stitches.
Step 3: Knit the Sole
We are going to knit the sole flat, like a rectangle, and then shape the sides and top.
-
Row 1: Knit all stitches (garter stitch keeps it stretchy and soft).
-
Row 2: Knit all stitches.
-
Repeat rows 1–2 until your piece reaches the length of your foot minus about 2–3 cm (for toe shaping later).
✅ This is the sole, and since we are knitting it flat, there’s no seam.
Step 4: Start the Sides
Once the sole is done:
-
Next row (right side): Knit 1, increase 1 stitch at the beginning and end of row.
-
Next row: Knit all stitches.
-
Repeat this increase every other row until the piece is tall enough to cover your foot up to the ankle.
This gradually forms the sides of the slipper.
Step 5: Shape the Toe
We’ll make the toe rounded without sewing:
-
Knit 2 together at the beginning and end of each row (decrease 2 stitches per row).
-
Continue until about 8–10 stitches remain.
-
Cut yarn, leaving a long tail, and thread it through the remaining stitches. Pull tight to close the toe.
Step 6: Form the Heel and Foot Opening
-
Fold the slipper in half lengthwise.
-
Using a tapestry needle, weave the yarn through the first row of stitches at the back, pull tight, and secure.
-
This forms a little “cup” for your heel.
The slipper will now fit snugly around your foot without a seam on the sole.
Step 7: Finishing Touches
-
Weave in all yarn ends.
-
Optional: Knit a small cuff at the ankle for extra comfort (1×1 rib for 1–2 inches).
-
Try them on and adjust if needed.
Tips
-
Use soft, non-slippery yarn for comfort.
-
If you want, you can add a grip to the sole using puffy paint or hot glue dots.
-
Garter stitch is ideal because it lies flat and doesn’t curl.
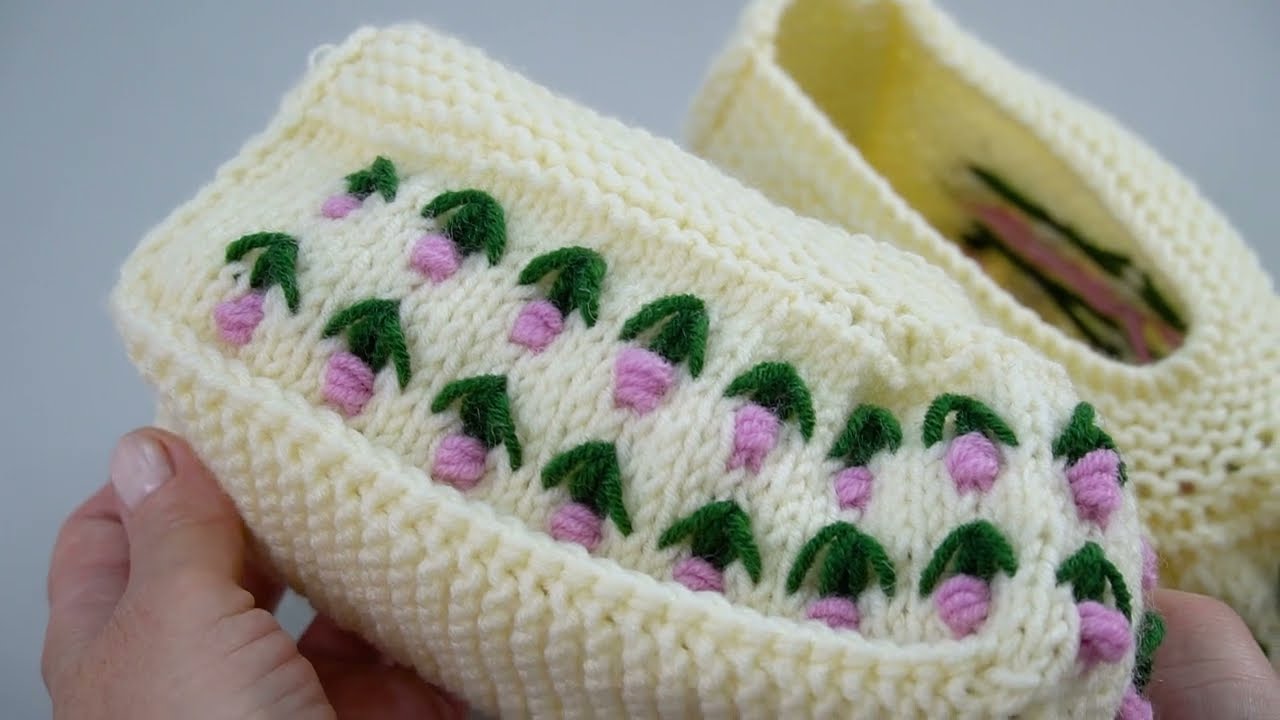
✅ Result:
You’ll have a cozy, warm slipper with a completely seamless sole—easy to wear and wash, perfect for gifts or self-care!
If you want, I can make a simple stitch-by-stitch diagram with the exact number of rows and increases for a standard teen/adult foot size so you can follow it exactly—super beginner-friendly.
Do you want me to do that?
Watch video: