 by
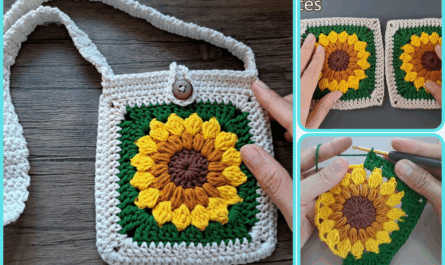
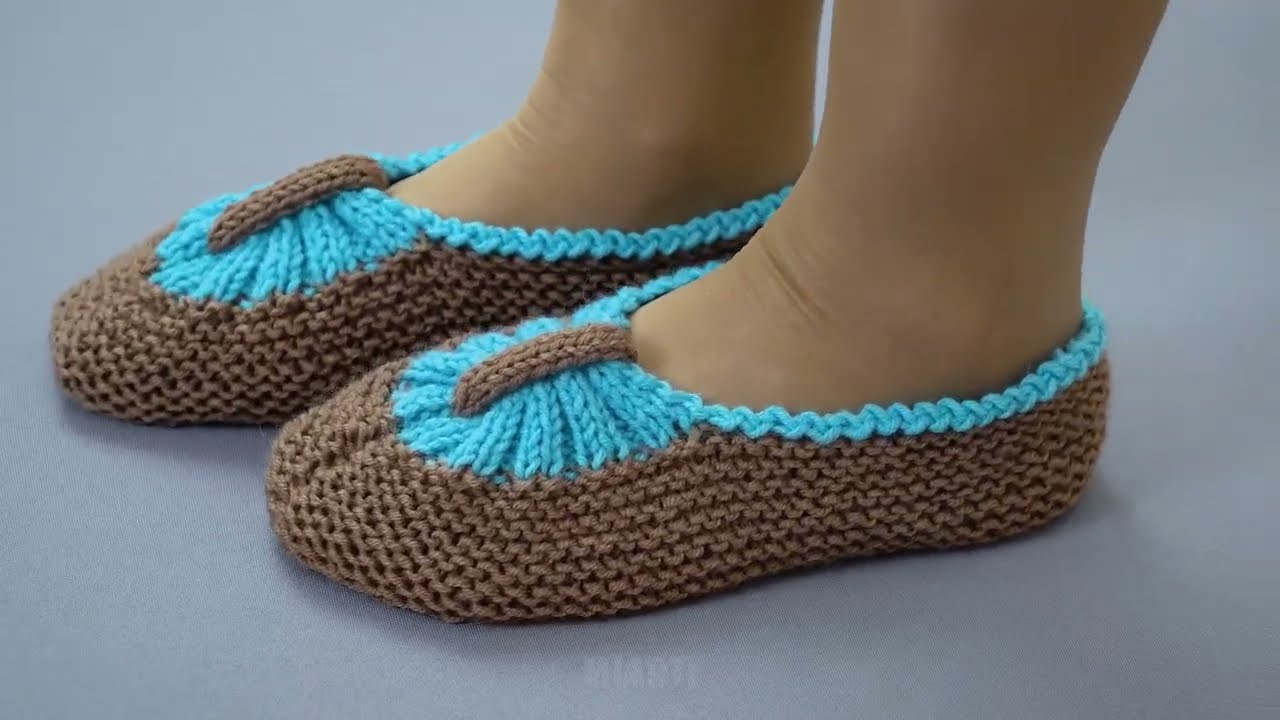
by Absolutely! I can guide you step by step on how to make one-swatched (one-piece) knitted slippers that are easy and simple. These slippers are usually knitted flat and then seamed, or knitted in the round for a seamless result. I’ll give you a beginner-friendly version that doesn’t require complicated shaping.
Materials Needed
-
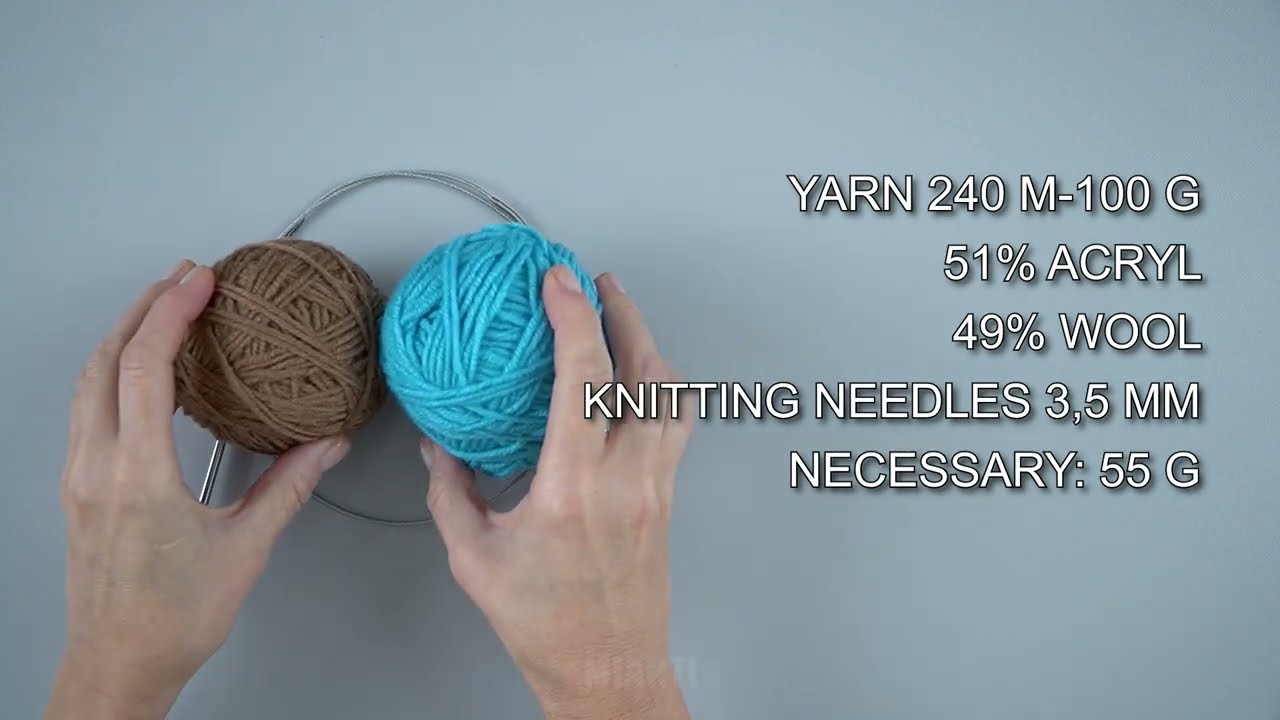
Yarn: Medium weight (worsted) yarn – soft and cozy for slippers
-
Knitting needles: Size recommended for your yarn (usually US 8–10 / 5–6 mm)
-
Tapestry needle: For weaving in ends and sewing parts together
-
Scissors
Optional:
-
Non-slip sole pads (for grip, especially if wearing on hardwood floors)
Step 1: Measure Your Foot
-
Measure the length of your foot from heel to toe.
-
Measure the width across the widest part of your foot.
-
Decide how snug you want your slipper.
This will help you know how many stitches to cast on. A simple tip: for worsted weight yarn, 1 stitch ≈ 0.25 inches.
Step 2: Cast On
-
For a flat, one-piece slipper:
-
Cast on enough stitches to cover the width of your foot.
-
Example: If your foot width is 4 inches and 1 stitch = 0.25 inches → cast on 16 stitches.
-
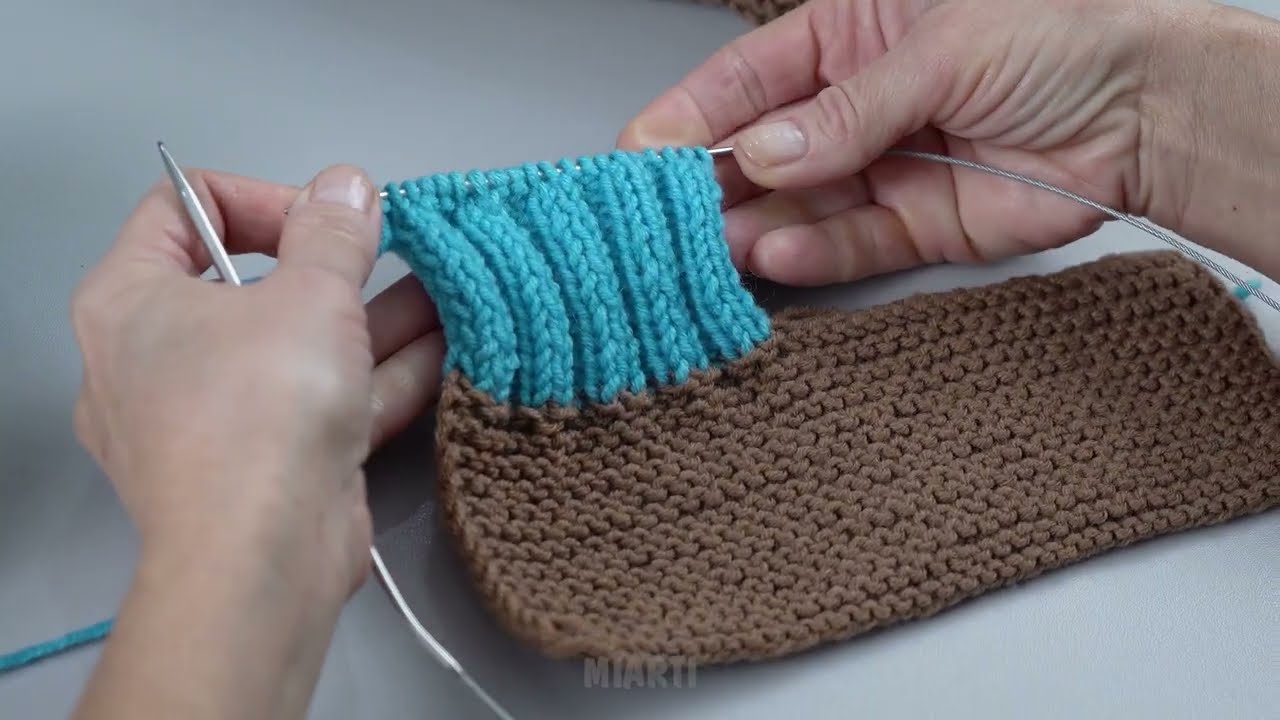
Step 3: Knit the Foot
-
Use stockinette stitch (knit one row, purl one row) for a smooth finish, or garter stitch (knit every row) for a squishier texture.
-
Keep knitting until your piece reaches the length of your foot minus about 1 inch for the toe shaping.
Step 4: Shape the Toe
-
Simple version: Knit 2 stitches together at the beginning and end of every other row until a few stitches remain.
-
Alternative: Fold slipper in half and seam the top of the toe using a tapestry needle.
Step 5: Knit the Heel Flap
-
After toe shaping, knit back along the foot.
-
Pick up a few extra stitches along the side to form a heel flap.
-
Knit 6–10 rows (depending on how deep you want the heel).
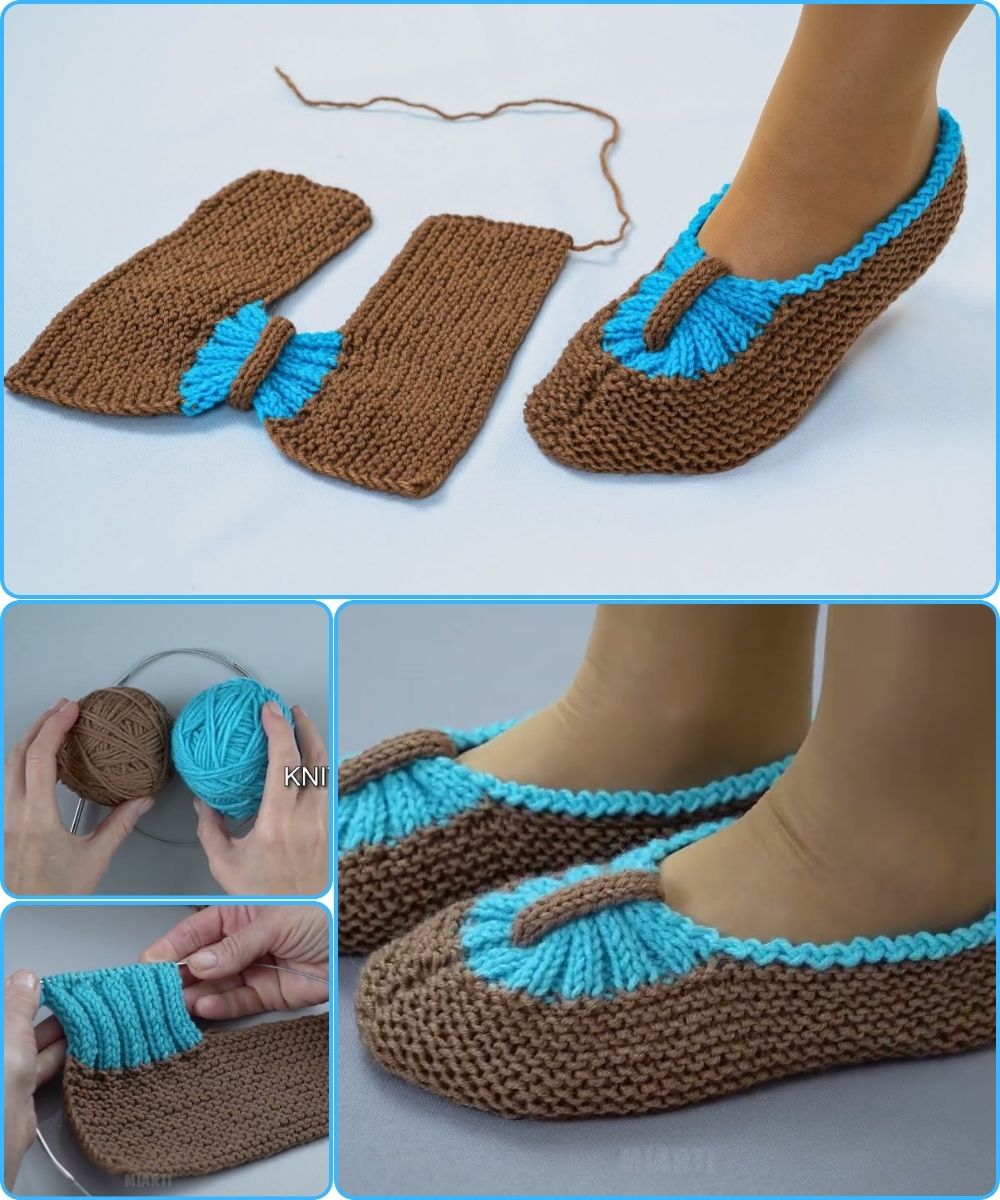
Step 6: Seam the Slipper
-
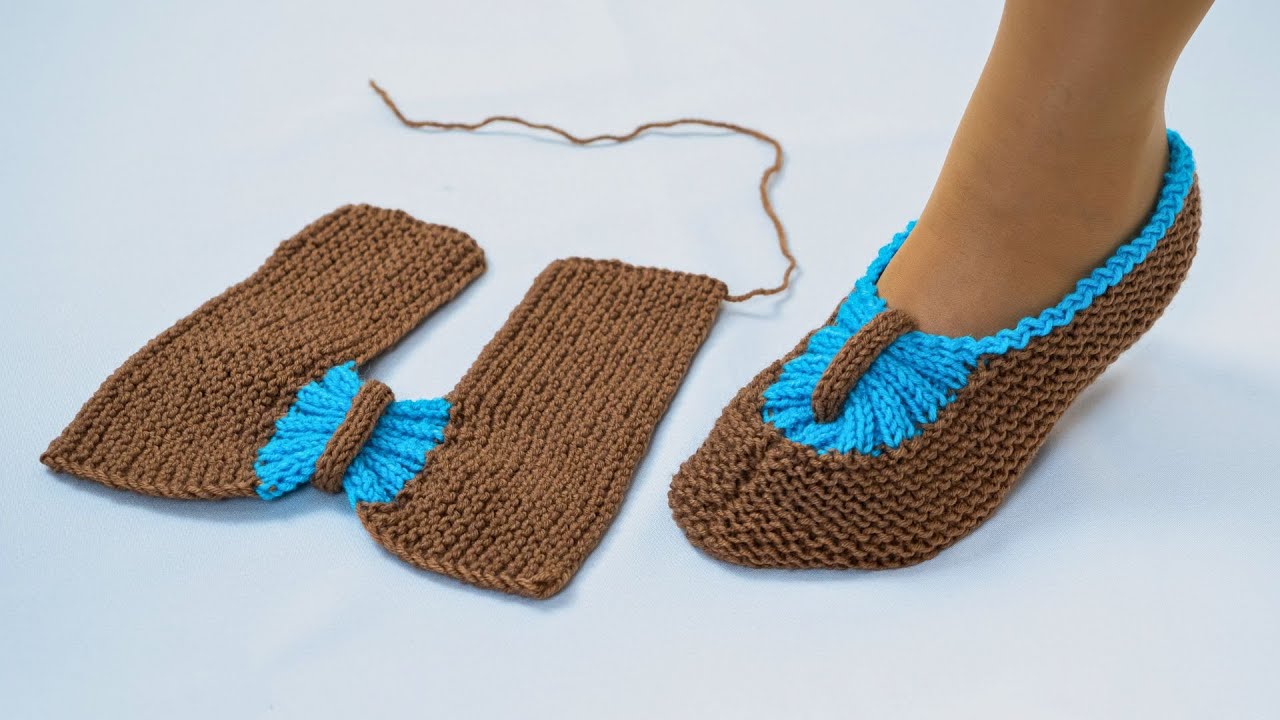
Fold your slipper in half lengthwise so the toe meets the heel.
-
Use a tapestry needle and yarn to sew the side seam and the back seam.
-
Weave in loose ends.
Step 7: Finishing Touches
-
Add a small cuff if you like: Pick up stitches along the opening and knit 4–6 rows of ribbing (K1, P1)
-
Optional: Glue or sew non-slip pads to the sole for safety.
Tips for Beginners
-
Use wool or acrylic yarn for stretch and comfort.
-
Keep stitches loose enough to easily slip your foot in, but not too loose or the slipper will sag.
-
Try the slipper on before finishing the top seam to check fit.
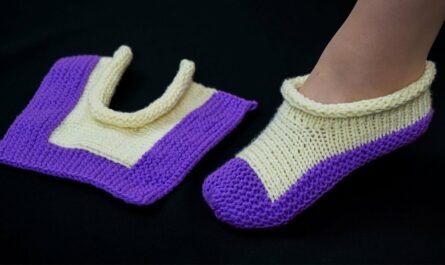
✅ Extra Simple Idea: You can knit a rectangular piece, fold it in half lengthwise, and seam only the toe and heel—this is a super quick one-piece slipper for absolute beginners.
If you want, I can draw a simple step-by-step diagram showing exactly how to fold and sew the slipper—it’ll make it even easier to follow!
Do you want me to do that?
Watch video: