 by
by Here is a detailed, beginner-friendly guide you can use as an article, blog post, or pattern introduction.
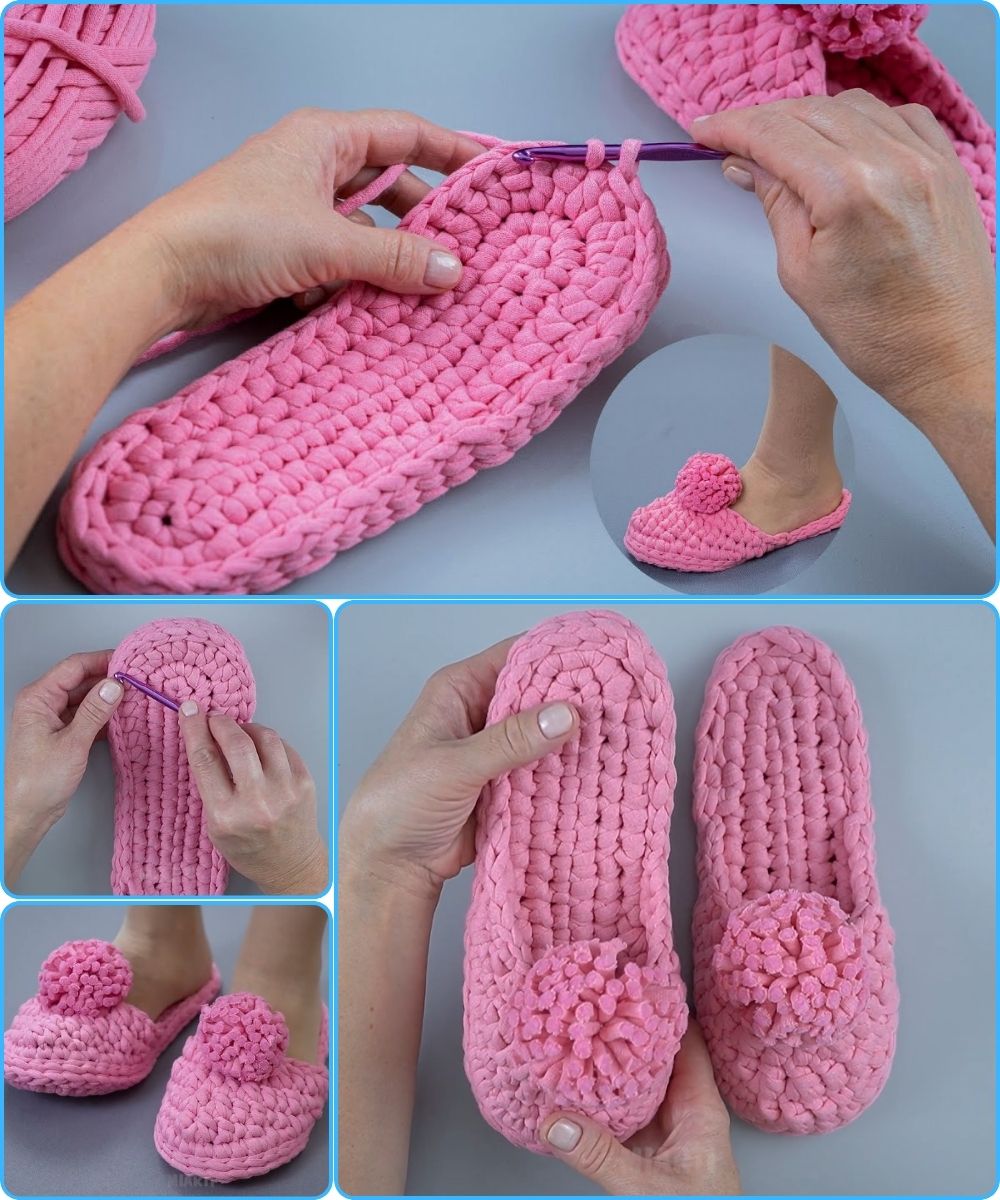
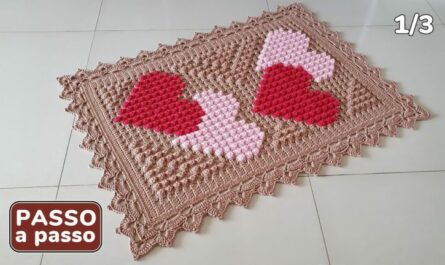
How to Make Comfortable Crochet Home Slippers on a Sole
Even a beginner can handle it!
Crochet home slippers are one of the most satisfying projects you can make—practical, cozy, and perfect for gifts. If you’ve never made slippers before, don’t worry! Using a pre-made sole makes the process much easier and helps your slippers last longer and feel more comfortable. This step-by-step guide is designed especially for beginners, with simple stitches and clear instructions.
Why Use a Sole?
Using a sole (rubber, leather, or felt) gives your slippers:
-
Better durability
-
Improved comfort and support
-
Less slipping on smooth floors
-
A professional, finished look
Pre-made soles already have small holes around the edge, so you can crochet directly onto them—no complicated sewing required.
Materials You Will Need
Before you start, gather the following supplies:
-
Pre-made slipper soles (choose the correct size for your foot)
-
Yarn (medium-weight / worsted yarn is best for beginners)
-
Crochet hook (usually 3.5–4.5 mm, depending on yarn and sole holes)
-
Yarn needle
-
Scissors
-
Stitch marker (optional but helpful)
💡 Tip: Soft acrylic or wool-blend yarn works well for indoor slippers.
Basic Crochet Skills Required
This project is beginner-friendly. You only need to know:
-
Chain (ch)
-
Single crochet (sc)
-
Slip stitch (sl st)
If you can crochet a straight line, you can make these slippers!
Step 1: Attaching Yarn to the Sole
-
Insert your crochet hook into one hole on the sole.
-
Pull the yarn through and secure it with a slip knot.
-
Chain 1 to start.
This first round is the foundation of your slipper, so work slowly and evenly.
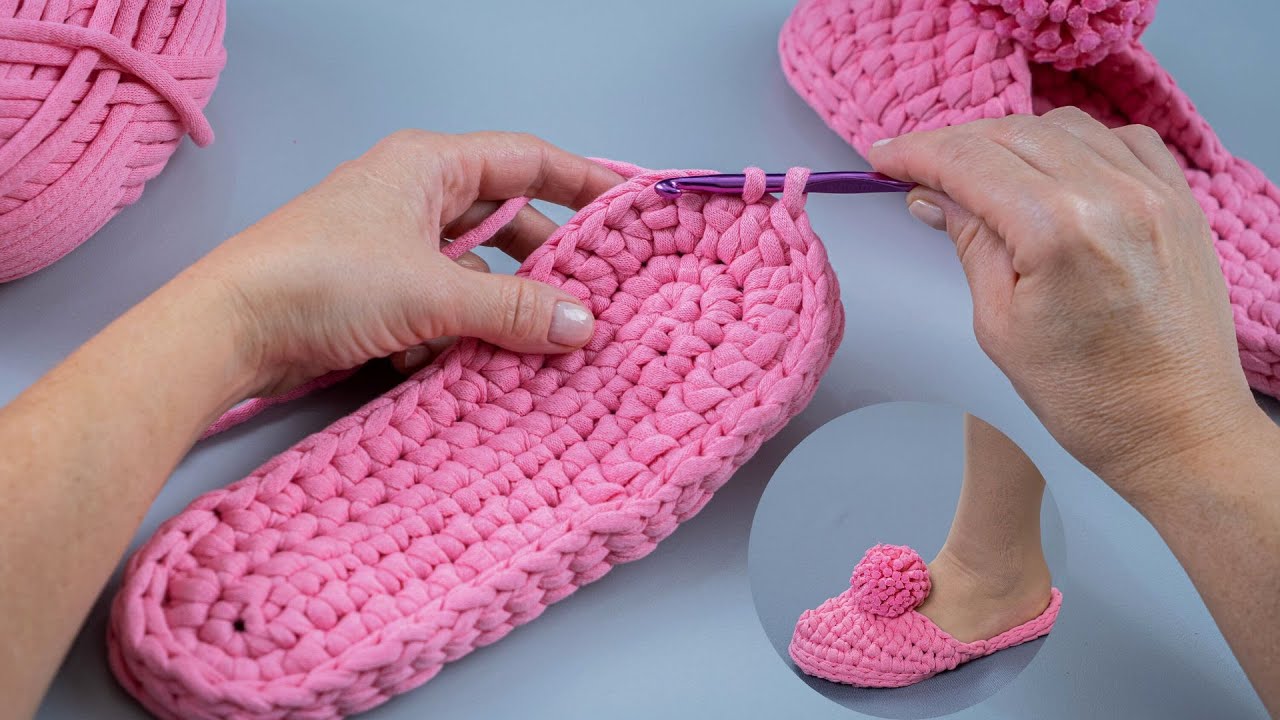
Step 2: Crochet Around the Sole
-
Make single crochet stitches into each hole around the sole.
-
Keep your stitches relaxed—not too tight—so the slipper stays comfortable.
-
When you reach the starting point, join with a slip stitch.
✔ This creates the base that connects the sole to the crocheted upper part.
Step 3: Build the Slipper Sides
-
Chain 1 and crochet single crochet stitches around again.
-
Continue working in rounds without increasing.
-
After 2–3 rounds, you’ll see the sides starting to form.
📏 Try the slipper on as you go to check the height.
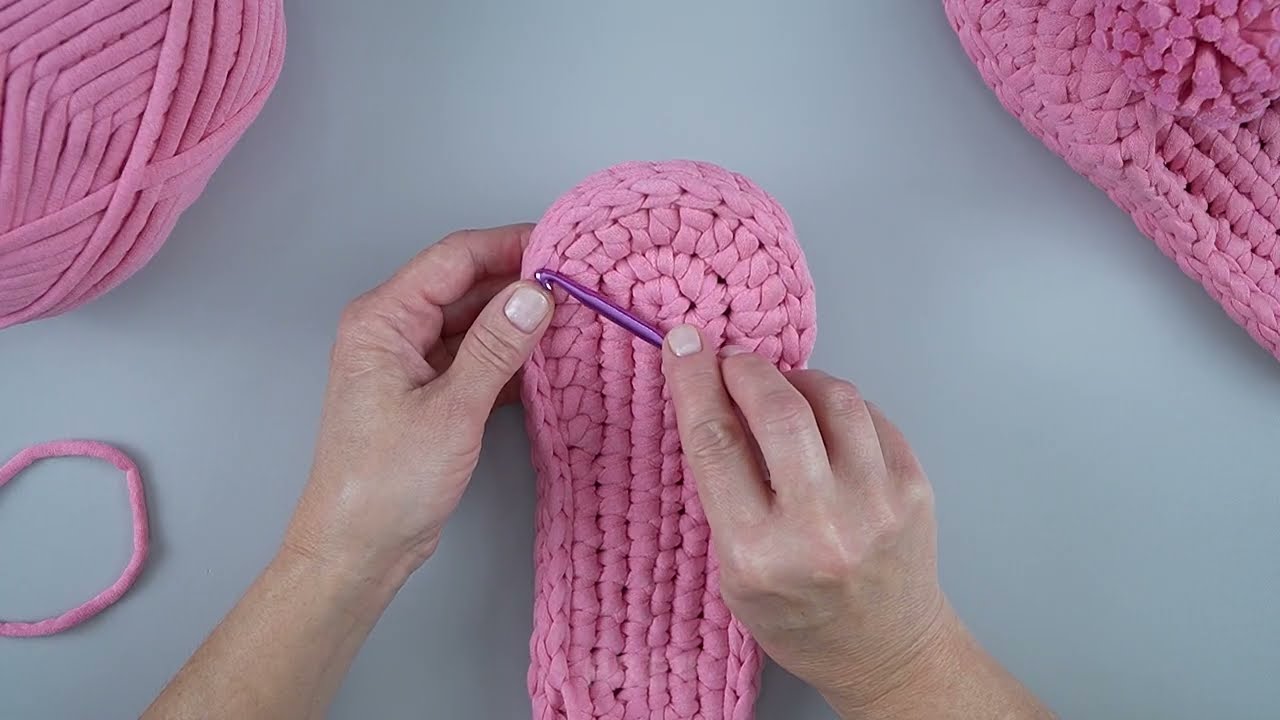
Step 4: Shape the Toe
-
Crochet across the front half of the slipper.
-
Use simple decreases (single crochet two stitches together) to shape the toe.
-
Continue until the front is nicely closed.
Don’t worry if it’s not perfect—crochet slippers are meant to be cozy, not exact!
Step 5: Finish the Heel and Top Edge
-
Crochet evenly around the opening.
-
Add one final round of single crochet for a neat edge.
-
Fasten off and weave in all loose ends using a yarn needle.
✨ Optional: Add a decorative edge using slip stitches or crab stitch.
Making the Second Slipper
Repeat the same steps for the second slipper. Count your rounds to ensure both slippers match in size.
Customization Ideas
Once you’re comfortable with the basic pattern, try:
-
Adding non-slip dots to the sole
-
Using two colors for stripes
-
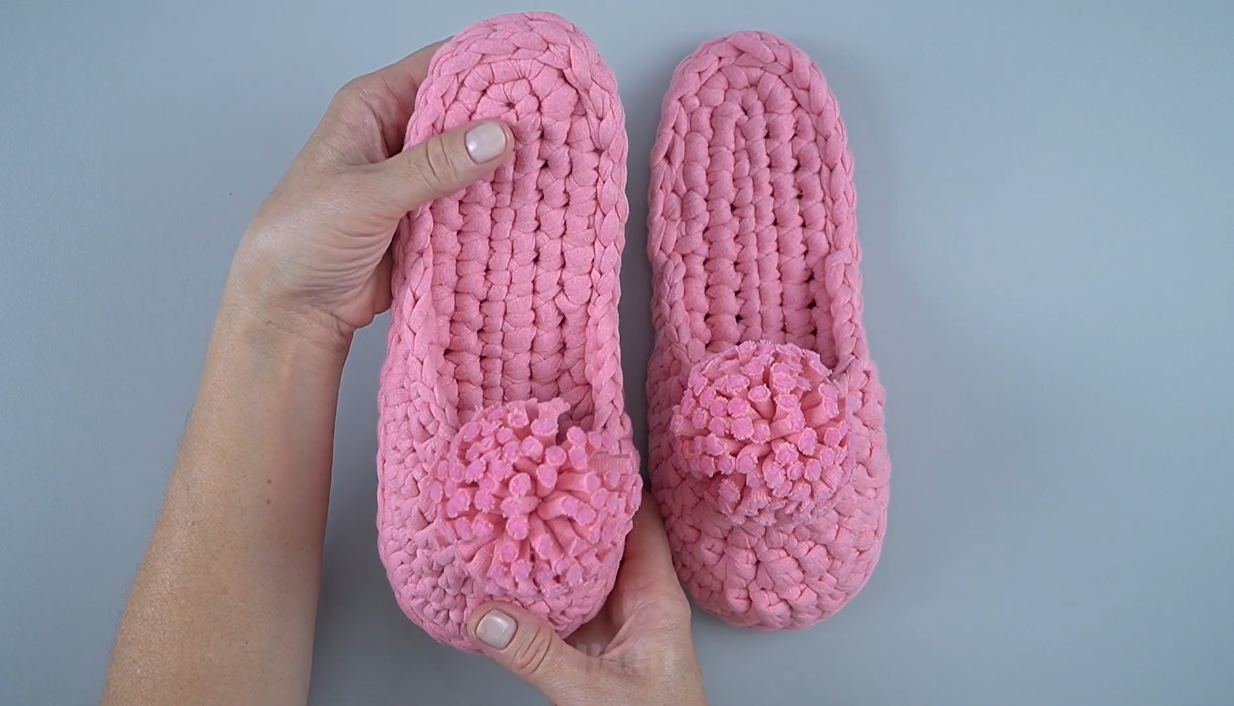
Sewing on buttons, bows, or flowers
-
Adding a ribbed cuff for extra warmth
Final Tips for Beginners
-
Choose light-colored yarn so stitches are easy to see
-
Don’t rush—comfort comes from even stitches
-
Practice on one slipper before making the second
-
Remember: handmade means unique!
Conclusion
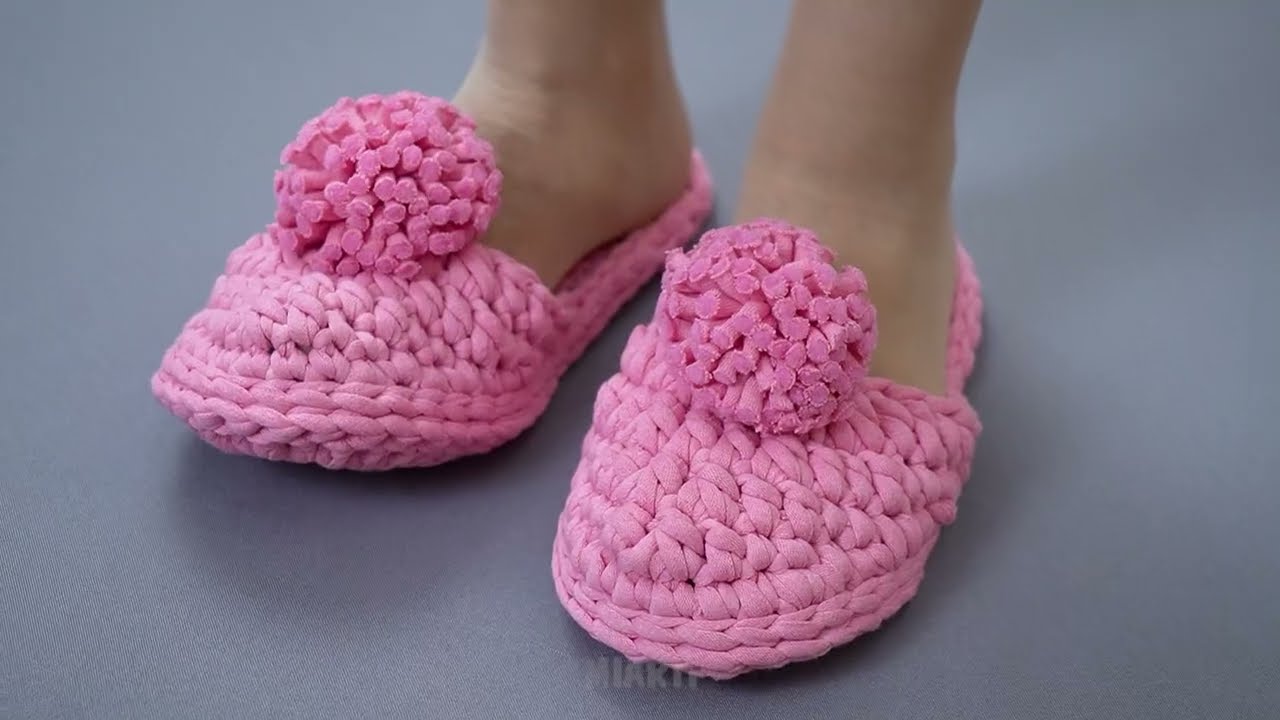
Crochet home slippers on a sole are a perfect beginner project. They’re simple, cozy, and incredibly rewarding to make. With just basic stitches and a little patience, you’ll create comfortable slippers you can wear every day or gift to loved ones.
Happy crocheting! 🧶
Watch video: