 by
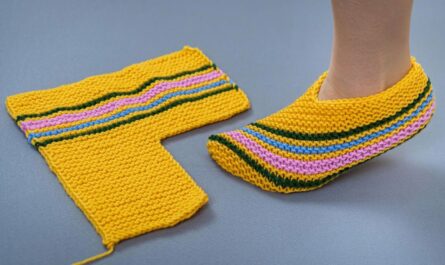
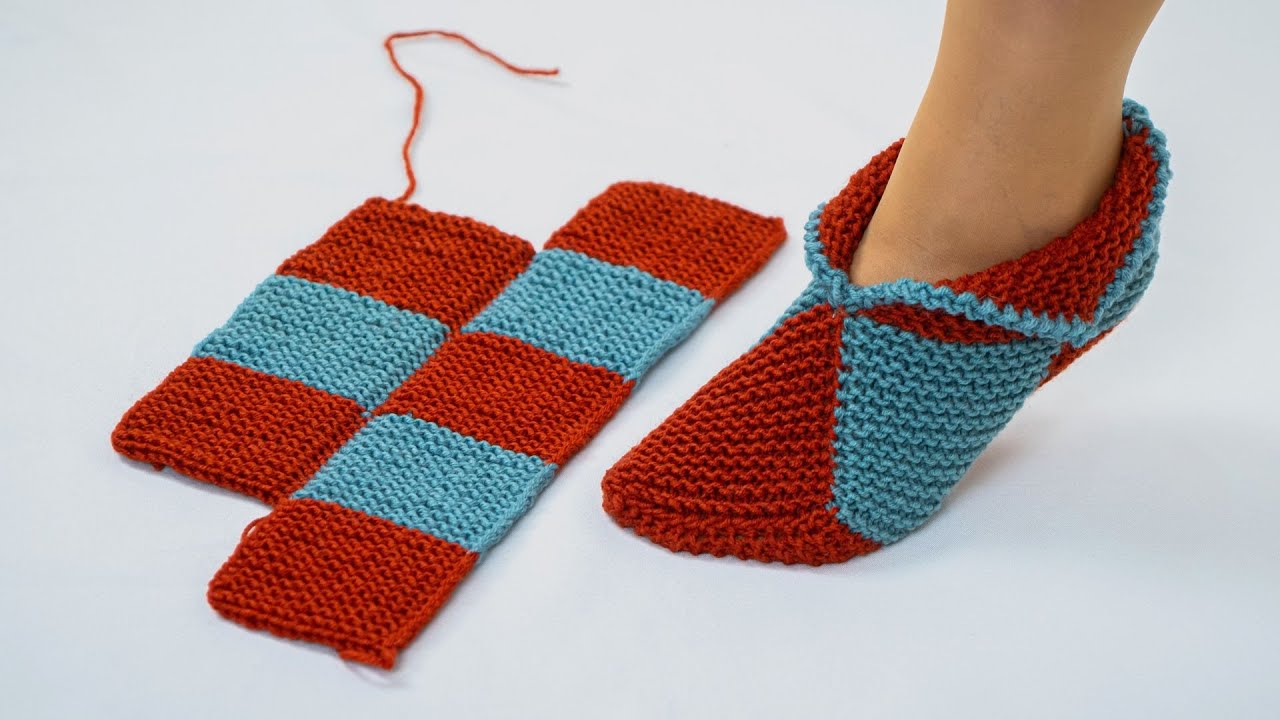
by Here is a clear, beginner-friendly, step-by-step guide to making simple knitted slippers. This pattern is designed for first-time knitters and uses basic stitches only 😊
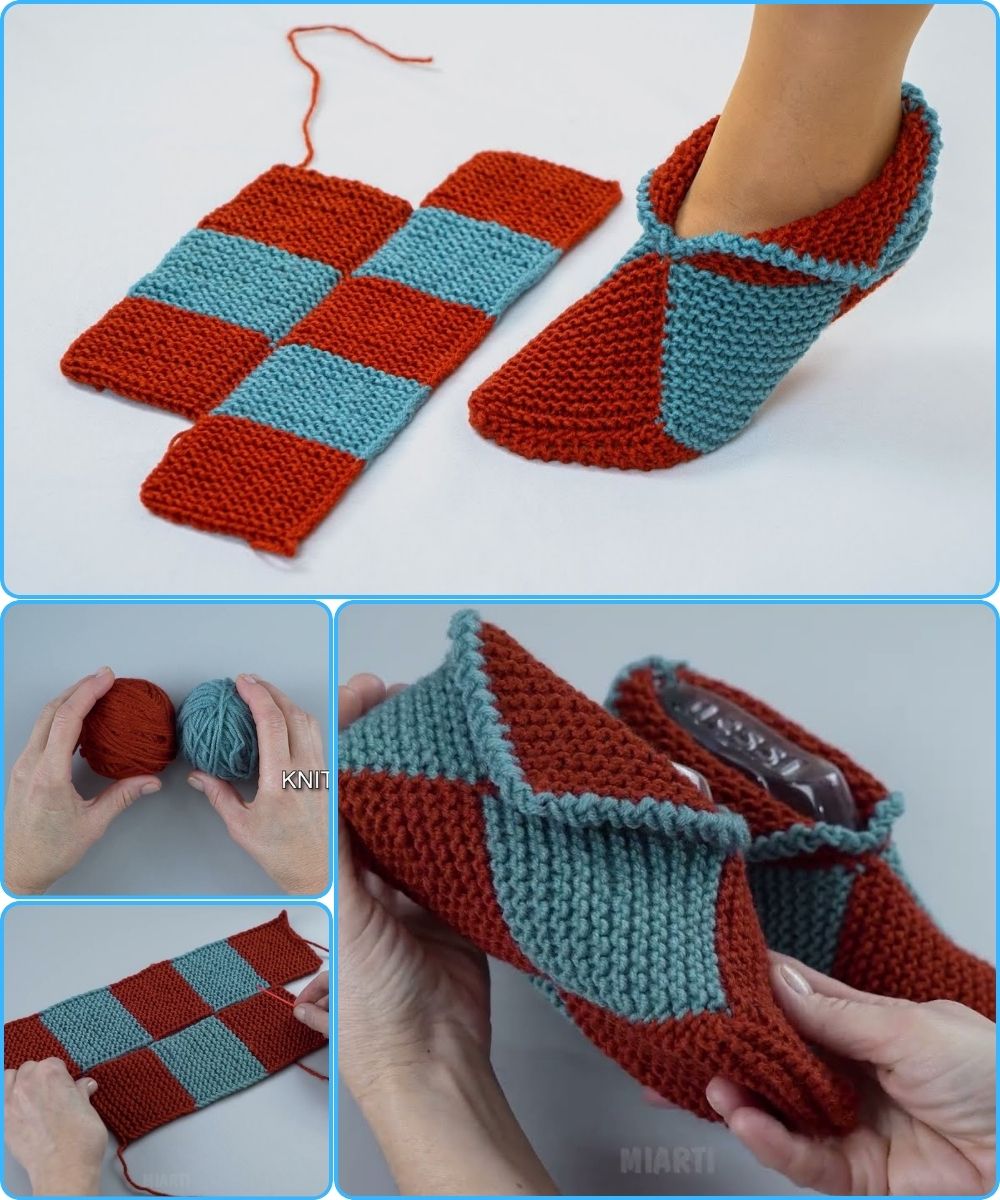
How to Make Simple Knitted Slippers (Beginner Step-by-Step Guide)
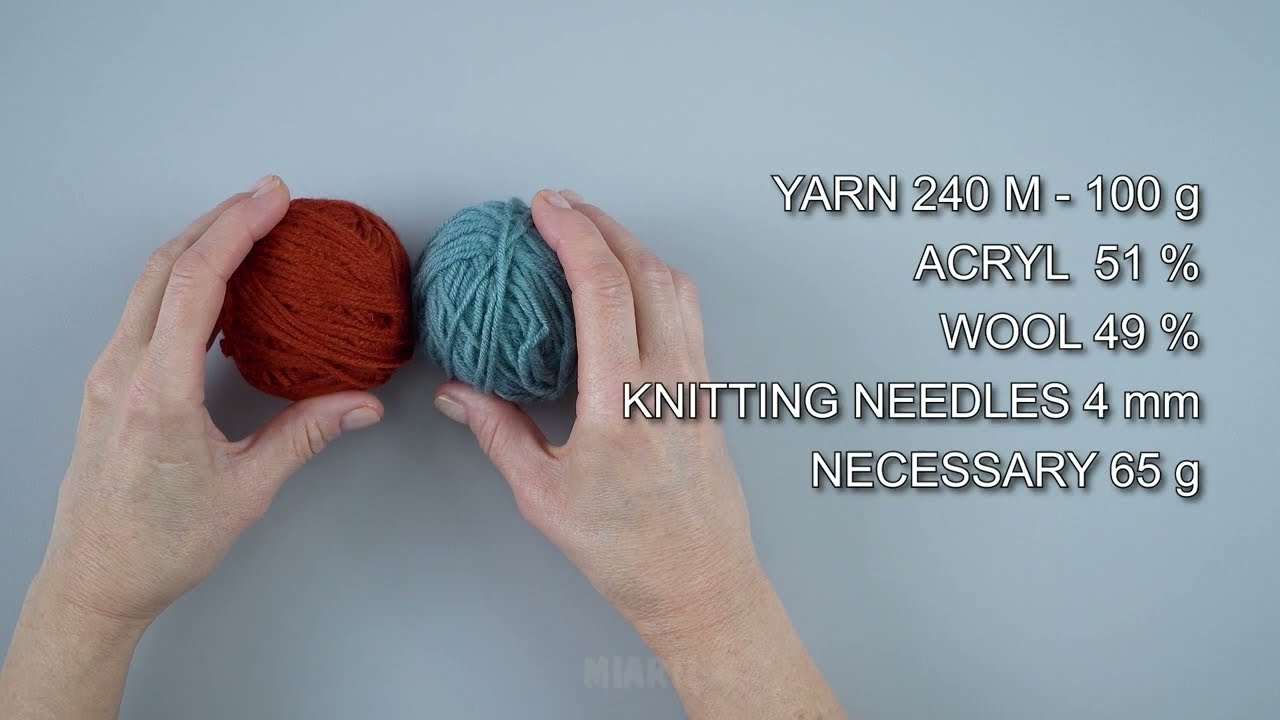
Materials You Will Need
-
Yarn: Medium-weight (worsted) yarn – about 100–150 grams
-
Knitting needles: Size US 8 (5 mm) straight needles
-
Scissors
-
Yarn needle (for sewing seams)
-
Measuring tape
Basic Stitches You Should Know
-
Cast On (CO) – starting stitches on the needle
-
Knit Stitch (K) – the most basic stitch
-
Bind Off (BO) – finishing the knitting
(No purling required for this pattern!)
Step 1: Measure Your Foot
Measure the length of your foot from heel to toe.
Beginner tip:
The knitted piece should be about 1 inch shorter than your foot length because the knitting stretches when worn.
Step 2: Cast On Stitches
-
Cast on 36 stitches for an average adult foot
-
For smaller feet: 32 stitches
-
For larger feet: 40 stitches
Keep stitches loose so the slipper opening is comfortable.
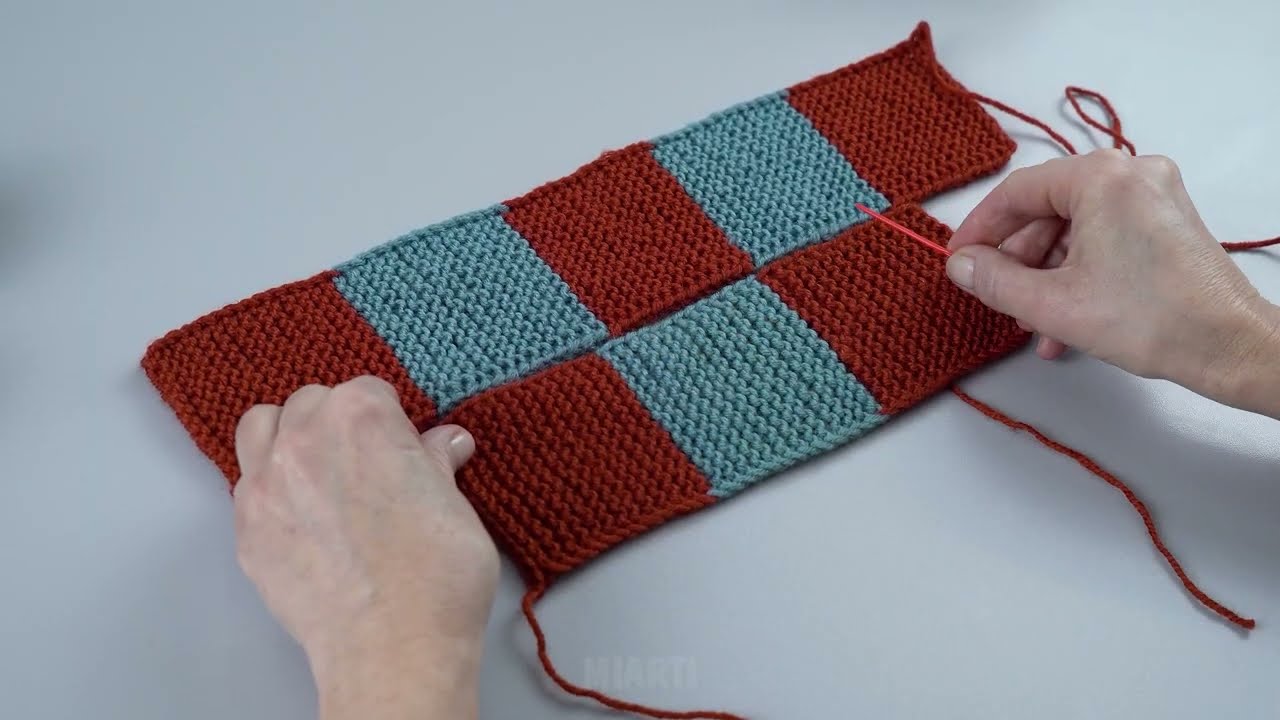
Step 3: Knit the Sole
-
Knit every row (this creates garter stitch)
-
Continue knitting until the piece reaches your foot length
Example:
If your foot is 9 inches long, knit until the piece measures about 8 inches.
Step 4: Shape the Toe
Now you will decrease stitches to form the toe.
-
Knit 2 stitches together at the beginning of the row
-
Knit across until 2 stitches remain
-
Knit the last 2 stitches together
Repeat this decrease row every row until about 12 stitches remain.
Step 5: Bind Off
-
Bind off all stitches carefully
-
Cut yarn, leaving a long tail (about 12 inches) for sewing
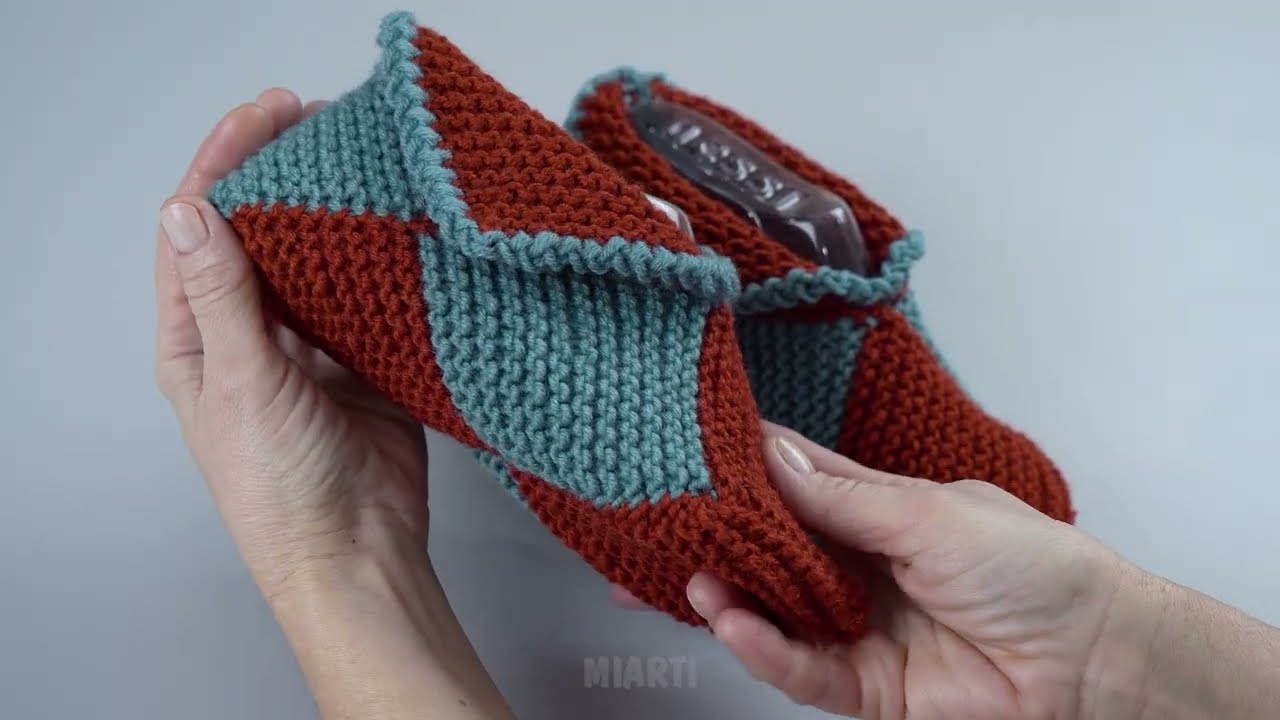
Step 6: Fold and Sew the Slipper
-
Fold the knitted piece in half lengthwise
-
Sew the toe seam first using the yarn needle
-
Continue sewing along the top of the foot
-
Sew the heel seam, stopping about 1 inch from the top to create an opening
Tie off securely and weave in loose ends.
Step 7: Turn Right Side Out
Turn the slipper inside out so the seams are hidden.
Try it on and adjust if needed.
Step 8: Make the Second Slipper
Repeat all steps to make the matching slipper.
Optional Beginner Add-Ons
-
Add non-slip fabric or dots to the sole
-
Sew on a small pom-pom or button
-
Knit with two strands of yarn for extra warmth
Beginner Tips for Success
✔ Practice on scrap yarn first
✔ Count stitches often
✔ Keep tension even
✔ Don’t worry about mistakes—handmade slippers don’t need to be perfect!
If you’d like, I can also:
-
Adjust this pattern for kids or babies
-
Create a one-page printable version
-
Write a purl-stitch version
-
Add pictures or diagrams (described step-by-step)
Just tell me! 🧶
Watch video: