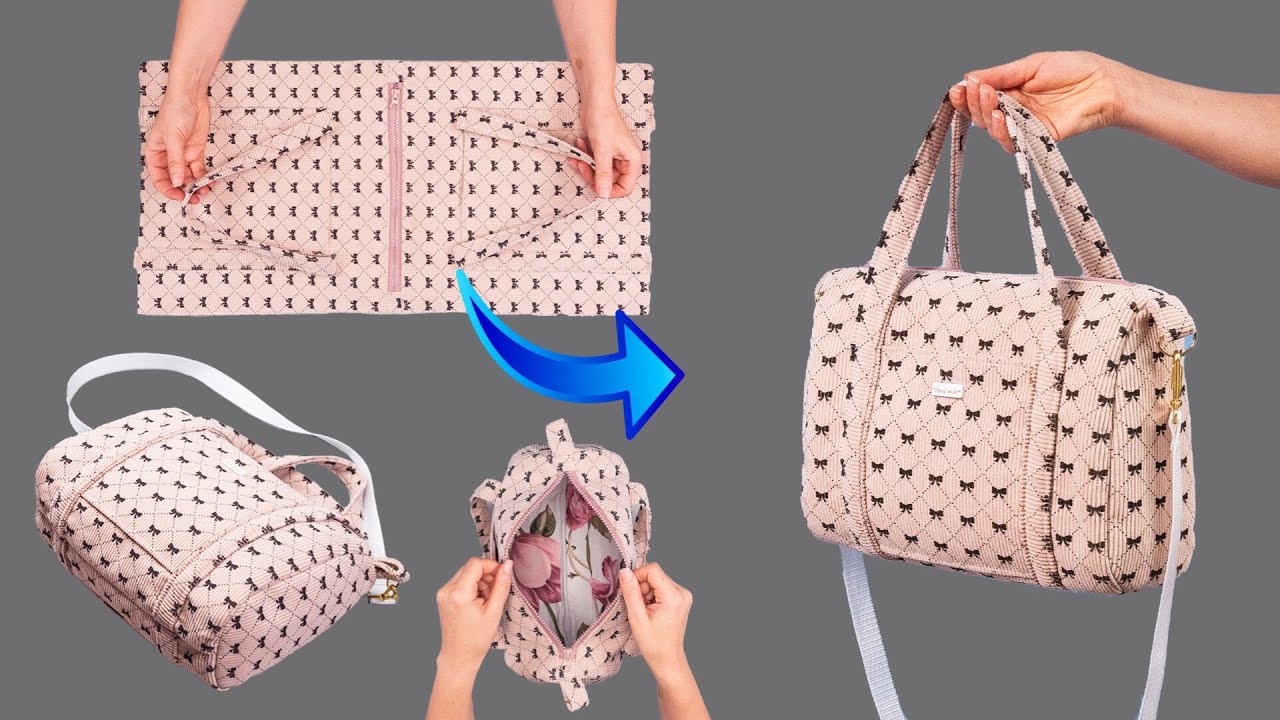
Hello, luxury lovers and elegant sewists! Are you looking for a statement accessory that is surprisingly simple to construct, yet looks high-end and designer? I’m thrilled to share the pattern for the Velvet Whisper Ruched Evening Bag—a chic, soft-sided tote that uses strategic quilting and a clever top gathering mechanism to create a beautiful, slouchy-yet-structured silhouette.
Inspired by a fantastic tutorial on easily sewing a stylish bag using velvet and interlining, this design is perfect for showcasing a beautiful specialty fabric (like velvet or silk) and makes a stunning accessory for weddings, evenings out, or simply elevating your everyday look.
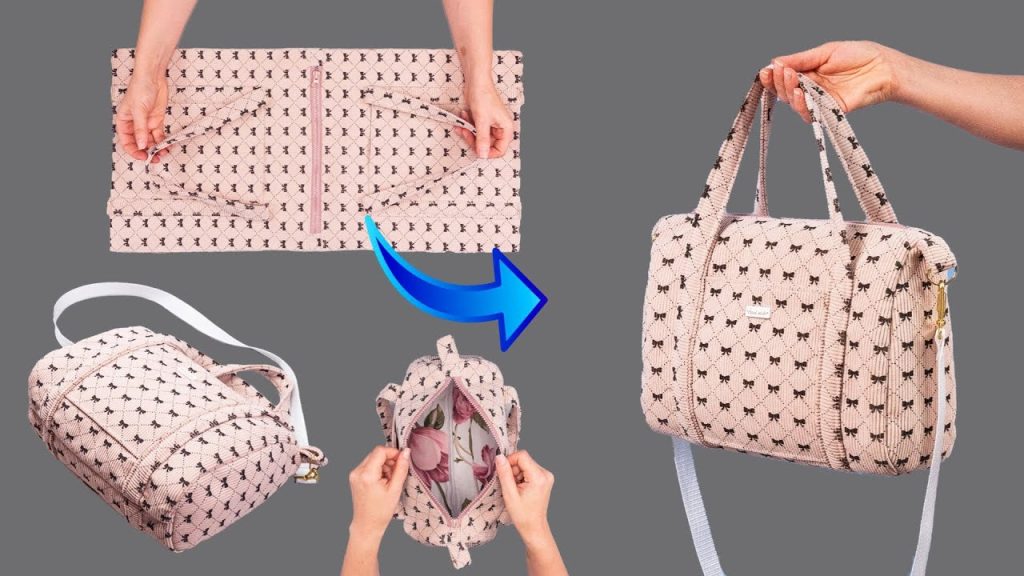
Grab your most luxurious fabric, your interlining, and let’s craft a bag that looks like a million dollars!
Why You’ll Love Making This Bag:
- High-End Look: The combination of velvet and subtle quilting elevates the bag’s aesthetic instantly.
- Easy Construction: The body is made from just two main rectangles, minimizing complex seaming.
- Unique Gathering: The top edge is ruched by the strap, giving the bag a lovely, gathered texture without messy drawstrings.
- Structured Softness: Interlining ensures the bag holds its beautiful, soft shape without collapsing.
What You’ll Need:
- Main Fabric (Outer Shell): 1/2 yard of velvet, satin, or heavy silk.
- Lining Fabric: 1/2 yard of smooth, contrasting cotton or satin.
- Interlining/Wadding: 1/2 yard of thin cotton wadding or fusible fleece. (This is used for quilting.)
- Cotton Fabric (Strap/Accents): 1/4 yard of coordinating cotton or canvas.
- Bias Tape: 3 yards (2.7 meters) of pre-made or self-made bias tape (1/2 inch wide).
- Closure (Optional): 1 Magnetic Snap.
- Tools:
- Sewing Machine (with a walking foot recommended for velvet/wadding).
- Iron (use a press cloth for velvet!).
- Quilting clips (pins can damage velvet).
- Ruler and Fabric Marker/Chalk.
Measurements & Cutting List
The final bag size will be approximately 13 inches wide (at the base) x 10 inches high. All measurements include a 1/2-inch (1.2 cm) seam allowance, unless noted.
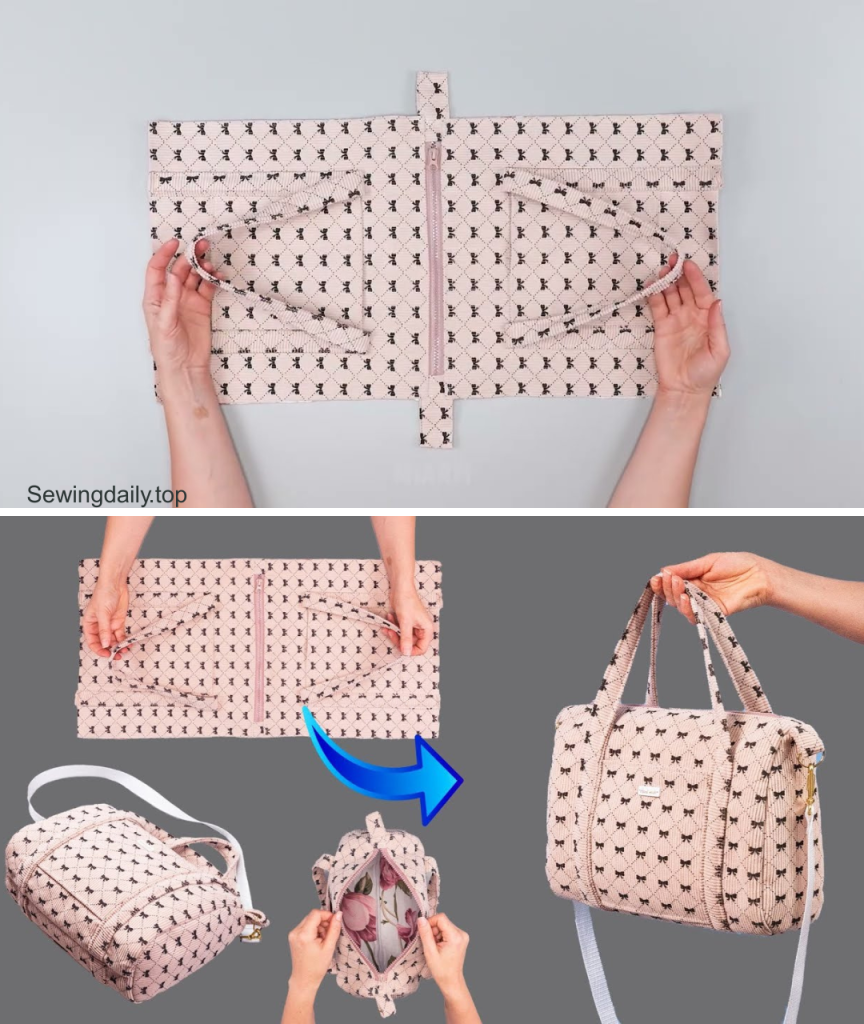
| Piece | Fabric | Dimensions (Width x Height) | Quantity | Interlining? | Notes |
| A: Main Outer Panel | Main Fabric (Velvet) | 30 in. x 14 in. | 1 | Yes | This forms the entire outer body. |
| B: Main Lining Panel | Lining Fabric (Cotton/Satin) | 30 in. x 14 in. | 1 | No | This forms the entire inner lining. |
| C: Main Strap | Cotton Fabric | 28 in. x 3 in. | 1 | Yes | The strap that cinches the top. |
| D: Side Strap Anchors | Cotton Fabric | 6 in. x 3 in. | 2 | Yes | Small loops for the main strap. |
| E: Base Stiffener | Heavy Interfacing/Canvas | 12 in. x 3 in. | 1 | No | Used inside the lining for a firm base. |
Construction: Building the Velvet Whisper Bag
Part 1: Quilting the Outer Body
- Fuse/Baste Wadding: Lay the (A) Main Outer Panel (Velvet) wrong side up. Center the thin cotton wadding/fusible fleece on top and secure it (either by fusing or using large safety pins/basting stitches).
- Quilting: Stitch parallel lines across the entire velvet panel, running lengthwise (30-inch direction). Space the lines approximately 1.5 inches (4 cm) apart. Use a walking foot and lengthen your stitch length for best results on velvet.
- Trim: After quilting, trim the panel back to its original size: 30 in. x 14 in.
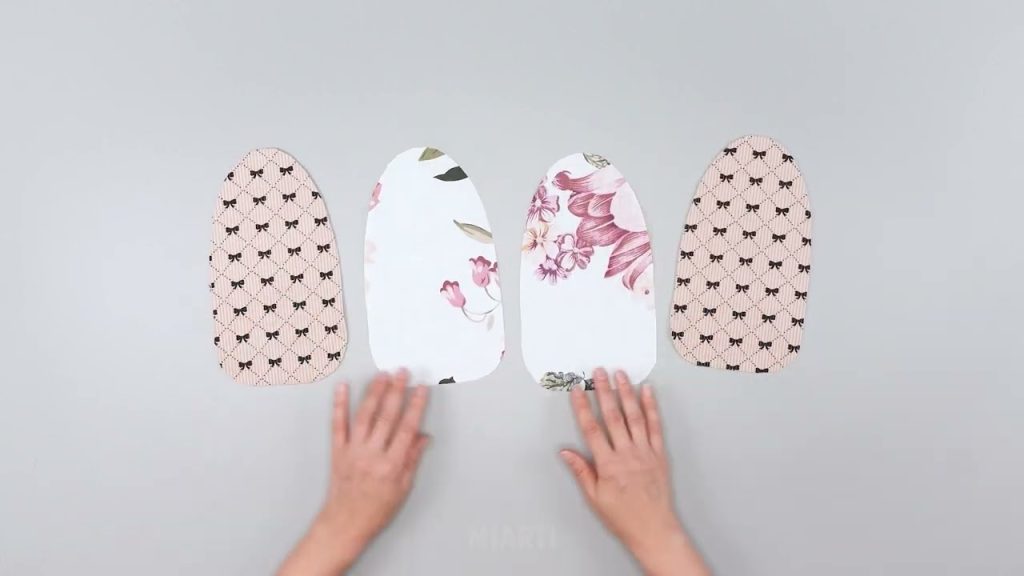
Part 2: Sewing the Body and Lining
- Sew Outer Body Seam: Fold the (A) Quilted Outer Panel in half (to 15 in. x 14 in.), right sides together, aligning the 14-inch raw edges. Sew the seam closed to form a loop/tube.
- Box Outer Corners: Pinch the corner of the bag so the bottom seam aligns with the side seam, forming a neat triangle. Measure 1.5 inches (4 cm) from the tip and sew across. Trim the excess triangle. Repeat for the other bottom corner.
- Sew Lining: Repeat steps 1 and 2 with the (B) Main Lining Panel, but leave a 6-inch (15 cm) opening along the straight side seam for turning the bag later.
- Insert Base Stiffener (E): Slip the (E) Base Stiffener piece between the layers of the lining base and secure it with a few basting stitches.
Part 3: Preparing and Attaching the Strap Anchors
- Make Anchors (D): Apply interfacing to (D) Side Strap Anchors. Fold each strip in half lengthwise (to 6 in. x 1.5 in.), press, and topstitch along the long edges.
- Pin Anchors: Turn the Outer Shell right-side out. Find the top edge. Measure 3 inches down from the top raw edge on the side seam. Pin the raw ends of one Anchor (D) to the side of the bag, at the 3-inch mark. The loop of the anchor should face outward. Baste securely. Repeat on the other side seam.
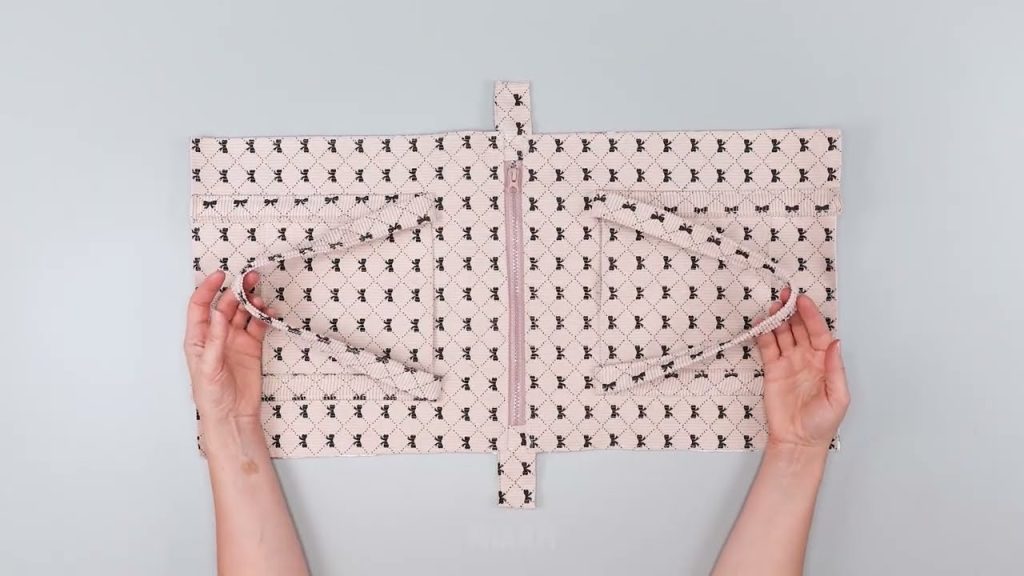
Part 4: Final Assembly and Ruched Strap (C)
- Attach Main Strap (C): Apply interlining to (C) Main Strap. Press the long edges inward by 1/2 inch. Set aside.
- Attach Bias Tape: Sew bias tape around the top raw perimeter of the Outer Shell.
- Nest and Sew: Insert the Outer Shell into the Lining Shell (still inside out), aligning the top edges (right sides together). Pin all around the top perimeter. Sew the top seam with a 1/2-inch seam allowance.
- Turn Right-Side Out: Reach into the 6-inch opening in the lining side seam and gently pull the entire bag through this hole.
- Close Turning Hole: Stitch the turning hole in the lining closed. Tuck the lining neatly inside the Outer Bag.
- Secure Ruched Strap:
- Wrap the (C) Main Strap around the center of the bag body, positioning it right over the Side Strap Anchors (D) you basted down earlier.
- Slide the ends of the Main Strap through the anchor loops. Pull the Main Strap gently to ruche/gather the fabric slightly beneath it.
- When satisfied with the gathering, secure the Main Strap by stitching the overlapped ends together on the back side of the bag. You can optionally add a Magnetic Snap here for a cleaner closure.
- Final Press: Give the bag a final, gentle press, using a press cloth on the velvet.
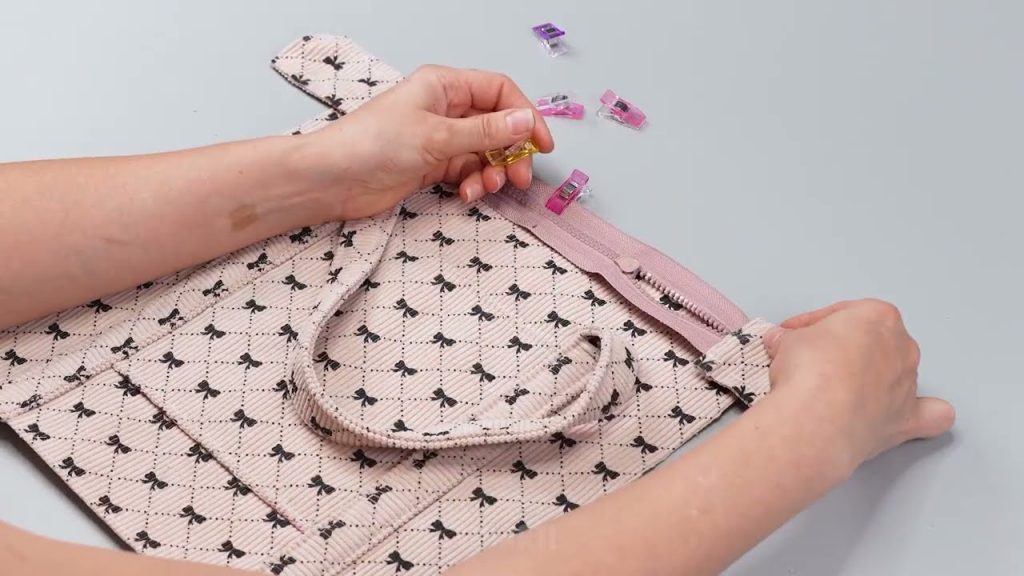
Congratulations! Your elegant Velvet Whisper Ruched Evening Bag is complete—a simple project with a surprisingly luxurious, designer-quality finish!
Video tutorial:
