 by
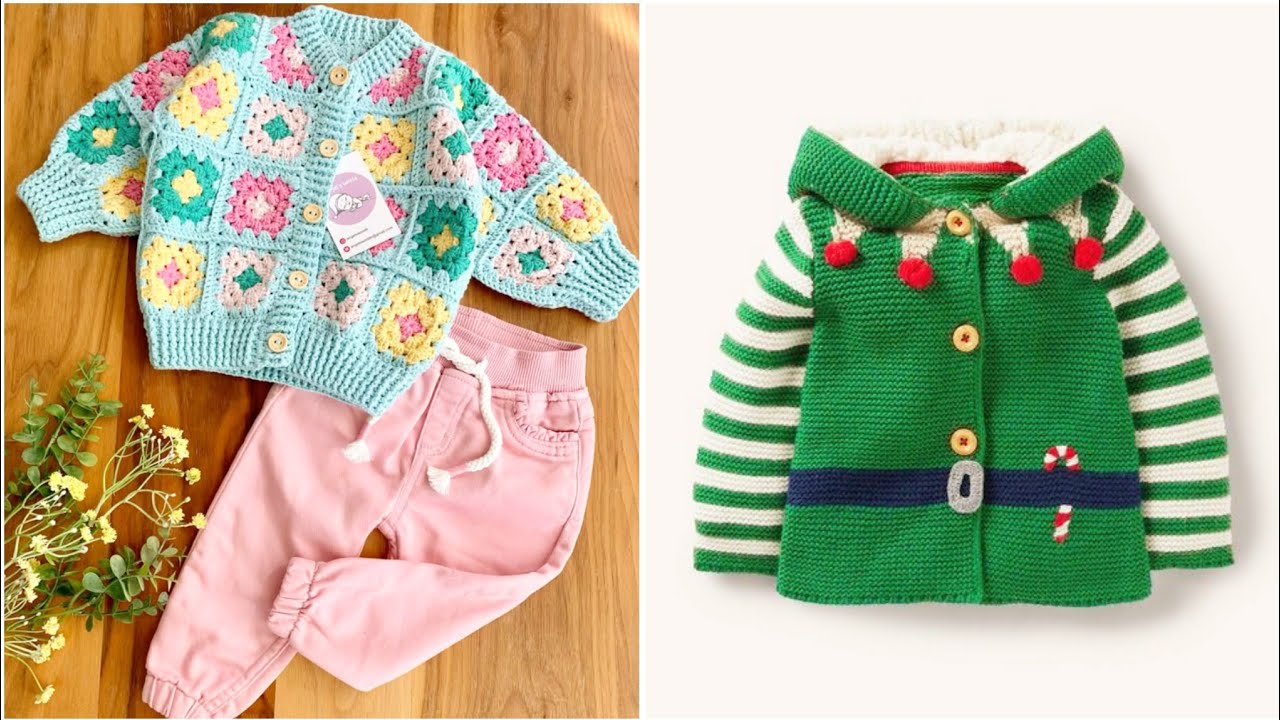
by Creating a crochet pattern for a baby cardigan involves a mix of design planning, stitch knowledge, and accurate sizing. Here’s a detailed guide on how to make your own crochet baby cardigan pattern, from concept to finished pattern writing.
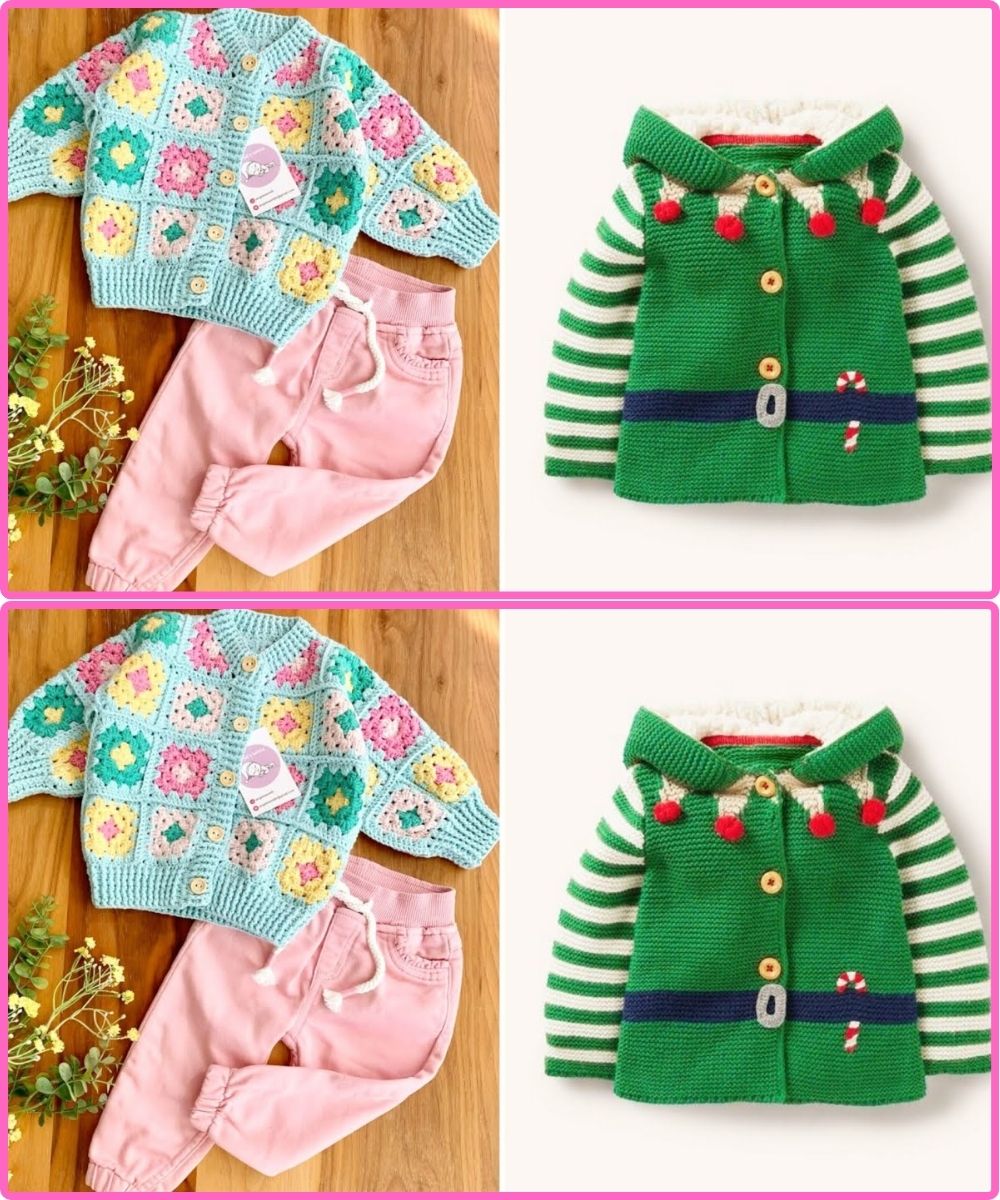
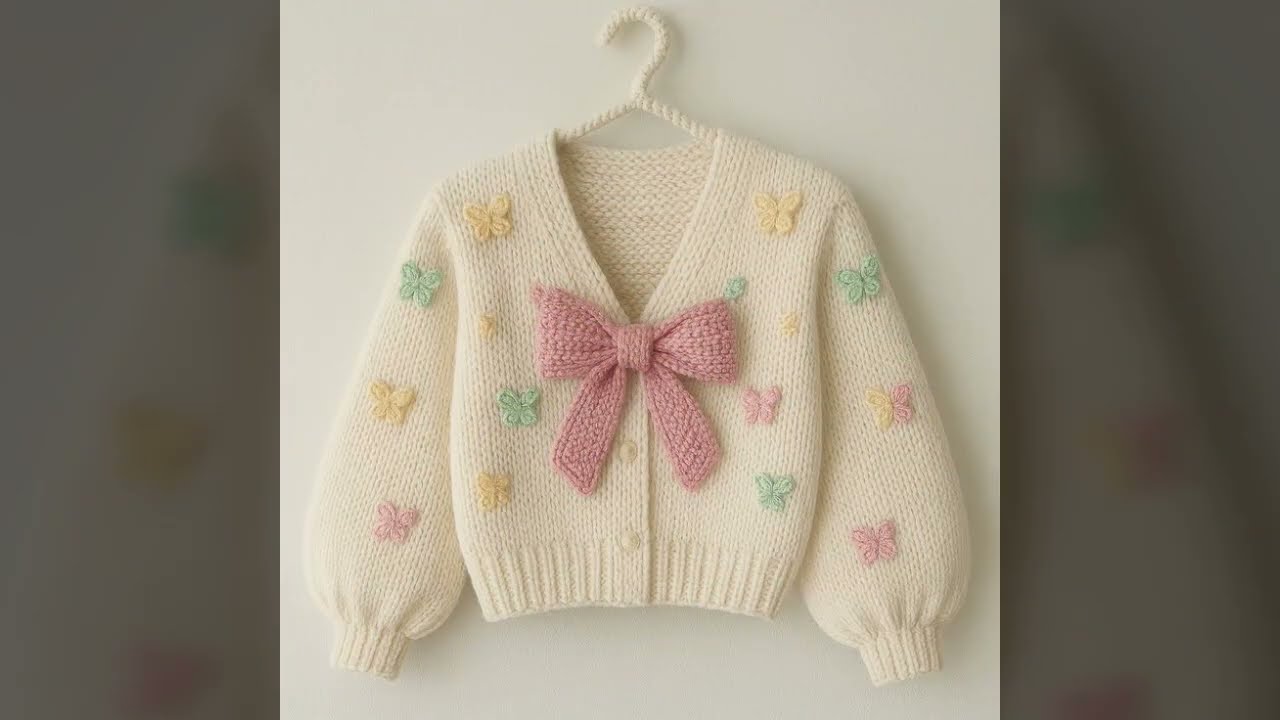
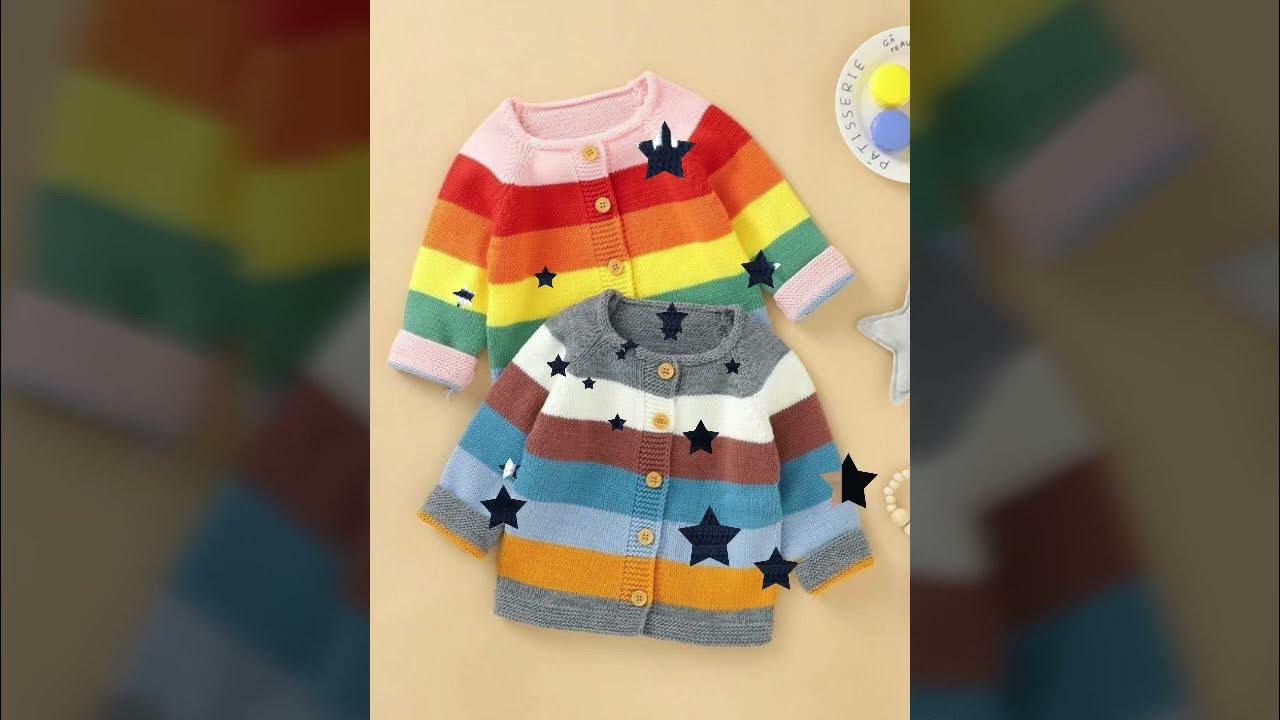
🧶 How to Make a CROCHET PATTERN for a Baby Cardigan
📝 Step 1: Plan the Design
1.1 Choose Style:
Decide on the cardigan type:
-
Open front or buttoned
-
Raglan, set-in sleeve, or drop shoulder
-
Hooded or collarless
-
Texture: Plain, lace, bobble stitch, stripes, etc.
1.2 Choose Yarn & Hook:
-
Yarn weight: DK (light worsted) or worsted weight is common
-
Fiber: Cotton or soft acrylic for babies
-
Hook size: Usually 4.0 mm – 5.5 mm (G – I)
1.3 Select Stitches:
Choose basic and decorative stitches:
-
Single crochet (sc), half double crochet (hdc), double crochet (dc)
-
Puff, shell, or bobble stitches for texture
-
Ribbing for cuffs/borders: slip stitch, back loop sc, or front/back post stitches
📏 Step 2: Take Measurements and Make a Gauge Swatch
2.1 Standard Baby Sizes (0–3 months):
-
Chest: 16 in (40.5 cm)
-
Total length: 8–9 in (20–23 cm)
-
Sleeve length: 6–7 in (15–18 cm)
2.2 Gauge Swatch:
Make a 4″ x 4″ (10×10 cm) swatch in your chosen stitch.
Measure how many stitches and rows fit in 4″.
Example:
Gauge: 16 stitches x 12 rows = 4″ (10 cm) using hdc
🧵 Step 3: Draft the Construction
You can construct the cardigan in one of several ways:
Option A: Top-Down Raglan (Most Common)
Made in one piece from neckline down with yoke increases.
Sections:
-
Chain for neckline
-
Use stitch markers to divide into:
Front Left / Sleeve / Back / Sleeve / Front Right -
Increase at raglan points each row (e.g., 2 dc, ch 1, 2 dc)
-
When yoke is deep enough, separate sleeves and continue body
Option B: Seamed Panels (Front, Back, Sleeves)
Create each piece separately and seam them together.
🧮 Step 4: Do the Math
Use your gauge to calculate stitch counts:
-
Multiply desired width by stitches per inch
-
Example: 16″ chest ÷ 2 = 8″ front
If gauge = 4 sts/inch: 8″ x 4 = 32 stitches per front panel
🧷 Step 5: Write the Pattern
Write the pattern row by row or round by round.
Include:
-
Materials needed (yarn brand/weight, hook, buttons)
-
Gauge swatch instructions
-
Finished measurements
-
Abbreviations used
-
Stitch count at end of rows
-
Assembly instructions (if seamed)
-
Optional embellishments (like button bands or edging)
✍ Example Snippet of a Baby Cardigan Pattern (Top-Down Raglan):
🧵 Step 6: Add Finishing Touches
-
Add a ribbed hem or edging
-
Crochet button bands and sew buttons
-
Weave in all ends
-
Block the cardigan lightly
📸 Step 7: Test & Publish the Pattern
-
Test your pattern or send it to testers
-
Add size variations (3–6 months, 6–12 months, etc.)
-
Provide diagrams or photos for clarity
-
Format it neatly in PDF or blog format
-
Share or sell your pattern on Ravelry, Etsy, or your blog
🧶 Tips for Success
-
Use stitch markers to track increases
-
Always count stitches to keep symmetry
-
Keep notes as you go to write a clean pattern
-
Babies grow fast — add a little ease to the sizing
-
Wash and block the cardigan to check real dimensions
Watch video: