 by
by Absolutely! Here’s a detailed step-by-step guide on how to make a DIY cute floral and denim pouch bag using leftover old jeans fabric. This is a fun, eco-friendly, and stylish sewing project—perfect for beginners or experienced crafters alike.
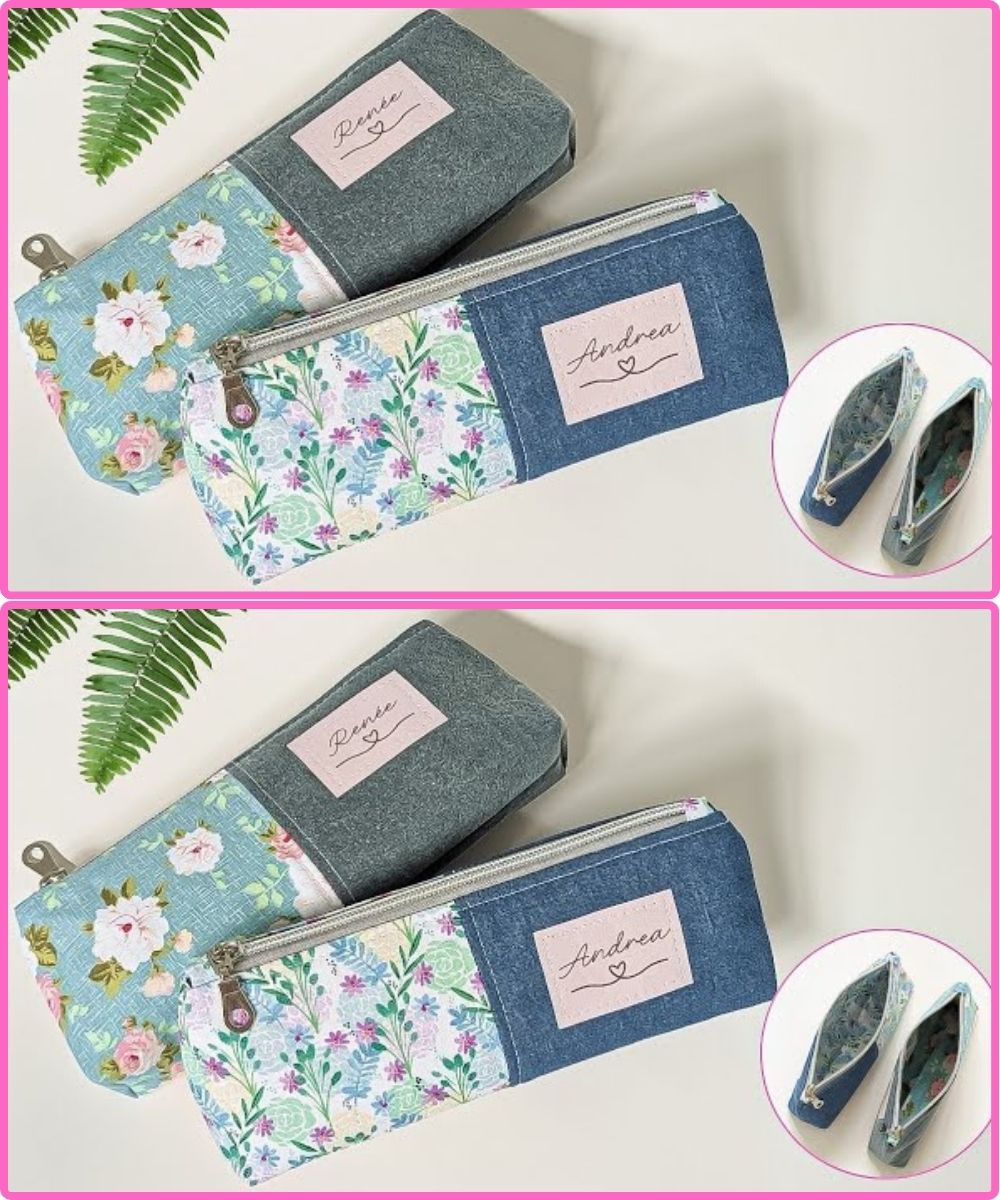
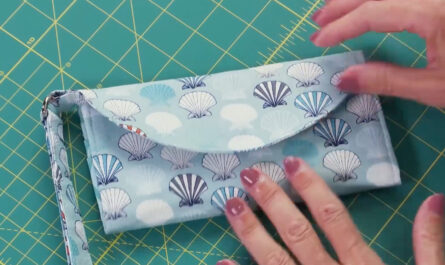
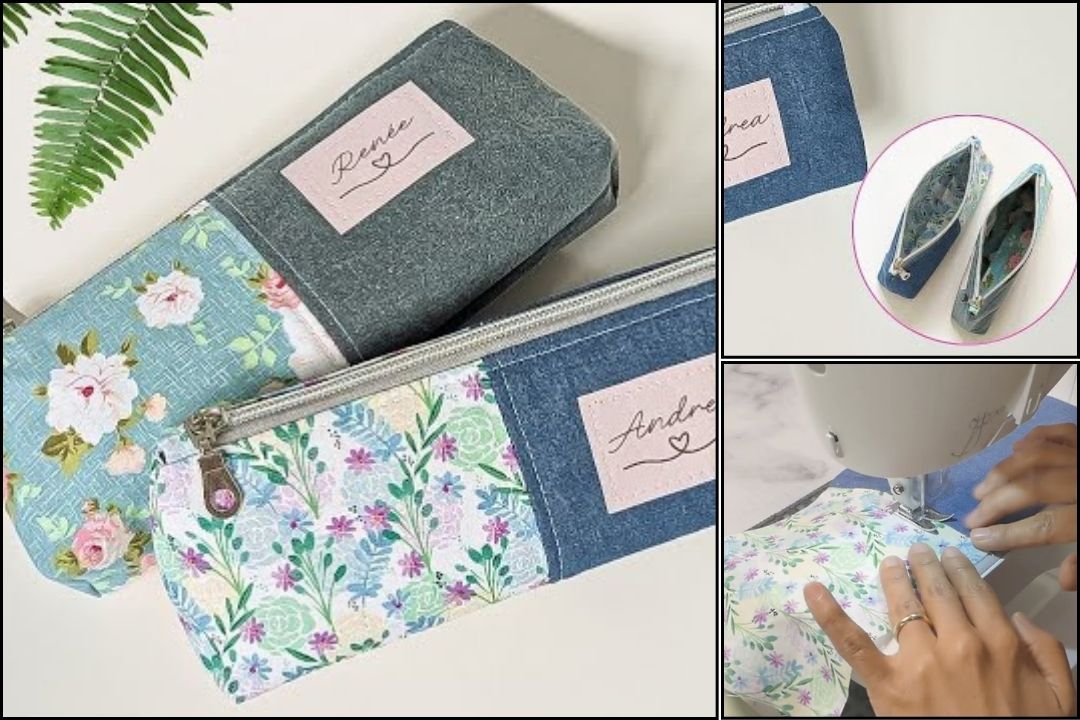
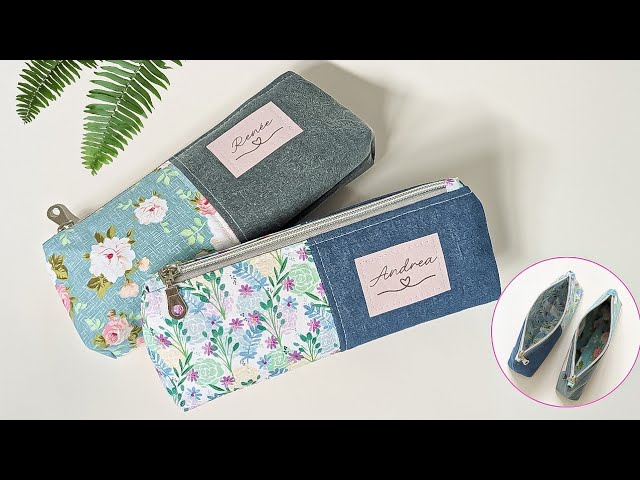
🎒 DIY Cute Floral and Denim Pouch Bag from Old Jeans
✂️ Materials You’ll Need:
-
Old jeans (preferably thick denim)
-
Floral fabric scraps (cotton or linen works well)
-
Zipper (6–8 inches long, depending on your pouch size)
-
Matching thread
-
Scissors or rotary cutter
-
Fabric chalk or pencil
-
Ruler or measuring tape
-
Sewing machine (or needle for hand-sewing)
-
Pins or fabric clips
-
Optional: Interfacing (for structure), lace trim, buttons, or patches for decoration
🧵 Step-by-Step Instructions:
1. Prepare and Cut the Fabric
-
Cut 2 rectangles of denim fabric (e.g., 8” x 6” each) — this will be the back and base of your pouch.
-
Cut 2 rectangles of floral fabric the same size (8” x 6”) — these will form the front panel and lining.
-
Optional: If you want more structure, cut and attach interfacing to the wrong side of the floral or denim pieces using an iron.
2. Create a Patchwork (Optional for Style)
-
You can sew a strip of floral fabric onto the denim to create a patchwork-style front. For example, a horizontal strip of floral (8” x 2”) across the top or center.
-
Pin and sew the floral piece to the denim with a straight stitch, right sides together, then topstitch along the seam for a neat finish.
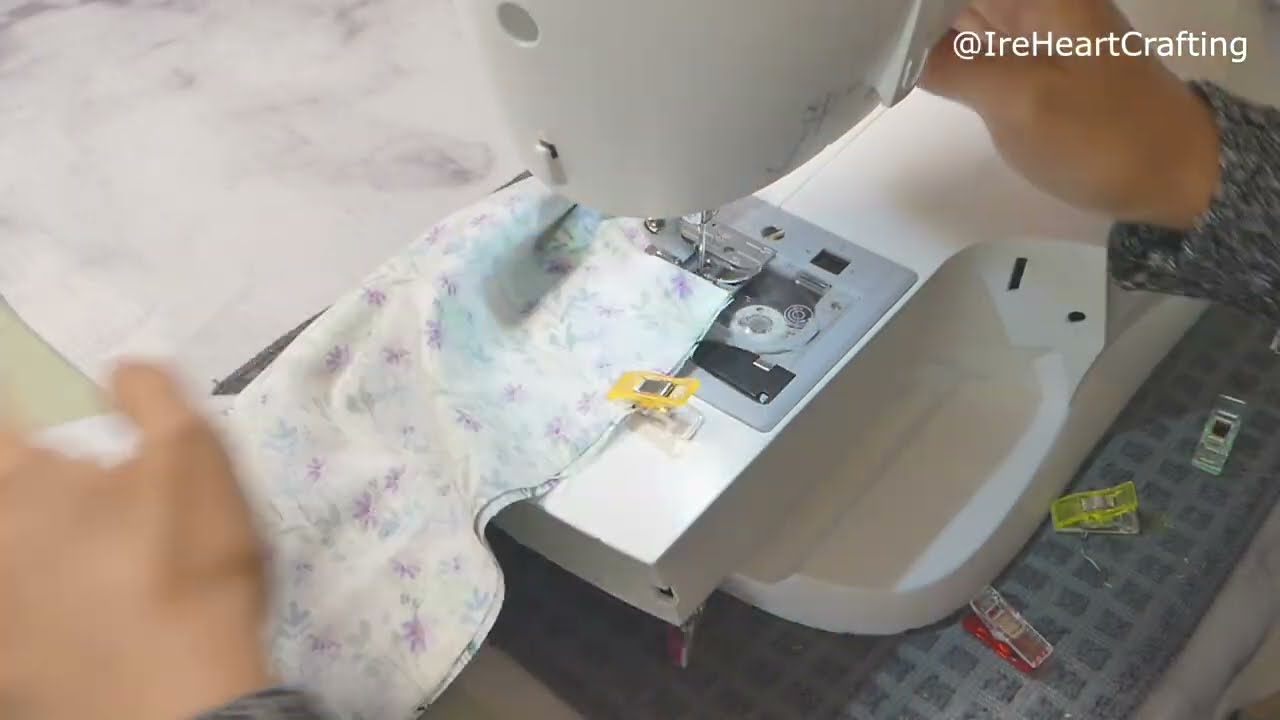
3. Attach the Zipper
-
Take one piece of denim (front side) and one piece of floral fabric (lining).
-
Place the zipper face down on the right side of the denim edge.
-
Place the floral lining piece on top, right side down, sandwiching the zipper.
-
Pin and sew along the top edge using a zipper foot.
-
Flip the fabrics so both are right side out and press with an iron.
-
Repeat for the other side of the zipper using the remaining pieces.
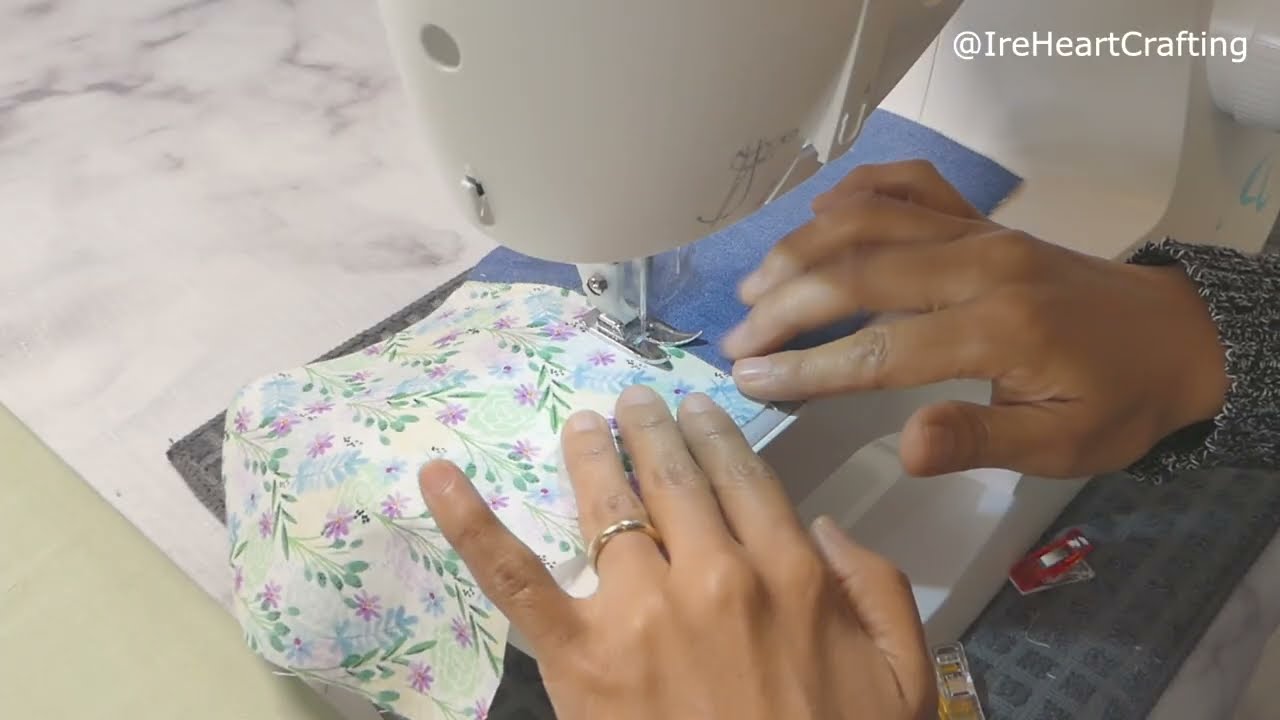
4. Sew the Bag Together
-
Open the zipper halfway (very important!).
-
Fold the bag so the right sides of the denim face each other and the right sides of the lining face each other.
-
Pin around the edges, aligning corners and seams carefully.
-
Sew all the way around the pouch, leaving a 2-inch gap in the bottom of the lining for turning.
-
Clip corners and trim excess zipper if needed.
5. Turn It Inside Out
-
Carefully turn the pouch right side out through the gap in the lining.
-
Push out the corners gently with a pencil or chopstick.
-
Sew the lining gap closed with a small straight stitch.
-
Push the lining into the pouch and press everything flat with an iron.
🌸 Optional Embellishments
-
Add lace trim, buttons, or small embroidered patches for extra flair.
-
Use fabric paint or iron-on patches to personalize your pouch.
-
Attach a wrist strap using leftover denim and a small D-ring.
🎁 Uses for Your Pouch
-
Makeup bag
-
Pencil case
-
Coin purse
-
Travel pouch
-
Handmade gift!
🧡 Final Tips:
-
You can scale the pouch up or down depending on your needs.
-
Mix and match different floral patterns for a cute cottagecore look.
-
Use a thicker needle (like a denim needle) if you’re sewing by machine.
Watch video: