 by
by Making a crochet or knitted cape is a fun and rewarding project! I’ll walk you through two approaches: one for crochet and one for knitting. These tutorials are designed to be easy, so you don’t need to be an expert to make them. I’ll focus on a basic style that’s quick to complete and beginner-friendly.

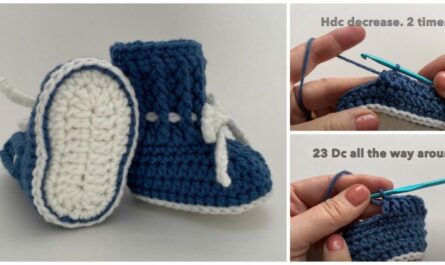
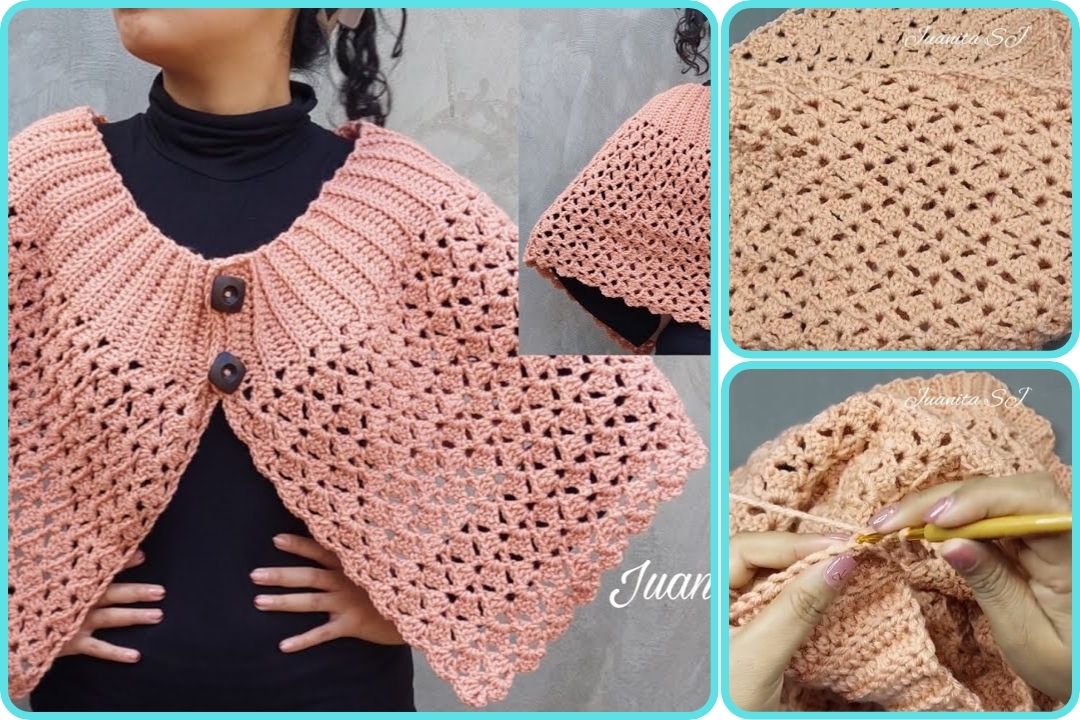
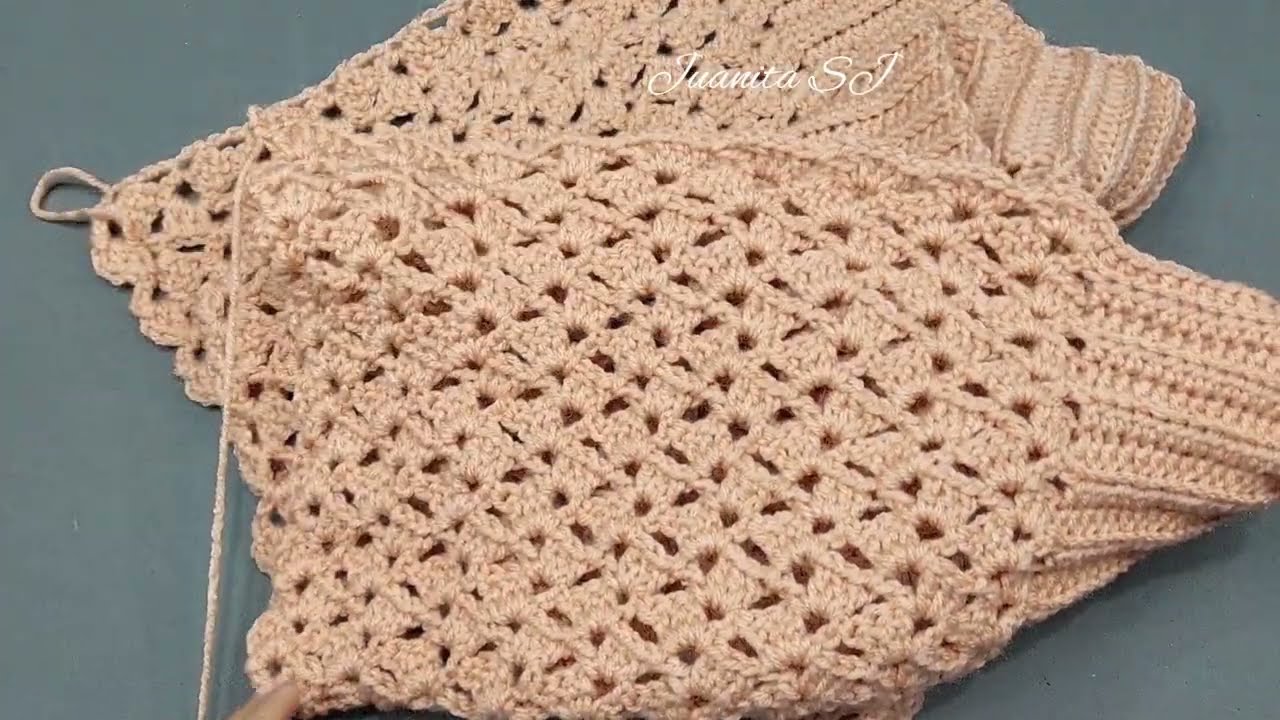
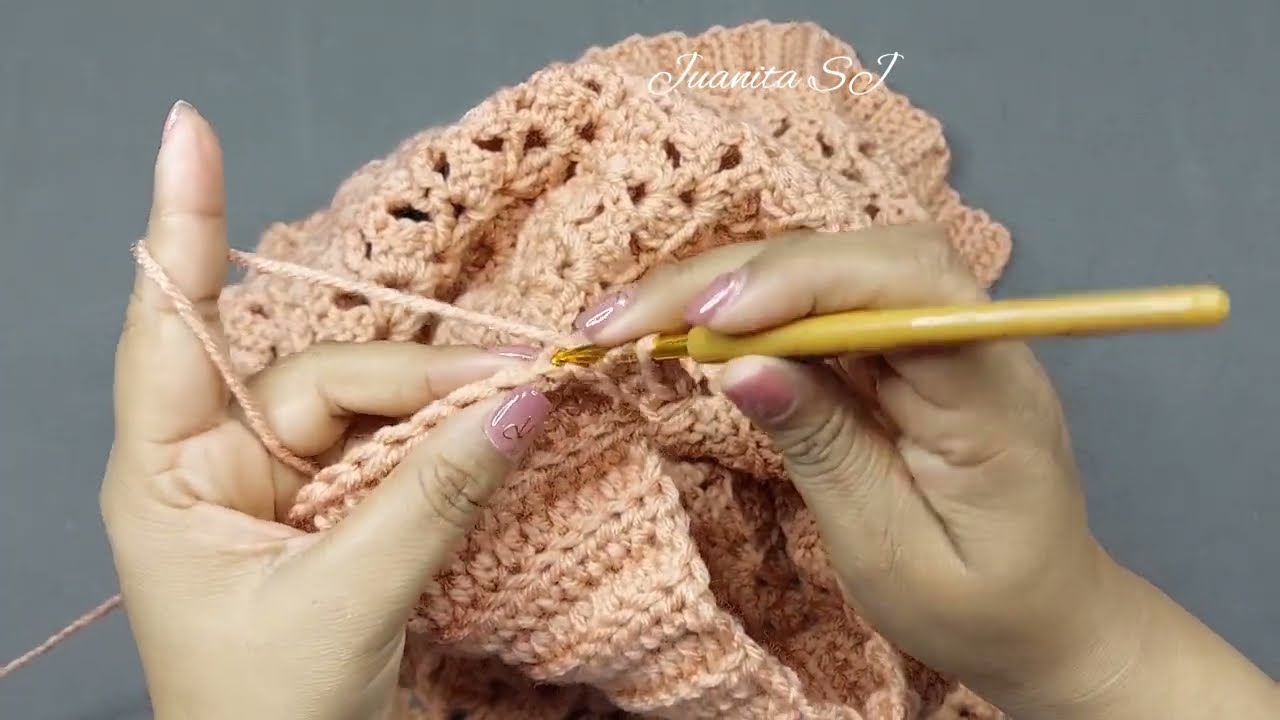
How to Crochet a Simple Cape:
Materials You’ll Need:
-
Yarn: Medium weight (Worsted weight), 4-ply yarn is perfect for beginners. About 600-800 yards (depending on size).
-
Crochet Hook: Size H/8 (5mm) or similar.
-
Scissors
-
Yarn Needle: For weaving in ends.
-
Stitch Markers (optional, but helpful).
Step-by-Step Instructions:
-
Start with a Foundation Chain:
-
Chain 80-100 (or adjust to fit your size). The number of chains depends on how wide you want your cape to be. You can use a tape measure to check the length if you want it to fit a specific size.
-
This chain will form the width of the cape. You can adjust it based on personal preference, but 90 chains is a good starting point for an average size.
-
-
Row 1: Double Crochet (DC) Row:
-
Turn your work.
-
In the 4th chain from the hook, make a double crochet (DC) stitch.
-
Continue working double crochet stitches across the row, one in each chain.
-
Turn your work when you reach the end.
-
-
Row 2: Continue with Double Crochets:
-
Turn your work again, and chain 3 (this counts as your first DC).
-
Continue making one DC in each DC from the previous row.
-
When you reach the end of the row, turn your work again.
-
-
Repeat Rows:
-
Repeat Row 2 until your cape has reached the desired length (usually 20-30 rows depending on how long you want the cape to be).
-
Keep the edges straight for a simple rectangle, or if you want a more angled cape, you can decrease stitches at the ends of each row to form a slight “V” shape.
-
-
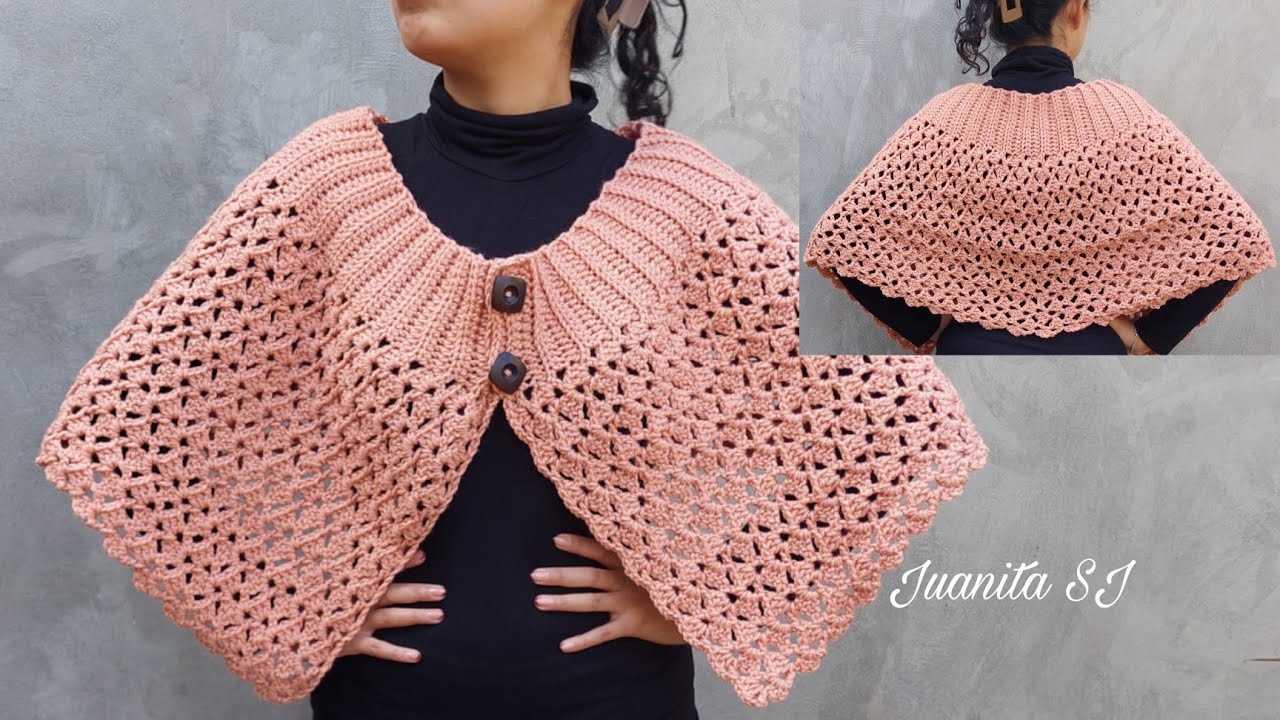
Add a Neckline:
-
After you’ve completed the body of the cape, you can leave the top section open for your head to fit through.
-
For a more finished look, you can add a border around the neckline or a simple tie to close it (e.g., make a chain and attach it to both sides of the neckline to form a tie).
-
-
Finishing:
-
When you’re happy with the size, finish off the last row with a slip stitch, cut the yarn, and pull it through the loop.
-
Weave in any loose ends with a yarn needle to tidy it up.
-
-
Optional Embellishments:
-
You can add a fringe at the bottom of the cape or along the neckline for a more stylish touch.
-
You can also add a decorative button or crochet a small flower or motif to embellish the cape.
-
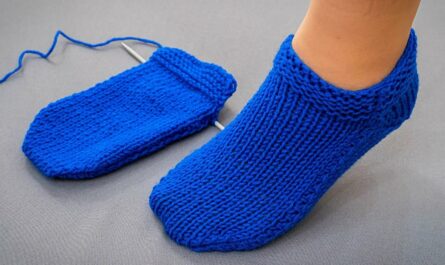
How to Knit a Simple Cape:
Materials You’ll Need:
-
Yarn: Worsted weight yarn (similar to the crochet version).
-
Knitting Needles: Size US 8 (5mm) or similar.
-
Scissors
-
Yarn Needle (for weaving in ends).
-
Stitch Markers (optional, for easier shaping).
Step-by-Step Instructions:
-
Cast On:
-
Cast on 80-100 stitches (depending on the desired width). You can adjust the number of stitches if you want a wider or narrower cape.
-
-
Knit in Garter Stitch or Stockinette Stitch:
-
Garter Stitch: Knit every row, which will create a textured, bumpy fabric.
-
Stockinette Stitch: Alternate between knit and purl rows (i.e., knit one row, purl the next), but keep in mind that stockinette can curl at the edges, so you may want to add a border (such as 3-5 stitches of garter stitch on each edge).
-
-
Continue Knitting:
-
Keep knitting until the piece is about 20-30 inches long (depending on the length of the cape you want).
-
Once the body of the cape is long enough, you will work on shaping the neck.
-
-
Shaping the Neck:
-
To create a neck hole, you can either:
-
Bind off some stitches: For example, if you want a wide neck, you could bind off 10-15 stitches from each side and knit the rest of the rows separately for the front and back portions. This will create a center opening for the neck.
-
Leave the top open: If you don’t want to shape the neck, simply leave it open and continue knitting until the whole piece is done.
-
-
-
Finishing the Cape:
-
Once the cape reaches your desired length, bind off all stitches and cut the yarn, leaving a few inches to weave in the end.
-
Weave in all the ends using a yarn needle.
-
-
Add Finishing Touches:
-
If you want a more polished look, you can add a simple border (a few rows of garter stitch around the edges).
-
You can also add a button, ribbon tie, or fringe at the bottom for extra style.
-
General Tips for Both Crochet and Knitting:
-
Fabric Type: Soft, drapey yarns work best for capes, as they allow the garment to hang nicely. Avoid too heavy or stiff yarn.
-
Fit: If you’re making a cape for a specific person, you can adjust the size of the foundation chain or number of stitches accordingly.
-
Adding Color: You can make stripes, add texture with different stitch patterns, or even create color-blocked sections for a more custom look.
-
Finishing Edges: If your cape tends to curl (especially when knitting), you can crochet or knit a simple border around the edges to prevent this.
Final Thoughts:
Both crochet and knitting can be equally rewarding for making a cape! If you’re looking for something that’s quick and easy, I recommend starting with crochet because it often works up faster. On the other hand, knitting creates a smoother, more polished finish, especially if you like the texture of knit fabrics.
Would you like to try one of these techniques, or do you have any preferences between the two?
Watch video: