 by
by Certainly! Here’s a detailed step-by-step guide on how to make a DIY tote bag (saco de bricolage). This is a beginner-friendly sewing project, perfect for creating reusable, stylish, and functional bags.
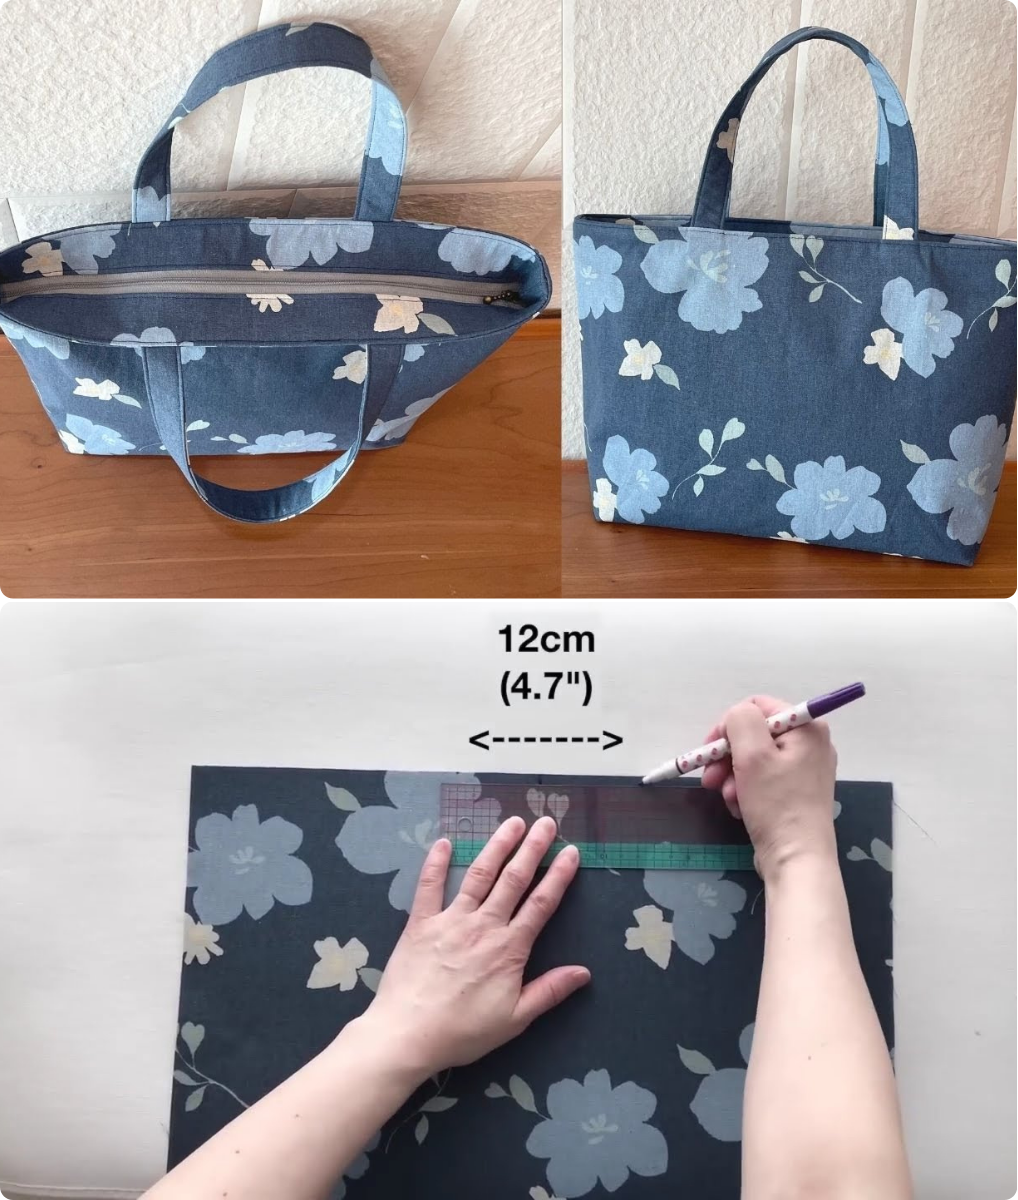
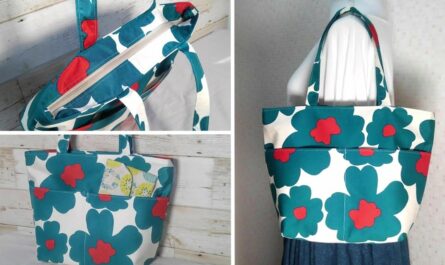
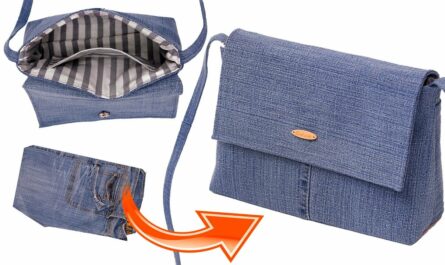
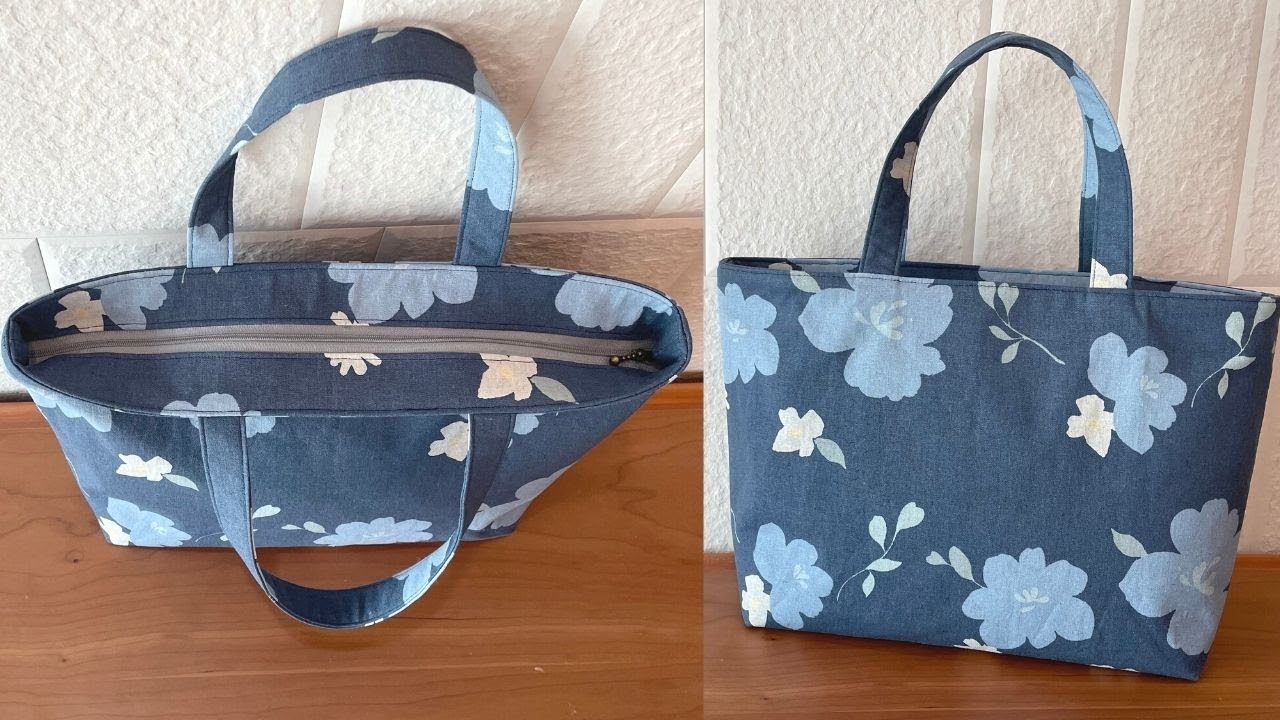
👜 How to Make a DIY Tote Bag (Saco de Bricolage)
✂️ Materials You’ll Need:
-
Fabric: Sturdy cotton, canvas, or denim (1 yard/metre)
-
Thread: Matching or contrasting
-
Straps: Cotton webbing or same fabric (approx. 1 meter)
-
Scissors or rotary cutter
-
Pins or fabric clips
-
Measuring tape or ruler
-
Sewing machine (or needle if sewing by hand)
-
Iron (optional, for crisp edges)
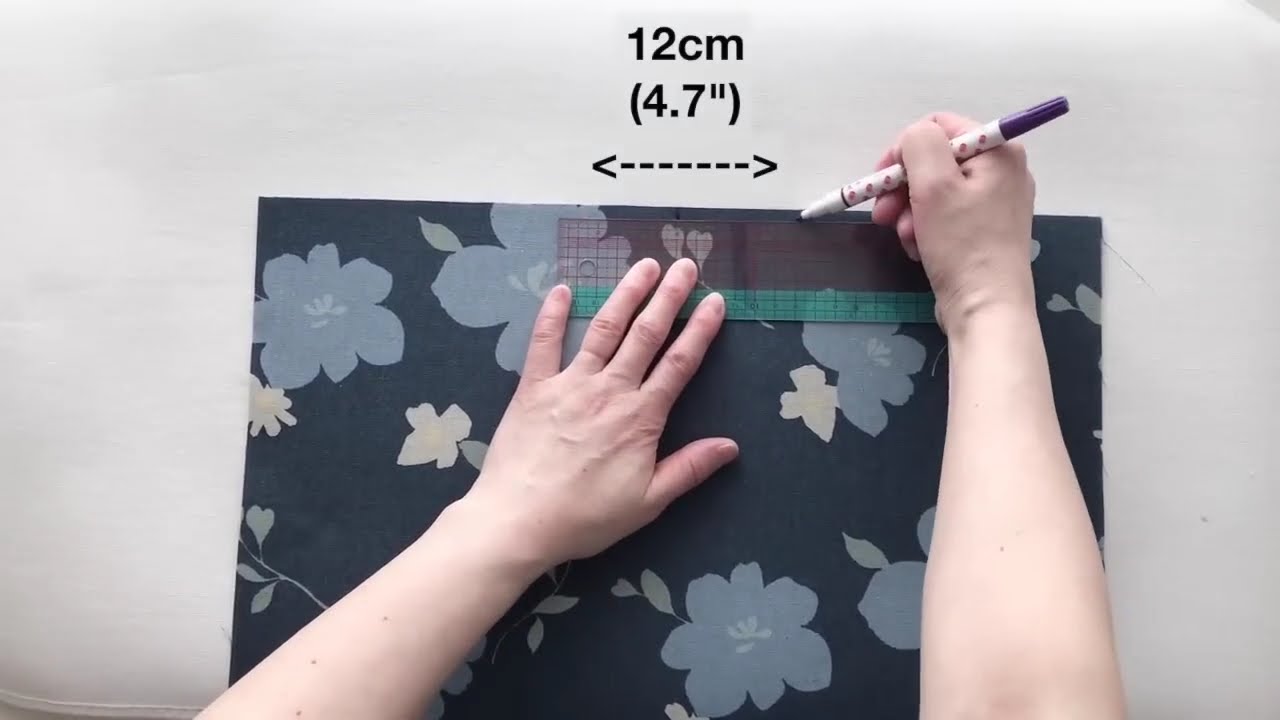
📏 Step 1: Cut the Fabric
For a Standard Tote Bag:
-
Bag Body: Cut two rectangles, each 15″ x 16″ (38 x 40 cm)
-
Handles/Straps: Cut two pieces of webbing or fabric, each 20–26″ (50–66 cm) long
Optional: You can add a lining (cut the same as the bag body) for a more professional finish.

🪡 Step 2: Prepare the Handles
If using fabric straps:
-
Cut strips 4″ wide and 20–26″ long.
-
Fold each strip in half lengthwise (like a hot dog), right sides facing in.
-
Sew along the long edge.
-
Turn it right side out using a safety pin or turning tool.
-
Press flat with an iron.
🧵 Step 3: Sew the Bag Body
-
Place the two body pieces right sides together.
-
Pin or clip along the sides and bottom.
-
Sew with a 1/2″ (1.3 cm) seam allowance.
-
Optionally, zigzag or serge the edges to prevent fraying.
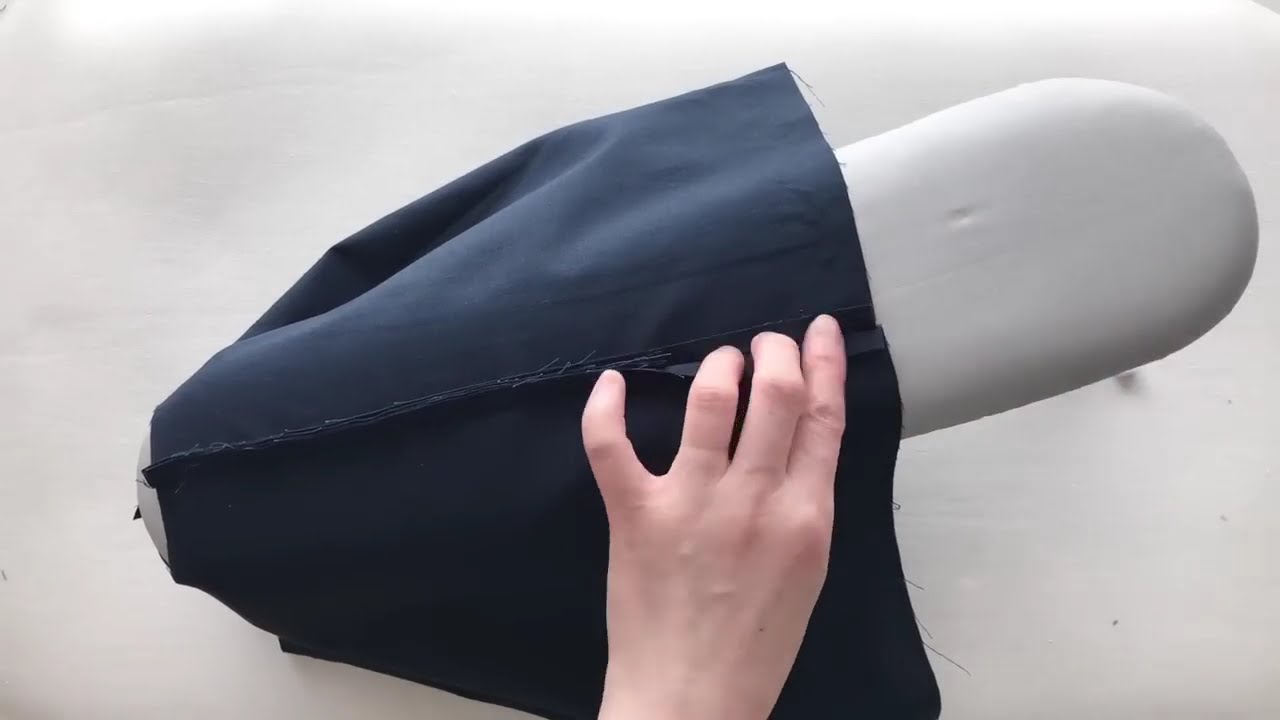
🧼 Step 4: Create a Boxed Bottom (Optional)
This gives the bag depth:
-
At each bottom corner, pinch the fabric so that the side seam and bottom seam align, forming a triangle.
-
Measure 2″ (5 cm) from the tip and mark a straight line.
-
Sew along the line and cut off the excess triangle.
-
Repeat for the other corner.
📎 Step 5: Attach the Handles
-
Turn the bag right side out.
-
Fold the top edge of the bag over about 1″ (2.5 cm) and press.
-
Fold again to hide the raw edge (another 1″), press again.
-
Place the ends of each strap inside the folded hem, about 3″ (7.5 cm) from each side seam.
-
Pin in place.
-
Sew around the top edge of the bag, close to the fold, and again near the top edge to secure the straps.
🌟 Optional Additions:
-
Pocket: Sew a small rectangle on the inside or outside before assembling the bag body.
-
Button or Snap: For a closure.
-
Fabric Paint or Embroidery: Decorate your tote!
✅ Final Tips:
-
Wash and iron fabric before cutting.
-
Reinforce strap attachment with a box or “X” stitch for durability.
-
Use thicker fabric for shopping totes or beach bags.
Watch video: