 by
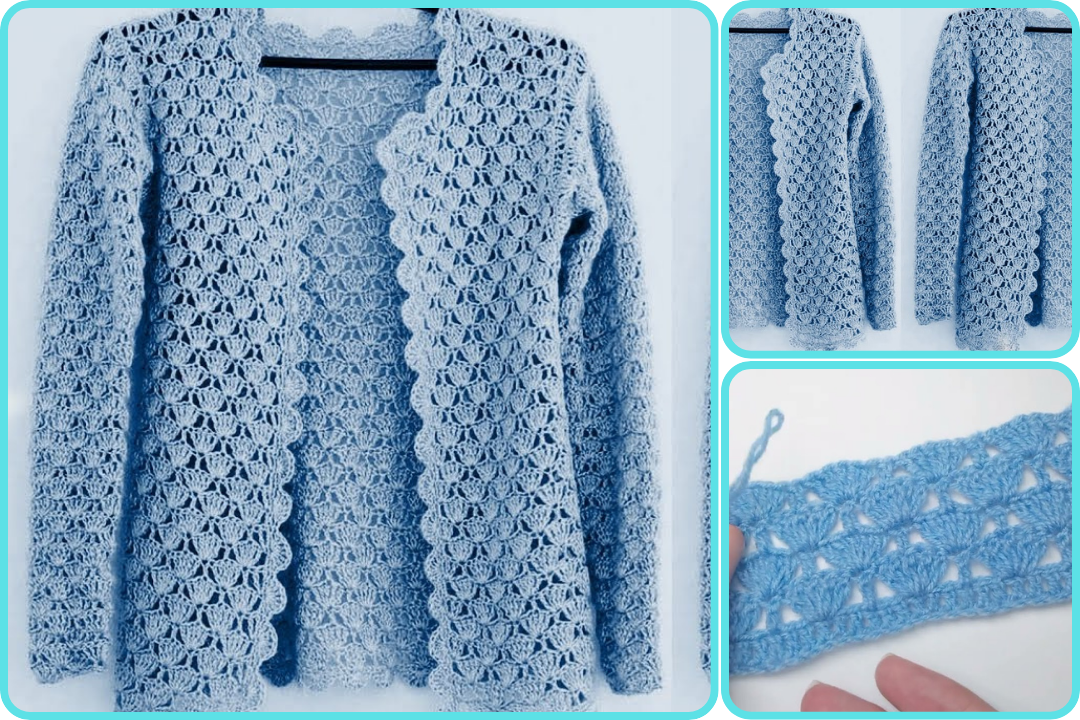
by Absolutely! Here’s a detailed and beginner-friendly guide for How to Make the Most Easy & Beautiful Crochet Women’s Sweater Vest/Top — a free and stylish pattern you can try even if you’re new to crochet. This is a great layering piece for spring, fall, or cool summer evenings.
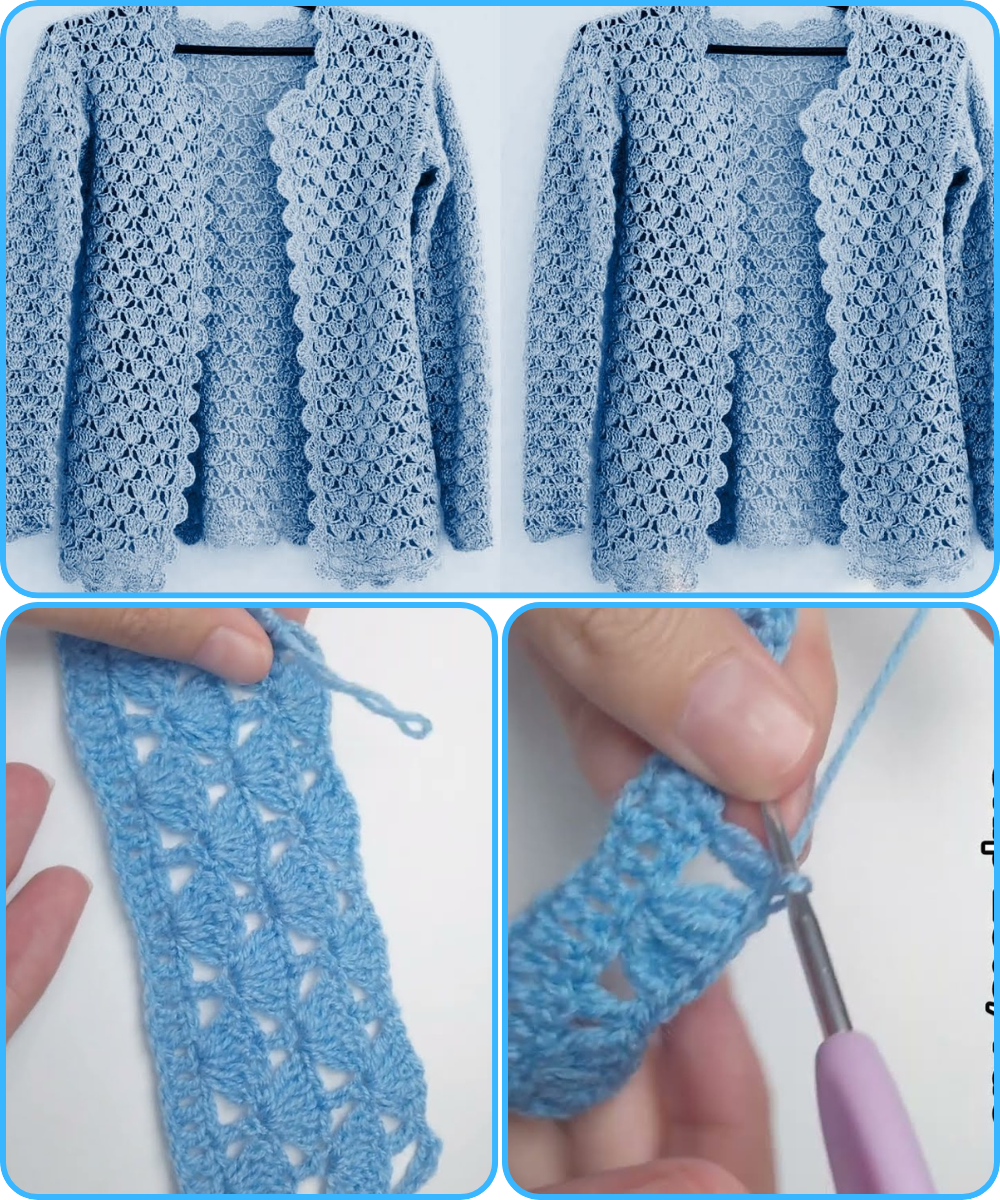
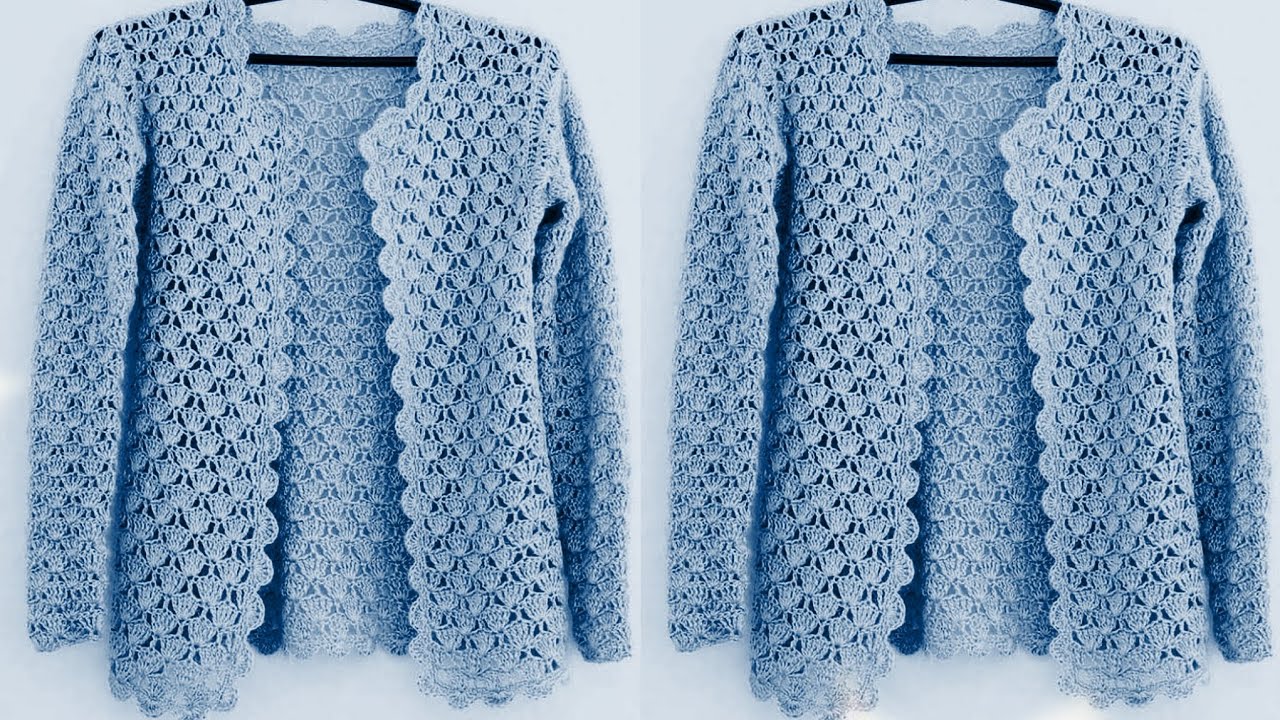
🧶 How to Make the Most Easy & Beautiful Crochet Women’s Sweater Vest Top
Type: Sweater Vest / Sleeveless Top
Skill Level: Easy – Beginner Friendly
Style: Modern boxy vest / minimalistic top
Time Required: 6–10 hours depending on your speed
🌟 Features:
✅ No shaping (no increases or decreases)
✅ Worked in simple panels (2 rectangles)
✅ Beginner-friendly stitches
✅ Easily customizable (length, width, neckline)
✅ Optional ribbing and edging
🧵 Materials Needed:
| Item | Description |
|---|---|
| 🧶 Yarn | Worsted weight (Category 4) or DK weight (Category 3) cotton or acrylic yarn (approx. 400–800g depending on size) |
| 🪝 Hook | 4.0 mm to 5.5 mm (depending on yarn and desired drape) |
| 🧷 Stitch Markers | Optional, to mark armholes or neckline |
| ✂️ Scissors | For trimming |
| 🪡 Yarn Needle | For seaming and weaving in ends |
| 📏 Tape Measure | To check your gauge and dimensions |
📐 Sizing Notes:
This is a boxy, oversized-style vest. You can follow these approximate panel measurements or customize to your own:
| Size | Width (each panel) | Height |
|---|---|---|
| S-M | 18″–20″ | 20″–22″ |
| L-XL | 22″–24″ | 22″–24″ |
| XXL+ | 26″–28″ | 24″+ |
🔄 Step-by-Step Crochet Vest Top Instructions
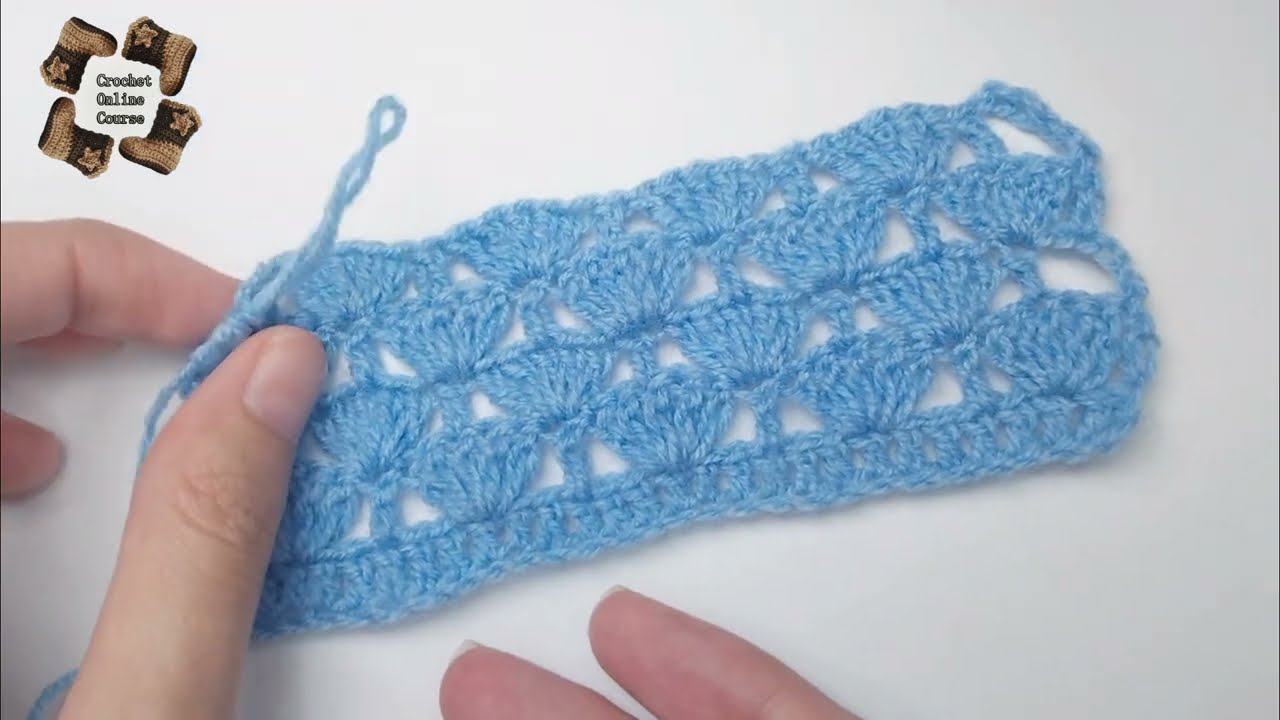
🧩 Step 1: Choose Your Stitch
For absolute ease, try one of these:
-
Double Crochet (dc) – Classic look, works up fast
-
Half Double Crochet (hdc) – Tighter than dc, more texture
-
Granny Stitch (3-dc clusters) – Stylish & breathable
-
Moss Stitch (sc + ch-1) – Beginner friendly & textured
Example used here: Half Double Crochet (hdc)
🧶 Step 2: Make Two Panels (Front & Back)
Foundation Chain:
-
Chain to the width you want (e.g., chain 60 for approx. 18–20″ width depending on your gauge).
Rows:
-
Row 1: Hdc in 2nd chain from hook and across. Turn.
-
Row 2: Ch 1, hdc across. Turn.
-
Repeat Row 2 until the length reaches your desired size (e.g., 20–22″).
Make two identical panels.
🪡 Step 3: Seam the Shoulders
-
Lay panels on top of each other (right sides facing).
-
Seam top 4–6 inches on each side for shoulders.
-
Leave the middle (8–10 inches) open for the neckline.
🪢 Step 4: Seam the Sides
-
From the bottom up, seam sides up to desired armhole depth.
-
Standard armhole: leave 6–8 inches unseamed at the top.
Use whip stitch or slip stitch to join. Turn inside out when done.
💫 Step 5: Add Edging (Optional but beautiful!)
Neckline & Armholes:
-
Attach yarn and work one round of sc, hdc, or reverse sc around for a clean finish.
Bottom Ribbing (Optional):
-
Attach yarn at the bottom.
-
Ch 8, sc in back loops only (BLO) to make a ribbing strip.
-
Sl st to bottom edge as you go across.
🎨 Customization Ideas:
| Option | Description |
|---|---|
| 🍂 Colors | Make striped panels or color block front and back |
| 🎀 Fit | Add waist shaping with a belt or tie |
| 🧶 Texture | Use textured stitches like lemon peel, waffle, or alpine |
| 🧵 Buttons | Add faux or real buttons to one shoulder for detail |
📏 Gauge (important for sizing)
-
4” x 4” in hdc = approx. 14 stitches x 10 rows (adjust hook if needed)
✅ Tips for Success
-
Always block your panels before joining for the best drape.
-
If using cotton yarn, remember it stretches less than acrylic.
-
Try it on before seaming completely – easy to adjust!
📺 Want a Visual Tutorial?
Search on YouTube for:
“Easy Crochet Sweater Vest for Beginners | Free Pattern”
Creators like Hayhay Crochet, TCDDIY, or MadeWithLoveByGigi often post simple, trendy tutorials.
Watch video: