 by
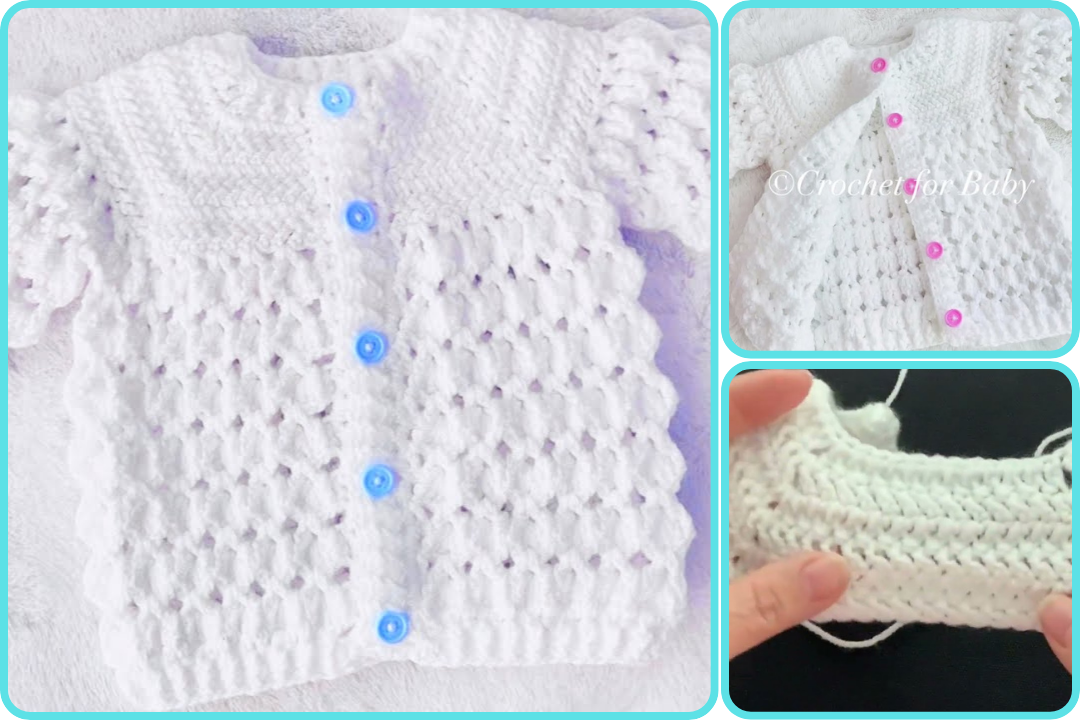
by Here’s a detailed guide on how to make crocheted baby jackets, ideal for beginner to intermediate crocheters. The process includes selecting the right materials, choosing a pattern, and executing the steps to complete a soft, cozy baby jacket.
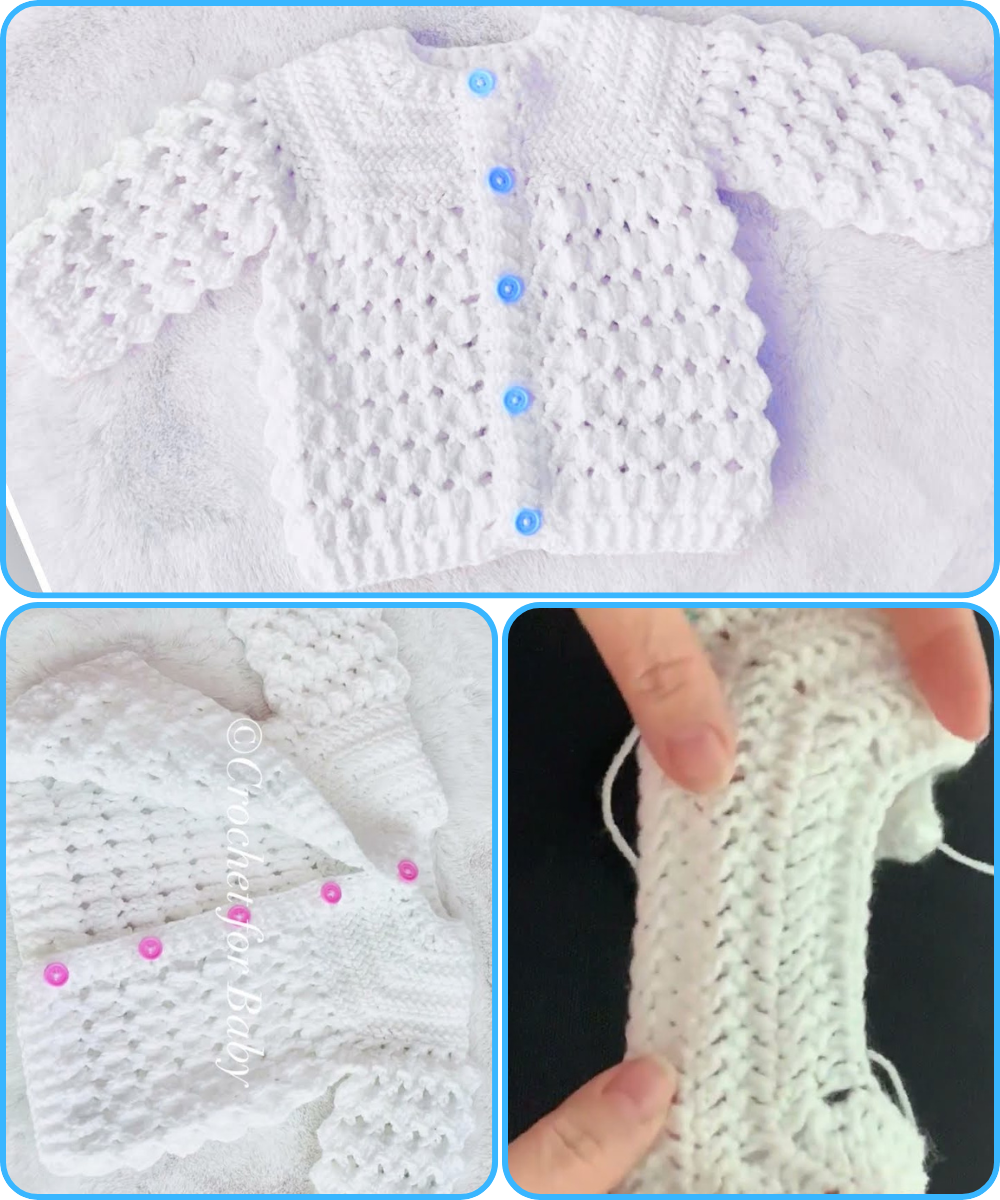
🧶 How to Make Crocheted Baby Jackets – Step-by-Step Guide
🔹 1. Gather Materials and Tools
You will need:
-
Yarn: Use soft, baby-friendly yarn like cotton or acrylic. Look for “baby” labeled yarn, which is hypoallergenic and machine washable. Size #3 (DK/light worsted) or #4 (worsted) weight is common.
-
Crochet hook: Usually between 3.5 mm (E) and 5 mm (H), depending on yarn thickness. Check the yarn label for recommendations.
-
Scissors
-
Tapestry needle (for weaving in ends)
-
Stitch markers (optional but helpful)
-
Buttons or ribbon (if your pattern calls for closures)
-
Measuring tape
🔹 2. Choose a Pattern
There are three popular construction styles for baby jackets:
-
Top-down (raglan) – Starts at the neck, worked in one piece.
-
Bottom-up – Pieces are worked separately and sewn together.
-
Granny square/cardigan style – Easy modular pieces, great for beginners.
Free and paid patterns can be found on:
-
Ravelry
-
Etsy
-
Yarn company websites (Lion Brand, Red Heart, etc.)
-
YouTube tutorials (e.g., “Crochet Baby Jacket Tutorial for Beginners”)
🔹 3. Take Measurements / Choose Size
Standard baby sizes:
-
Newborn: Chest 14–16″, length 10–12″
-
3-6 months: Chest 16–17″, length 11–13″
-
6-12 months: Chest 17–18″, length 12–14″
Most patterns specify the size, so choose accordingly.
🔹 4. Make a Gauge Swatch
Crochet a 4″x4″ swatch using the stitch used in the pattern.
-
Match the stitch count and row count.
-
Adjust hook size if needed to meet gauge.
This ensures the final jacket fits as expected.
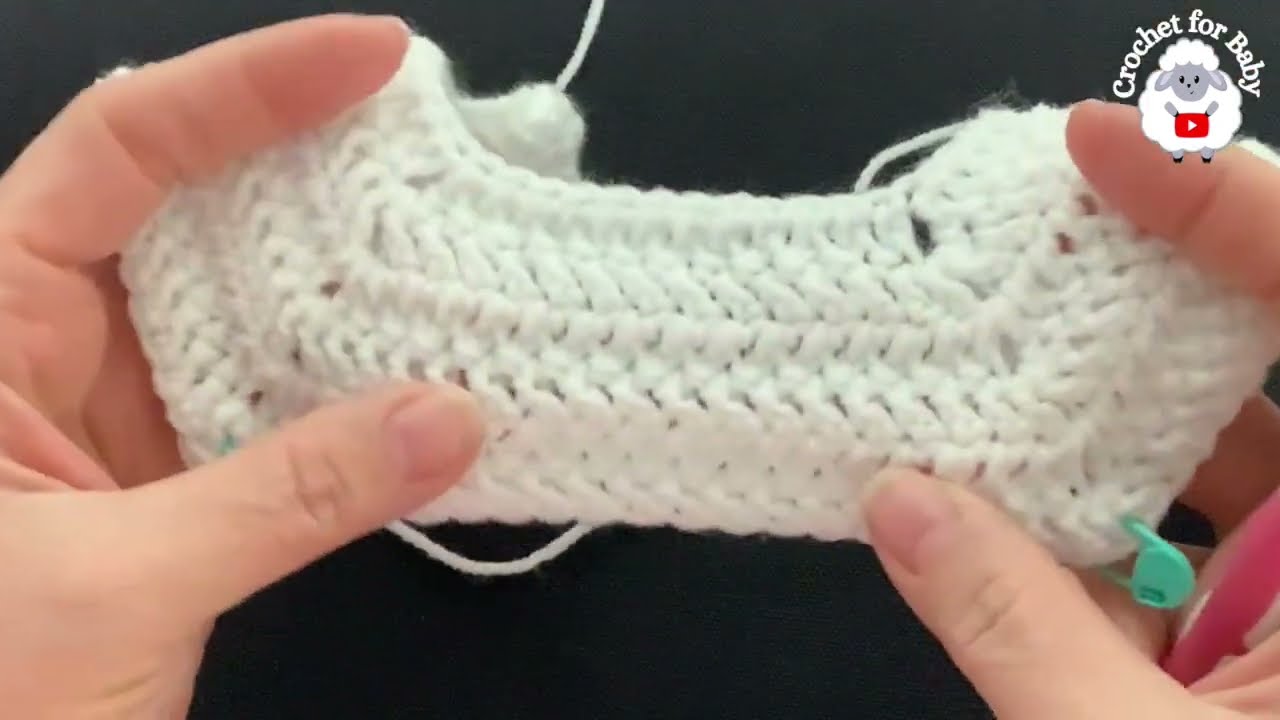
🔹 5. Start Crocheting the Jacket
A. Top-Down Raglan Method (common for jackets)
-
Yoke:
-
Begin with a foundation chain or foundation double crochet.
-
Work rows with increases at four “raglan” points (shoulders).
-
Create sleeve separations after yoke reaches chest width.
-
-
Body:
-
Continue crocheting in rows or rounds for the torso.
-
Add bottom edging or trim if desired.
-
-
Sleeves:
-
Rejoin yarn at armholes.
-
Work in the round or rows to the desired sleeve length.
-
Add ribbing or cuff if desired.
-
-
Finishing touches:
-
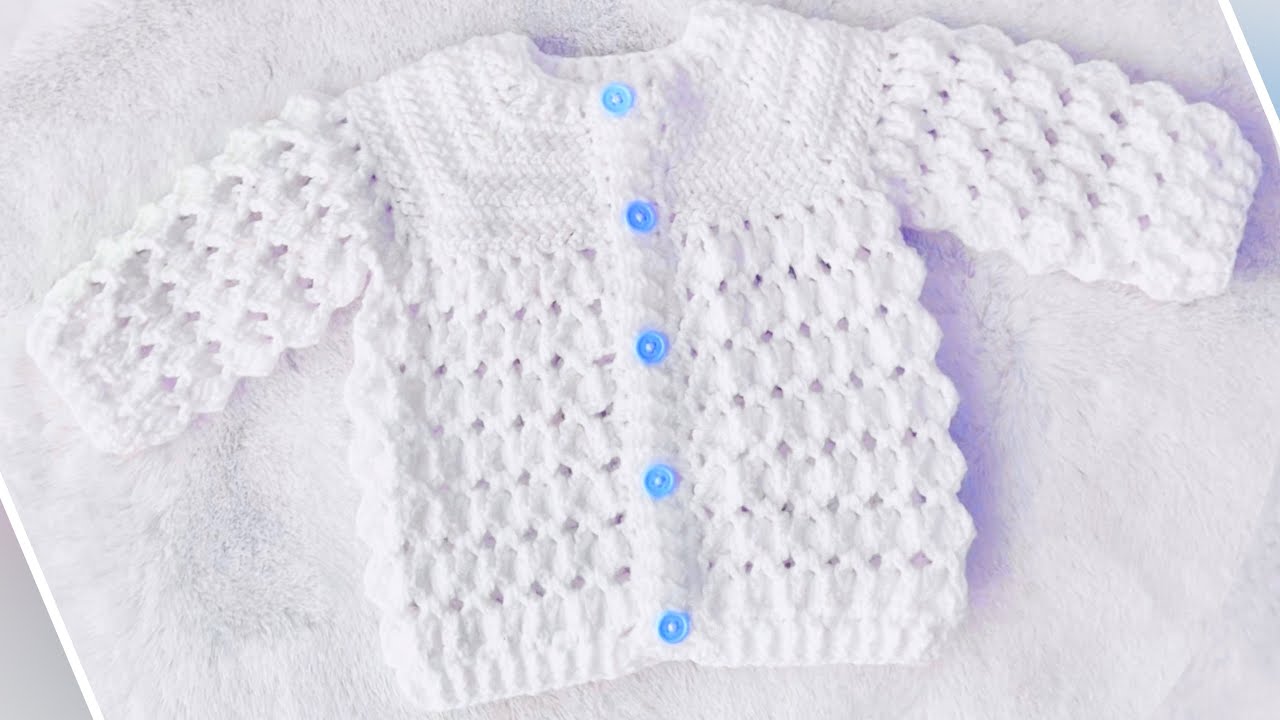
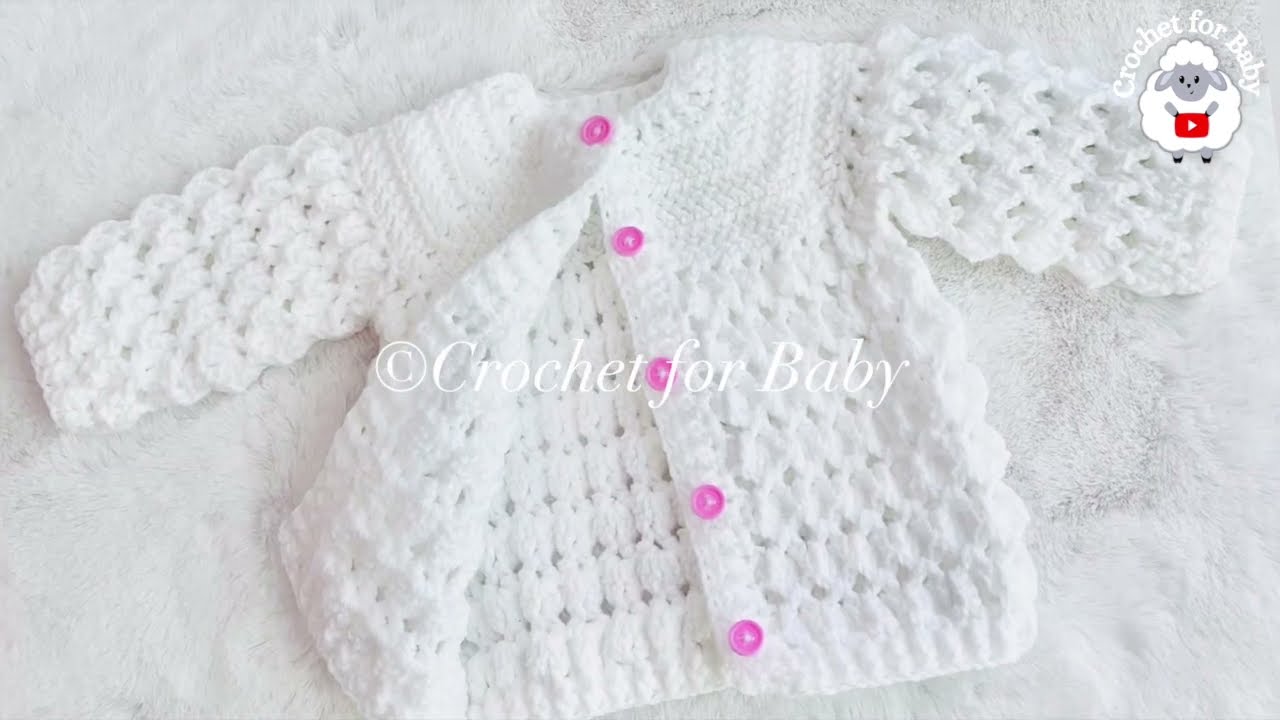
Add borders: single crochet, shell stitch, or picot.
-
Add buttonholes and sew on buttons or fasten with ties/ribbon.
-
Weave in all ends neatly.
-
🔹 6. Tips for a Professional Finish
-
Steam block or wet block the finished piece to even out stitches.
-
Sew buttons securely with matching thread or yarn.
-
Choose pastel or soft colors – baby-safe dyes.
-
Always check for loose yarn ends or embellishments that could pose a hazard.
🧵 Sample Simple Pattern Outline (Top-Down)
📺 Want to Watch Instead?
Search YouTube for:
-
“Easy Baby Jacket Crochet Tutorial”
-
“Top Down Baby Cardigan Crochet”
✅ Final Checklist
-
Yarn and hook ready
-
Pattern chosen
-
Gauge swatch done
-
Yoke and body crocheted
-
Sleeves finished
-
Buttons attached
-
All ends woven in
Watch video: