 by
by Sure! Here’s a detailed step-by-step guide on how to make sweet and easy crochet shoes, ideal for beginners and suitable for cozy home slippers or soft baby shoes. These instructions are customizable depending on size (baby, toddler, or adult) and style.
🧶 How to Make Sweet and Easy Crochet Shoes
🧵 Materials Needed:
-
Worsted weight yarn (cotton or acrylic is ideal for softness and flexibility)
-
Crochet hook (typically 4.0 mm or 5.0 mm, check your yarn label)
-
Yarn needle (for sewing and weaving in ends)
-
Stitch markers (optional but helpful)
-
Scissors
-
Non-slip soles or fabric paint (optional, for grip)

🧷 Basic Crochet Skills You Need:
-
Chain stitch (ch)
-
Slip stitch (sl st)
-
Single crochet (sc)
-
Half double crochet (hdc)
-
Double crochet (dc)
-
Magic ring (for seamless starts)
👣 Step-by-Step Instructions
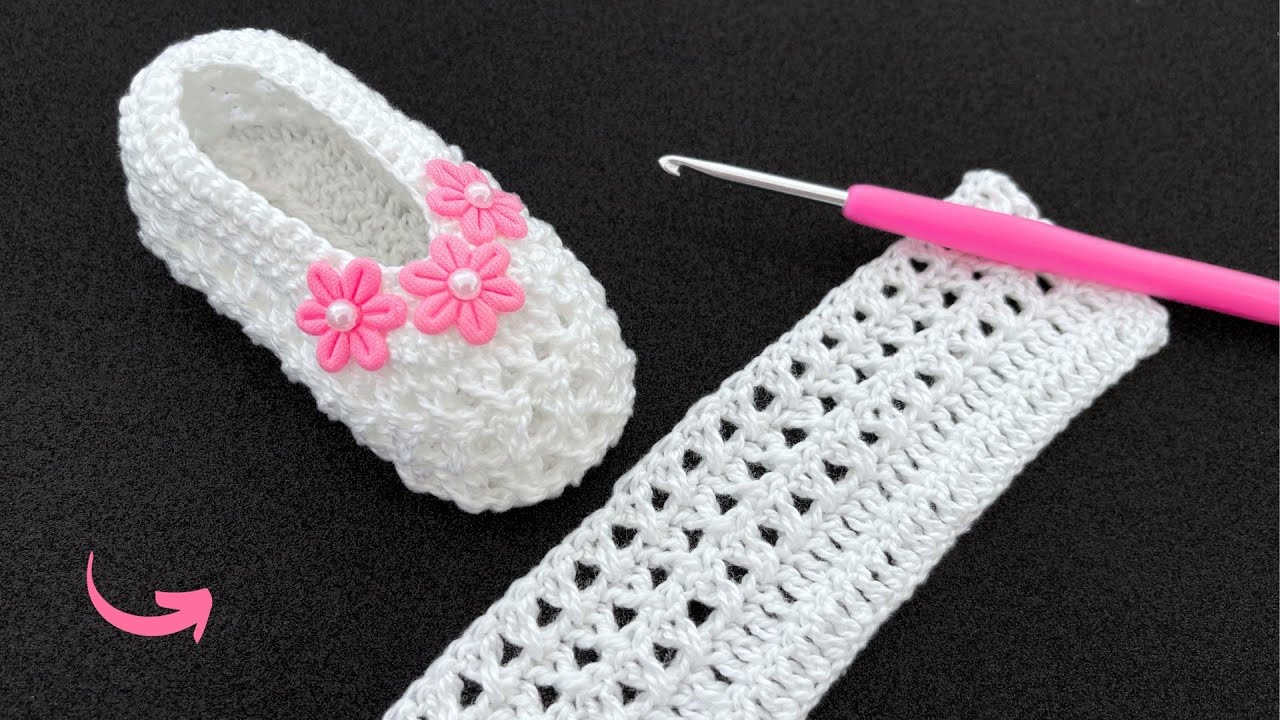
🟣 STEP 1: CROCHET THE SOLE
This forms the base of the shoe. Here’s a general pattern for a baby/toddler size sole:
➡️ You can adjust the number of rounds to fit a larger foot. Stop increasing when the sole is the desired length.
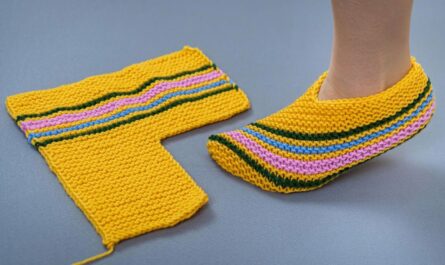
🔵 STEP 2: BUILD THE SIDES (THE SHOE BODY)
Once the sole is complete, work around it to form the sides.
🔴 STEP 3: SHAPE THE TOP (TOE COVER)
Here we shape the top of the shoe, starting at the toe.
➡️ You can create a more elegant rounded or slipper-like finish by adding hdc or dc in place of sc on the toe rows.
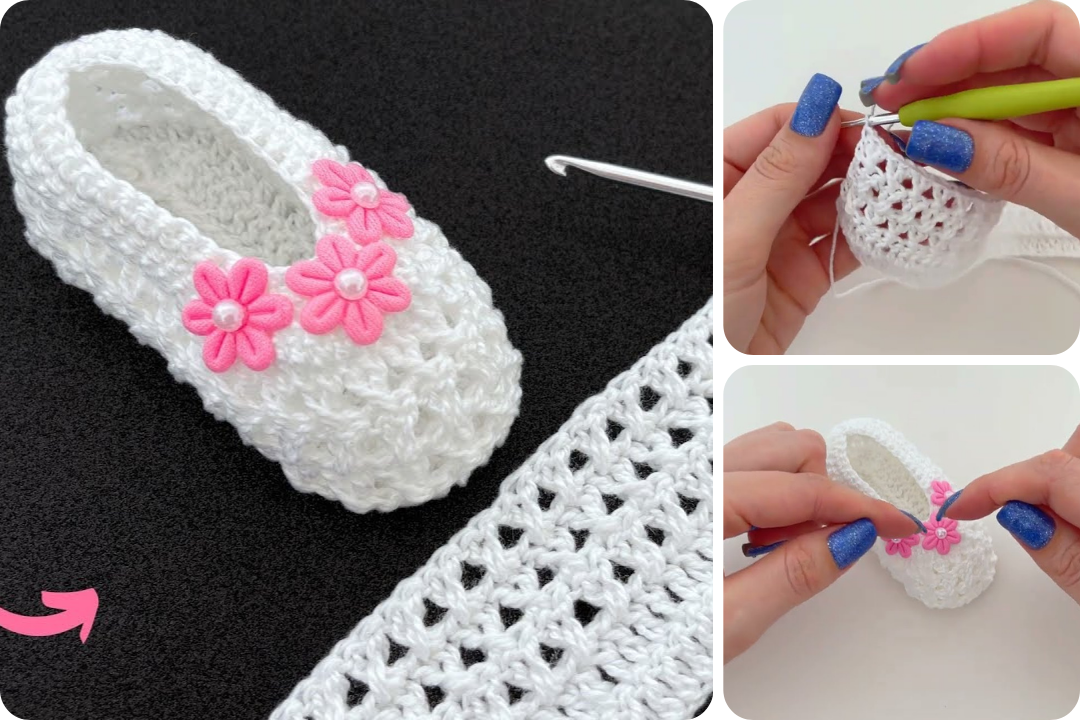
🟡 STEP 4: JOIN AND FINISH
-
Use your yarn needle to sew the top piece (toe cover) down to the sides of the shoe.
-
Weave in all loose ends securely.
-
Add a decorative edging: You can sc around the opening for a clean finish.
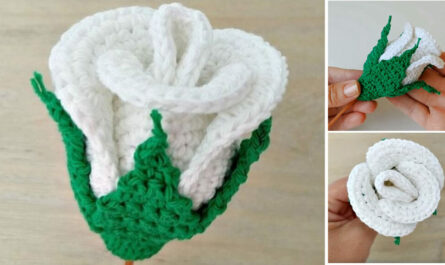
🧸 OPTIONAL: ADD EMBELLISHMENTS
-
Buttons, bows, pom-poms, or crochet flowers
-
Embroider a name or initials
-
Add a strap and button for a Mary Jane style
🧼 CARE TIPS:
-
Wash gently in cold water
-
Air dry flat to maintain shape
📝 TIPS FOR CUSTOMIZATION:
-
Change yarn: Use plush or velvet yarn for winter warmth.
-
Adjust size: Add more increase rounds on the sole for bigger sizes.
-
Add soles: Attach felt or leather pieces to the bottom with fabric glue for durability.
WATCH VIDEO: