 by
by Here’s a detailed, beginner-friendly tutorial for making easy socks or slippers out of leftover yarn. This project is quick, practical, and perfect for beginners.
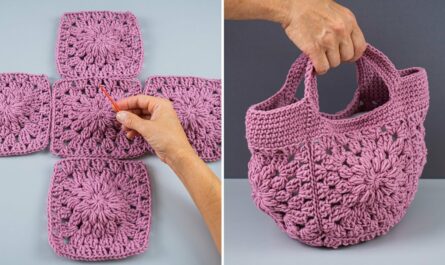
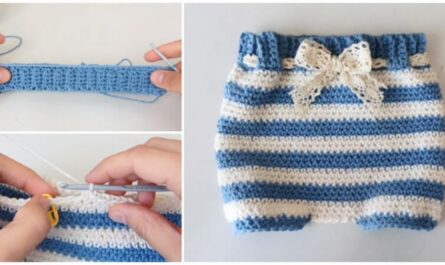
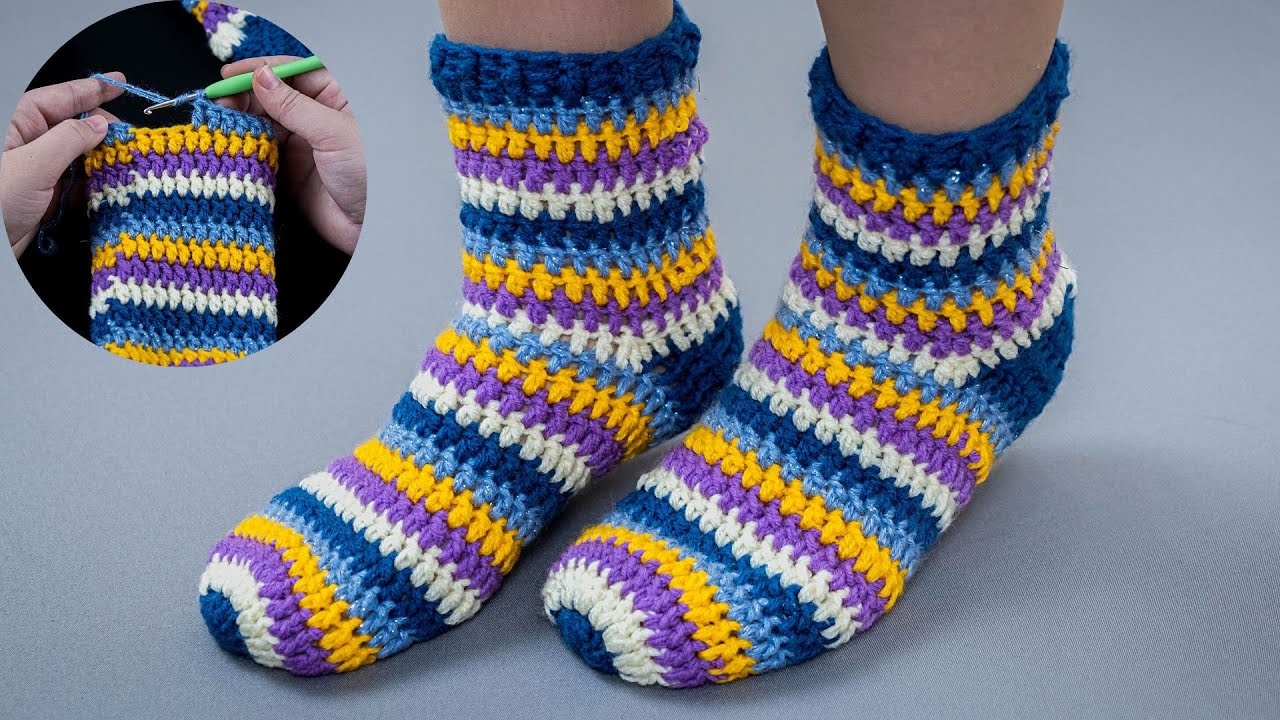
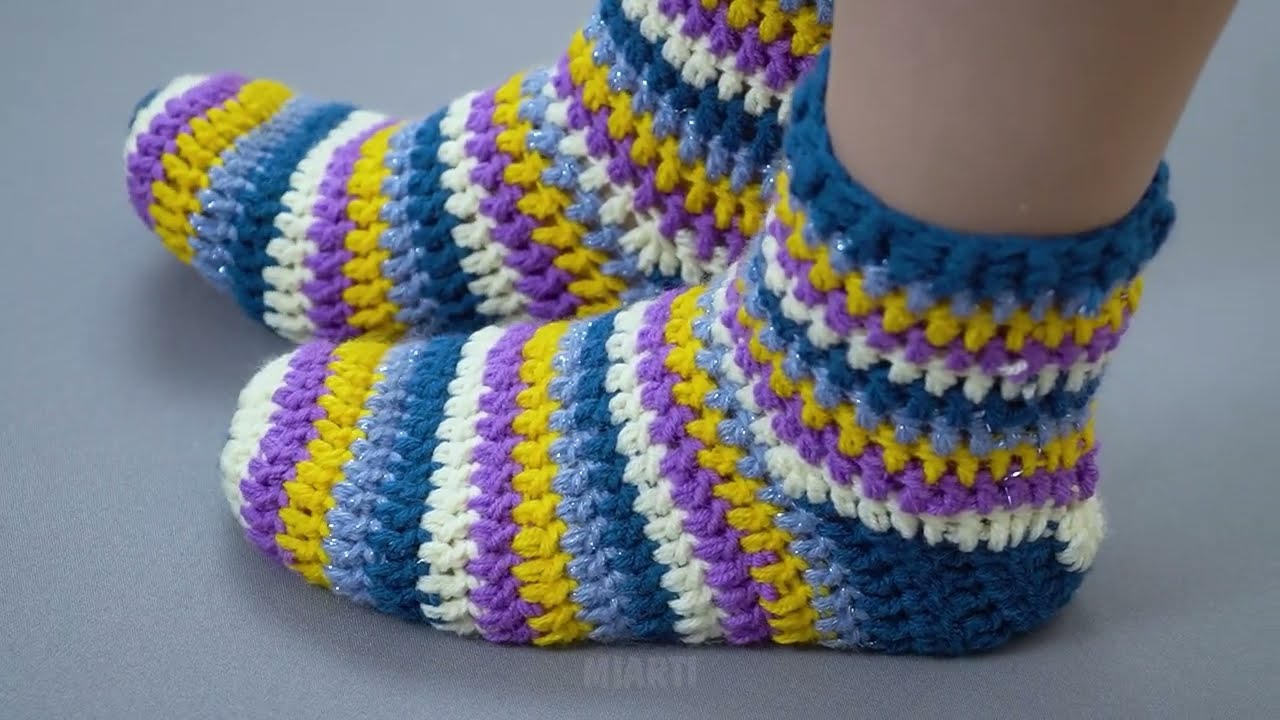
How to Make Easy Socks/Slippers Out of Leftover Yarn – A Beginner-Friendly Tutorial
If you have leftover yarn from previous projects, you can turn it into warm, cozy socks or slippers that are perfect for home wear. This tutorial uses basic knitting techniques, works on two needles, and requires minimal shaping, making it ideal for beginners.
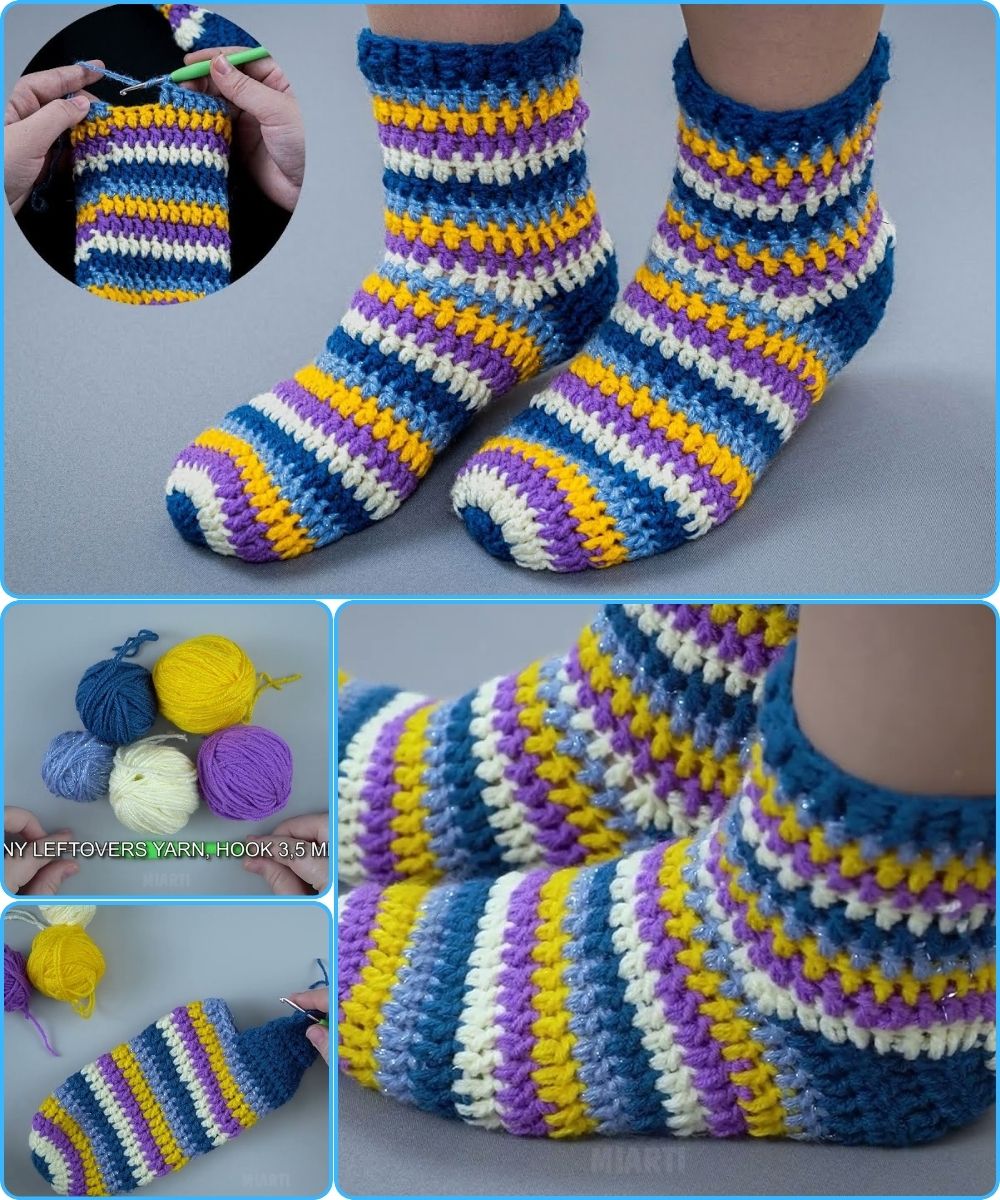
Using scraps of yarn is eco-friendly, economical, and fun, and you can mix colors for a unique, striped effect.
Why These Socks/Slippers Are Great 🧶
-
✔ Uses leftover yarn efficiently
-
✔ Simple, beginner-friendly
-
✔ Quick to knit in one or two evenings
-
✔ Seamless or minimal-seam construction for comfort
-
✔ Perfect for gifts or personal use
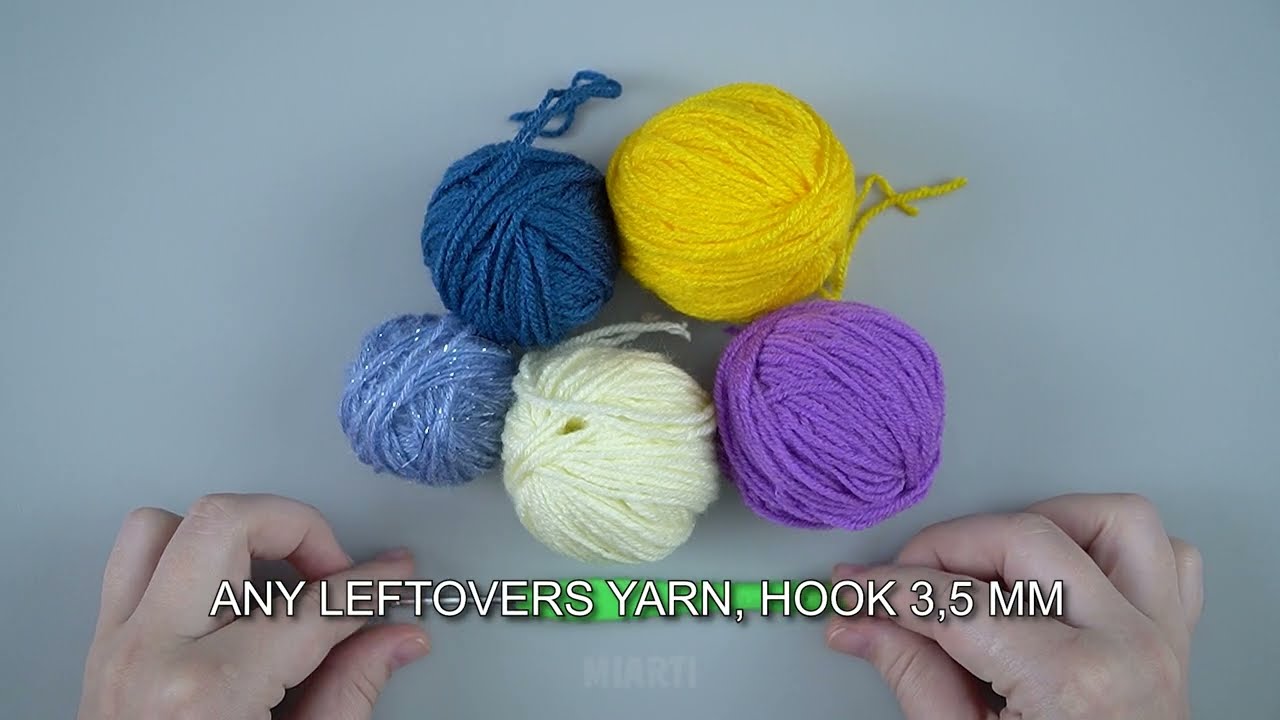
Materials You’ll Need
-
Leftover yarns (medium/worsted weight is best; you can mix colors)
-
Knitting needles: 5–6 mm (US 8–10), straight needles
-
Tapestry needle
-
Scissors
Optional:
-
Non-slip dots or felt for the sole
Knitting Skills Required
-
Casting on
-
Knit stitch (k)
-
Purl stitch (p)
-
Knit two together (k2tog)
-
Increasing stitches (kfb)
-
Binding off
-
Simple sewing (for the heel or toe, if needed)
That’s it! This project is perfect for beginners.
Step-by-Step Instructions
Step 1: Cast On
-
Cast on 30–36 stitches, depending on foot size:
-
Small: 30 stitches
-
Medium: 32 stitches
-
Large: 36 stitches
-
Tip: Use a stretchy cast-on for comfort. You can use two strands of leftover yarn held together if the yarn is thin.
Step 2: Knit the Foot
-
Work in garter stitch (knit every row) or stockinette stitch (k one row, p one row).
-
Continue until the piece reaches the length of the foot minus about 5–6 cm for toe shaping.
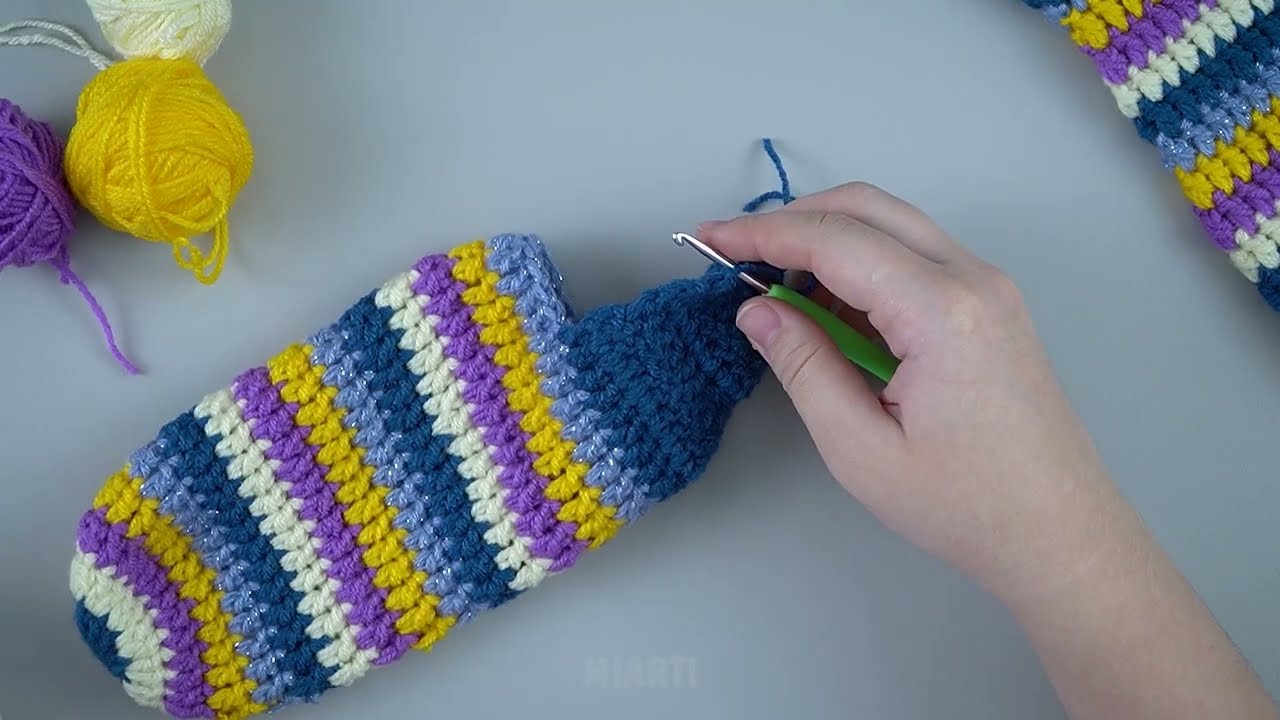
Tip: For colorful socks, switch leftover yarns every few rows to create stripes.
Step 3: Shape the Toe
-
Decrease at the beginning and end of every row:
-
Knit two together (k2tog) at the start and end of the row.
-
-
Continue decreasing until 10–12 stitches remain.
Step 4: Finish the Toe
-
Cut the yarn leaving a long tail.
-
Thread it through the remaining stitches and pull tight to close the toe.
-
Weave in all ends.
Step 5: Form the Heel
-
Fold the slipper in half lengthwise.
-
Sew the heel seam with a yarn needle using mattress stitch or whip stitch.
-
Ensure it is secure but smooth for comfort.
Step 6: Knit a Cuff (Optional)
-
Pick up stitches along the slipper opening.
-
Knit 1×1 or 2×2 ribbing for 2–3 cm to make a stretchy cuff.
-
Bind off loosely.
Optional Finishing Touches ✨
-
Add non-slip dots or felt to the sole.
-
Create fun stripes by alternating leftover yarns.
-
Fold the cuff for extra warmth or leave it flat.
-
Add small decorative elements like pom-poms or buttons.
Easy Sizing Tips
-
Longer foot: Knit more rows before shaping the toe.
-
Wider foot: Cast on more stitches.
-
Thicker slippers: Hold two strands of yarn together or use bulky leftover yarns.
This method works for children, women, and men.
Final Thoughts
Making easy socks or slippers out of leftover yarn is practical, fun, and beginner-friendly. You can create a cozy, personalized pair without spending extra money or buying new materials.
This project is perfect for using scraps, practicing basic knitting skills, or making quick handmade gifts.
I can also make a full step-by-step pattern with exact stitch counts, row numbers, and beginner-friendly instructions so you can knit a perfect pair from leftover yarn right away.
Watch video: