 by
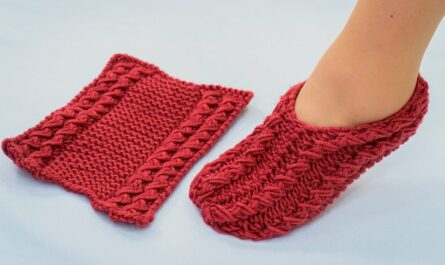
by Here’s a detailed, beginner-friendly guide on making homemade knitted slippers without a seam on the sole—comfortable, practical, and easy to knit.
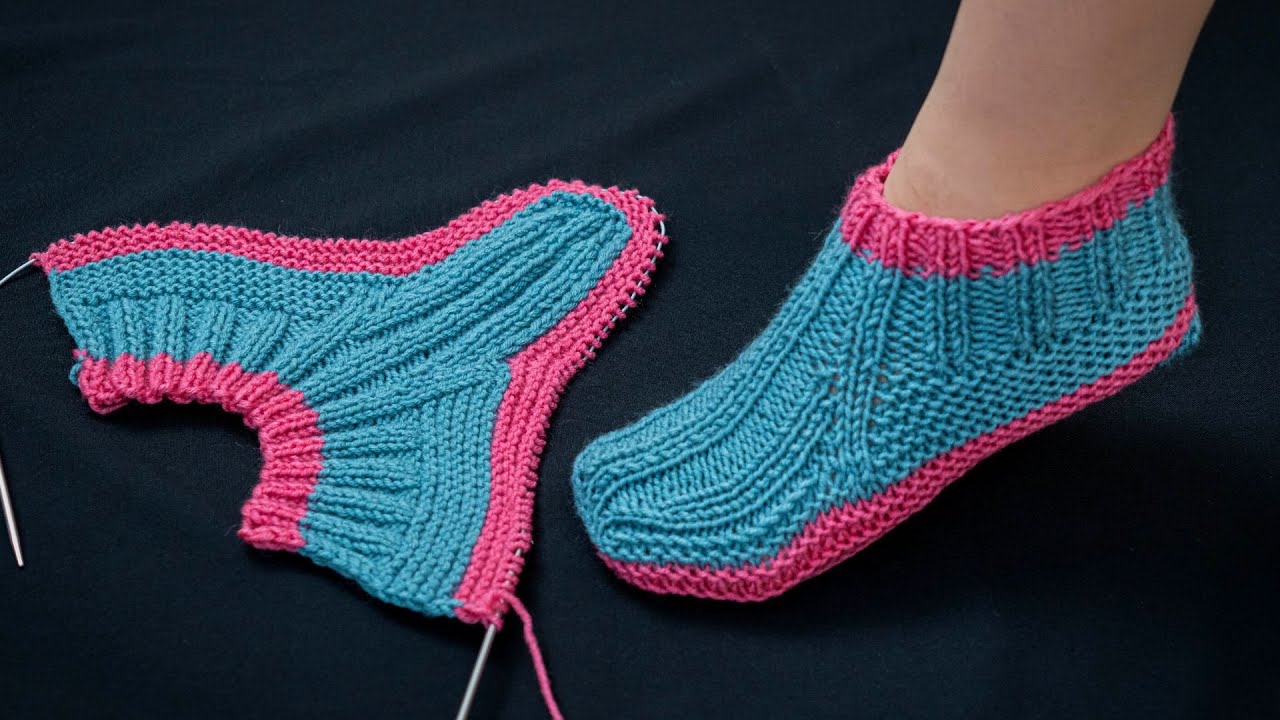
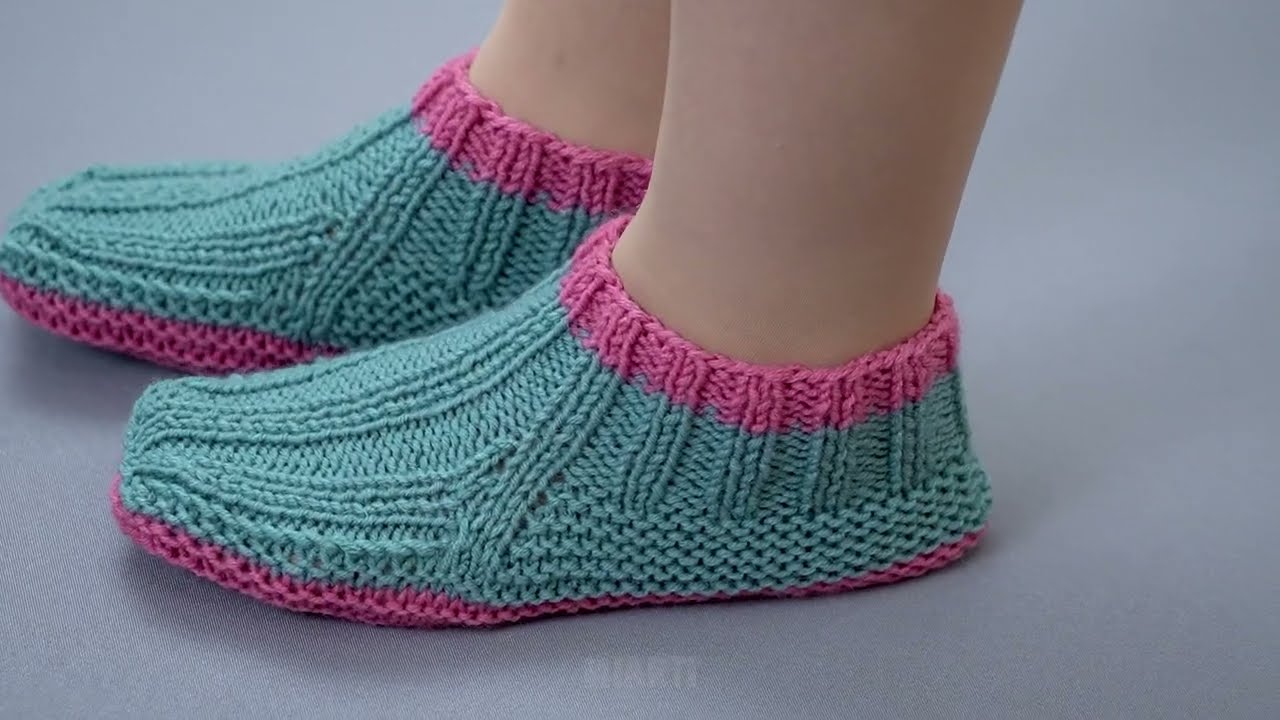
How to Make Homemade Knitted Slippers Without a Seam on the Sole
Knitting your own slippers is rewarding, and making them without a seam on the sole takes comfort and durability to the next level. Seamless soles are smooth, soft underfoot, and professional-looking, making these slippers ideal for daily wear at home or as handmade gifts.
Even beginners can make these slippers if they follow simple instructions and use basic knitting techniques.
Why Seamless Sole Slippers Are Great 🧶
-
✔ No uncomfortable seam underfoot
-
✔ Comfortable for long wear
-
✔ Neater, more polished look
-
✔ Quick and easy to knit
-
✔ Works for any size
Seamless soles also prevent uneven wear and make the slippers last longer.
Materials You’ll Need
-
Yarn: Medium (worsted) or bulky yarn
(Wool or acrylic blends are warm and cozy) -
Knitting needles:
-
Circular needles (magic loop method) or double-pointed needles (DPNs)
-
-
Size: 5–6 mm (US 8–10)
-
Stitch markers
-
Tapestry needle
-
Scissors
Knitting Skills Required
-
Cast on
-
Knit stitch (k)
-
Purl stitch (p)
-
Knit two together (k2tog)
-
Increase stitches (kfb)
-
Work in the round
-
Bind off
All these are beginner-friendly skills, making this project approachable.
Step-by-Step Instructions
Step 1: Cast On for the Toe
-
Cast on 8–12 stitches using a stretchy cast-on method.
-
Join to knit in the round and place a stitch marker at the start of the round.
Step 2: Shape the Toe Seamlessly
-
Knit every stitch.
-
Increase 2 stitches every other round (one at each end of the row or using yarn overs).
-
Continue until the toe width matches the widest part of the foot (usually 32–40 stitches).
This creates a smooth, rounded toe without any seam.
Step 3: Knit the Foot
-
Knit in stockinette stitch (knit every round).
-
Continue until the slipper reaches the beginning of the heel.
-
Check the length by trying the slipper on your foot.
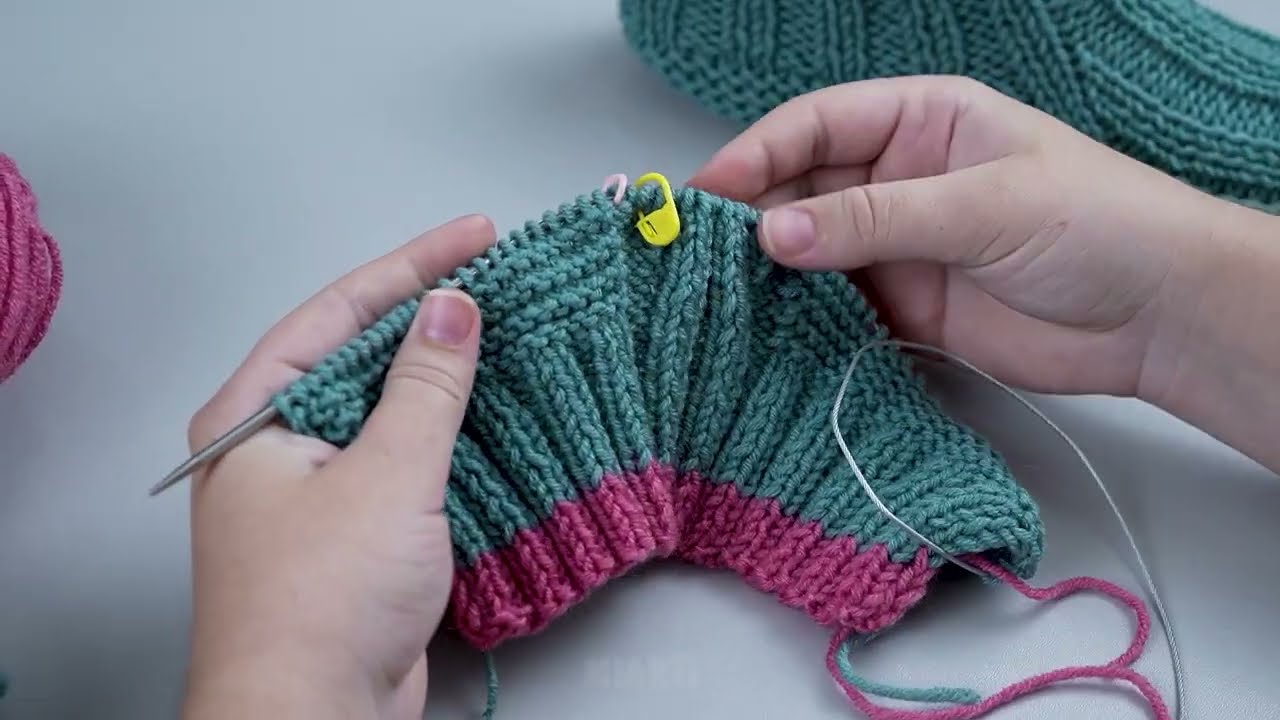
Step 4: Shape the Heel
-
Divide stitches in half for short-row shaping or knit back and forth on half the stitches.
-
Knit a small heel flap.
-
Pick up stitches along the sides and continue knitting in the round.
The sole remains smooth, giving a seamless feel underfoot.
Step 5: Knit the Cuff
-
Switch to ribbing (k1, p1 or k2, p2) for 3–6 cm (1–2 inches).
-
Bind off loosely so the slipper fits comfortably over the ankle.
Optional Finishing Touches ✨
-
Fold the cuff for extra warmth.
-
Use a different stitch pattern or textured stitch on the top of the foot.
-
Add non-slip dots or felt pads to the sole.
-
Knit with bulky yarn for a faster, cozier slipper.
Easy Sizing Tips
-
Wider foot: Add more stitches at the toe increase stage.
-
Longer foot: Knit more rounds before starting the heel.
-
Thicker slipper: Use bulky yarn and larger needles.
This method works for men, women, and children with minor adjustments.
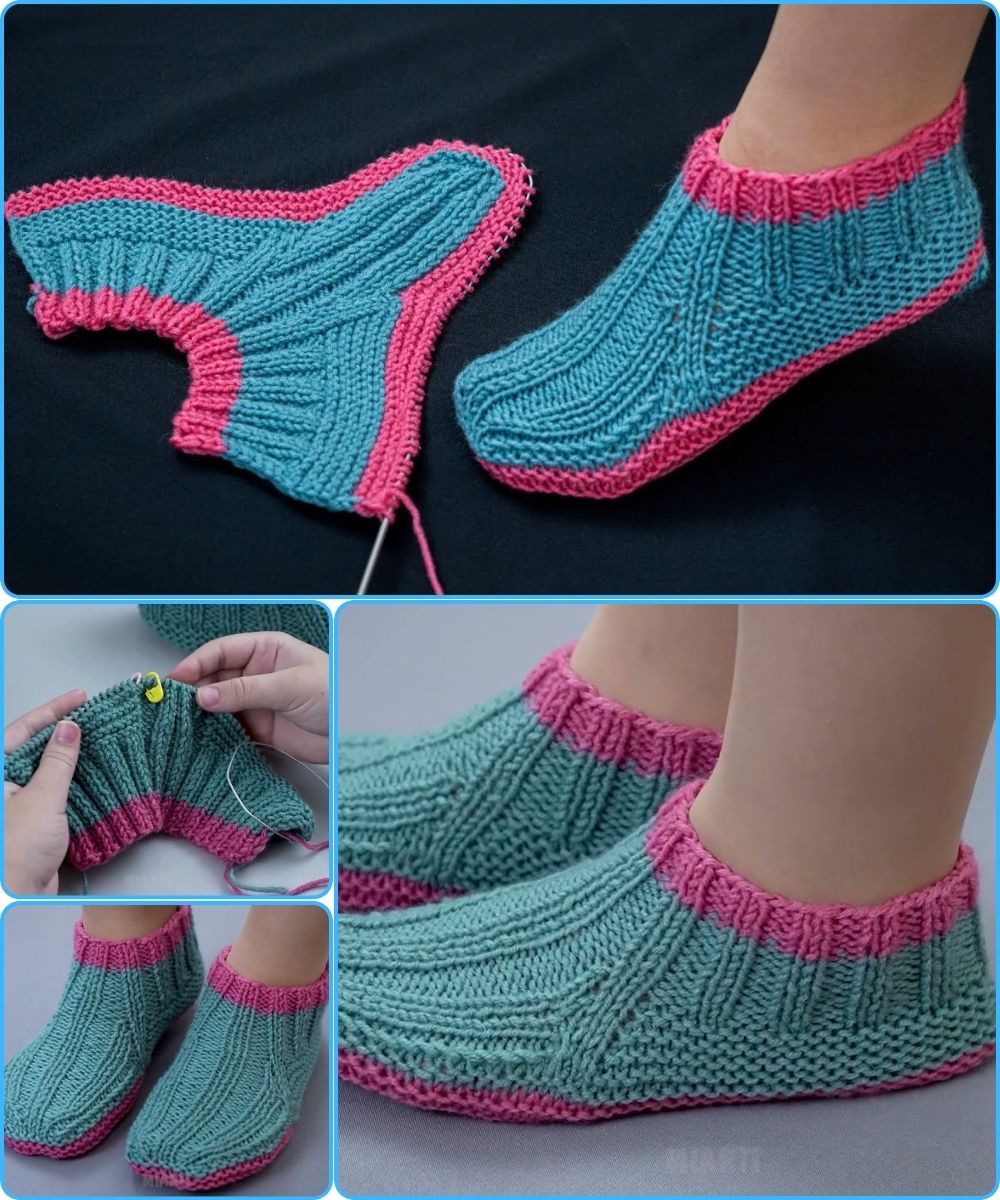
Final Thoughts
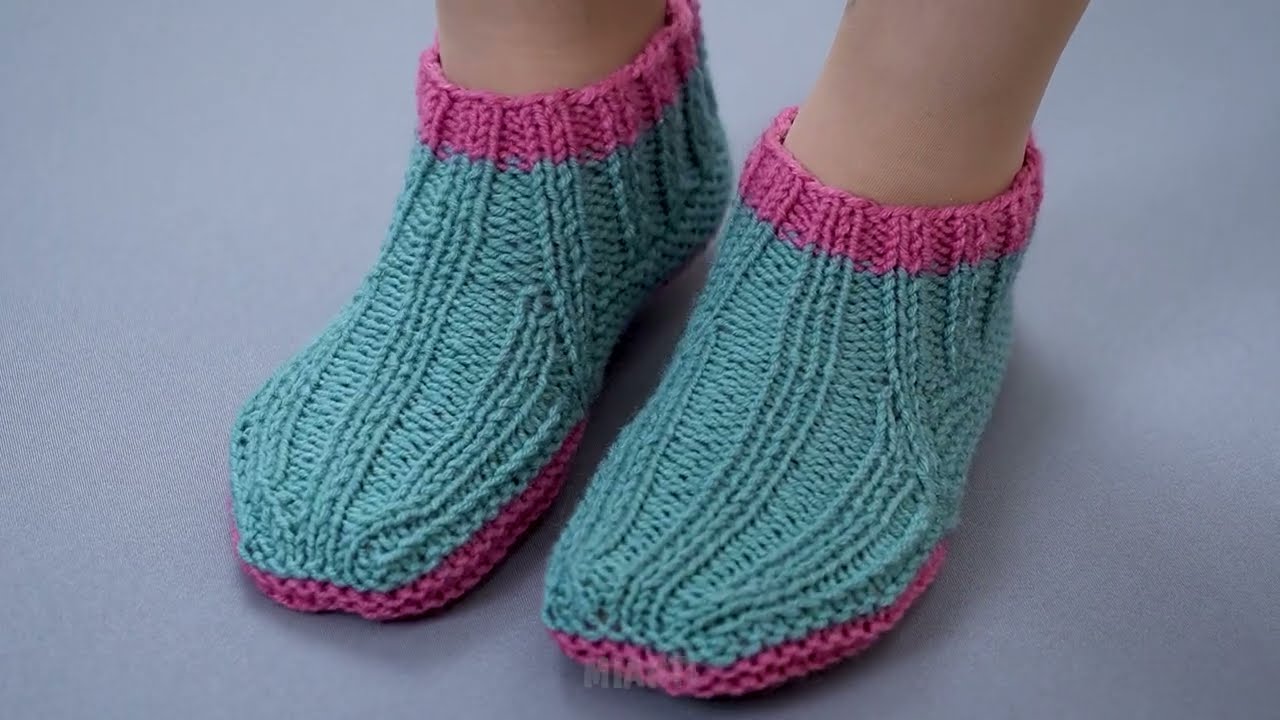
Making homemade knitted slippers without a seam on the sole is easy, practical, and beginner-friendly. They’re warm, comfortable, and visually neat. One-piece, seamless construction ensures maximum comfort and durability.
These slippers are perfect for relaxing at home, gifting, or just enjoying a quick, satisfying knitting project.
If you want, I can also create a full stitch-by-stitch beginner-friendly pattern for these seamless slippers, complete with sizes and tips for a perfect fit.
Watch video: