 by
by Below is a clear, detailed, and beginner-friendly tutorial you can use for a blog, pattern description, or knitting lesson.
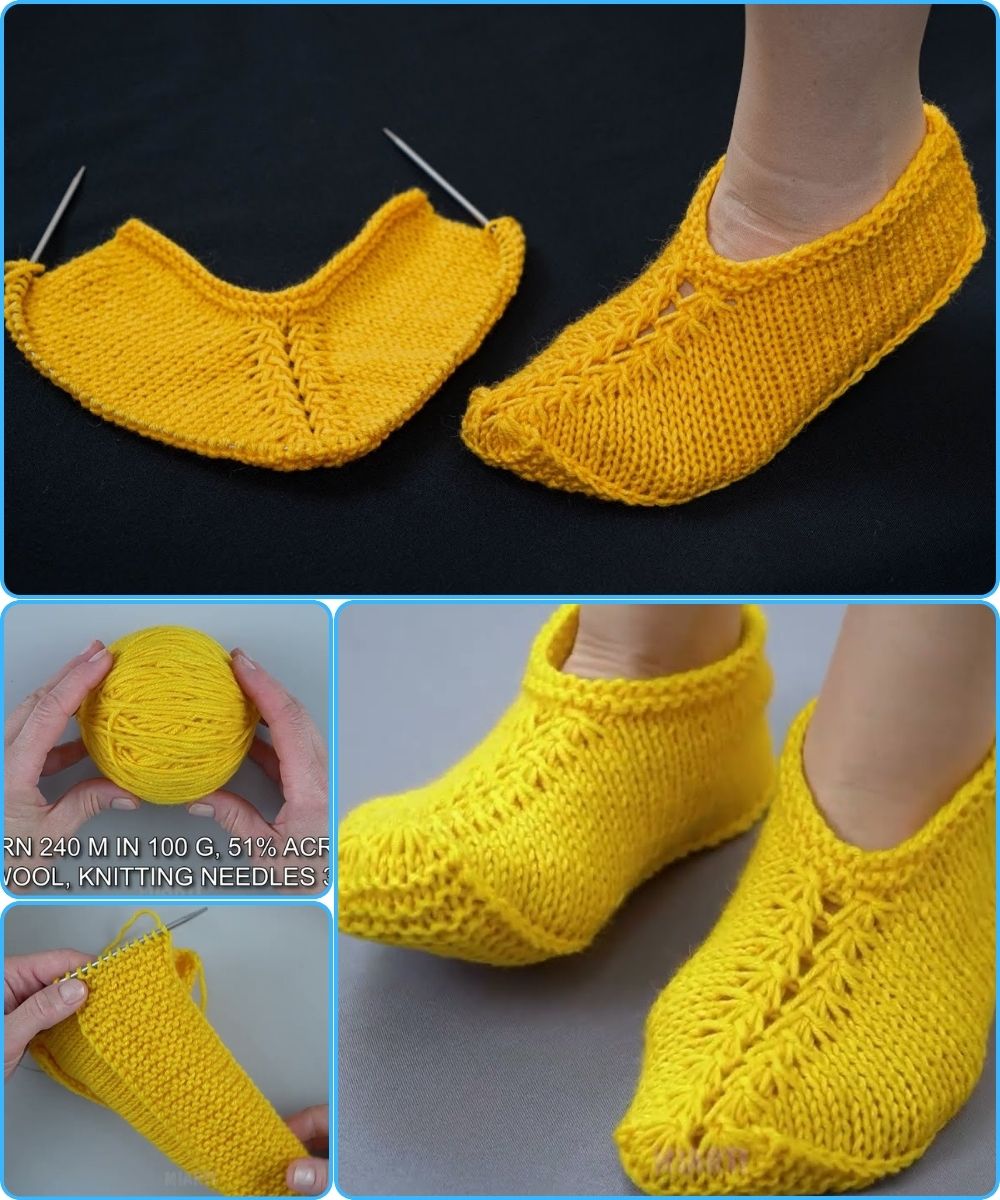
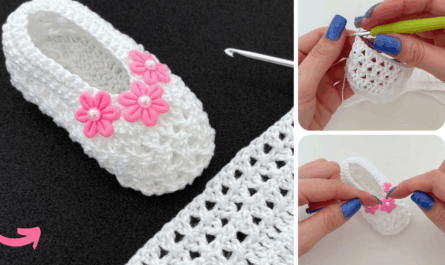
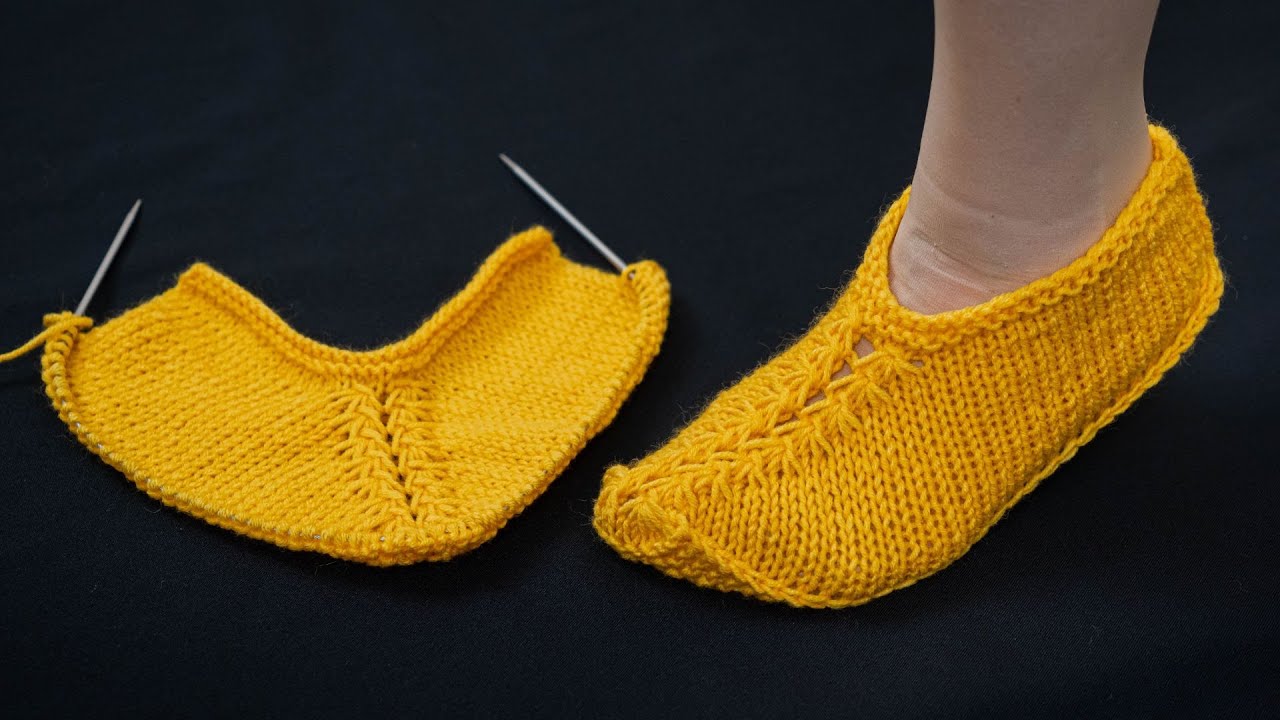
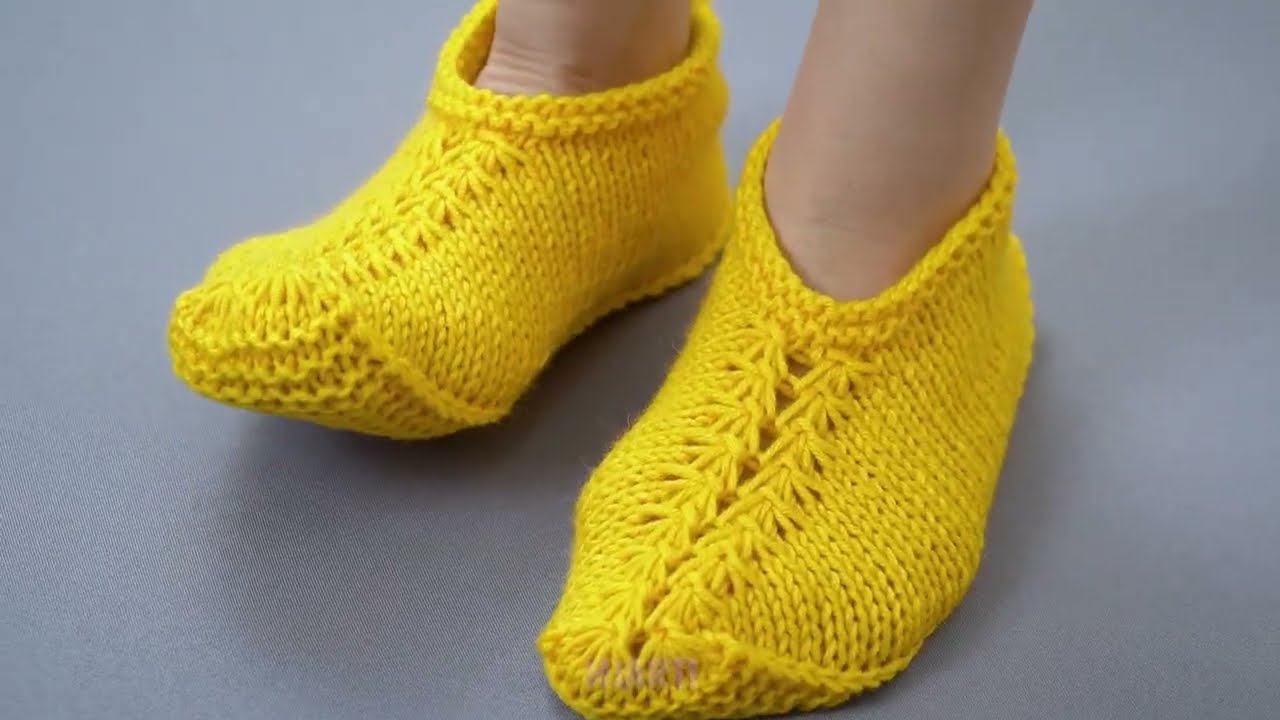
How to Make Knitted Slippers Without Seams on the Sole – Easily and Simply
Knitted slippers with no seam on the sole are incredibly comfortable and long-lasting. Since there’s no bulky seam underneath the foot, these slippers feel smoother, fit better, and wear more evenly. The good news is that this style is easy and simple, even for beginners, and requires only basic knitting skills.
This method is usually knit from the toe or cuff and shaped around the foot, keeping the sole completely seamless.
Why Choose Seamless-Sole Slippers? 🧶
-
✔ No uncomfortable seam underfoot
-
✔ Stronger and more durable
-
✔ Cleaner, professional finish
-
✔ Easy to walk in
-
✔ Great for daily wear
Despite the elegant result, the technique is straightforward and relaxing to knit.
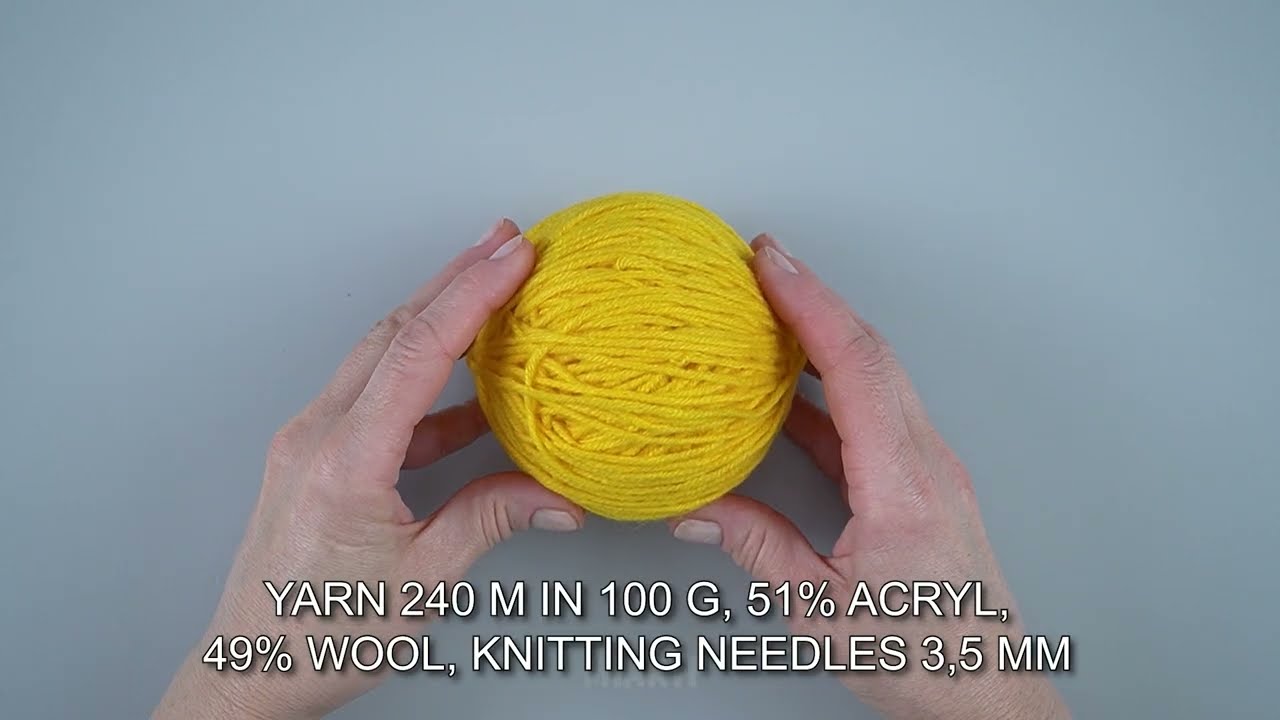
Materials You’ll Need
-
Yarn: Medium (worsted) or bulky yarn
(Wool or wool blends are best for warmth and structure) -
Knitting needles:
-
Circular needles (60–80 cm) or
-
Double-pointed needles (DPNs)
-
-
Size: 5–6 mm (US 8–10), or as needed
-
Tapestry needle
-
Scissors
Basic Knitting Skills Required
-
Cast on
-
Knit stitch
-
Purl stitch
-
Knit two together (k2tog)
-
Picking up stitches
-
Binding off
No advanced techniques are required.
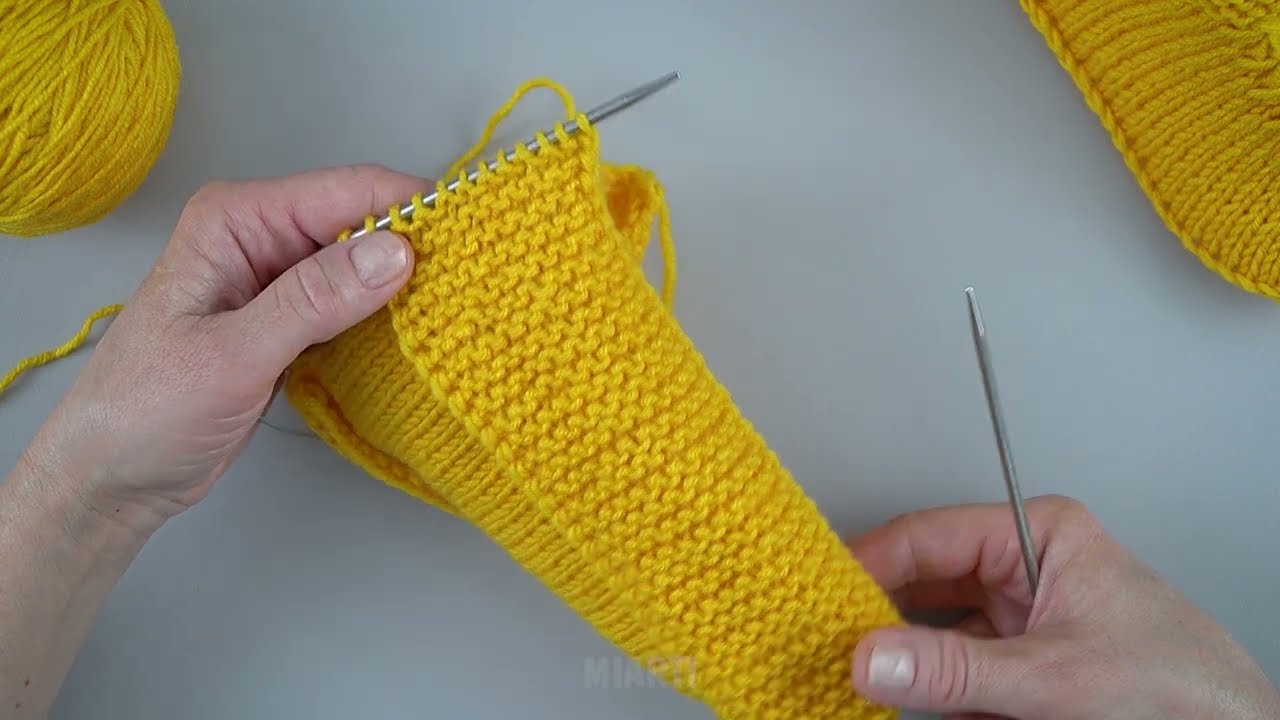
Easy Step-by-Step Instructions
Step 1: Cast On at the Toe
Using circular needles or DPNs, cast on 8–12 stitches using a stretchy cast-on.
Divide stitches evenly across needles and join to knit in the round.
Step 2: Increase for the Toe
Knit every round, increasing:
-
Increase 1 stitch at each side of the toe
-
Continue increasing every other round
Stop when the slipper width matches the widest part of your foot (usually 32–40 stitches).
This creates a smooth, rounded toe with no seam.
Step 3: Knit the Sole and Foot
Once the toe is wide enough:
-
Knit straight in stockinette stitch
-
Continue until the work reaches the beginning of your ankle
Try it on as you knit to ensure a perfect fit.
Step 4: Shape the Heel (Short Rows or Simple Flap)
For a simple heel:
-
Knit back and forth on half the stitches
-
Create a small heel flap
-
Pick up stitches along the sides
-
Resume knitting in the round
This method keeps the sole completely smooth.
Step 5: Knit the Cuff
-
Switch to ribbing (k1, p1 or k2, p2)
-
Knit 3–6 cm (1–2 inches) for a snug fit
-
Bind off loosely
Optional Finishing Touches ✨
-
Add a folded cuff for extra warmth
-
Knit with textured stitches on top only
-
Add non-slip fabric paint to the sole
-
Use contrast yarn for the cuff or toe
Easy Sizing Tips
-
More stitches = wider slipper
-
More rounds = longer slipper
-
Bulky yarn = warmer, thicker slippers
Because the sole has no seam, this style easily adapts to men, women, and children.
Final Thoughts
Knitted slippers without seams on the sole combine comfort, simplicity, and durability. They’re perfect for everyday use, thoughtful handmade gifts, and knitters who want a clean, professional look without complicated construction.
Once you try this method, you may never go back to seamed slippers again!
If you’d like, I can also:
-
Simplify this into a one-page pattern
-
Adapt it for beginners only
-
Create a toe-up or cuff-down version
-
Write a video tutorial script
Watch video: