 by
by Absolutely! Let’s go step by step with a detailed, beginner-friendly guide on knitting slippers with needles. I’ll make this clear, so even if you’re new to knitting, you can follow it easily.
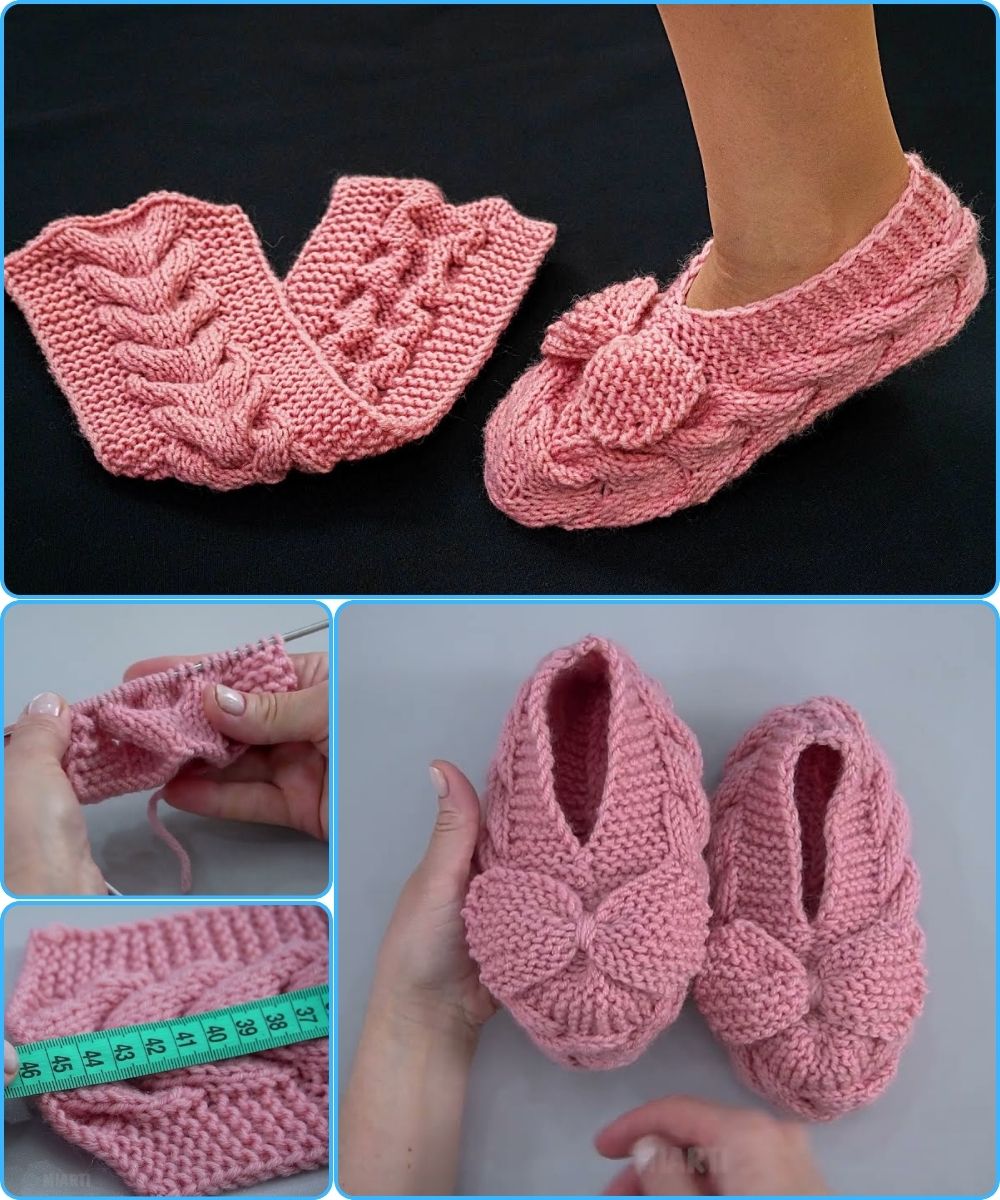
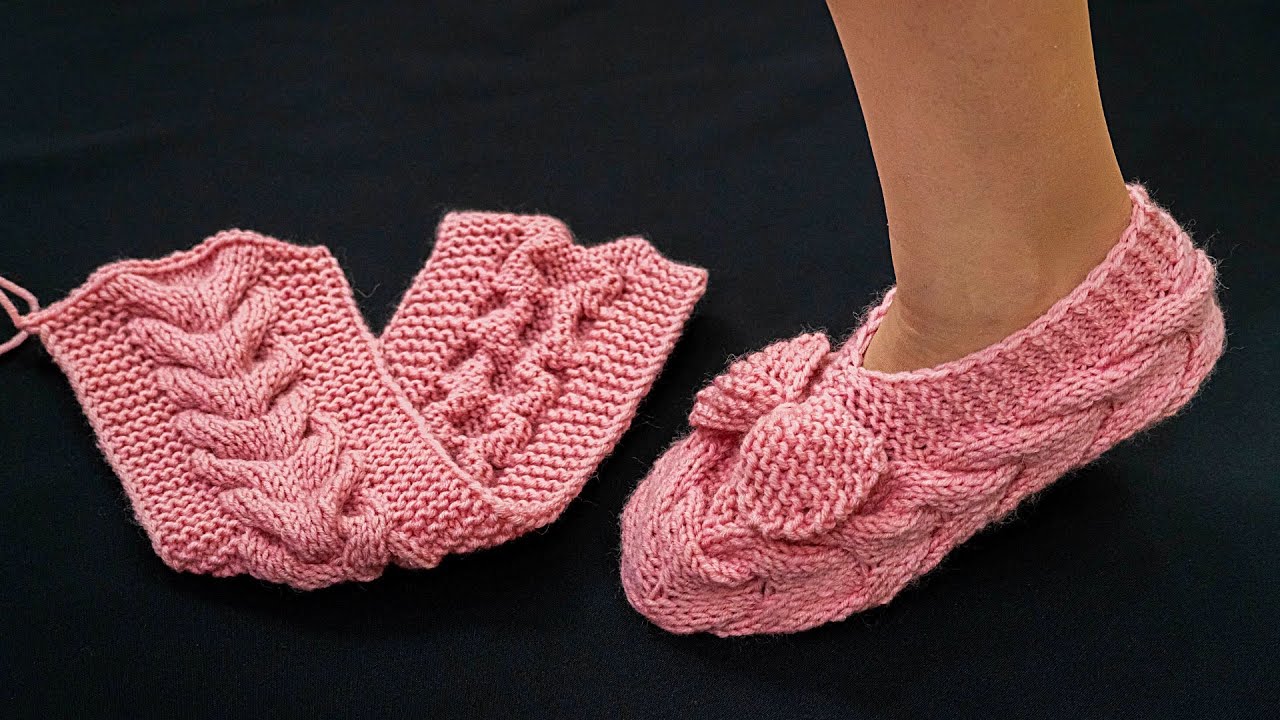
How to Knit Slippers with Knitting Needles – Detailed Tutorial
Knitting slippers is a cozy and satisfying project. This tutorial will focus on simple slippers worked flat and seamed, perfect for beginners.
Materials You’ll Need
-
Yarn: Medium weight (worsted) yarn is perfect. Acrylic, wool, or blends work well.
-
Knitting needles: Usually 4.0–5.0 mm (US 6–8), depending on your yarn.
-
Scissors
-
Tapestry needle for sewing seams
-
Measuring tape or ruler
Optional:
-
Stitch markers
-
Non-slip grips for soles (optional for safety)
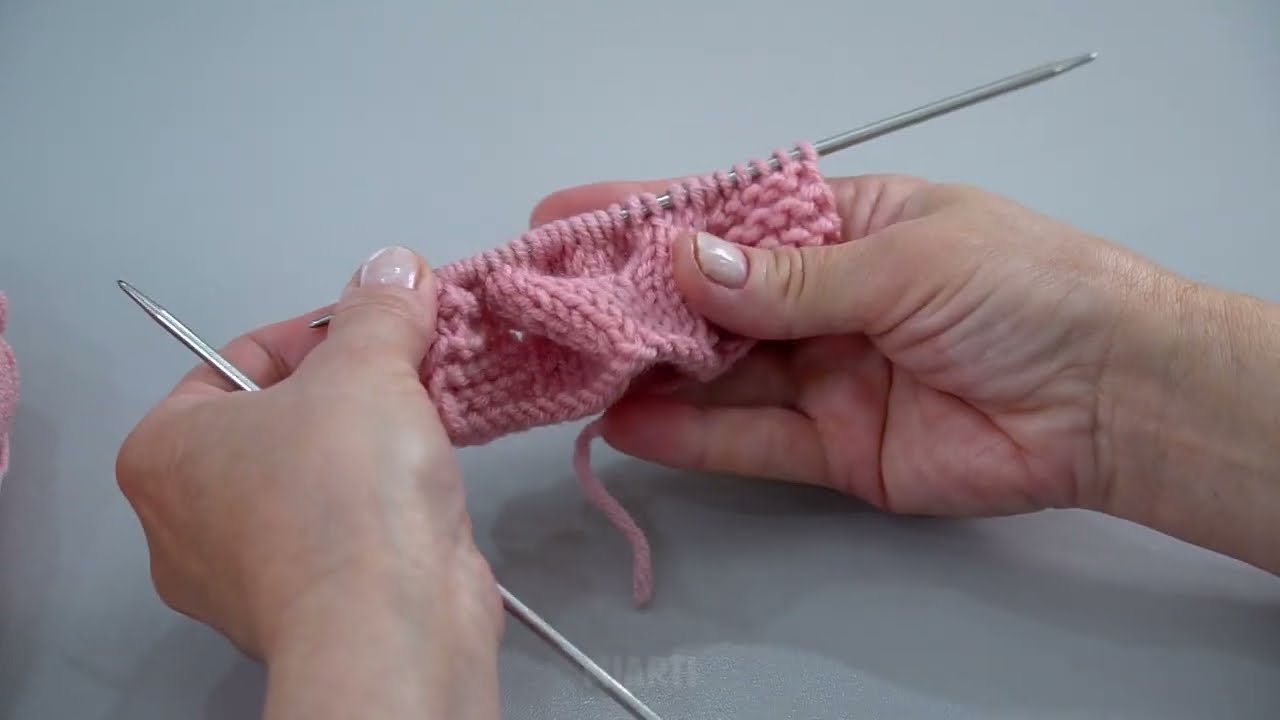
Basic Stitches You Should Know
-
Cast on (CO)
-
Knit stitch (K)
-
Purl stitch (P) – optional for ribbing or texture
-
Bind off (BO)
-
Basic decreases: K2tog (knit two together)
This pattern mostly uses knit stitches, which keeps it beginner-friendly.
Step 1: Measure Your Foot
-
Foot length: heel to tip of toes
-
Foot width: around the widest part (usually the ball of the foot)
This helps you determine how many stitches to cast on.
Step 2: Cast On
-
Cast on enough stitches to fit the width of your foot.
-
Example: For an adult medium slipper, about 30–40 stitches, depending on your gauge.
-
-
Work in garter stitch (knit every row) or stockinette stitch (alternate K and P rows). Garter stitch is great for beginners and gives a stretchy fabric.
Step 3: Knit the Sole
-
Work back and forth in rows until your piece reaches the length of your foot sole, from heel to ball of foot.
-
Optional: You can slightly taper the toes by decreasing 1 stitch at each end every few rows for a better fit.

Step 4: Knit the Top of the Slipper
There are two ways: a simple flap or a more fitted top.
Option A – Simple Top Flap:
-
Continue knitting a rectangle that covers the top of your foot.
-
The width should be slightly narrower than the sole so it hugs your foot.
-
You can make it in garter stitch or add a ribbing pattern (K1, P1) for stretch.
Option B – Fitted Top:
-
Knit fewer stitches than the sole for a snugger fit.
-
Decrease gradually at edges until it reaches the width of the ball of your foot.
Step 5: Form the Heel
Simple Folded Heel (Beginner-Friendly):
-
Fold the slipper piece in half so the short ends meet.
-
Seam the back of the heel using mattress stitch or whip stitch.
-
This forms a rounded heel.
Alternative: Short-Row Heel (Slightly Advanced):
-
Work partial rows to create a heel cup, similar to sock knitting.
Step 6: Form the Toe
-
Bring the front edges together.
-
Seam along the top to close the toe.
-
For extra comfort, you can round the seam neatly or decrease before closing.
Step 7: Finish the Slippers
-
Weave in all loose ends with a tapestry needle.
-
Optional: Add a cuff or ribbing around the ankle for a snug fit.
-
Optional: Sew non-slip grips or felt pads on the soles for safety.
Tips for Beginners
-
Use stitch markers to keep track of the edges.
-
Knit loosely so the slippers stretch comfortably over your foot.
-
Practice on a small swatch to check gauge before starting the full slipper.
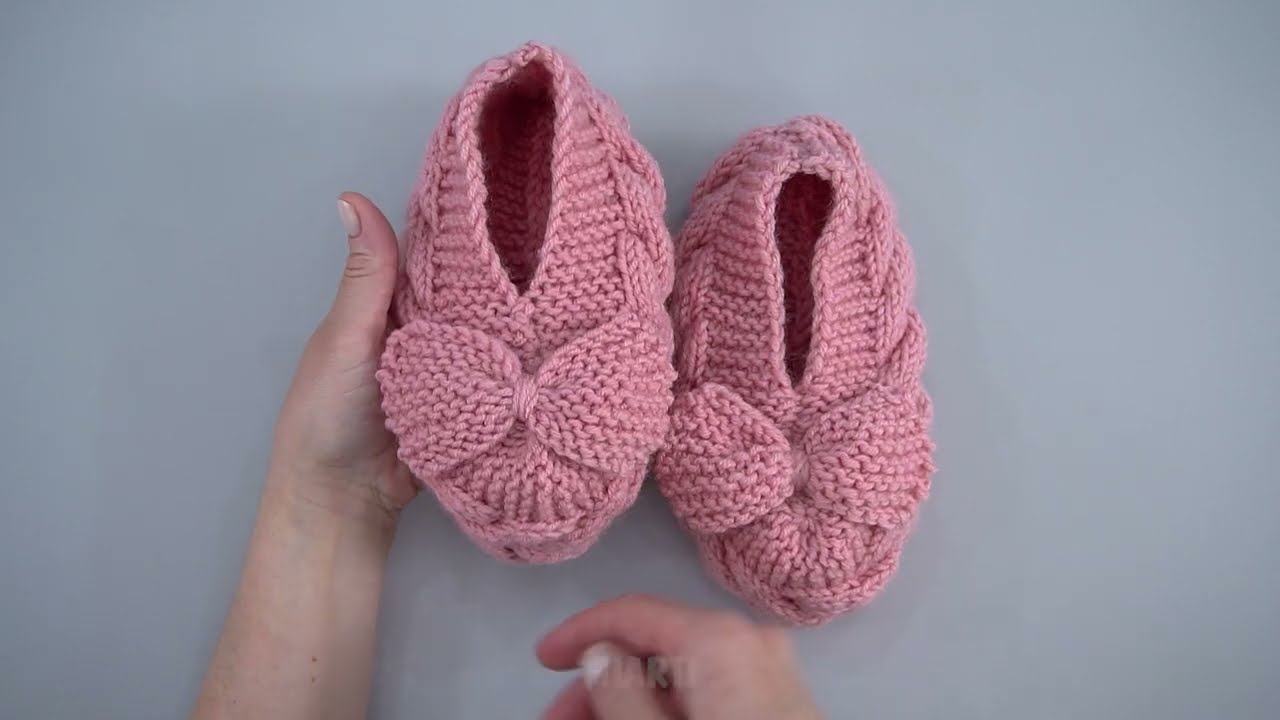
✅ And there you have it! A simple pair of cozy, hand-knitted slippers.
If you want, I can also create a step-by-step diagram showing the knitting pattern for these slippers, making it even easier for beginners to follow.
Watch video: