 by
by Here’s a clear, beginner-friendly guide you can use as a project description, blog post, or craft assignment.
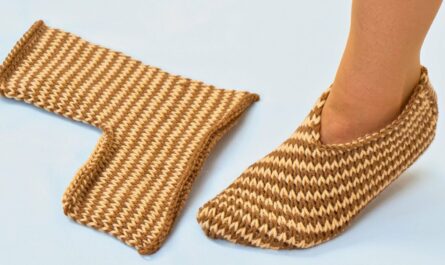
How to Make a Crochet Wallet-Bag (Beginner Friendly!)
A crochet wallet-bag is a small, stylish bag that’s perfect for holding money, cards, or a phone. The best part? Even if you’re new to crochet, you can absolutely make one! This project uses basic stitches, simple shaping, and minimal sewing.
Why This Project Is Great for Beginners
-
Uses basic crochet stitches only
-
Small size = quick to finish
-
Easy to customize with colors, buttons, or straps
-
Helps you practice counting stitches and rows
Materials You’ll Need
-
Yarn: Medium-weight yarn (also called worsted weight). Cotton yarn works best for a firm wallet.
-
Crochet Hook: Size 4.0–5.0 mm (check your yarn label)
-
Scissors
-
Yarn needle (for sewing pieces together)
-
Button or snap (optional, for closure)
-
Lining fabric (optional, for extra durability)
Basic Crochet Skills Needed
If you know these, you’re ready to start:
-
Slip knot
-
Chain stitch (ch)
-
Single crochet (sc)
-
Slip stitch (sl st)
(You can learn all of these in under an hour!)
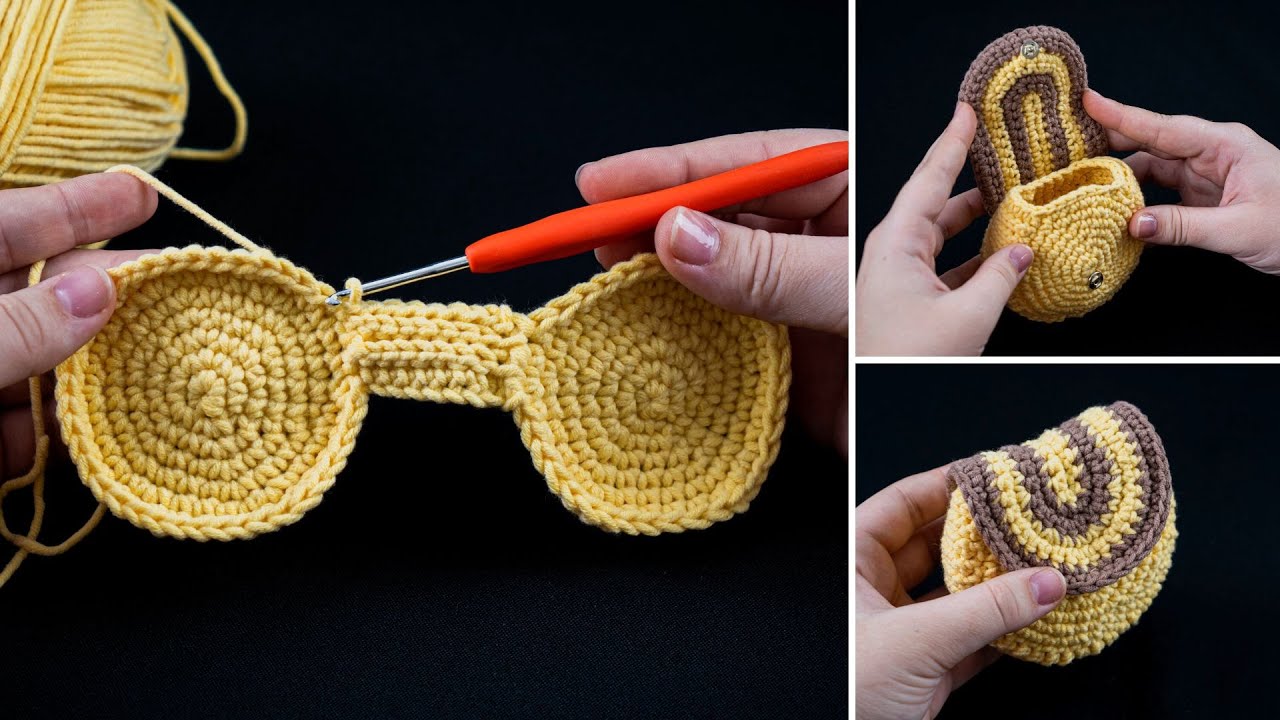
Step-by-Step Instructions
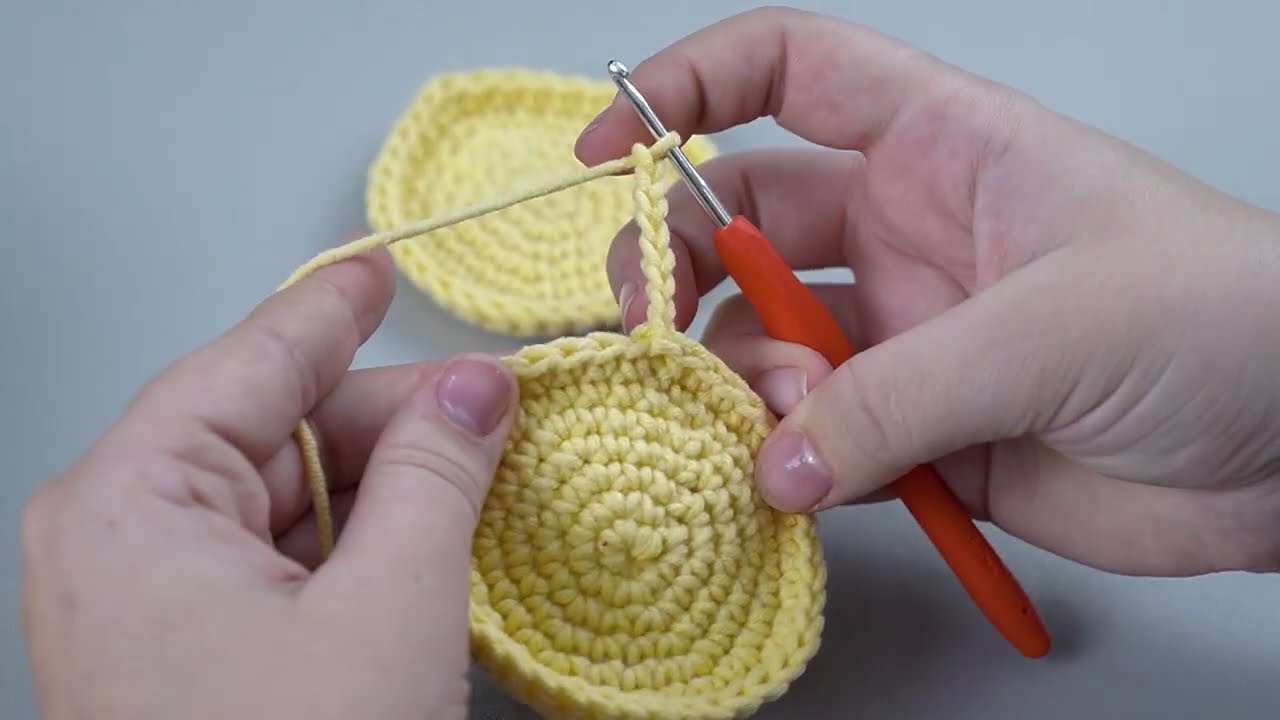
Step 1: Make the Base
-
Start with a slip knot.
-
Chain 25 stitches (this will be the width of your wallet).
-
Single crochet in the second chain from the hook.
-
Continue single crocheting across the row.
-
Chain 1, turn your work.
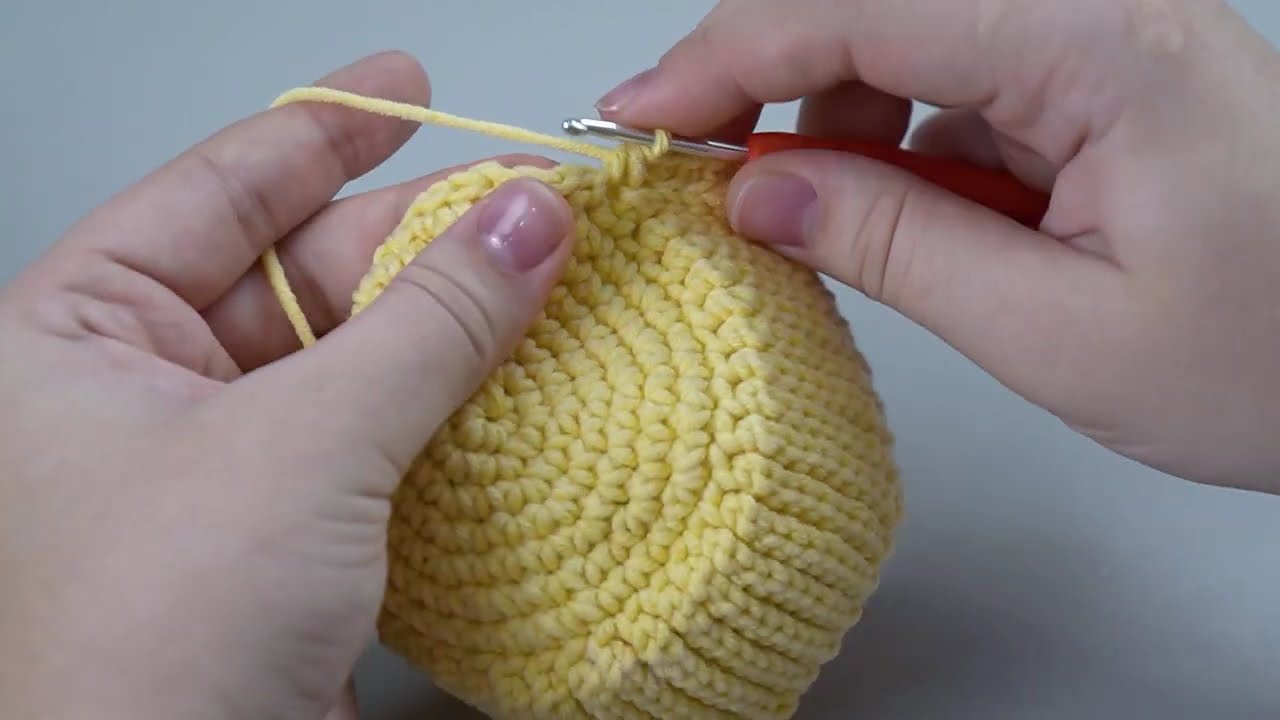
Step 2: Build the Body
-
Repeat single crochet rows until your rectangle is about 15–18 cm tall.
-
This rectangle will fold to form the wallet.
💡 Tip: Keep your stitches relaxed—not too tight.
Step 3: Fold and Shape the Wallet
-
Fold the rectangle into three parts:
-
Bottom = front pocket
-
Middle = back
-
Top = flap
-
-
Use a yarn needle to sew the sides of the bottom two layers together.
-
Leave the top flap unsewn.
Step 4: Add the Flap Detail
-
Single crochet around the edge of the flap to make it neat.
-
You can add:
-
A decorative stitch
-
A different yarn color
-
A buttonhole loop
-
Step 5: Attach a Strap (Optional)
For a wrist strap or shoulder strap:
-
Chain the length you want (e.g., 60–100 chains).
-
Single crochet back along the chain.
-
Sew both ends securely to the sides of the wallet.
Step 6: Add a Closure
-
Sew on a button, snap, or magnetic clasp.
-
Make sure it lines up with the flap.
Optional Upgrades
-
Add a fabric lining for strength
-
Stitch on beads or charms
-
Use color changes for stripes or patterns
-
Add inner pockets for cards
Beginner Tips for Success
-
Count your stitches every row
-
Use stitch markers if needed
-
Practice on scrap yarn first
-
Don’t worry if it’s not perfect—handmade is unique!
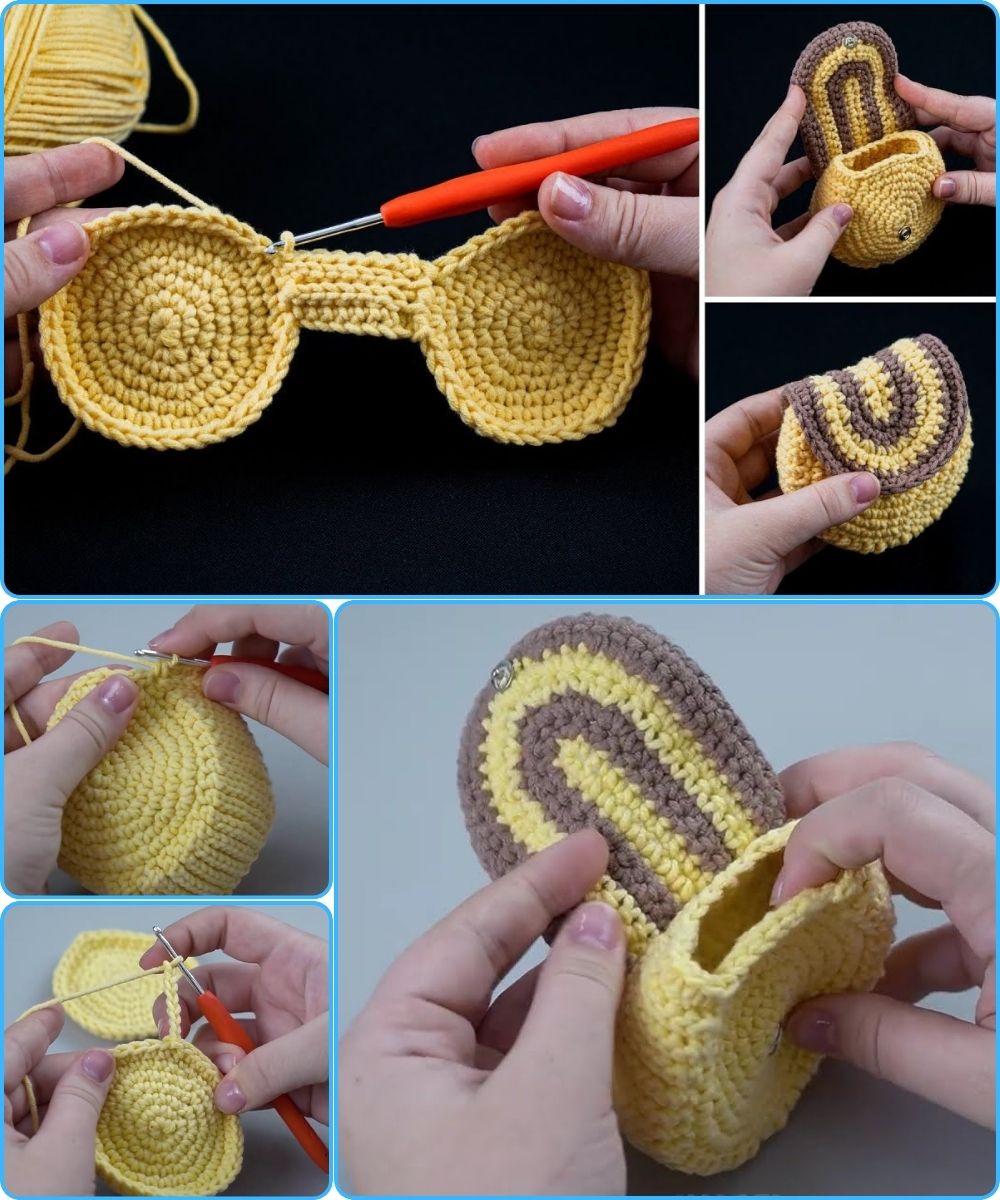
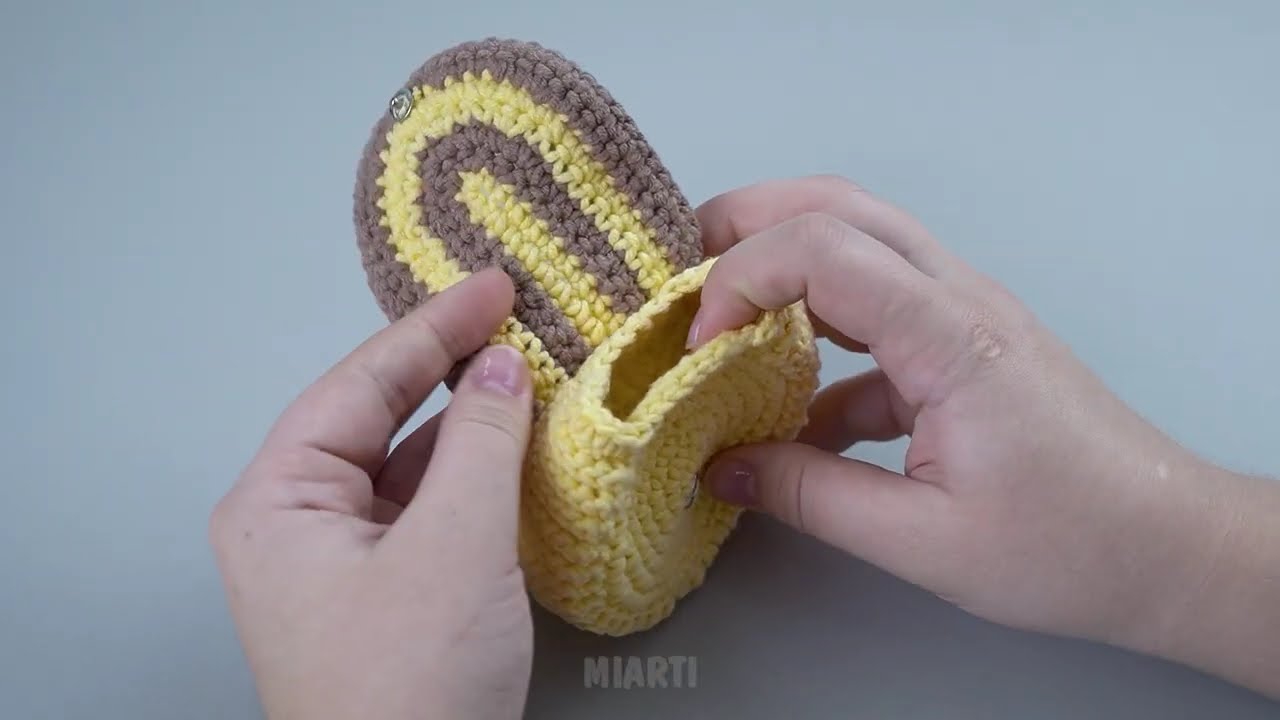
Final Result
You’ll end up with a cute, handmade crochet wallet-bag that’s practical, personal, and something you can be proud of. Once you finish one, you’ll probably want to make more as gifts!
If you want, I can also:
-
Simplify this into a short pattern
-
Help you write this as a school project
-
Add pictures or diagrams descriptions
-
Adjust it for absolute beginners
Watch video: