 by
by Here is a clear, detailed, step-by-step tutorial written in a simple, student-friendly way.
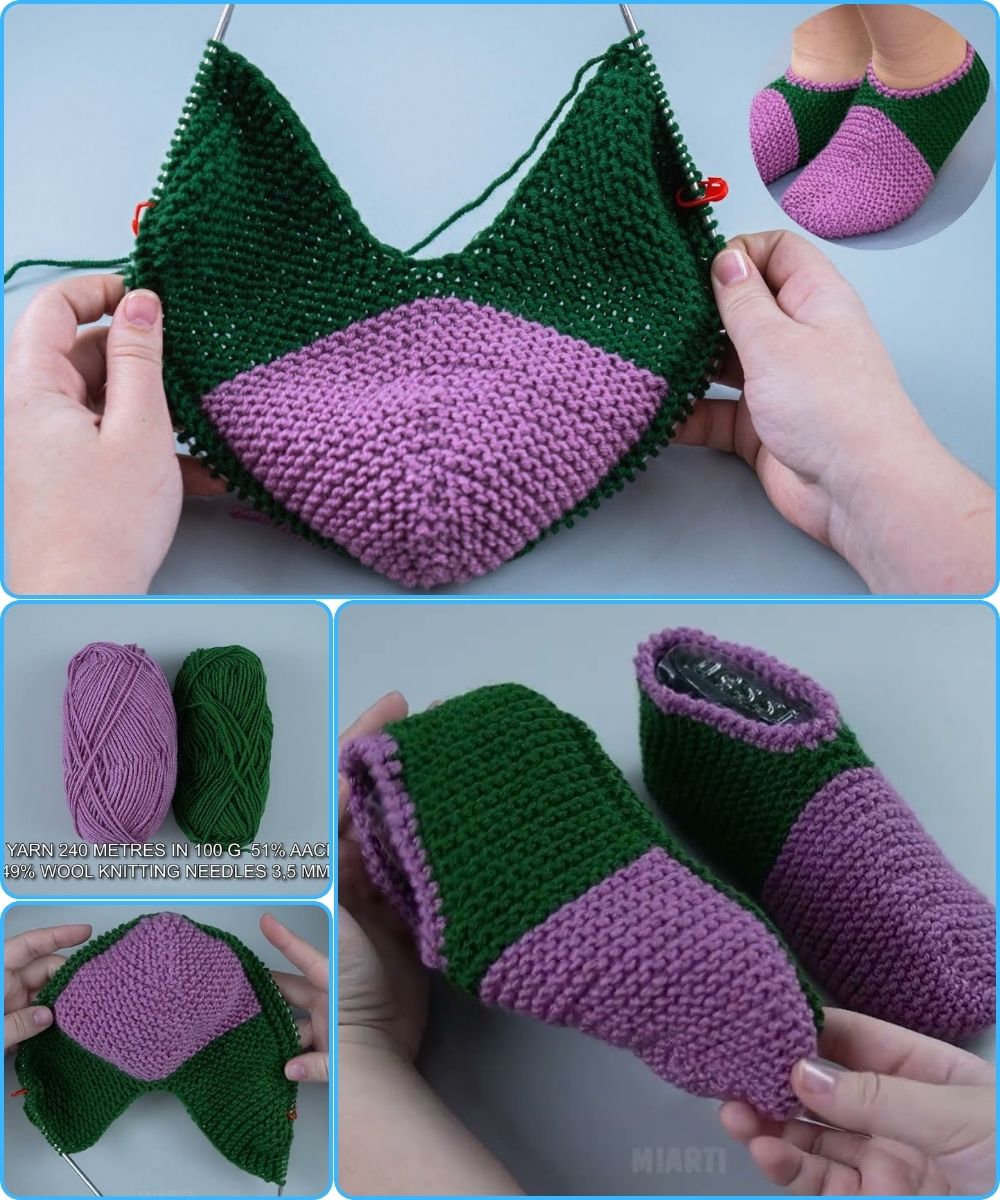
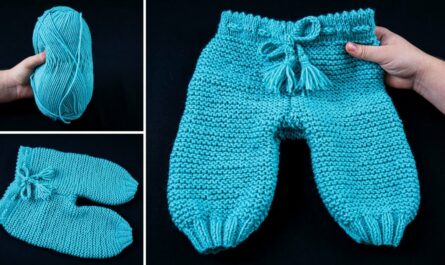
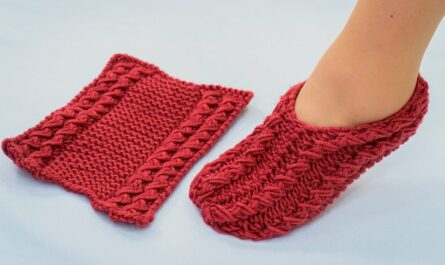
How to Make Simple Slippers Without a Seam on the Sole
A Detailed DIY Tutorial
Making slippers without a seam on the sole is a great beginner project. These slippers are comfortable, durable, and easy to walk in because there is no hard seam under your foot. This tutorial explains the process step by step using basic materials and simple techniques.
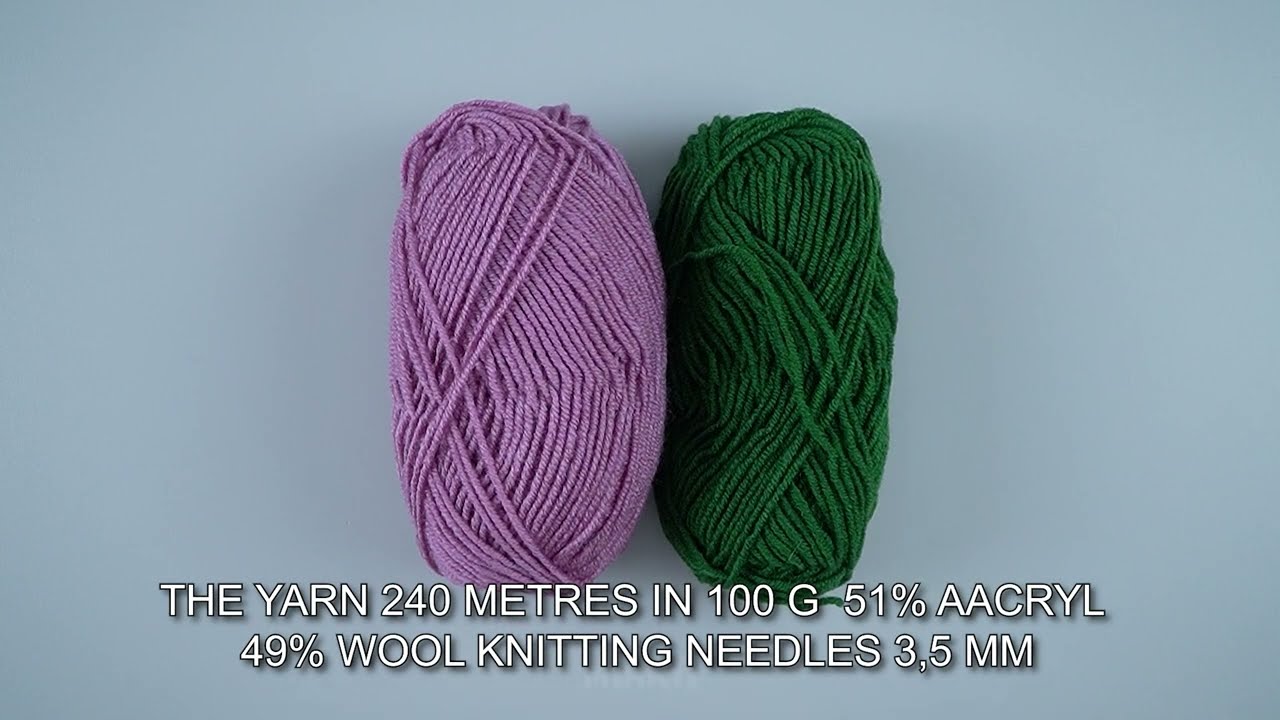
Materials Needed
Before starting, gather the following items:
-
Thick fabric or felt (for the outer slipper)
-
Soft fabric or fleece (for lining, optional but recommended)
-
Foam sheet or thick felt (for cushioning)
-
Scissors
-
Fabric chalk or pencil
-
Needle and strong thread or sewing machine
-
Pins or clips
-
Measuring tape
Tip: Felt works best for beginners because it does not fray.
Step 1: Measure Your Foot
-
Place your foot on a piece of paper.
-
Trace around it carefully.
-
Add about 1–1.5 cm all around for comfort and stitching.
-
Cut out the shape — this will be your sole pattern.
Step 2: Cut the Fabric (One-Piece Sole Method)
To avoid a seam on the sole, the slipper is made from one continuous piece of fabric:
-
Place the sole pattern on your main fabric.
-
Extend the pattern upward around the toes and sides, forming a U-shaped upper connected to the sole.
-
Cut one piece for each slipper.
-
Cut the same shape from the lining fabric if you are using one.
-
Cut foam or felt using only the sole part for cushioning.
Step 3: Attach the Cushioning (Optional)
-
Place the foam or felt on the wrong side of the outer fabric.
-
Secure it with a few stitches or fabric glue.
-
Make sure it stays flat and does not wrinkle.
This step adds comfort without creating a seam under the foot.
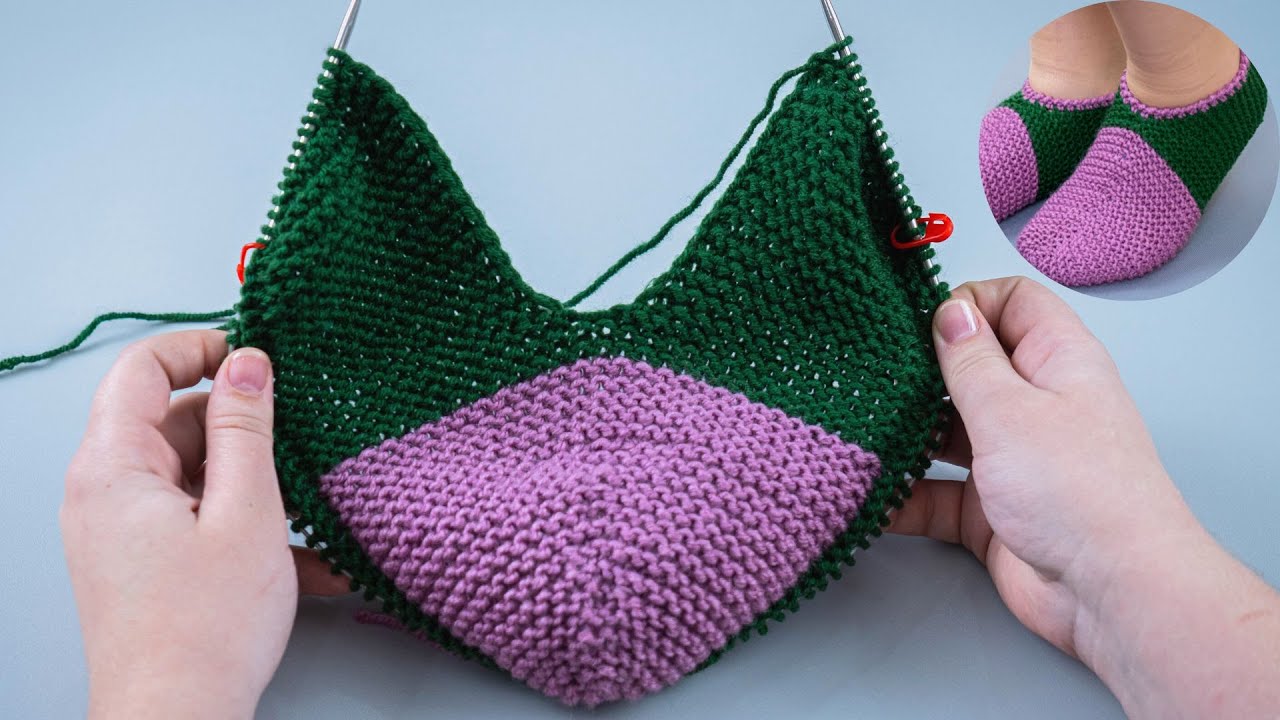
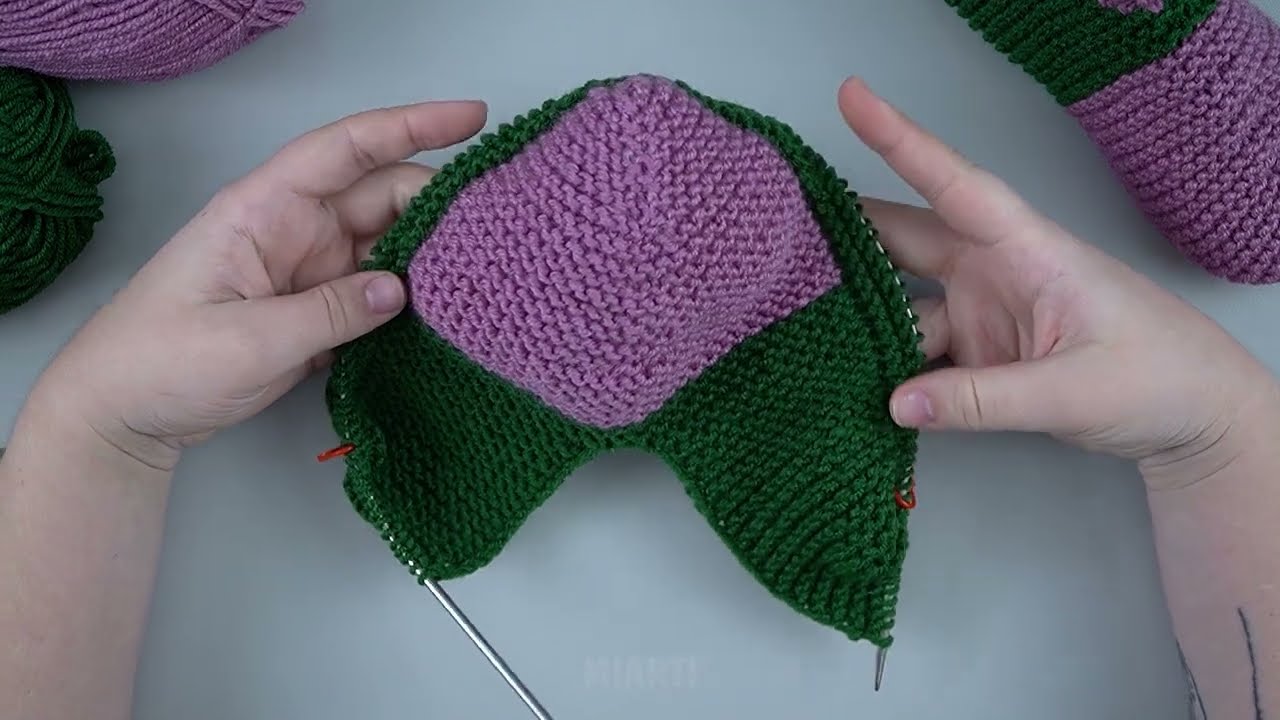
Step 4: Join the Upper (No Sole Seam)
-
Fold the fabric so the toe section comes together.
-
Pin or clip the sides and front.
-
Stitch only along the top and sides, starting from one side of the foot opening, around the toe, and down the other side.
-
Do not stitch across the bottom — this keeps the sole seamless.
If using a lining, stitch the lining the same way, then place it inside the slipper and sew around the opening.
Step 5: Shape and Turn
-
Trim excess fabric near the seams (be careful not to cut stitches).
-
Turn the slipper right side out.
-
Gently push out the toe area so it looks smooth.
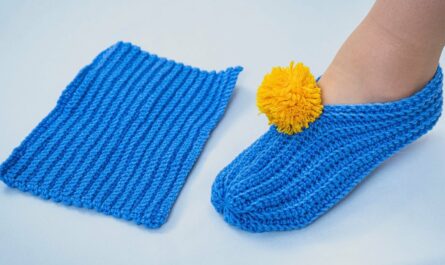
Step 6: Finish the Opening
You can finish the top edge in one of these ways:
-
Fold the edge inward and stitch neatly
-
Add bias tape or ribbon
-
Sew elastic around the opening for a snug fit
Step 7: Make the Second Slipper
Repeat all steps for the other foot. Always check that both slippers are the same size and shape.
Tips for Best Results
-
Use thick fabric for better durability
-
Test the fit before final stitching
-
Add non-slip fabric or dots to the bottom if needed
-
Sew slowly around curves for a clean finish
Conclusion
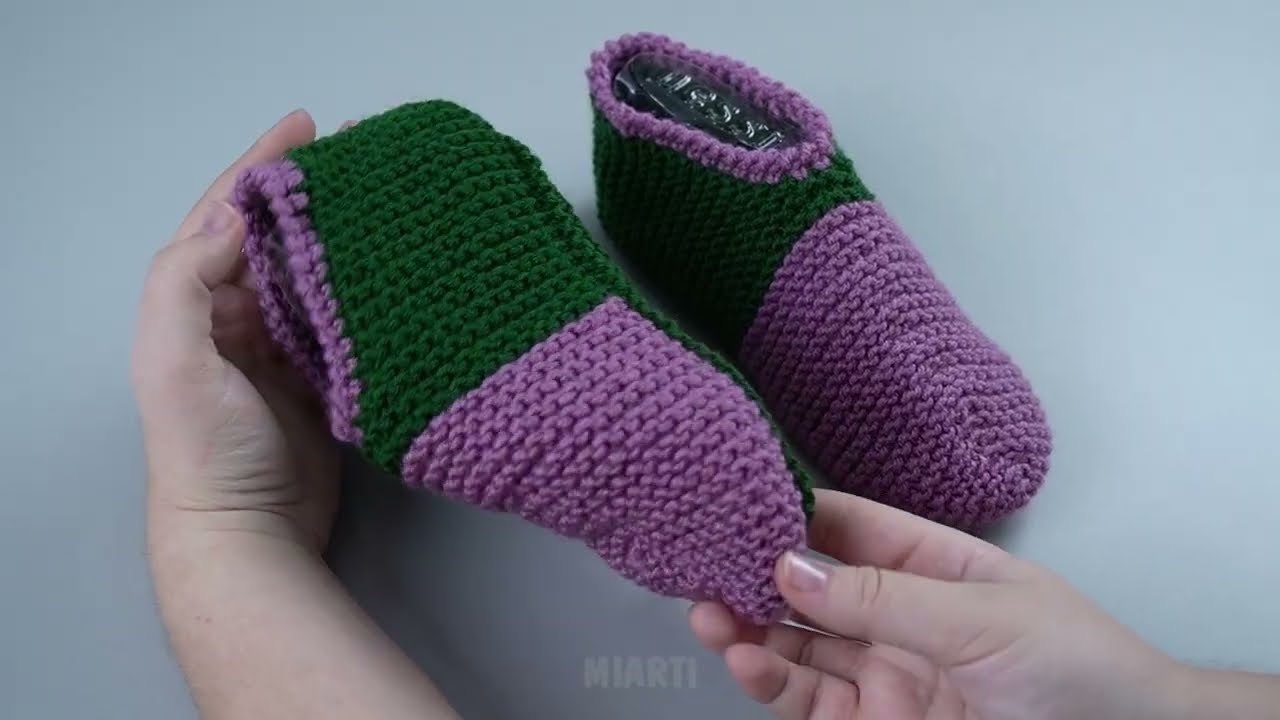
Making slippers without a seam on the sole is simple and practical. This method creates soft, comfortable slippers that are perfect for indoor use. With basic materials and patience, anyone can make a pair at home — even beginners.
If you want, I can also:
-
Simplify this for a school project
-
Add illustrations descriptions
-
Rewrite it as an exam-ready answer
Watch video: