 by
by Below is a beginner-friendly, step-by-step tutorial on how to make a simple knitted snood (also called a neck warmer or cowl). This guide is written for absolute beginners, with clear explanations of tools, stitches, measurements, and helpful tips.
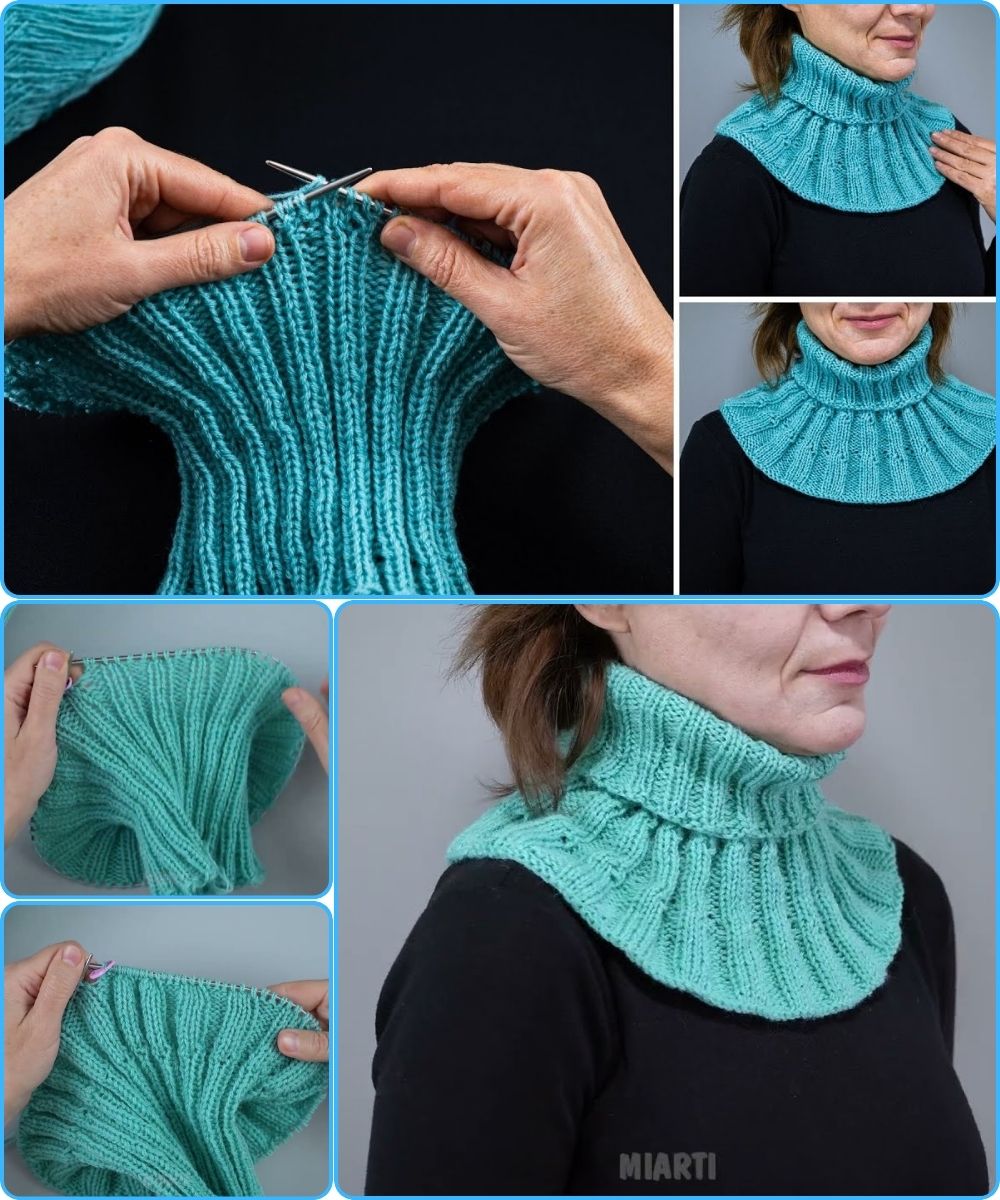
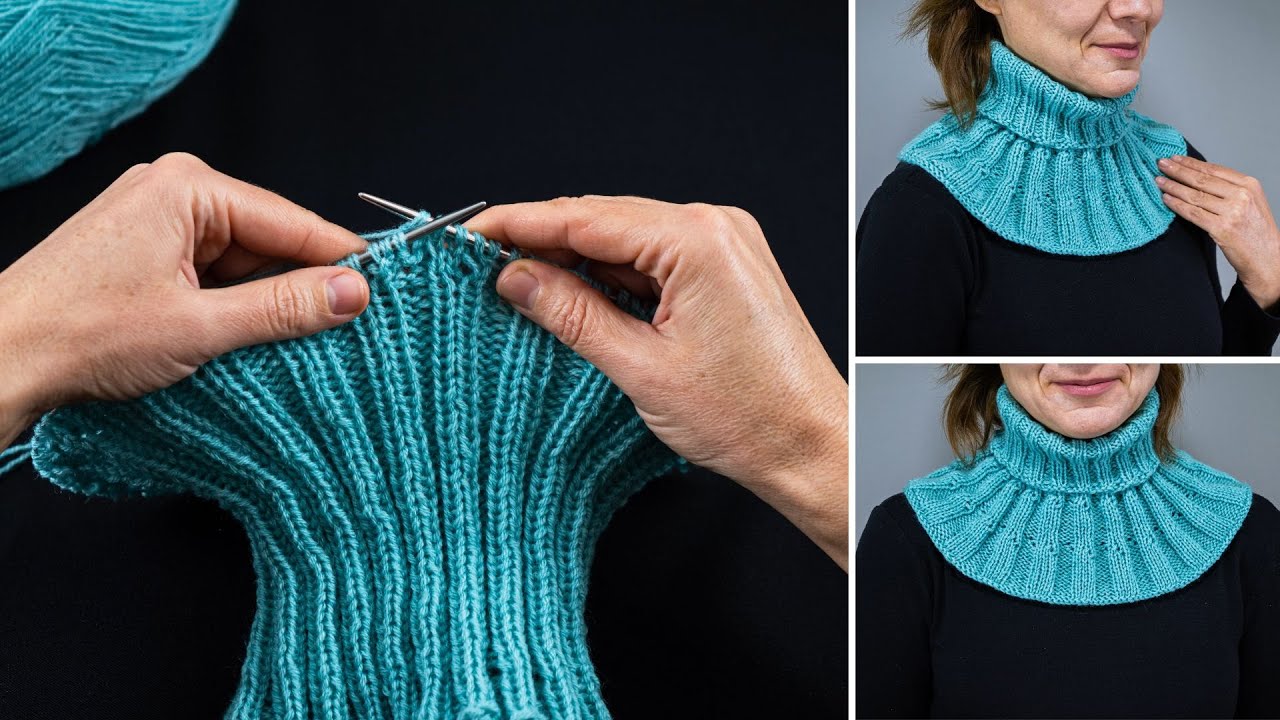
🧶 How to Make a Simple Knitted Snood for Beginners
A detailed, easy-to-follow tutorial!
A snood is one of the easiest and quickest knitting projects. It’s basically a cozy loop scarf—no shaping, no complex stitches, just a relaxing knit that looks great when finished!
🪡 What You’ll Need
Materials
-
Bulky or super chunky yarn (1–2 balls, ~100–150m total)
Thick yarn knits up quickly and hides mistakes—perfect for beginners. -
8mm–10mm circular knitting needles (40cm / 16″ cable)
Circular needles are used because the snood is knit in the round. -
A yarn needle (for weaving in ends)
-
Scissors
-
Stitch marker (optional but helpful)
🧵 Before You Begin: What You Need to Know
You only need two basic knitting skills:
-
Casting on
-
The knit stitch
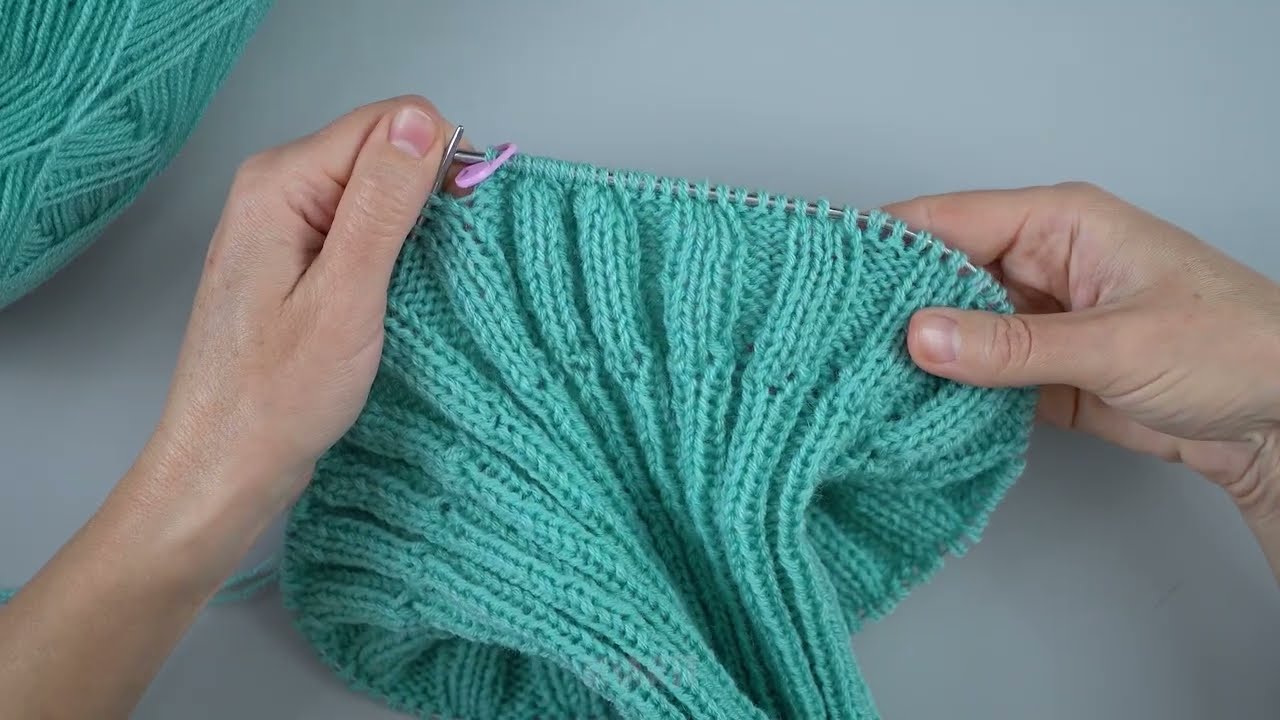
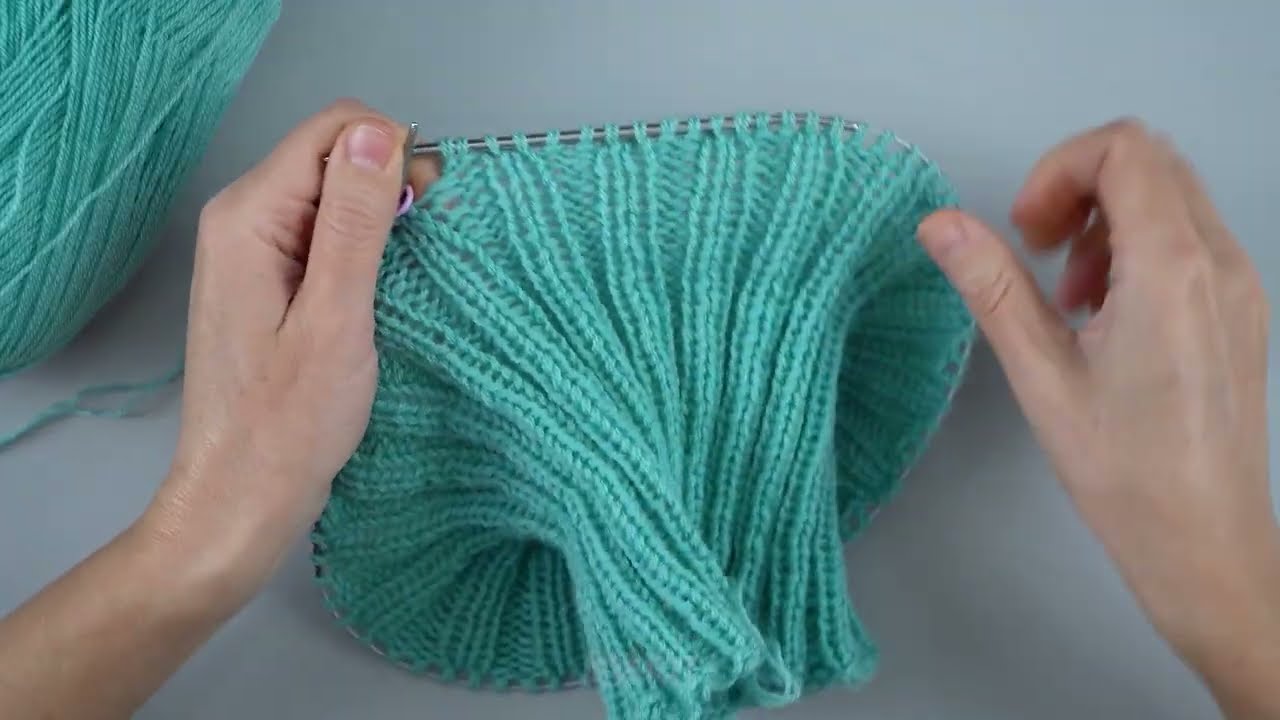
This snood uses stockinette stitch in the round, which means:
➡️ When knitting in the round, repeating only the knit stitch automatically creates stockinette!
🧣 Step-by-Step Tutorial
Step 1 — Cast On
Cast on about 44–52 stitches (depending how loose you want the snood).
Use the number that comfortably fits around your neck without being tight.
Tip:
Slip the stitches onto your circular needle and check if they form a loop big enough for your head to pass through.
Step 2 — Join in the Round
Slide all stitches to the cable, make sure they are not twisted, and place a stitch marker at the start of the round.
Hold working yarn in your right hand and knit into the first cast-on stitch.
You’re now knitting in a continuous circle!
Step 3 — Knit the Body of the Snood
Knit every stitch, every round.
This creates the soft, stretchy stockinette texture.
How long to knit:
-
For a standard snood: 20–25 cm (8–10″)
-
For a chunky, cozy snood: 30–35 cm (12–14″)
Tip:
Keep tension relaxed; chunky yarn looks best when not pulled too tight.
Step 4 — Bind Off
Once your snood reaches your desired height:
-
Knit two stitches.
-
Lift the first stitch over the second stitch and off the needle.
-
Knit one more stitch, and repeat until no stitches remain.
-
Cut the yarn, leaving a 15cm tail.
-
Pull the tail through the last loop to secure.
Step 5 — Weave in the Ends
Use your yarn needle (or fingers if you don’t have one) to weave the yarn tails into the inside of the snood.
This makes it neat and durable.
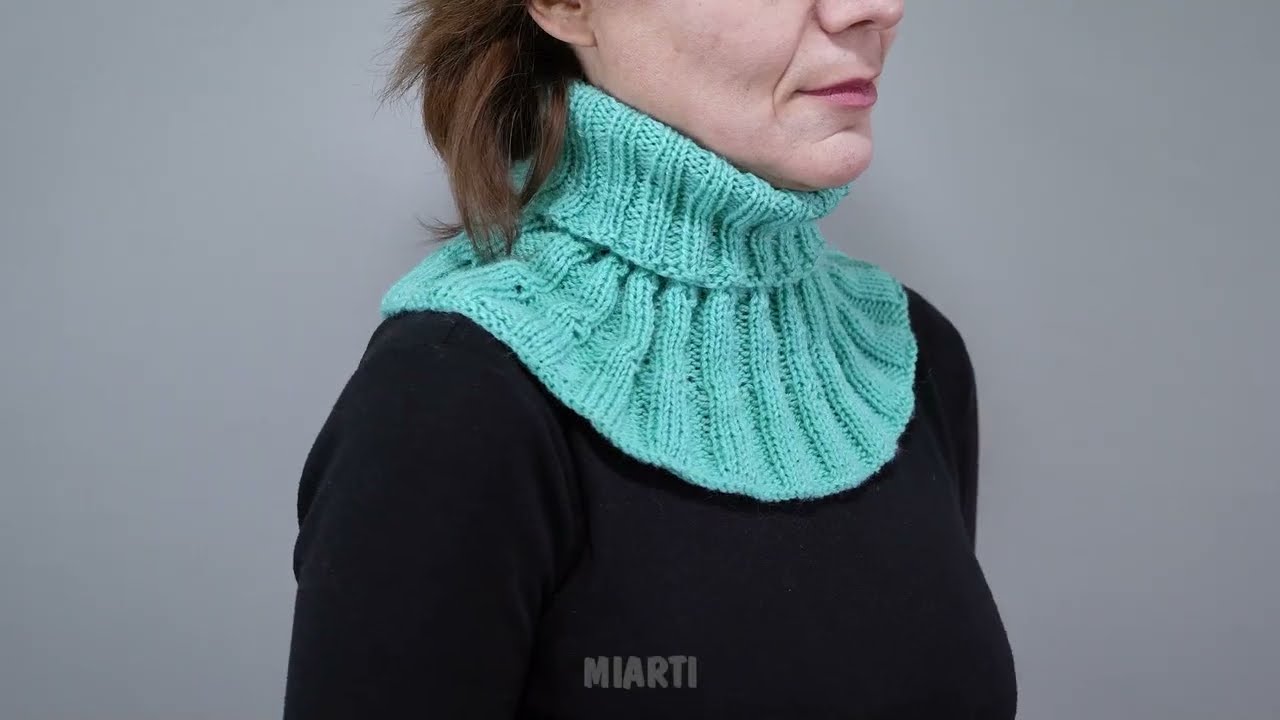
🎉 Your Snood Is Finished!
You now have a warm, stylish accessory that’s handmade and unique. This simple pattern is perfect for practicing:
-
Tension control
-
Knitting in the round
-
Consistency of stitches
And once you get comfortable, you can customize it with:
-
Ribbing (knit 1, purl 1)
-
Color changes
-
Cables
-
Decorative edges
📝 Quick Pattern Summary (for Printing)
Materials:
Chunky yarn, size 8–10mm circular needles, stitch marker, scissors, yarn needle.
Pattern:
-
CO 44–52 sts.
-
Join to work in the round.
-
Knit all stitches until piece measures 20–35 cm.
-
Bind off loosely.
-
Weave in ends.
If you want, I can also provide:
📌 A different stitch version (ribbed, seed stitch, garter)
📌 A kids’ size or oversized version
📌 A printable PDF
📌 A crocheted snood tutorial
Just tell me!
Watch video: