 by
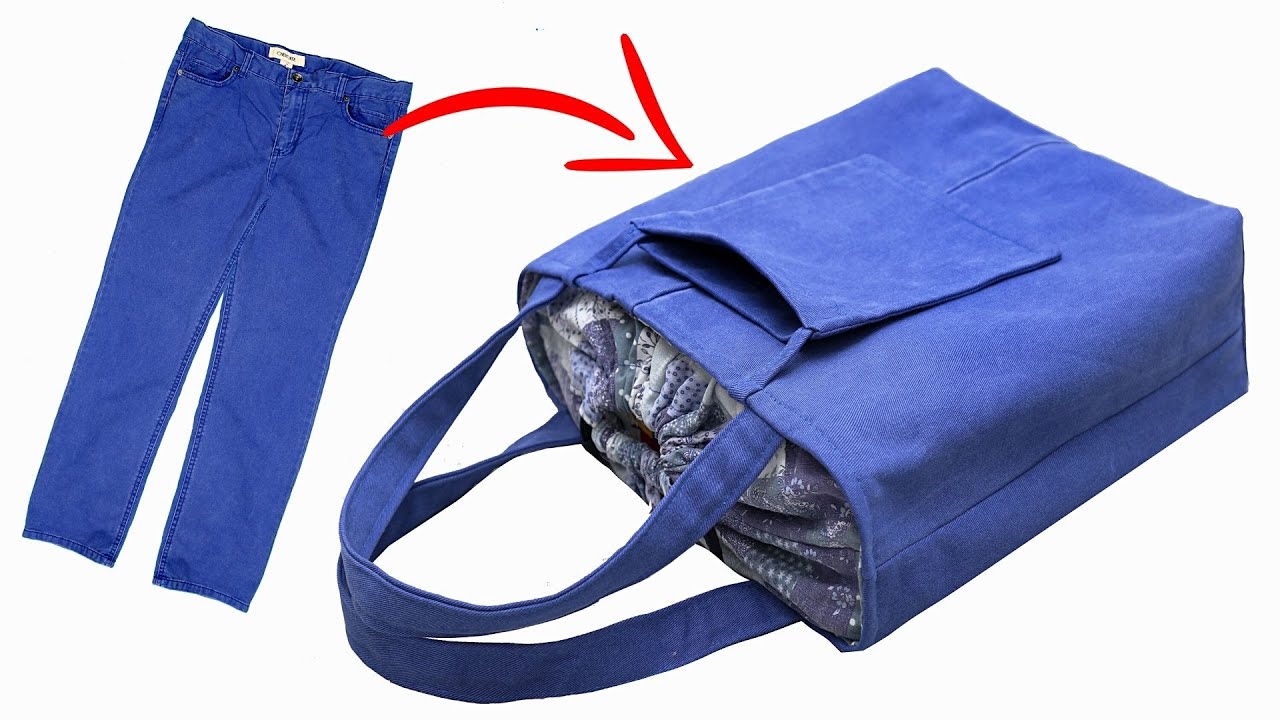
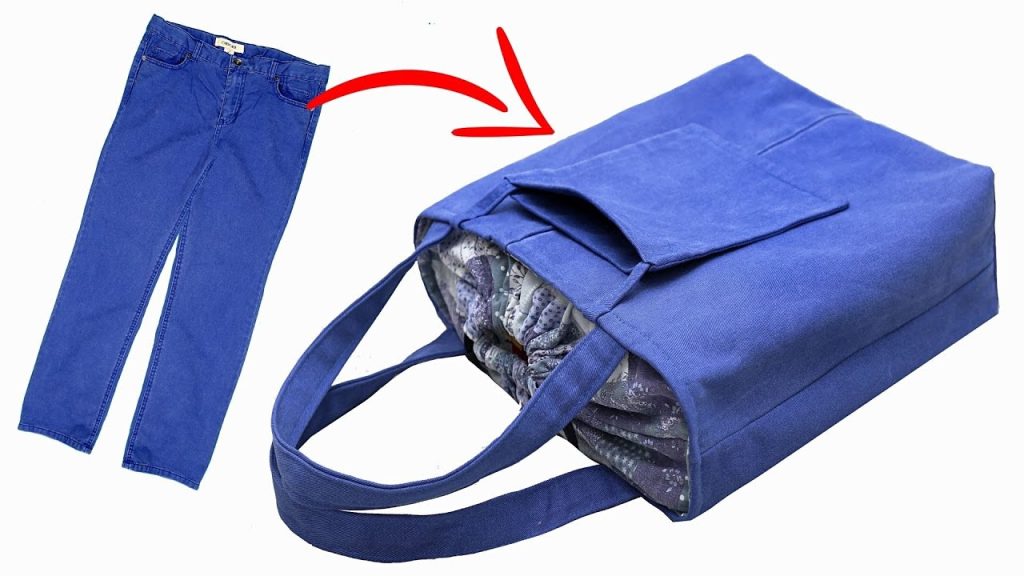
by Imagine transforming a pair of old denim jeans into a practical, yet highly stylish shoulder bag—structured enough to stand on its own, with a secure zippered closure and a comfortable, adjustable strap. This detailed tutorial, inspired by the fantastic “How to sew a bag with your own hands – sew a convenient jeans bag!” video from Miarti – Reuse, will guide you through creating this charming, multi-functional accessory. The brilliance of this design is its seamless integration of denim’s natural durability with a simple, modern boxy shape.
Get ready to breathe new life into textile waste and create a personalized denim bag that’s perfect for daily errands, school, or weekend outings!
Why This “Structured Denim Shoulder Bag” Will Be Your New Favorite
This design is a brilliant fusion of sustainability and function, offering several compelling reasons to make it your next sewing project:
- Ultimate Upcycling: Repurpose sturdy denim, turning an old pair of jeans into a long-lasting, heavy-duty bag.
- Boxy & Structured: The use of heavy interfacing and a continuous side/base panel gives the bag a crisp, professional, 3D shape.
- Convenient & Secure: Features a full zippered top, keeping contents safe, and a comfortable shoulder strap.
- Seamless Construction: The design utilizes a single piece for the base and sides, eliminating bulky corner seams at the bottom.
- Beginner-Friendly: The pattern relies primarily on straight stitching, making it very accessible for anyone familiar with basic sewing.
Materials You’ll Need:
Gathering your upcycled materials is the first step. The video uses dark blue denim and a contrasting solid lining.
- One Pair of Old Denim Jeans: (For the main body and strap.)
- Exterior Fabric (Cut from Jeans):
- Front/Back Panels: 2 pieces, 40 cm x 30 cm.
- Side/Base Panel: 1 piece, 100 cm x 10 cm.
- Lining Fabric (Cotton):
- Front/Back Panels: 2 pieces, 40 cm x 30 cm.
- Side/Base Panel: 1 piece, 100 cm x 10 cm.
- Thick Fusible Interfacing/Felt Wadding:
- Front/Back Wadding: 2 pieces, 40 cm x 30 cm. (Essential for structure.)
- Side/Base Wadding: 1 piece, 100 cm x 10 cm.
- Zipper: 1 piece, 35 cm long.
- Shoulder Strap: 1 piece, 120 cm long x 3 cm wide. (Cut from denim scraps/webbing.)
- D-Rings/Rectangular Rings: 2 pieces (3 cm wide).
- Matching Thread: High-quality denim/polyester thread.
- Basic Sewing Tools: Sewing machine, heavy-duty needle (for denim), fabric scissors or rotary cutter, ruler, fabric marker, pins or clips, and an iron.
Step-by-Step Tutorial: Crafting Your “Structured Denim Shoulder Bag”

This tutorial is broken down into four efficient phases: preparing the structured panels and strap, assembling the side/base loop, constructing the bag body, and the final assembly. All seam allowances are 1 cm unless otherwise stated.
Phase 1: Preparing the Denim Panels and Long Strap
The structure is established by stabilizing all exterior pieces with wadding.
- Deconstruct & Cut Jeans: Cut two main rectangular panels (40 cm x 30 cm) and one long strip (100 cm x 10 cm) from the jeans.
- Fuse Interfacing: Iron the Thick Wadding onto the wrong side of ALL Exterior pieces (Front/Back panels and Side/Base panel). This creates a single, sturdy, structured unit for the exterior.
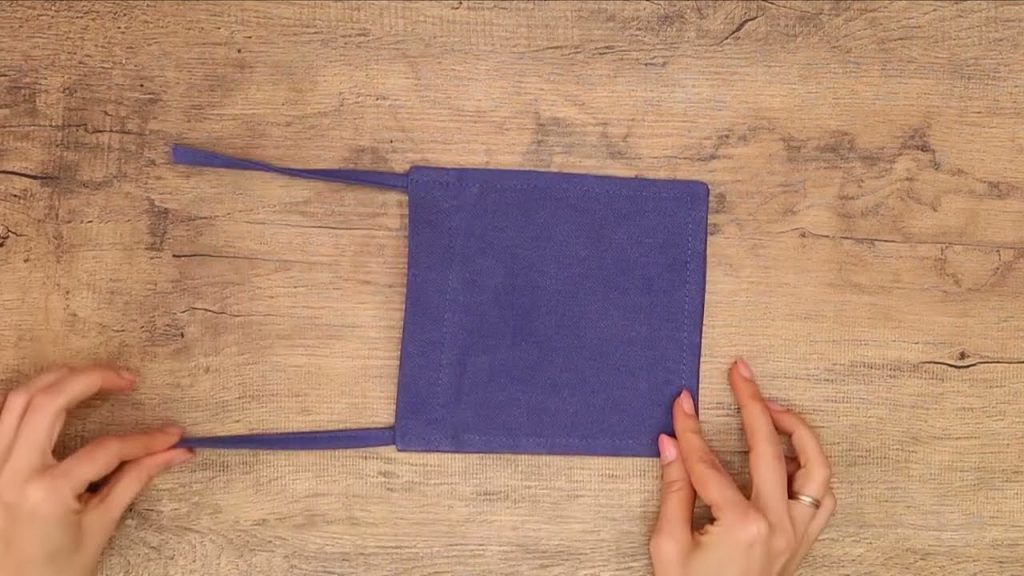
- Prepare Shoulder Strap: Take the 120 cm x 3 cm strap piece. Fold the long edges inward and topstitch along the long edges to create a finished strap. Set aside.
- Prepare D-Ring Tabs: Cut two small pieces of denim (10 cm x 4 cm). Thread a D-ring onto each, fold the tabs in half, and baste the raw ends together. Set aside.
Phase 2: Assembling the Side/Base Loop and Zipper
The exterior is pieced together before attaching the lining.
- Sew Exterior Side/Base Loop: Take the long 100 cm x 10 cm Exterior Side/Base Panel. Fold it in half along the 100 cm length, right sides together, and stitch the two 10 cm ends to form a loop. Press the seam open.
- Sew Exterior Body to Loop:
- Pin the long Exterior Side/Base Loop to the perimeter of one Front Exterior Panel (40 cm x 30 cm), right sides together. Start pinning at a corner, matching the side loop seam to the center of the bottom 40 cm edge. Stitch all around the perimeter to attach the first main panel.
- Repeat the process to attach the Back Exterior Panel to the remaining perimeter of the Side/Base Loop. This creates the full 3D exterior shell.

Phase 3: Constructing the Lining and Attaching the Zipper
The lining is assembled, and the zipper is integrated into the bag’s top opening.
- Sew Lining Body: Repeat the entire process from Phase 2 (steps 1 & 2) using the Lining Fabric pieces. CRUCIAL STEP: When sewing the perimeter of the lining, leave a 15 cm turning opening along the center of one side seam (on the 30 cm edge) of the side/base lining loop.
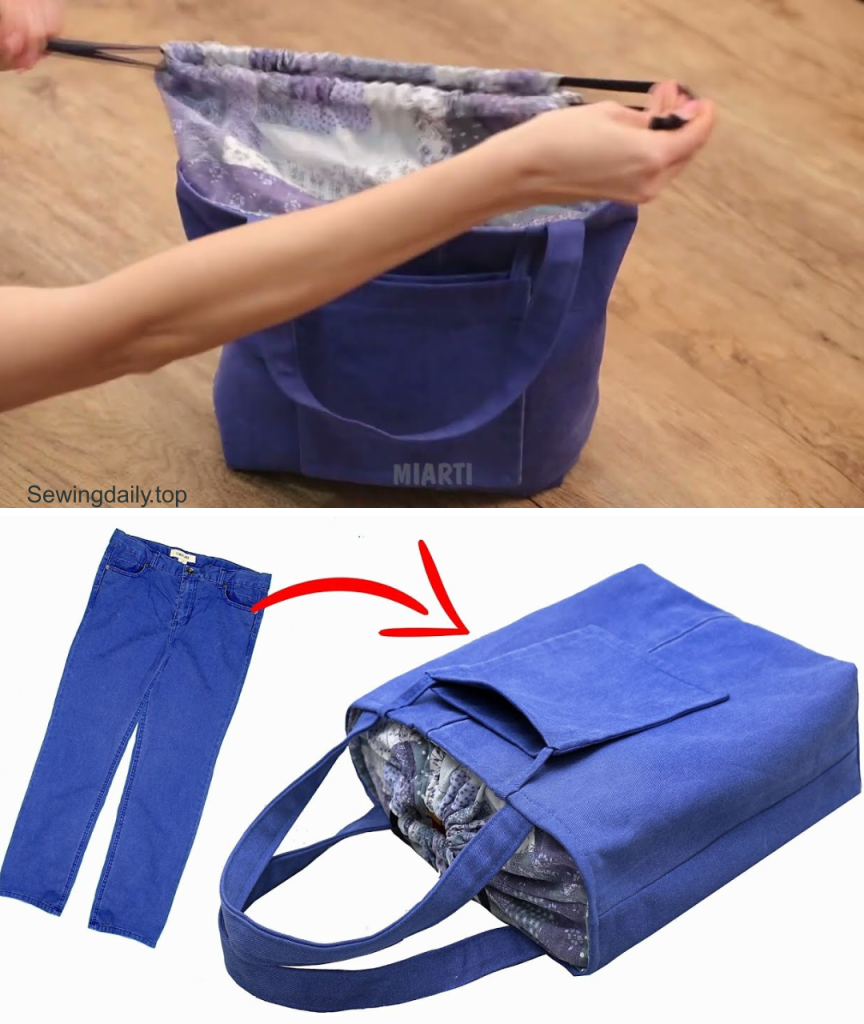
- Install Zipper:
- Keep the Exterior Bag right side out. Keep the Lining Bag wrong side out.
- Insert the Exterior Bag into the Lining Bag, aligning the top raw edges. The two bags are now right sides together.
- Pin the raw edge of the 35 cm Zipper tape to the top perimeter, centering it.
- Attach D-Ring Tabs: Pin the prepared D-Ring tabs into the top perimeter seam at the two sides (near the corner where the side panel meets the front/back panel).
- Stitch the zipper and D-ring tabs to the entire top perimeter. Leave a 10 cm unstitched gap on the top perimeter away from the zipper ends (if the zipper is 35 cm, leave a 5 cm gap on either side of the center) for turning/finishing.
Phase 4: Final Assembly and Finishing
The bag is turned and finished to reveal its structured shape.
- Turn Right Side Out: Carefully pull the entire bag right side out through the 15 cm turning hole left in the lining.
- Close Lining Hole: Stitch the turning hole in the lining closed (by machine or hand). Push the lining neatly inside the exterior.
- Finish Top Opening: Neatly fold the raw edges of the 10 cm top gap inward and pin. Stitch this gap closed with a strong topstitch, reinforcing the seam where the zipper begins and ends.
- Topstitch Perimeter: Press the entire top edge flat. Topstitch all around the top perimeter (where the zipper is sewn in) to secure the lining and exterior layers and give a crisp, professional finish.
- Attach Strap: Clip the finished 120 cm Shoulder Strap to the D-Rings on the sides of the bag.
Your unique “Structured Denim Shoulder Bag” is complete! This durable and stylish accessory is ready to hit the road.
Video tutorial: