 by
by Below is a clear, detailed, beginner-friendly guide on how to knit simple, cosy slippers without any seam on the heel or sole. These slippers are constructed in one piece, usually starting at the heel or toe and shaped to wrap smoothly around the foot.
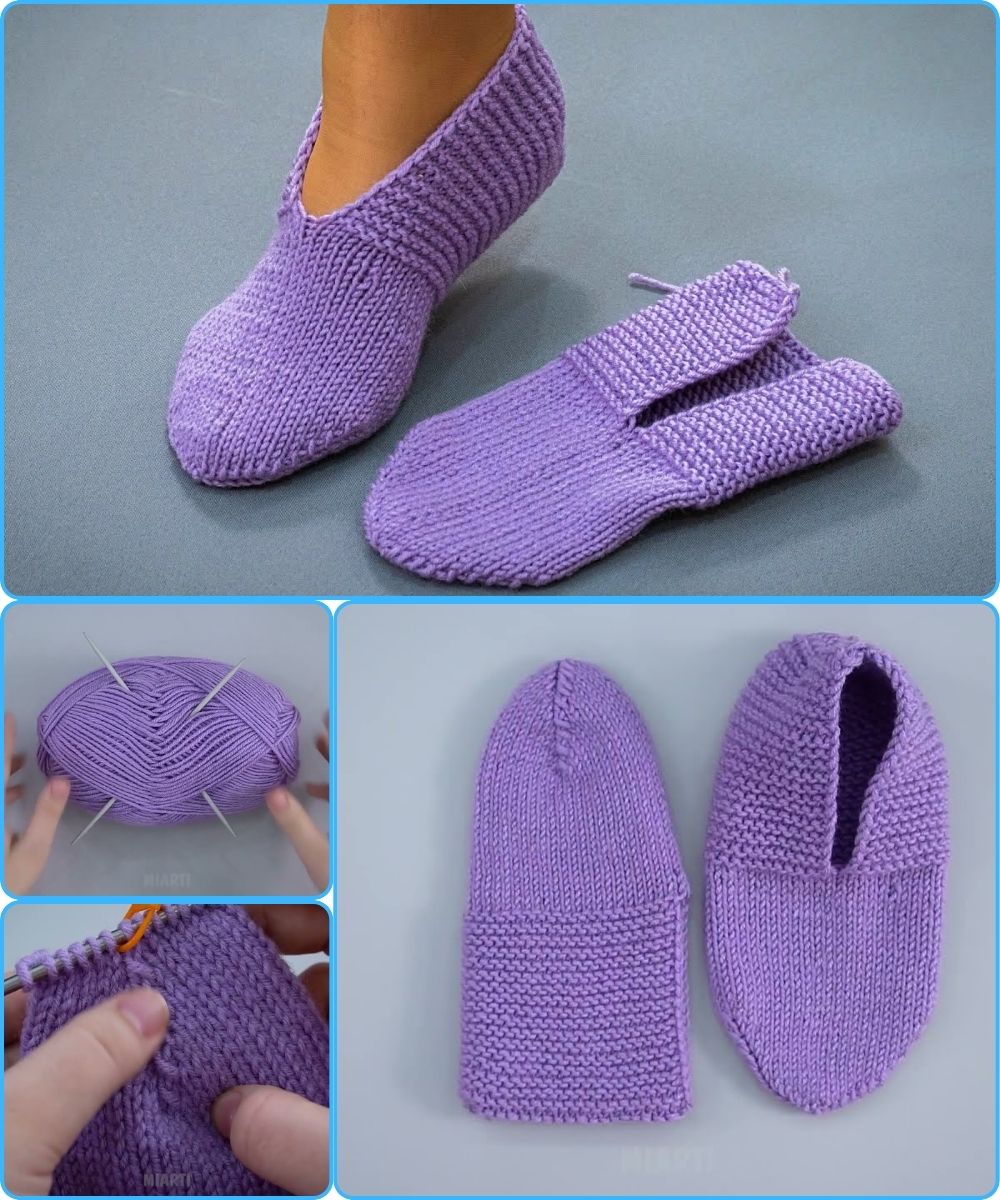
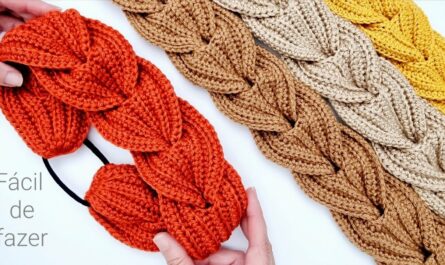
🧶 How to Make Simple Seamless Slippers (Knitted Flat, No Heel/Sole Seam)
Cosy, comfortable, and beginner-friendly!
These slippers are worked in a single piece using basic stitches. When finished, you only join one small seam on the top of the foot (the “hole”), keeping the heel and sole completely seam-free.
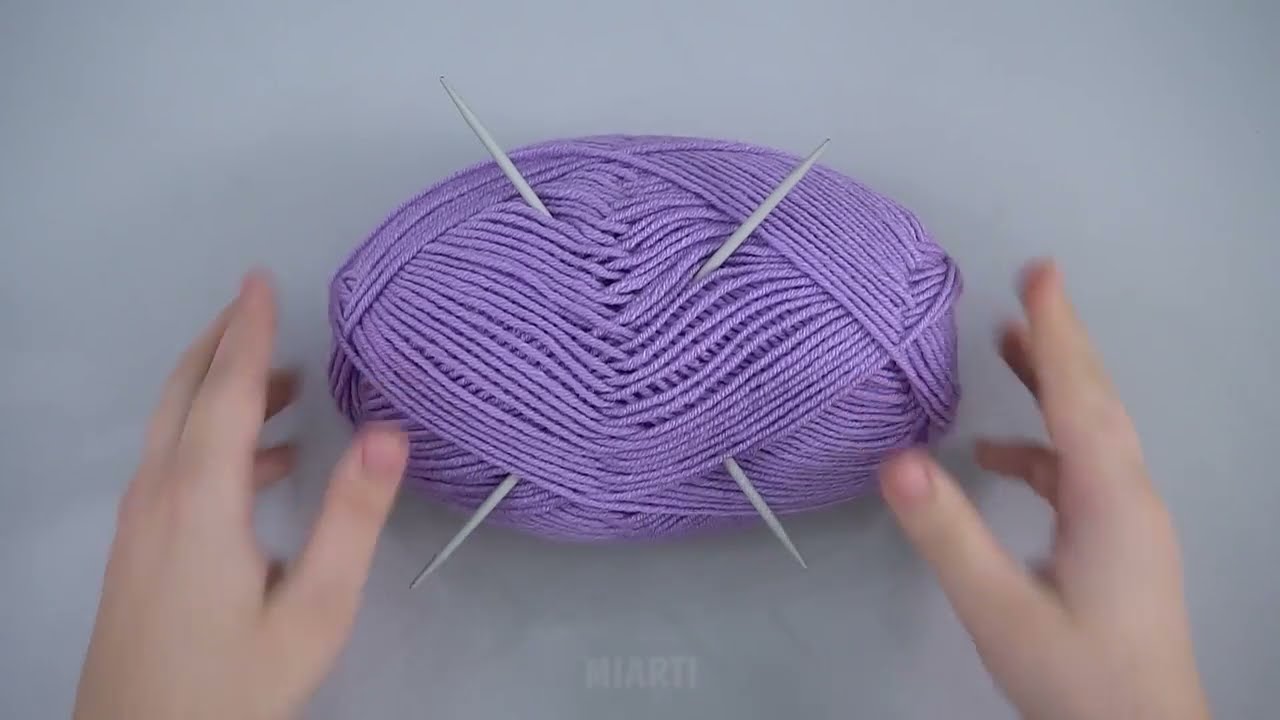
⭐ Materials
-
Worsted-weight yarn (medium/4) – approx. 80–120 g depending on size
-
Knitting needles: 4–5 mm (US 6–8) straight or circular used flat
-
Tapestry needle
-
Scissors
-
Optional: stitch markers
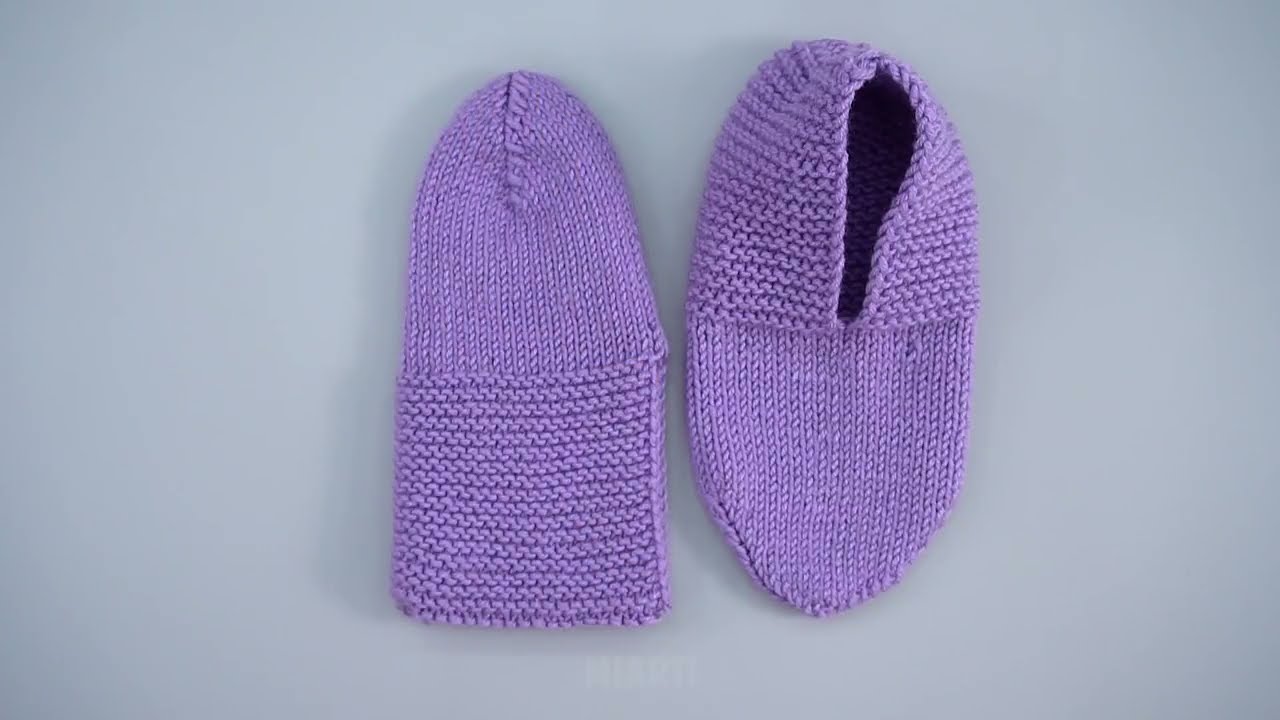
🧦 Pattern Overview
This pattern is shaped like a long rectangle that increases and decreases around your foot.
The heel is fitted with short increases; the toe is shaped by decreases.
You sew together only a small opening on the top.
📏 Sizing Guide
Choose the approximate cast-on depending on foot width:
| Foot Size | Cast On |
|---|---|
| Small (US 5–6 / EU 35–36) | 28–30 stitches |
| Medium (US 7–8 / EU 37–38) | 32–34 stitches |
| Large (US 9–10 / EU 39–41) | 36–38 stitches |
| Extra Wide | Add +2–4 stitches |
Length is adjusted while knitting.
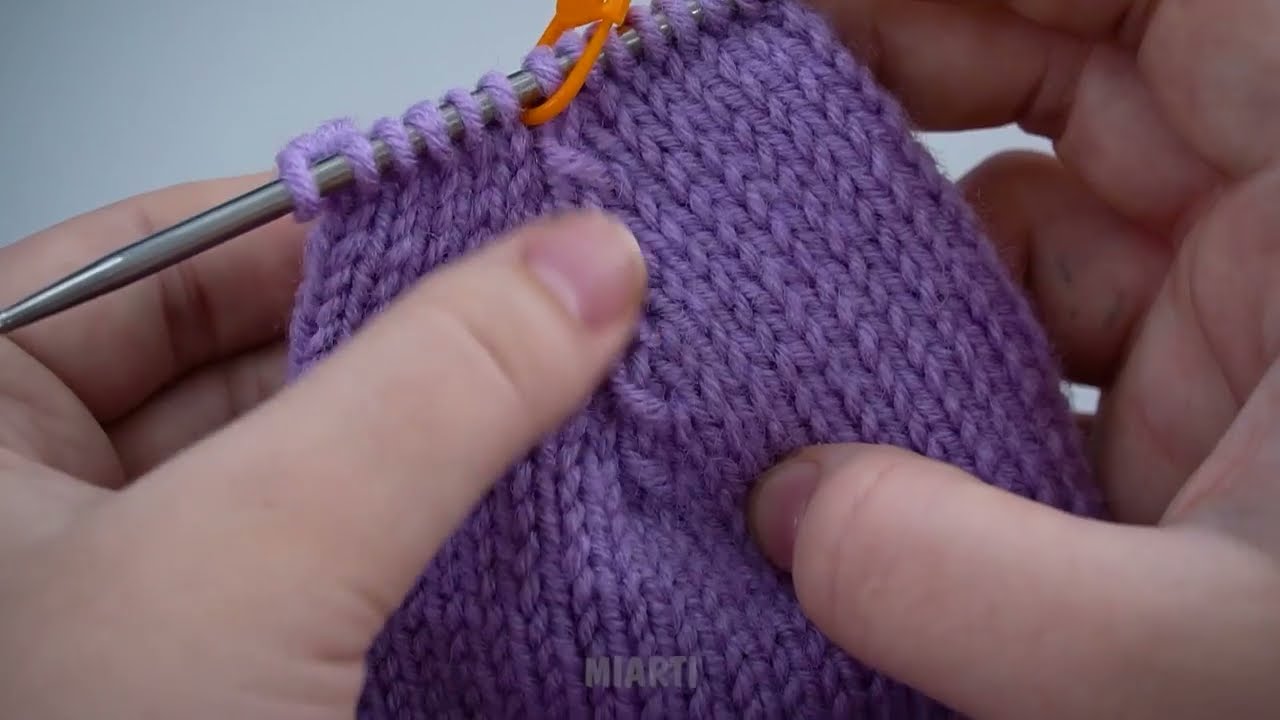
🧵 Step-by-Step Instructions
1. Cast On & Knit the Back Heel
You begin at the very back of the heel.
This makes the heel seamless.
-
Cast on your chosen number of stitches.
-
Work in garter stitch (knit every row) for 10–14 rows, depending on how cupped you want the heel.
-
Thicker yarn or wider feet → 12–14 rows
-
Narrower heels → 8–10 rows
-
This forms a padded, stretchy heel base.
2. Increase for the Sides of the Foot
Now the slipper begins to widen and wrap around the sides of the foot.
Repeat the following for 6–10 rows:
-
Row 1: K1, M1 (make one), knit to last stitch, M1, K1
-
Row 2: Knit all
This adds 2 stitches each increase row.
Increase until the width matches the widest part of your foot (ball of foot).
3. Knit Straight for the Upper Foot
Now knit even (no increases) until the piece measures:
-
Approx. 4–5 in / 10–12 cm from heel for smaller sizes
-
Approx. 5–6 in / 12–15 cm for larger sizes
Hold the fabric around the top of your foot to check the fit.
4. Decrease for the Toe
Mirror the increases to shape the toe.
Work the following decrease rows:
-
Row 1: K1, K2tog, knit to last 3 stitches, SSK, K1
-
Row 2: Knit all
Repeat these two rows until you return to your original cast-on stitch count.
This makes a tidy, rounded toe.
5. Knit the Toe Cap
Once you’re back to the starting number of stitches:
-
Knit straight for 4–8 rows, depending on how roomy you want the toe area.
6. Bind Off
Bind off loosely so the edge remains stretchy.
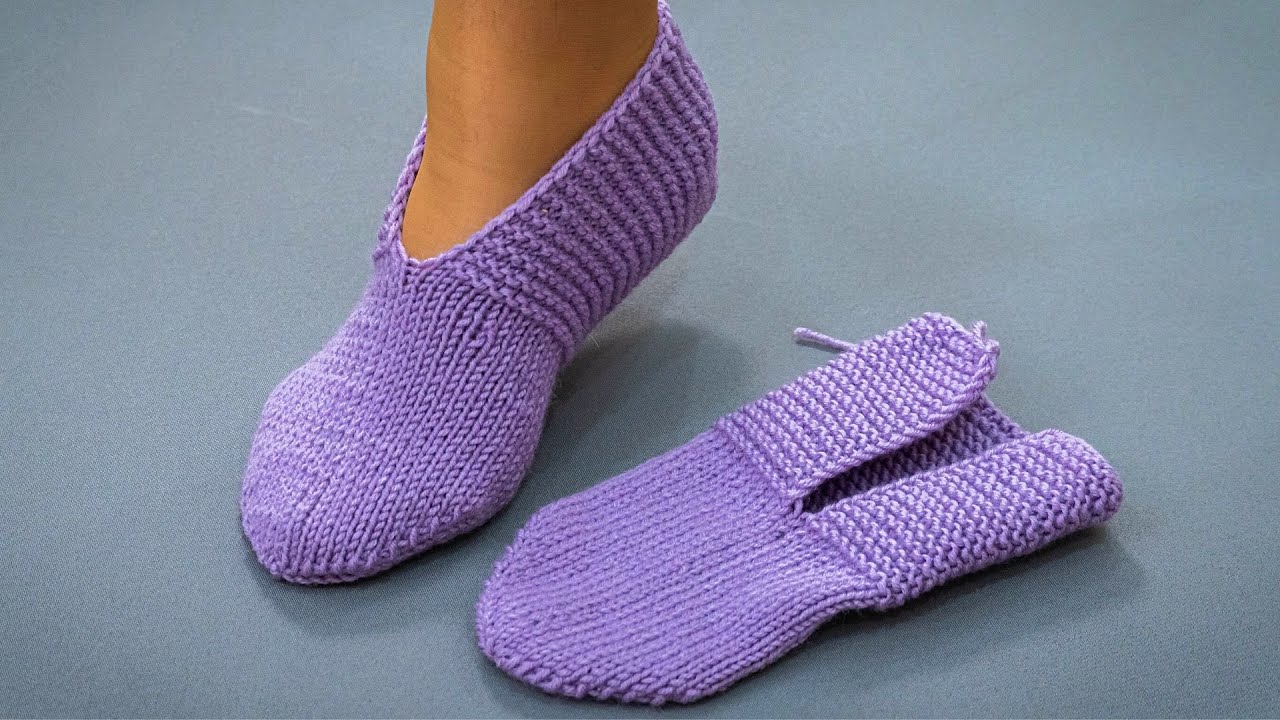
🧵 7. Sew Only the Top Opening
This is the only seam in the whole slipper!
Fold the slipper in half (right sides together).
Sew from the toe forward by about 2.5–3 in / 6–8 cm or until it fits your foot snugly.
Leave the ankle/instep area open like a ballet slipper.
Turn right side out.
🎀 Optional Add-Ons
-
Add a button or pompom at the top
-
Crochet a decorative border around the opening
-
Add non-slip dots on the bottom using fabric puff paint
-
Knit the top seam instead of sewing it (three-needle bind-off)
👣 How to Wear & Fit
These slippers stretch naturally:
-
Put your foot in the heel cup
-
Pull the front up over your toes
-
Adjust the top seam length (you can resew shorter or longer)
🧦 Done! Enjoy Your Seamless Cosy Slippers
They are warm, soft, easy to knit, and make wonderful gifts.
If you want, I can also provide:
-
A chart/diagram
-
A video-style step list
-
Versions in rib stitch, stockinette, or magic-loop toe-up
-
Child, men’s, or extra-stretchy size versions
Just tell me!
Watch video: