 by
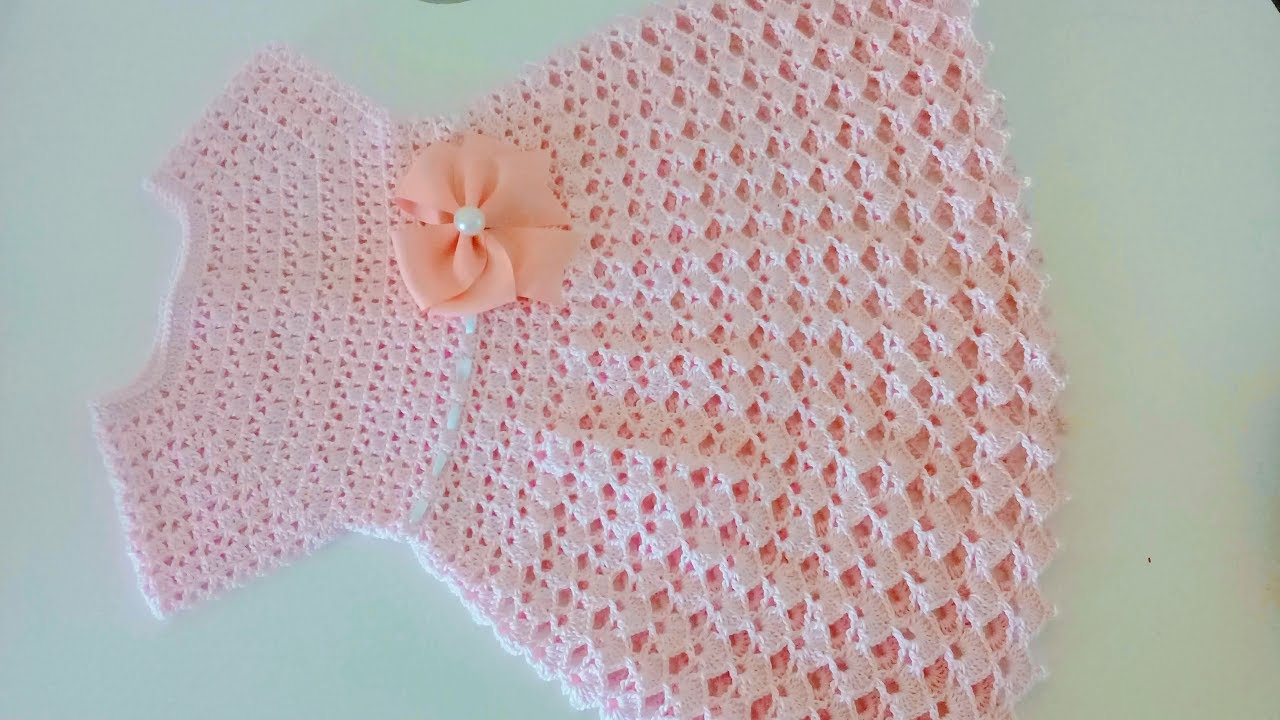
by Crocheting a dress can be a rewarding project, and there are many “easy” patterns available for beginners. While the term “knitting” is sometimes used interchangeably with “crochet” in casual conversation, it’s important to note that crochet and knitting are two distinct crafts. Knitting uses two needles to create loops, while crochet uses a single hook. This guide will focus on crochet dress making.
Here’s a detailed guide on how to make a crochet dress, focusing on easy methods for beginners:
Understanding the Basics for an Easy Crochet Dress
For an easy crochet dress, especially for beginners, you’ll often find patterns that use:
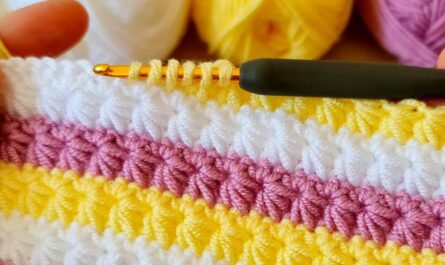
- Simple stitches: Primarily chain (ch), single crochet (sc), double crochet (dc), and half double crochet (hdc). Slip stitch (sl st) is also essential for joining.
- Basic shapes: Often working in the round for the bodice and skirt, or in flat panels that are sewn together.
- Minimal shaping: Less intricate decreases or increases, making it easier to follow.
- Common construction: Many easy dresses start from the top (yoke) and work downwards, or are made in two main sections (bodice and skirt) that are joined.
Materials You’ll Need
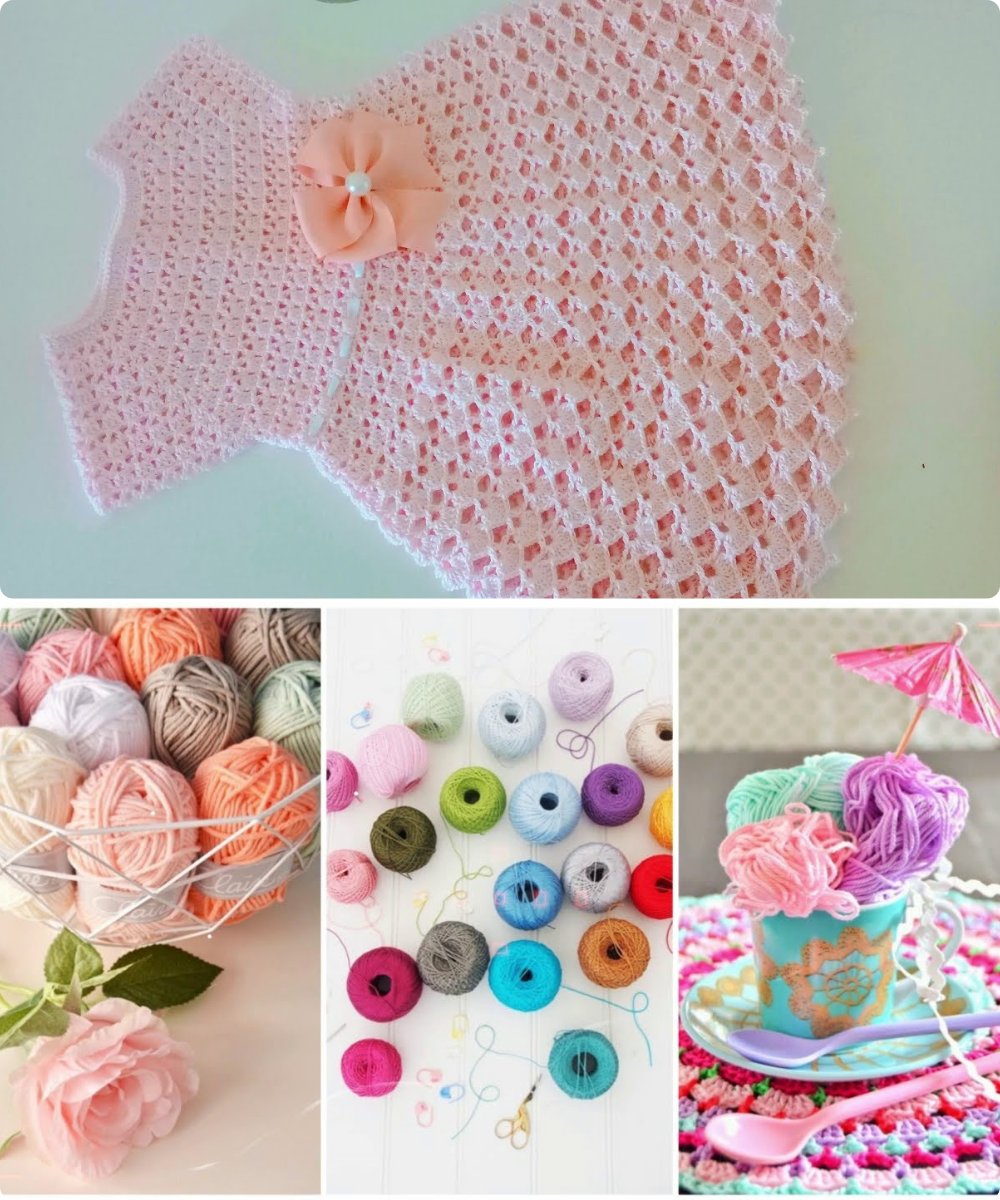
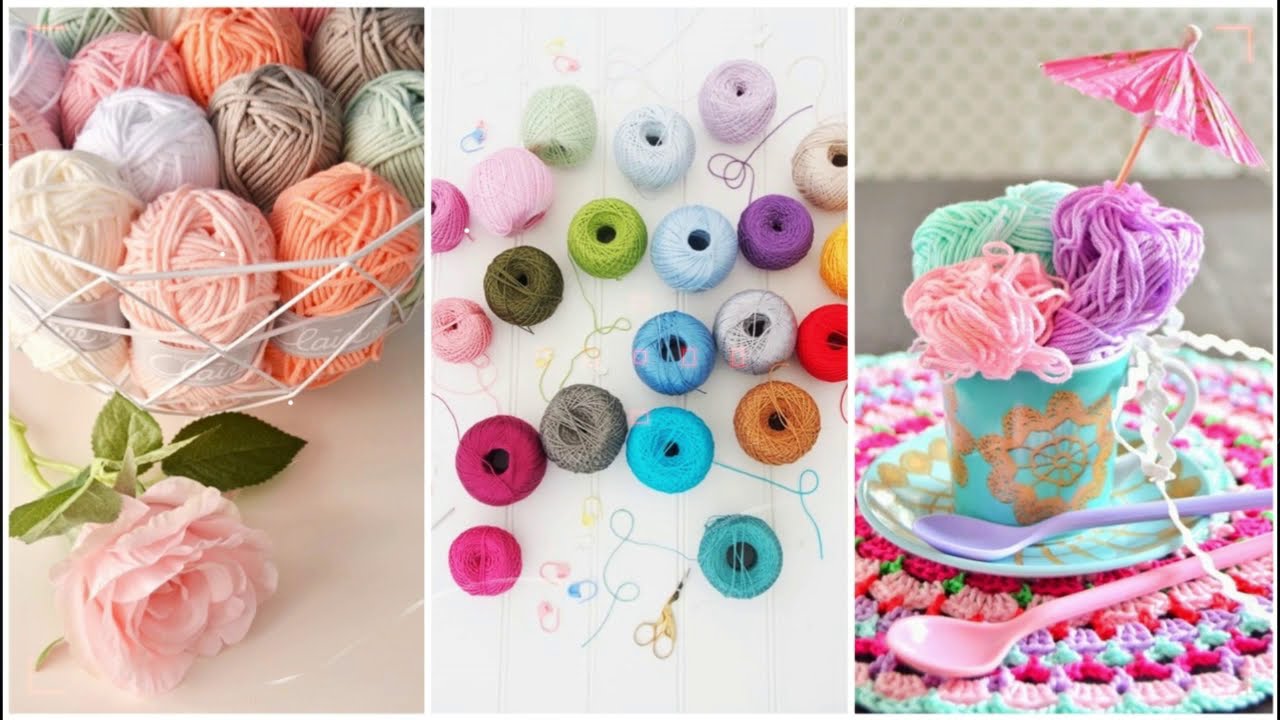
- Yarn:
- Fiber: For summer dresses, cotton or bamboo are excellent choices as they are breathable and drape well. Acrylic is also a good, affordable, and durable option for beginners.
- Weight: Lightweight yarns like sport weight (weight 2) or light worsted (weight 3) are generally recommended for dresses as they create a flowy fabric. Check your pattern for specific recommendations.
- Quantity: This will vary greatly depending on the size of the dress and the pattern. Always buy a little more than you think you’ll need to be safe.
- Crochet Hook:
- Size: The yarn label will recommend a hook size, but the pattern will specify the exact size to use. It’s crucial to make a gauge swatch (see below) to ensure your hook size matches the pattern’s tension. Common sizes for dresses range from 3.5mm to 5.5mm (US E-4 to I-9).
- Scissors: For cutting yarn.
- Yarn Needle (Tapestry Needle): For weaving in ends and seaming if necessary.
- Measuring Tape: For taking measurements and checking your work.
- Stitch Markers: Very helpful for marking rounds, increases/decreases, or specific stitches, especially when working in the round.
Essential Crochet Stitches for Beginners
Before you start, make sure you’re comfortable with these basic stitches:
- Chain (ch): The foundation of almost all crochet projects.
- Slip Stitch (sl st): Used for joining rounds, moving yarn across stitches invisibly, or for decorative purposes.
- Single Crochet (sc): A compact and dense stitch.
- Half Double Crochet (hdc): Taller than single crochet, shorter than double crochet.
- Double Crochet (dc): A common, versatile, and relatively tall stitch, creating a looser fabric than sc.
If you’re unsure about any of these, there are many free video tutorials online that can walk you through them.
Step-by-Step Guide to Making a Crochet Dress (General Approach)
Most easy crochet dress patterns will follow a similar structure. This guide outlines a common approach, but always refer to your chosen pattern for specific stitch counts and instructions.
1. Choose Your Pattern & Yarn
- Find a “beginner-friendly” or “easy” crochet dress pattern. Websites like LoveCrafts, Pinterest, Ravelry, and many crochet blogs offer free and paid patterns. Look for patterns with clear instructions, stitch diagrams (if you like them), and good reviews.
- Select your yarn based on the pattern’s recommendations and your desired look and feel.
2. Make a Gauge Swatch (Crucial!)
This is the most important step to ensure your dress fits correctly.
- Follow the pattern’s instructions for the gauge swatch. It will tell you to crochet a small square (e.g., 4×4 inches) using a specific stitch and hook size.
- Measure your swatch. Compare your stitch and row count per inch to the pattern’s specified gauge.
- Adjust your hook size if necessary:
- If your swatch is smaller than the pattern’s gauge (too many stitches/rows per inch), your stitches are too tight. Go up a hook size.
- If your swatch is larger than the pattern’s gauge (too few stitches/rows per inch), your stitches are too loose. Go down a hook size.
- Repeat until your gauge matches.
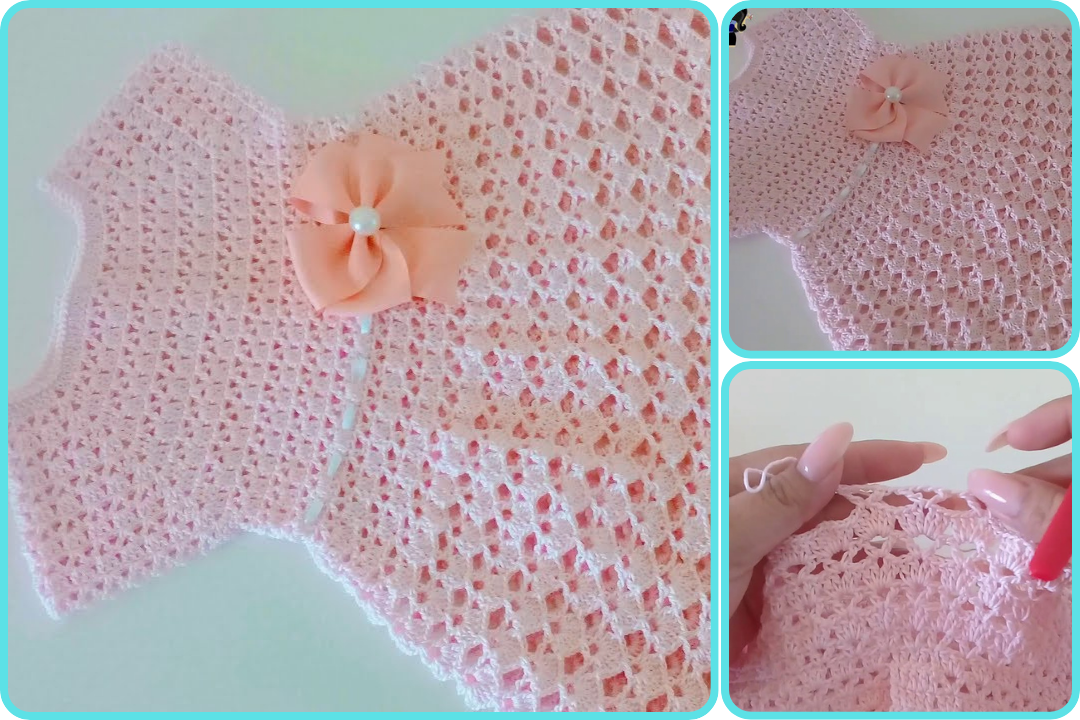
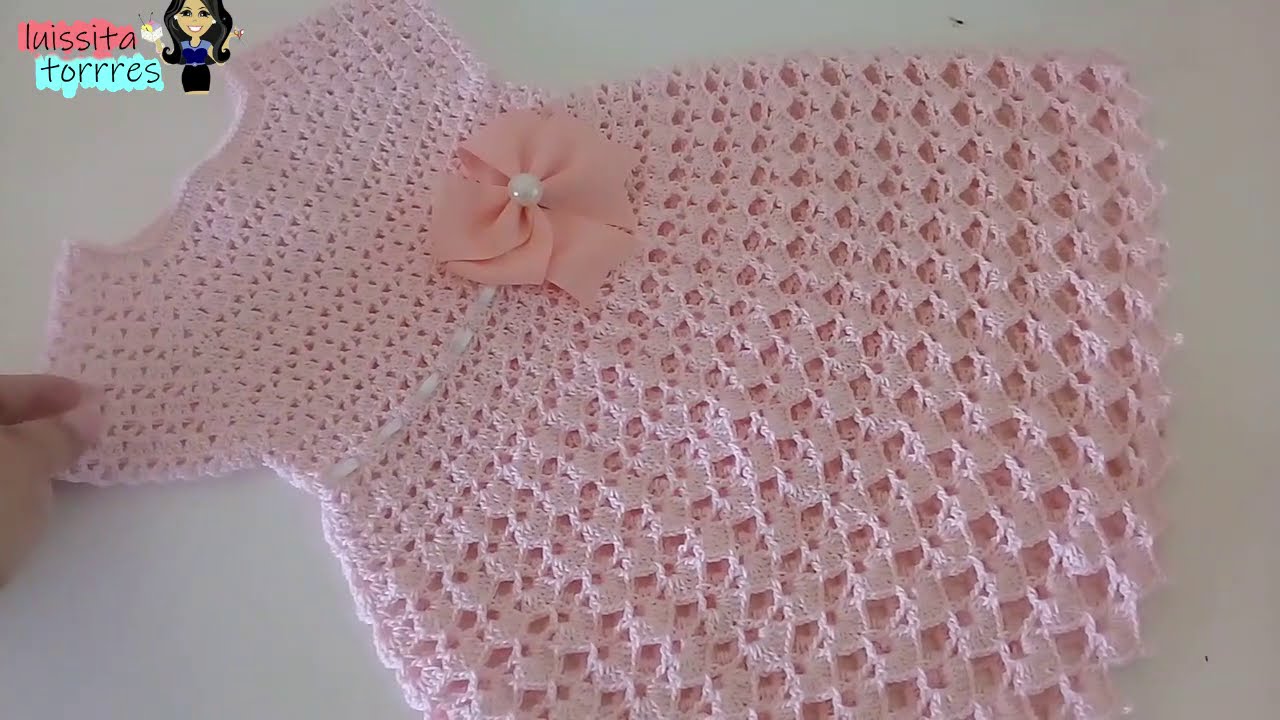
3. Crocheting the Bodice
The bodice forms the upper part of the dress. Many easy dresses are worked from the top down.
- Foundation Chain: Start by chaining enough stitches to go around your bust or neckline (depending on the pattern’s design). You’ll usually join this chain with a slip stitch to form a circle. Make sure the chain isn’t twisted!
- Working in Rounds: Most bodices are worked in the round. This means you’ll continue crocheting in a spiral or join each round with a slip stitch and chain up for the next round.
- Shaping the Yoke (if top-down): If you’re starting from the neckline, you’ll typically increase stitches evenly in the initial rounds to create the “yoke” shape that sits across your shoulders and chest.
- Creating Armholes: Once the yoke is wide enough, the pattern will instruct you to skip a section of stitches (for the armholes) and continue crocheting across the front and back sections. You might chain a few stitches to bridge the gap over the armhole.
- Torso: Continue crocheting in rounds until the bodice reaches your desired length (e.g., to your waist or empire line). You may need to decrease stitches slightly for shaping, or keep it straight for a looser fit.
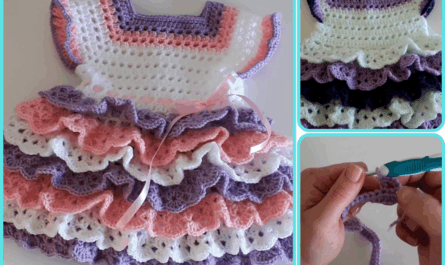
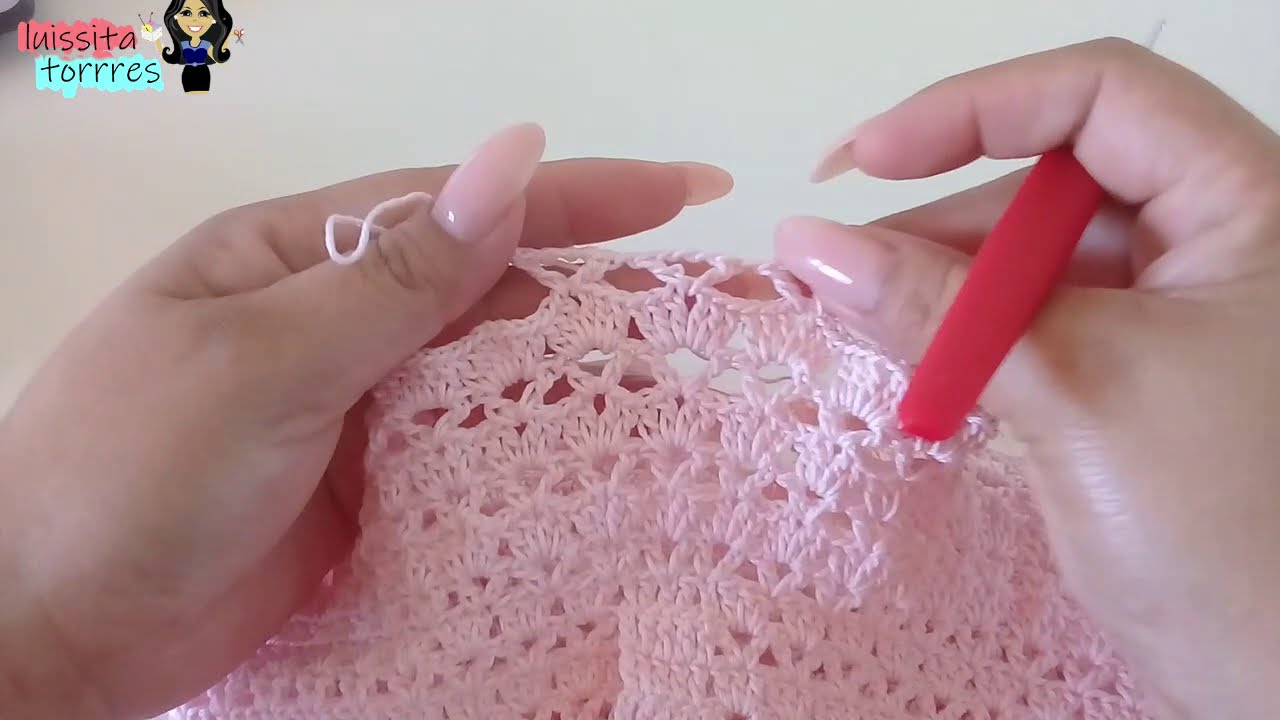
4. Crocheting the Skirt
The skirt is usually worked directly from the bottom of the bodice.
- Joining Yarn (if separate): If your bodice and skirt are made separately, you’ll join your yarn to the bottom edge of the bodice.
- Increasing for Flare: To create a flowy dress, you’ll need to increase stitches as you work down the skirt. The pattern will specify where and how often to increase (e.g., increase every few stitches in every few rounds, or in specific sections).
- Stitch Pattern: You can continue with the same stitch pattern as the bodice or switch to a new one for visual interest. Simple stitches like double crochet or a simple shell stitch pattern work well for the skirt.
- Length: Continue crocheting until the skirt reaches your desired length (mini, knee-length, midi, maxi).
5. Adding Sleeves (Optional)
Many easy dress patterns are sleeveless or have very simple sleeves.
- Joining Yarn: Attach yarn around the armhole opening.
- Working in Rounds or Rows: Sleeves can be worked in rounds or in flat rows and then seamed.
- Shaping: For simple sleeves, you might just work straight down. For tapered sleeves, you’ll decrease stitches. For bell sleeves, you’ll increase.
- Cuff (Optional): Finish with a cuff if desired.
6. Finishing Touches
- Edging/Trim: You might want to add a simple border of single crochet or a decorative shell stitch around the neckline, armholes, and bottom hem of the dress.
- Straps (for strapless/halter): If your dress is designed to be strapless or a halter, you’ll crochet straps and attach them.
- Weave in Ends: This is essential for a neat and professional finish. Use your yarn needle to weave in all loose yarn tails securely.
- Blocking (Highly Recommended): Blocking helps to even out your stitches, shape the garment, and improve the drape.
- Wet Blocking: Submerge the dress in lukewarm water, gently squeeze out excess water (do not wring), and then lay it flat on blocking mats, shaping it to the desired dimensions. Pin it in place if needed. Allow to air dry completely.
- Steam Blocking: Hover a steam iron over the garment (without touching it) and gently shape. Let it cool and dry.
Tips for Beginners
- Start Simple: Don’t try to tackle a complex lace dress for your first project. Choose a pattern that explicitly states it’s for beginners.
- Read the Entire Pattern First: Before you even pick up your hook, read through the entire pattern to understand the construction and identify any unfamiliar terms or techniques.
- Watch Video Tutorials: If a stitch or technique is confusing, search for a video tutorial. Visual learning can be incredibly helpful.
- Use Stitch Markers: They are your best friend, especially when working in rounds or counting stitches for increases/decreases.
- Count Your Stitches: Regularly count your stitches at the end of each row or round to ensure you’re on track. This prevents major mistakes down the line.
- Don’t Be Afraid to Undo (Frog): Everyone makes mistakes. If you realize you’ve made an error, don’t hesitate to pull out your stitches and re-do them. It’s part of the learning process.
- Practice Makes Perfect: The more you crochet, the more comfortable and skilled you’ll become.
- Enjoy the Process! Crocheting is a creative and relaxing hobby. Embrace the journey of making something beautiful with your own hands.
By following these steps and choosing an “easy” pattern, you’ll be well on your way to crocheting your own beautiful dress!
Watch video: