 by
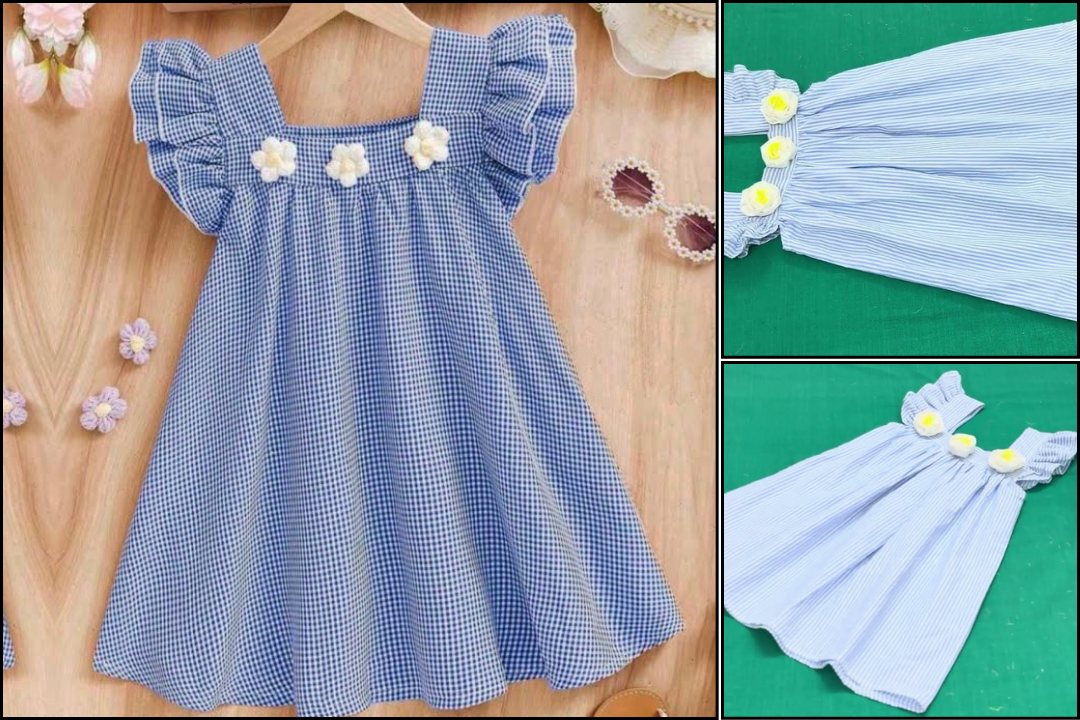
by Sure! Here is a detailed written guide on how to make a beautiful plaid cap sleeves baby frock, including easy cutting and stitching tutorial steps. This tutorial assumes basic sewing skills and tools.

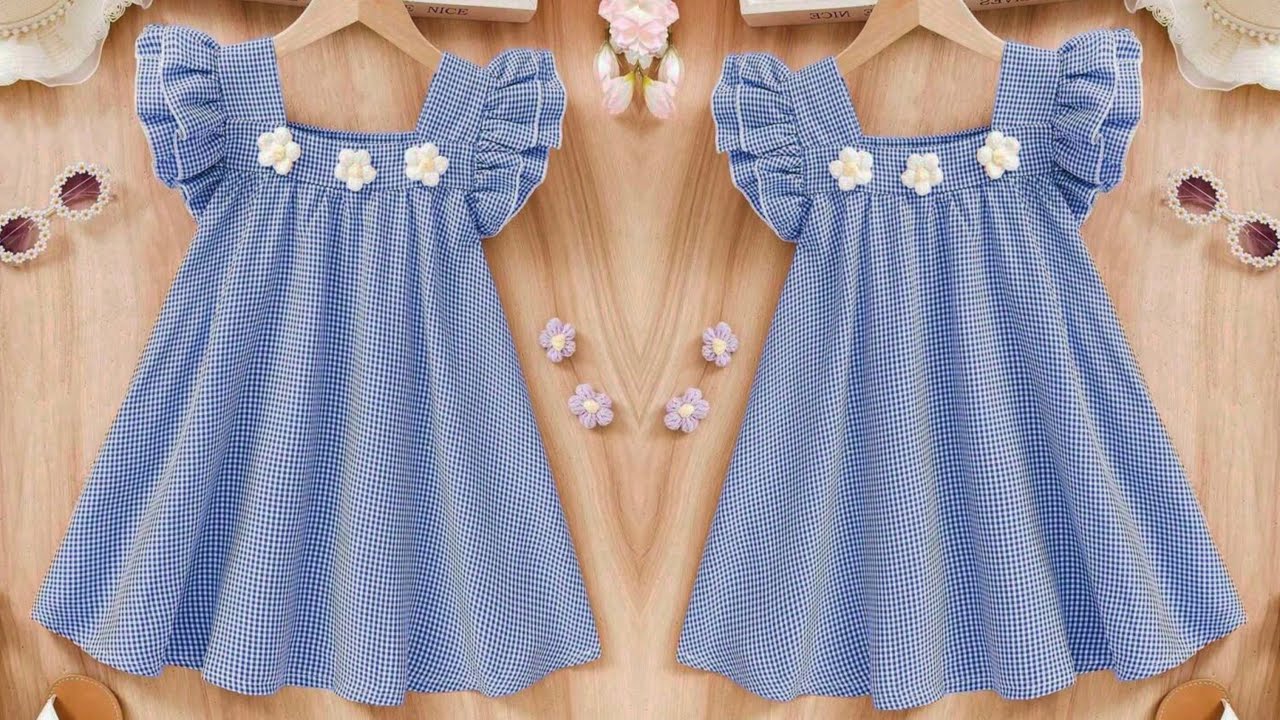
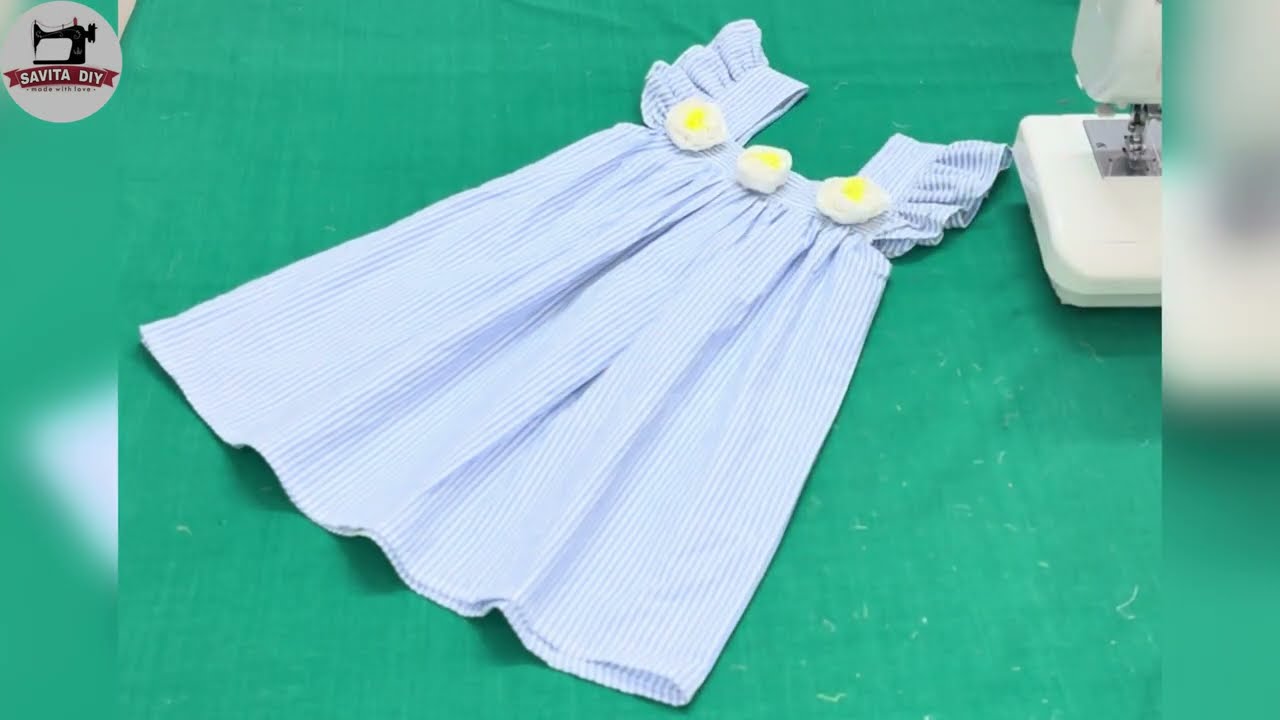
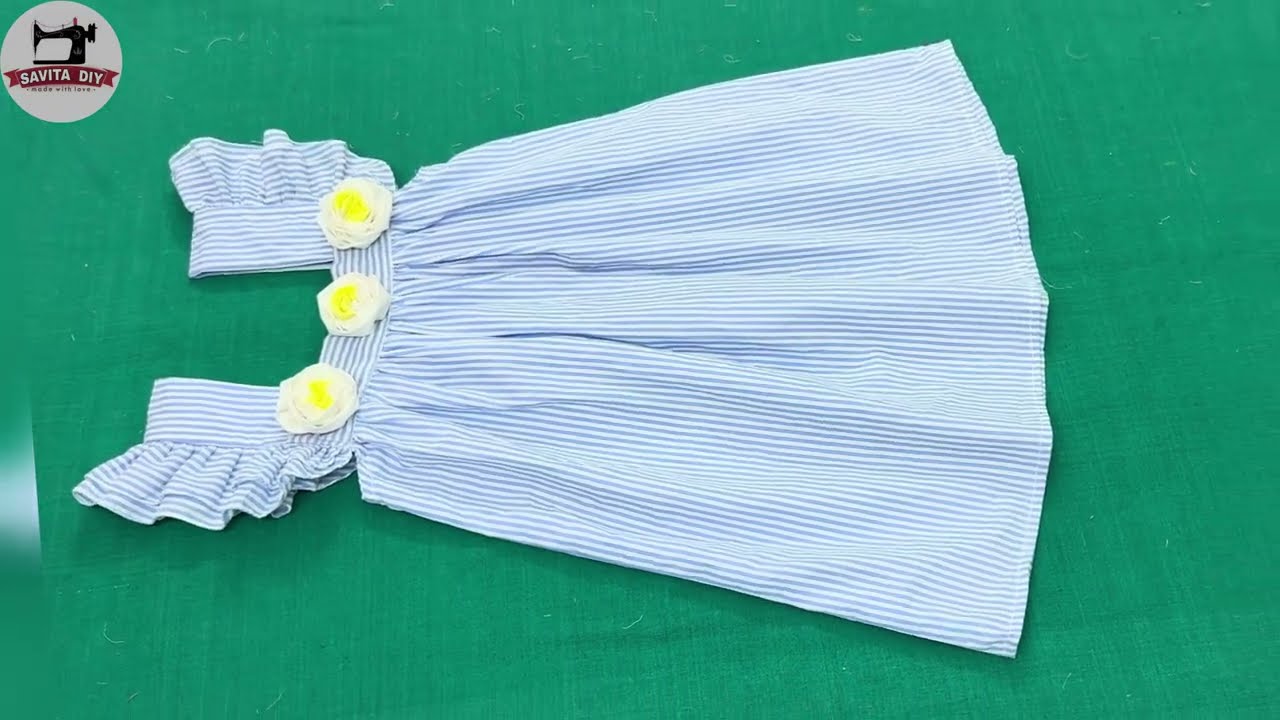
🧵 How to Make a Beautiful Plaid Cap Sleeves Baby Frock
(Easy Cutting & Stitching Tutorial – Step-by-Step)
✂️ Materials Needed:
-
1 to 1.5 meters of plaid cotton fabric (soft for baby skin)
-
Lining fabric (optional, for inner layer)
-
Matching thread
-
Fabric chalk or pencil
-
Measuring tape
-
Scissors
-
Sewing machine
-
Bias tape (optional for neck/sleeve finishing)
-
Elastic (if making gathered waist)
-
Hooks/buttons/zipper for back closure
📏 Step 1: Take Baby Measurements
Measure or choose based on age (for 1–2-year-old as example):
-
Chest: 20–22 inches
-
Waist: 20 inches
-
Length (shoulder to knee): 18 inches
-
Shoulder width: 9 inches
-
Armhole depth: 4–4.5 inches
-
Sleeve length (cap sleeve): 3 inches
🧶 Step 2: Drafting the Pattern
🧍♀️ Bodice (Front & Back)
-
Fold the fabric to get double layer.
-
Mark half chest + 1.5 inch for seam and ease.
-
Mark armhole depth, shoulder slant (0.5″), and neck (width: 2.5″, depth: 2.5″ front, 1.5″ back).
-
Shape the neckline and armhole.
-
Cut one for front and one for back bodice. Add 1 inch extra in the back for zipper/button placket.
🧍♀️ Cap Sleeves
-
Use the armhole curve as a guide.
-
Make a curve of approx. 6–7 inches long and 3 inches deep.
-
Add 0.5-inch seam allowance.
🧵 Step 3: Skirt Cutting (Gathered or Pleated)
-
Width: 2 to 2.5 times the waist circumference (for gathers)
-
Length: Bodice-to-knee length minus bodice height (e.g. 18″ – 6″ bodice = 12″ skirt length)
-
Cut one front and one back panel (or circular if you prefer)
🧷 Step 4: Stitching Process
🔹 1. Stitch the Bodice
-
Join shoulder seams of front and back bodice.
-
Attach lining (if using) to bodice front and back.
-
Sew neckline by placing right sides of fabric and lining together.
-
Clip curves and turn inside out.
-
Topstitch for neat finish (optional).
🔹 2. Attach Cap Sleeves
-
Match center of sleeve to shoulder seam.
-
Pin along armhole curve.
-
Sew carefully.
-
Finish raw edges with bias or overlock.
🔹 3. Sew Side Seams
-
Stitch from sleeve edge to bodice side seam on both sides.
🔹 4. Prepare Skirt
-
Hem the bottom edge of skirt first.
-
Sew side seams of skirt (if not circular).
-
Gather the top edge (use two rows of long stitches, then pull threads).
-
Match gathered width to bodice waist.
🔹 5. Join Bodice and Skirt
-
Pin skirt to bodice, right sides facing.
-
Distribute gathers evenly.
-
Stitch and finish seam.
🔹 6. Add Back Closure
-
Fold 1-inch placket on back bodice.
-
Attach zip, buttons or hooks.
-
Add facing or reinforce with interfacing if needed.
🎀 Step 5: Final Touches
-
Press all seams neatly.
-
Add lace or ribbon if desired.
-
Optionally attach a bow at waist or chest.
-
Ensure all raw edges are finished for baby safety.
✅ Tips for Perfect Finish:
-
Use soft, breathable fabric.
-
Pre-wash fabric to avoid shrinkage.
-
Match plaid lines for a professional look.
-
Double-stitch waist seam for durability.
Watch video: