 by
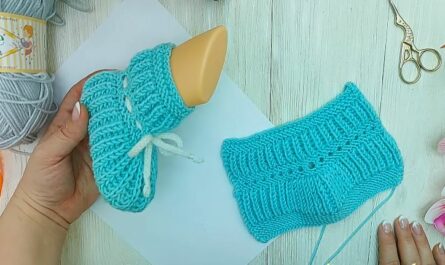
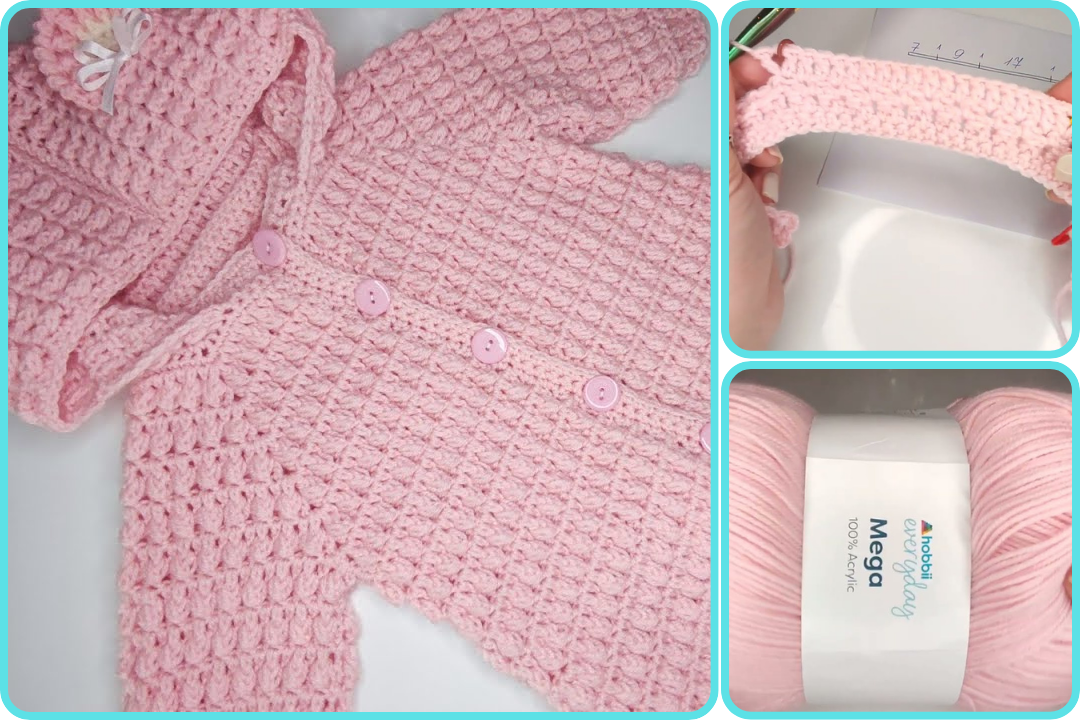
by Sure! Here’s a detailed step-by-step guide on how to crochet a baby onesie, perfect for beginners or intermediate crocheters. The process includes materials needed, choosing the right size, basic crochet stitches, and a simple pattern layout.
🧶 How to Crochet a Baby Onesie (Step-by-Step Guide)
🧺 Materials You’ll Need:
-
Yarn: Soft, baby-friendly yarn (e.g., cotton or acrylic); worsted weight (medium #4) or DK weight (#3) yarn is recommended.
-
Crochet hook: Size appropriate for your yarn (usually G/4.0 mm or H/5.0 mm).
-
Tapestry needle: For weaving in ends and sewing pieces together.
-
Scissors
-
Stitch markers: To keep track of rounds and shaping.
-
Buttons or snaps: For closures at the crotch or shoulders.
-
Measuring tape
📏 Choosing the Size:
Common baby sizes include:
-
Newborn (0–3 months)
-
3–6 months
-
6–9 months
-
9–12 months
You can adjust the size by modifying the number of stitches and rows. Reference a baby clothing size chart for body and torso length.
🧵 Basic Stitches to Know:
-
Chain (ch)
-
Single crochet (sc)
-
Half double crochet (hdc)
-
Double crochet (dc)
-
Slip stitch (sl st)
-
Increase (2 sc in one stitch)
-
Decrease (sc2tog – single crochet two stitches together)
🧷 Basic Pattern Overview
1. Create the Bodice (Top Part)
Back Panel:
-
Chain enough stitches to measure the width of the back (e.g., 40–50 ch for a 0–3 mo size).
-
Row 1: Work 1 hdc in 2nd ch from hook and across. Ch 1, turn.
-
Rows 2–10: Continue working hdc rows. Adjust number of rows based on desired bodice length.
-
Fasten off and set aside.
Front Panel:
-
Same as back panel. If desired, leave a neck opening (divide the last few rows into two parts and work each side separately).
2. Join at the Shoulders
-
Use slip stitch or sew together 5–8 stitches on each shoulder side, leaving a gap in the middle for the neck.
3. Make Armholes
-
Attach yarn to underarm edge and crochet in rounds around the armhole with hdc or sc stitches.
-
Do 5–8 rounds or until desired sleeve length.
-
Optional: Make sleeves long by continuing rows.
4. Crochet the Bottom Half
From the bottom edge of the bodice:
-
Attach yarn and work in rounds or rows, increasing slightly at the hips.
-
Continue working downward in dc or hdc until reaching the crotch level.
-
Divide the piece into two leg openings.
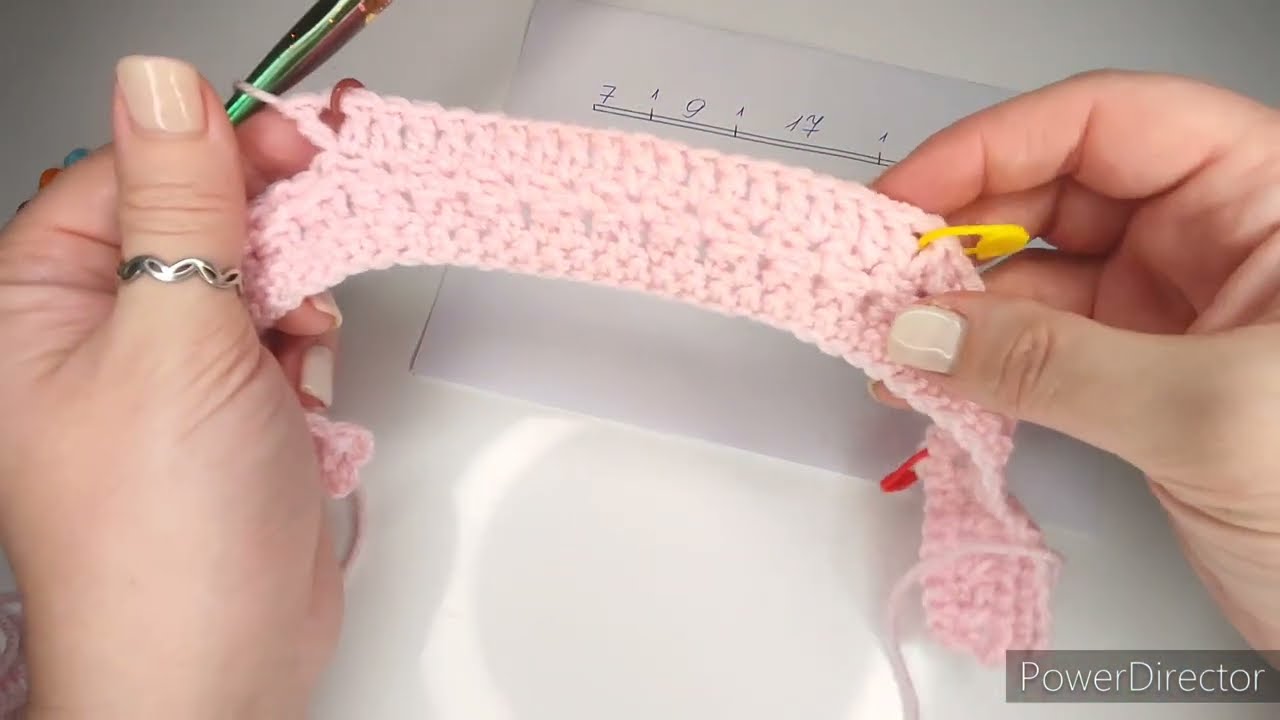
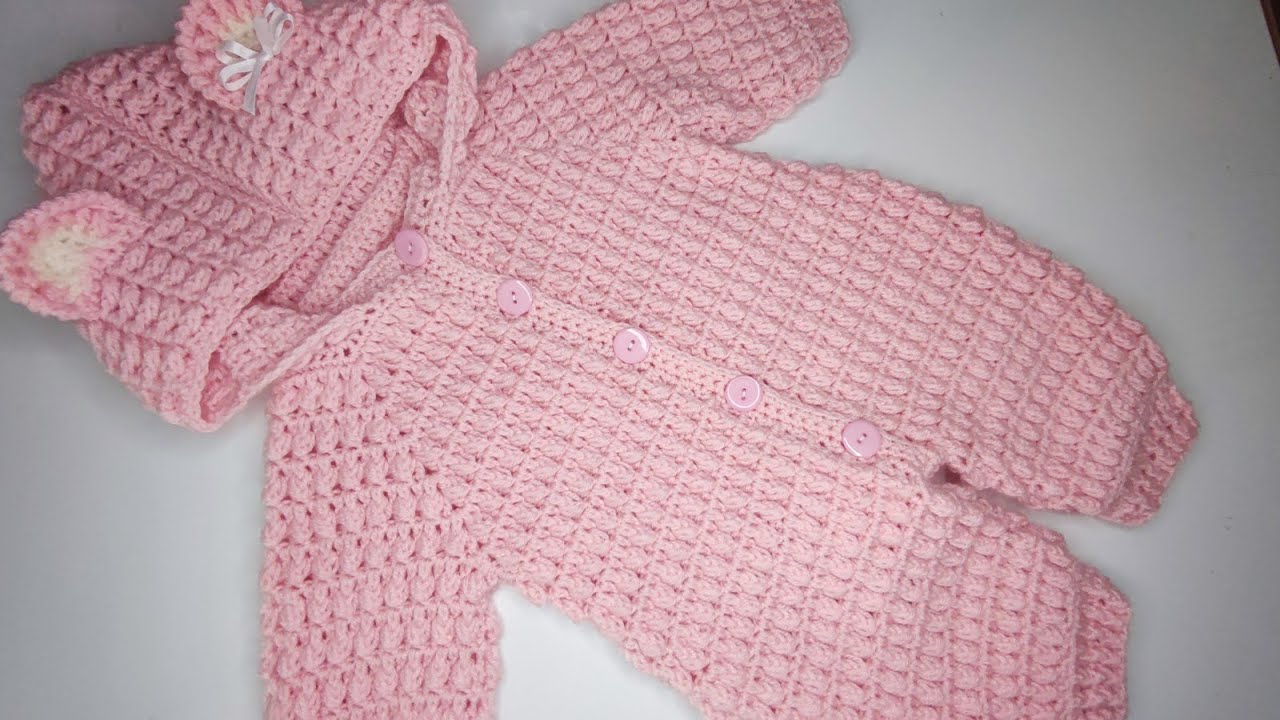
5. Make the Leg Openings
-
Work each leg separately in rounds.
-
Add a few rounds of sc or ribbing (front post/back post dc) for the cuffs.
-
Fasten off and repeat for the other leg.
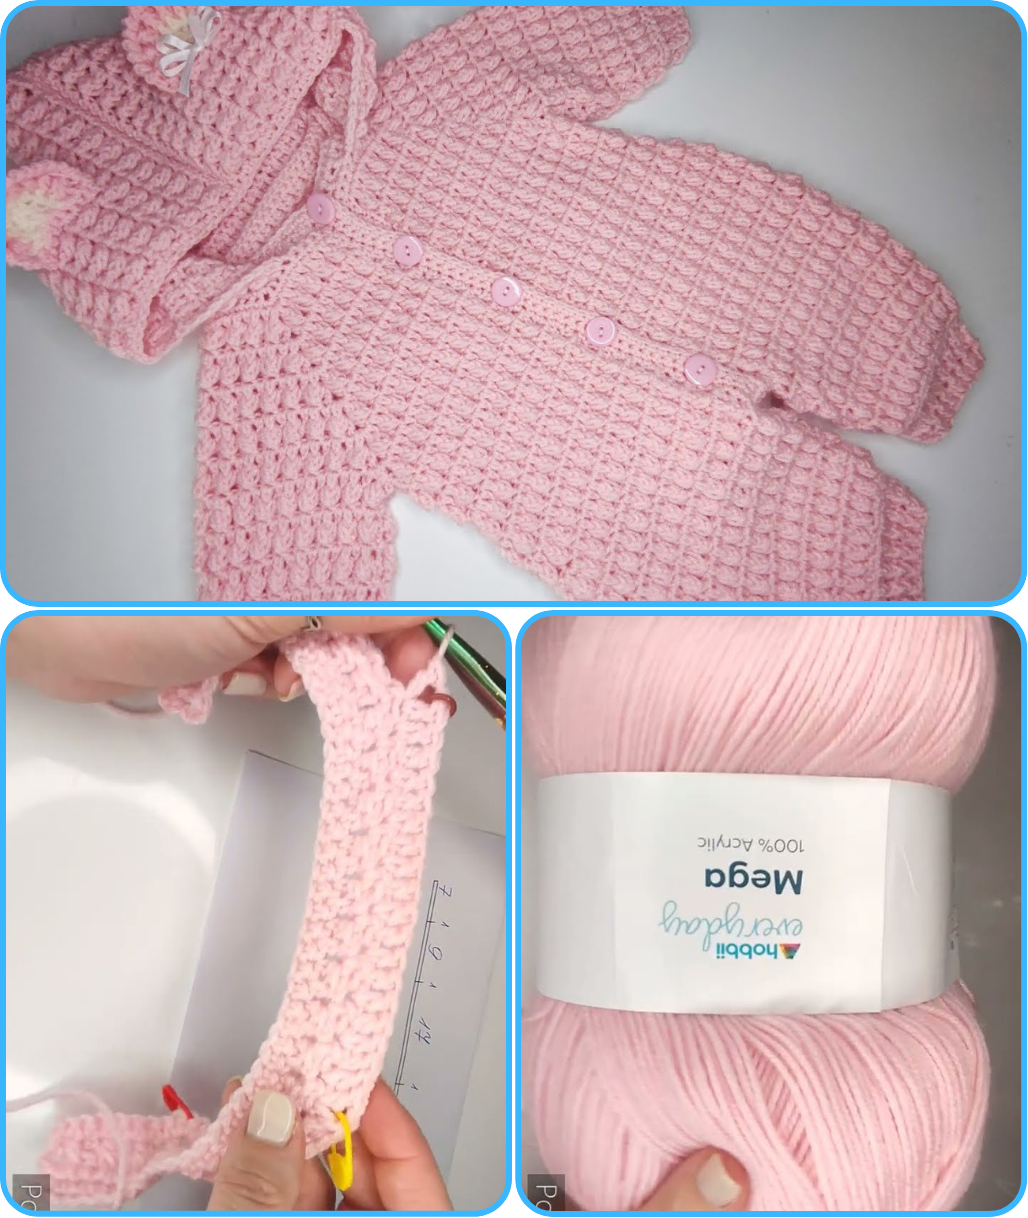
6. Add Button Flap or Snap Closures
-
You can add a button band at the crotch for easy diaper changes:
-
Leave the bottom center open.
-
Crochet a short flap (e.g., 5–6 rows) on one side, and add buttonholes.
-
Sew buttons on the other side.
-
7. Finishing Touches
-
Weave in all ends with a tapestry needle.
-
Add decorative edging (optional) with a contrasting color.
-
Sew on any embellishments (like a small bow, applique, or ears for a hooded version).
🎨 Optional Customizations
-
Add a hood
-
Crochet stripes or use variegated yarn
-
Add pockets or decorative motifs
-
Make short-sleeve or sleeveless versions
✅ Tips for Success
-
Always make a gauge swatch before starting to ensure sizing.
-
Choose soft, washable yarn safe for babies.
-
Make sure any buttons are securely sewn and are not a choking hazard.
-
Consider using snap fasteners for easier diaper changes.
Watch video: