 by
by Absolutely! Here’s a detailed and beginner-friendly guide titled:
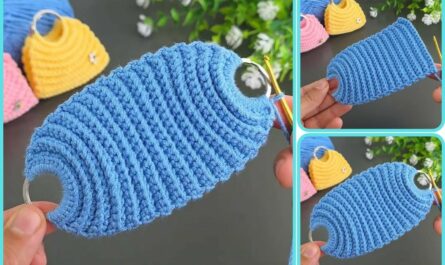
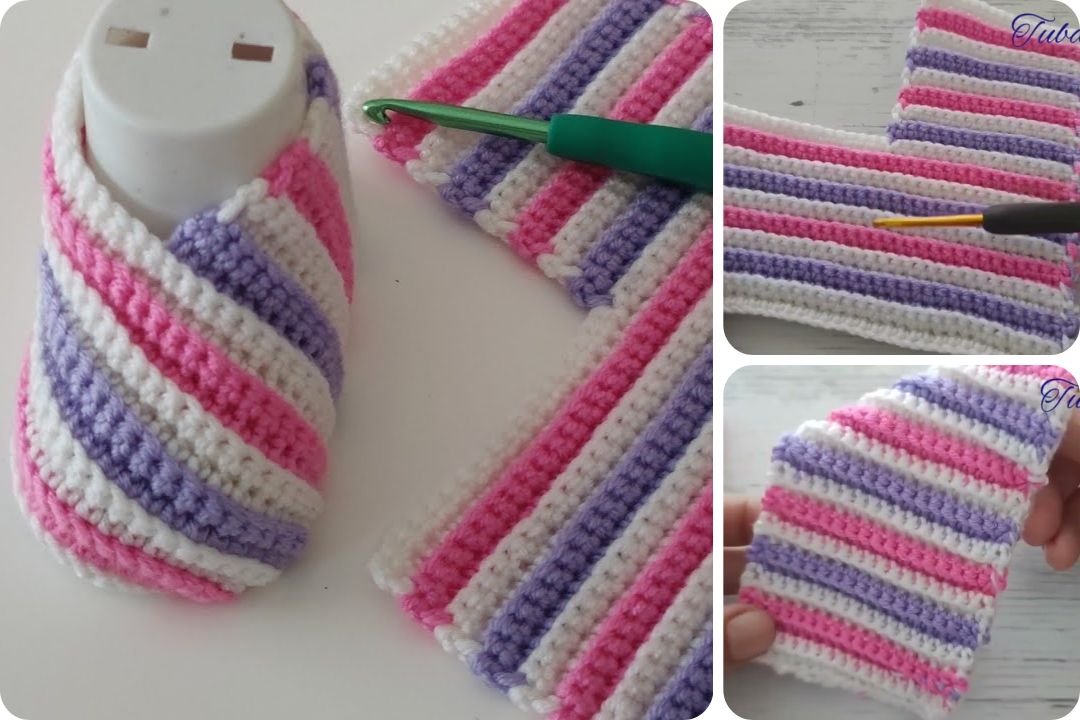
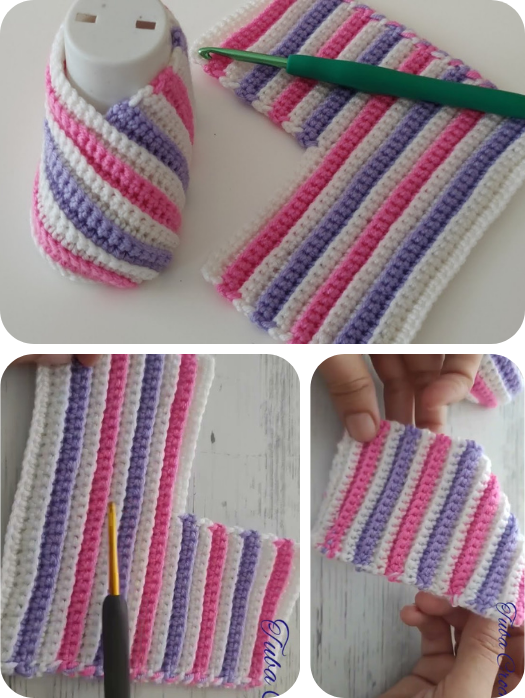
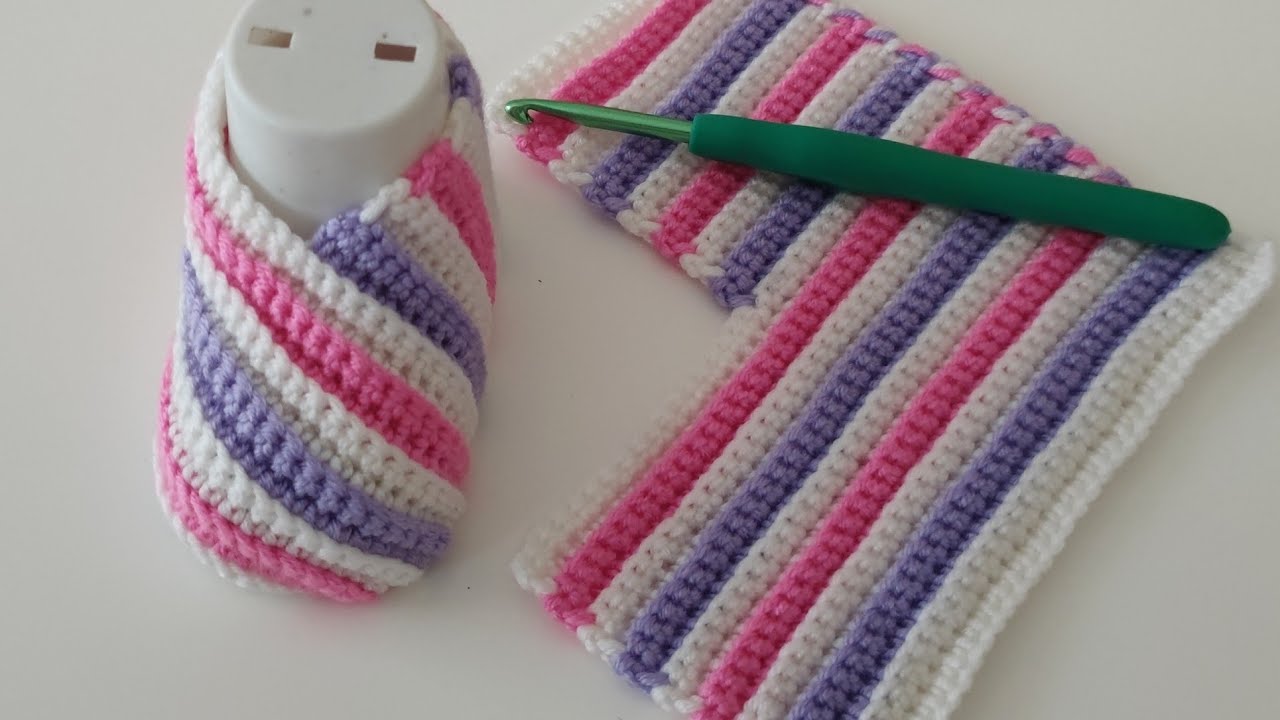
🧶 How to Crochet Baby Shoes
Very Easy Crochet Baby Shoes Pattern for Beginners – Simple Knit-Style Shoes
Looking for an easy way to crochet baby shoes that look neat, professional, and feel soft for tiny toes? This simple crochet baby shoes pattern is perfect for beginners — no fancy techniques, just basic stitches that come together to create adorable, knit-style booties!
🧵 What You’ll Need:
| Item | Description |
|---|---|
| Yarn | Soft DK or Worsted Weight Yarn (baby yarn preferred) |
| Hook | 4.0 mm (G) crochet hook |
| Yarn needle | For sewing and weaving ends |
| Scissors | For trimming yarn |
| Button (optional) | For strap or decoration |
| Stitch marker | Optional, to track rounds |
🧸 Skill Level: Beginner
You only need to know basic stitches:
-
Chain (ch)
-
Slip Stitch (sl st)
-
Single Crochet (sc)
-
Half Double Crochet (hdc)
-
Double Crochet (dc) (optional for height)
👣 Size Guide (Sole Length)
| Age | Sole Length |
|---|---|
| 0–3 months | 3.5″ / 9 cm |
| 3–6 months | 4″ / 10 cm |
| 6–9 months | 4.5″ / 11.5 cm |
To increase size: add a round to the sole or use a larger hook/yarn.
🪡 Pattern: Simple Knit-Style Baby Shoes
🧶 Step 1: Crochet the Sole
-
Ch 10 (for 0–3 months; add 2 chains for each size up).
-
Round 1:
-
In 2nd ch from hook: 2 sc
-
1 sc in next 7 ch
-
4 sc in last ch
-
Now work on the other side of the chain:
-
1 sc in next 7 ch
-
2 sc in last ch (same as first)
-
-
Join with sl st (total 22 sc)
-
-
Round 2:
-
Ch 1, 2 sc in first stitch
-
1 sc in next 8 sts
-
2 sc in next 4 sts (heel curve)
-
1 sc in next 8 sts
-
2 sc in last 2 sts
-
Join with sl st (total 30 sc)
-
-
Round 3:
-
Ch 1, 1 sc in each stitch around (30 sc)
-
Do not increase. This starts to build the sole thickness.
-
Optional: Repeat once more for thicker soles.
-
🥿 Step 2: Build the Sides (Body of the Shoe)
-
Round 4:
-
Ch 1, work back loop only sc (BLO sc) in each stitch around.
-
This creates a clean edge line for the side wall.
-
Join with sl st.
-
-
Round 5-6:
-
Ch 1, hdc in each stitch around.
-
(You can use sc for a shorter shoe or dc for a taller one.)
-
Repeat 2 rounds.
-
👟 Step 3: Shape the Toe
-
Round 7 (Toe Decrease):
-
Ch 1, hdc in next 9 sts
-
(hdc2tog) 6 times
-
hdc in remaining sts
-
Join with sl st
-
-
Round 8:
-
Ch 1, hdc in next 7 sts
-
(hdc2tog) 4 times
-
hdc in remaining sts
-
Join
-
-
Round 9 (optional):
-
Repeat decrease if toe is still loose. Fasten off and weave in ends.
-
🧦 Step 4: Add a Strap or Finish the Cuff
Option A: Strap
-
Attach yarn to side of shoe.
-
Ch 10–12 (or longer depending on foot width).
-
Sl st to opposite side to form strap.
-
Sew button on for closure.
Option B: Ribbed Cuff
-
Attach yarn to ankle.
-
Work 1–2 rounds of hdc in back loop only (BLO) for a stretchy, knit-look cuff.
🎀 Finishing Touches
-
Weave in all ends securely using a yarn needle.
-
Make a second shoe immediately to ensure matching size.
-
Add a decorative bow, flower, or button if desired.
-
Lightly block if needed.
🧼 Care Instructions
-
Hand wash or machine wash cold (gentle)
-
Lay flat to dry
-
Do not bleach or iron
📌 Pattern Recap:
| Section | Stitches Used |
|---|---|
| Sole | sc, increases (2 sc, 4 sc) |
| Sides | sc in BLO, hdc rounds |
| Toe | hdc2tog (half double decrease) |
| Finish | Optional strap or ribbed cuff |
Watch video: