 by
by Creating Jasmine Crochet Shoes is a fun and stylish project, perfect for intermediate-level crocheters who want to create elegant, handcrafted footwear. These shoes are typically made using the Jasmine stitch, which produces a textured, star-like flower pattern. Here’s a step-by-step guide with detailed instructions to help you make your own Jasmine crochet shoes.
🧶 What You’ll Need:
-
Yarn: DK or worsted weight cotton yarn (durable and breathable)
-
Hook: Crochet hook size appropriate for your yarn (usually 3.5mm–4.5mm)
-
Stitch markers
-
Scissors
-
Tapestry needle
-
Non-slip sole pads or rubber sole (optional for grip)
-
Insoles (optional for comfort)
-
Measuring tape
📏 Measurements:
Make sure to measure your foot length and width to customize your shoe size. You can also use a flip-flop as a template or refer to a standard shoe size chart.
🧵 Skill Level:
Intermediate
(Must know how to make Jasmine Stitch, which is an advanced variation of puff and star stitches)
👣 Step-by-Step Instructions:
🔸 Step 1: Learn the Jasmine Stitch
The Jasmine Stitch is a bit intricate. Here’s a simplified breakdown:
-
Yarn Over (YO) and pull up a loop five times into the same stitch (you’ll have 11 loops on your hook).
-
YO and pull through all 11 loops, chain 1 to close the star.
-
Insert your hook in the “eye” of the previous star, pull up five loops (this includes inserting in the eye, the last stitch, and base of the last petal).
-
Repeat the process to continue the flower pattern.
👉 Tip: Practice the Jasmine Stitch separately before starting your project.
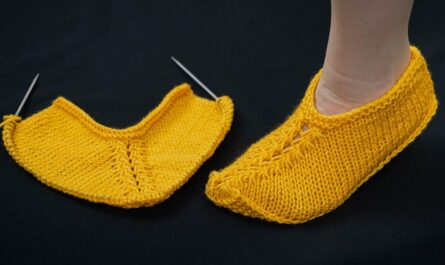
🔸 Step 2: Start the Sole
(Work 2 Soles – one for each foot)
-
Foundation Chain: Chain a length that matches the length of your foot.
-
Round 1: SC (single crochet) around both sides of the chain, increasing at both ends to round out the heel and toe.
-
Round 2–4: Continue SC rounds, adding increases at the heel and toe to shape the sole. Ensure the sole fits the foot size.
-
Fasten Off and weave in the ends.
Optional: Crochet two soles for each shoe and sew them together for durability, inserting a foam insole in between.
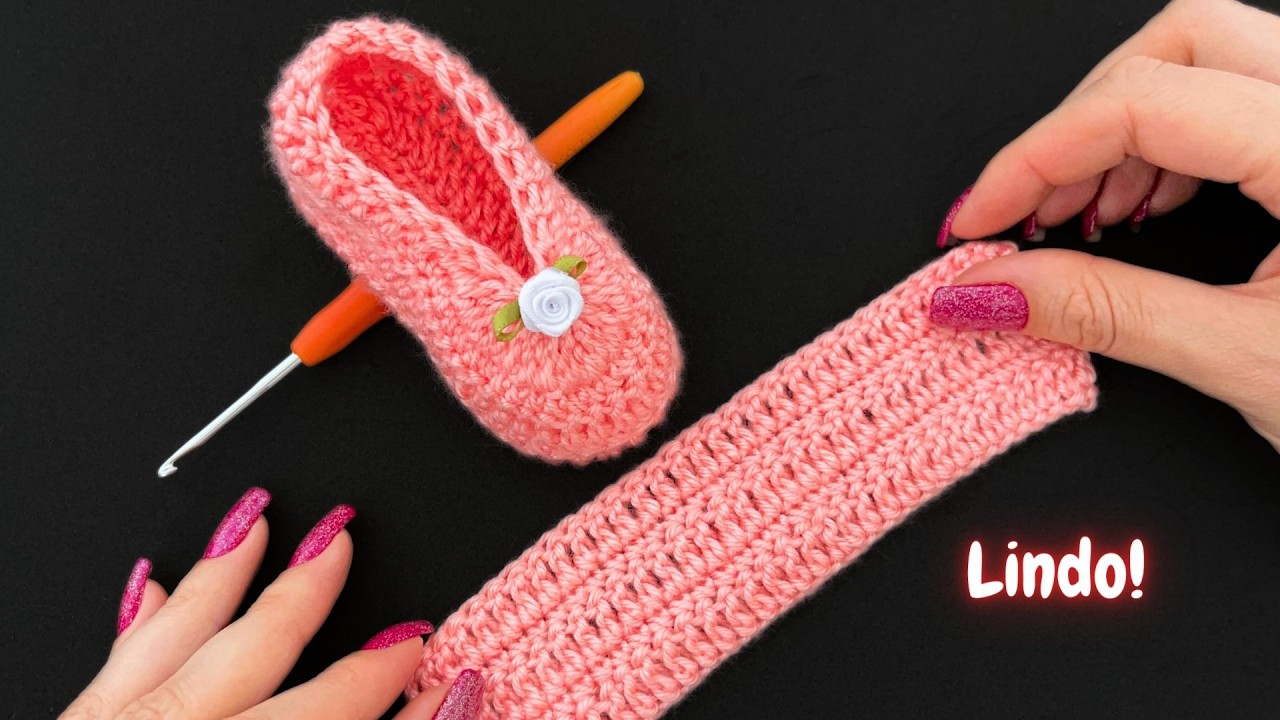
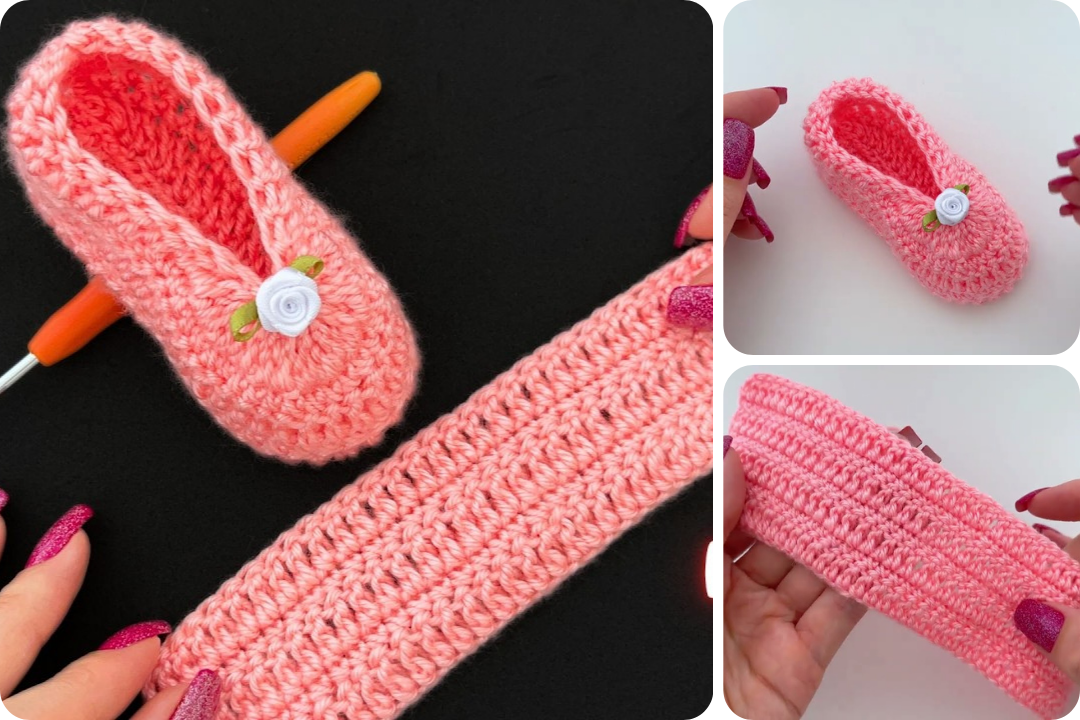
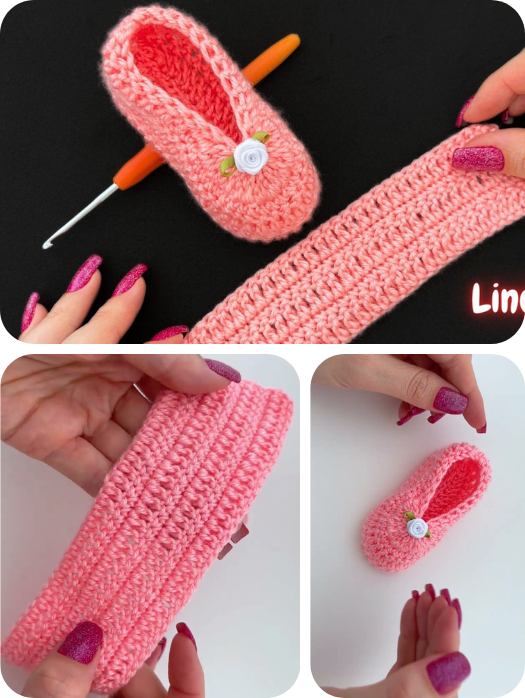
🔸 Step 3: Create the Upper with Jasmine Stitch
-
Join yarn at the heel edge of the sole.
-
Work in the round using the Jasmine Stitch around the upper edge of the sole.
-
Continue in rounds to build up the sides of the shoe, about 4–6 rounds depending on how high you want the shoe.
-
At the toe area, start decreasing the number of Jasmine stitches to shape the top, leaving a gap if you want it to be a ballet-flat style.
🔸 Step 4: Add Heel or Strap (Optional)
-
For more support, crochet a heel cup or ankle strap using SC or HDC stitches.
-
You can also add a button closure or tie-up lace for a sandal look.
🔸 Step 5: Finish the Edging
-
Work a round of single crochet or slip stitches around the top edge for a clean finish.
-
Weave in all ends neatly with a tapestry needle.
🔸 Step 6: Add Soles (Optional)
-
For outdoor wear, glue or sew non-slip rubber soles to the bottom.
-
Hot glue or fabric glue works well for adhering to crochet.
-
You can also sew pre-cut flip-flop soles for sturdier shoes.
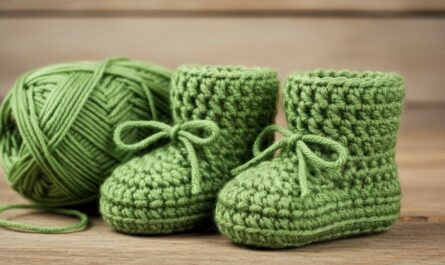
👟 Style Tips:
-
Use contrasting colors for the sole and upper.
-
Add floral appliqués, buttons, or ribbons for embellishment.
-
For winter, line the inside with fleece or felt.
📹 Need Visual Help?
You can find great tutorials for Jasmine Stitch and crochet shoes on YouTube. Search terms:
-
“Jasmine Stitch Crochet Tutorial”
-
“Crochet Shoes with Jasmine Stitch”
-
“DIY Crochet Slippers with Soles”
✅ Final Checklist:
-
Comfortable fit
-
Even tension throughout
-
Secure joins and neat ends
-
Optional: Waterproof, non-slip bottom for outdoor use
WATCH VIDEO: