 by
by Here’s a detailed, beginner-friendly guide on making easy crochet home slippers on the sole. This method focuses on simplicity, comfort, and speed.
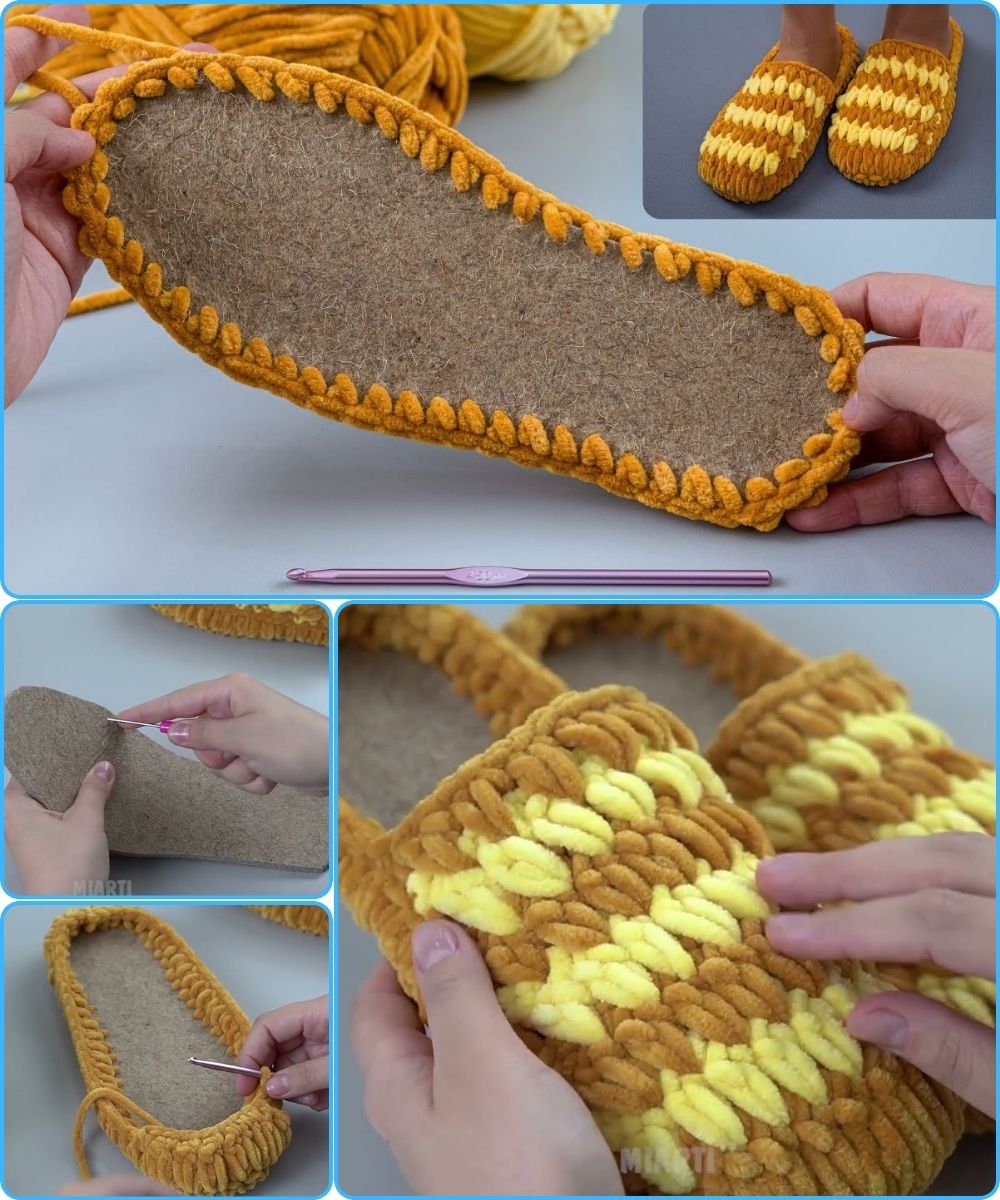
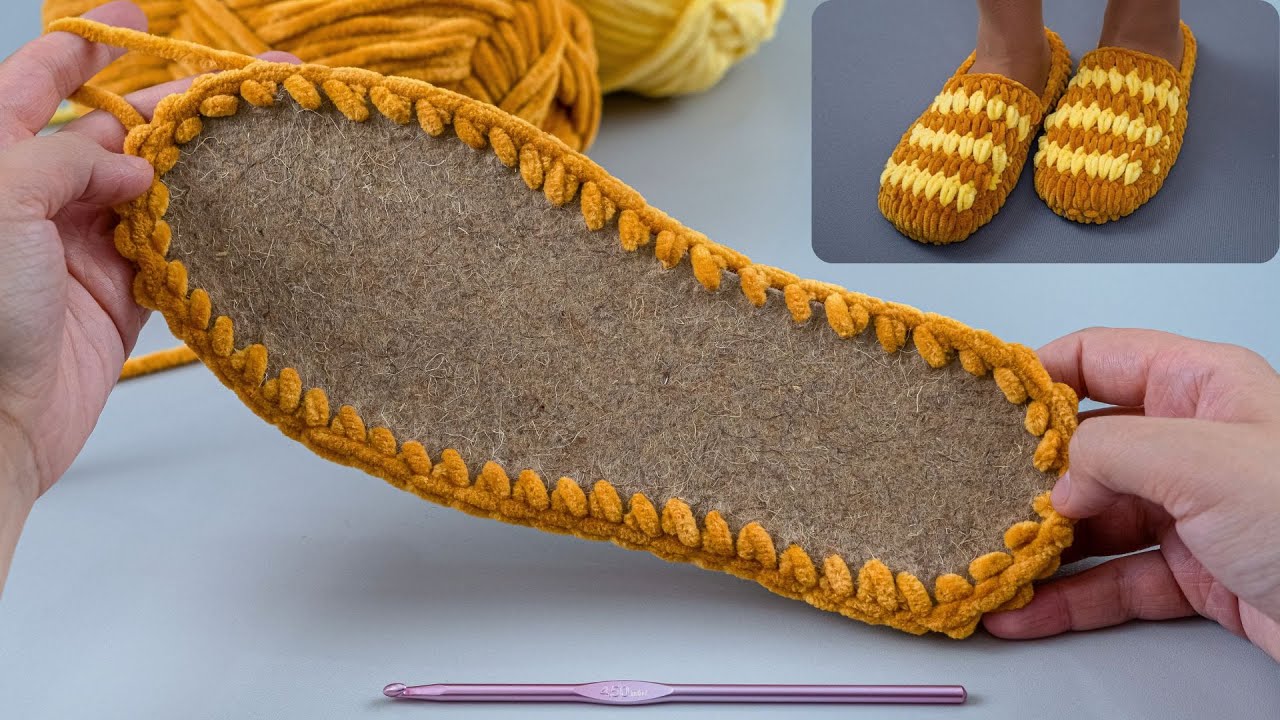
How to Make Crochet Home Slippers on the Sole Easily
Crochet home slippers are a cozy and practical project, perfect for keeping your feet warm and comfortable at home. By starting from the sole, you can create slippers that fit well, feel snug, and look polished. This tutorial is beginner-friendly—no advanced stitches or complicated shaping required.
Why These Slippers Are Great for Home 🧶
-
✔ Easy to make for beginners
-
✔ Comfortable fit from the sole
-
✔ Quick to finish
-
✔ Customizable size
-
✔ Perfect for gifts or personal use
Starting with the sole ensures a proper fit and creates a sturdy base for your slippers.
Materials You’ll Need
-
Yarn: Medium (worsted) or bulky yarn for warmth
-
Crochet hook: 5–6 mm (H/J hook)
-
Yarn needle (for sewing and weaving ends)
-
Scissors
-
Optional: Non-slip fabric paint or felt for the bottom
Crochet Skills Required
-
Chain (ch)
-
Single crochet (sc) or half double crochet (hdc)
-
Slip stitch (sl st)
-
Increasing and decreasing stitches
-
Working in rounds
-
Fastening off
This project is suitable for absolute beginners.
Step-by-Step Instructions
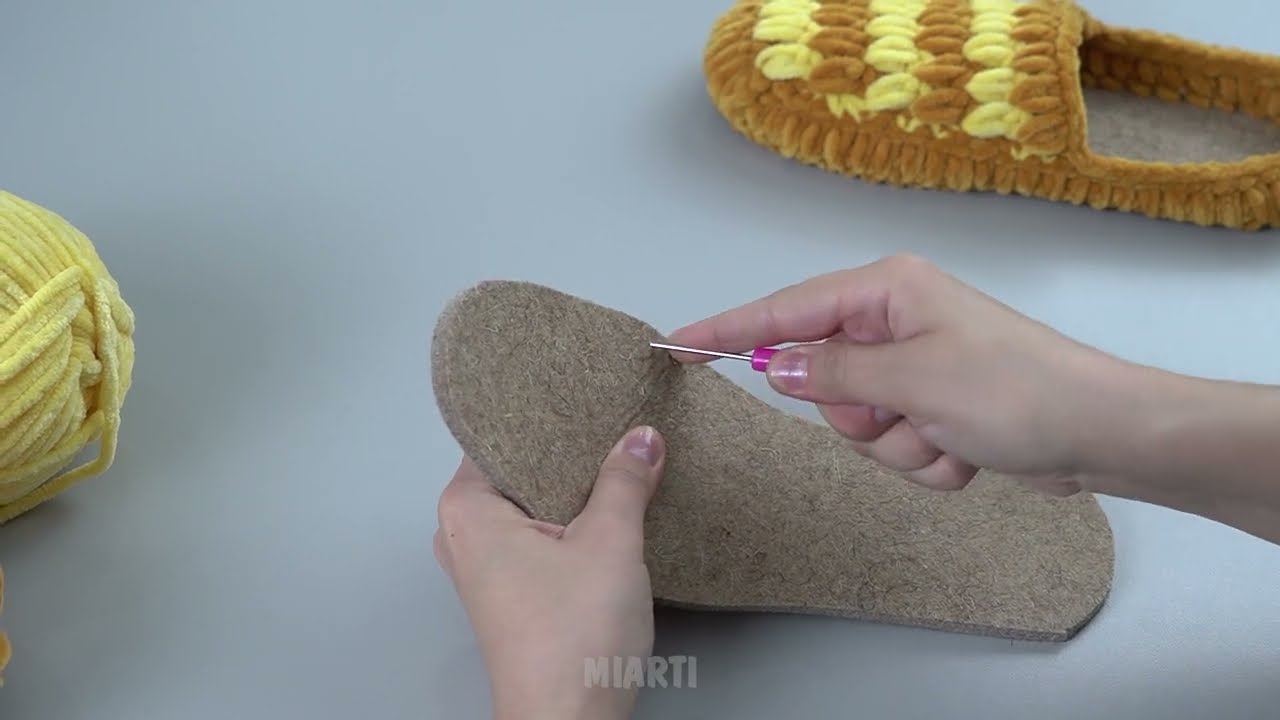
Step 1: Make the Sole
-
Chain enough stitches to match the length of your foot.
-
Small: 22 cm (8.5 in)
-
Medium: 24 cm (9.5 in)
-
Large: 26 cm (10.5 in)
-
-
Add one extra chain for turning.
Step 2: Shape the Sole
-
Single crochet (sc) across the chain.
-
At the end, work 3 sc in the last chain to turn the corner.
-
Continue along the opposite side, and work 2 sc in the corner for a rounded shape.
-
Repeat until the sole reaches the desired width for your foot.
Tip: The sole should feel slightly snug for a comfortable fit.
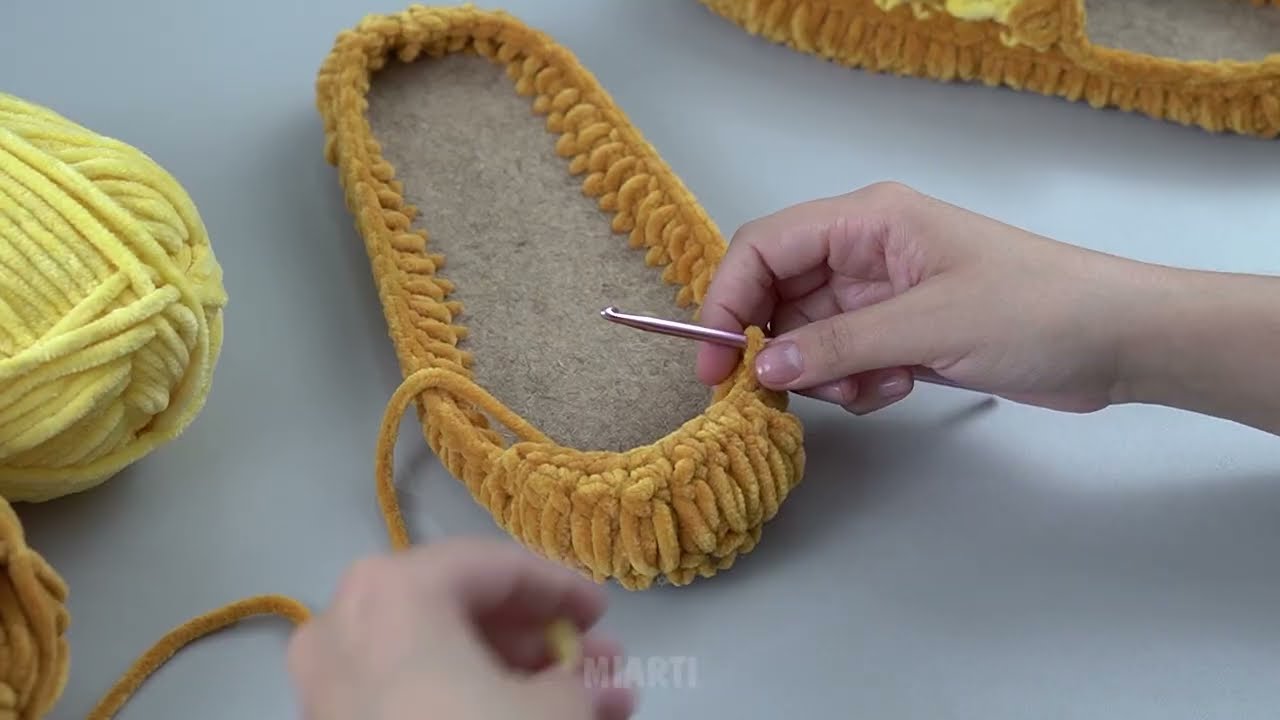
Step 3: Build the Sides
-
Crochet evenly around the sole using sc or hdc.
-
Work back-loop only to create a slight rib for a better fit around the foot.
-
Continue until the sides reach just below the ankle.
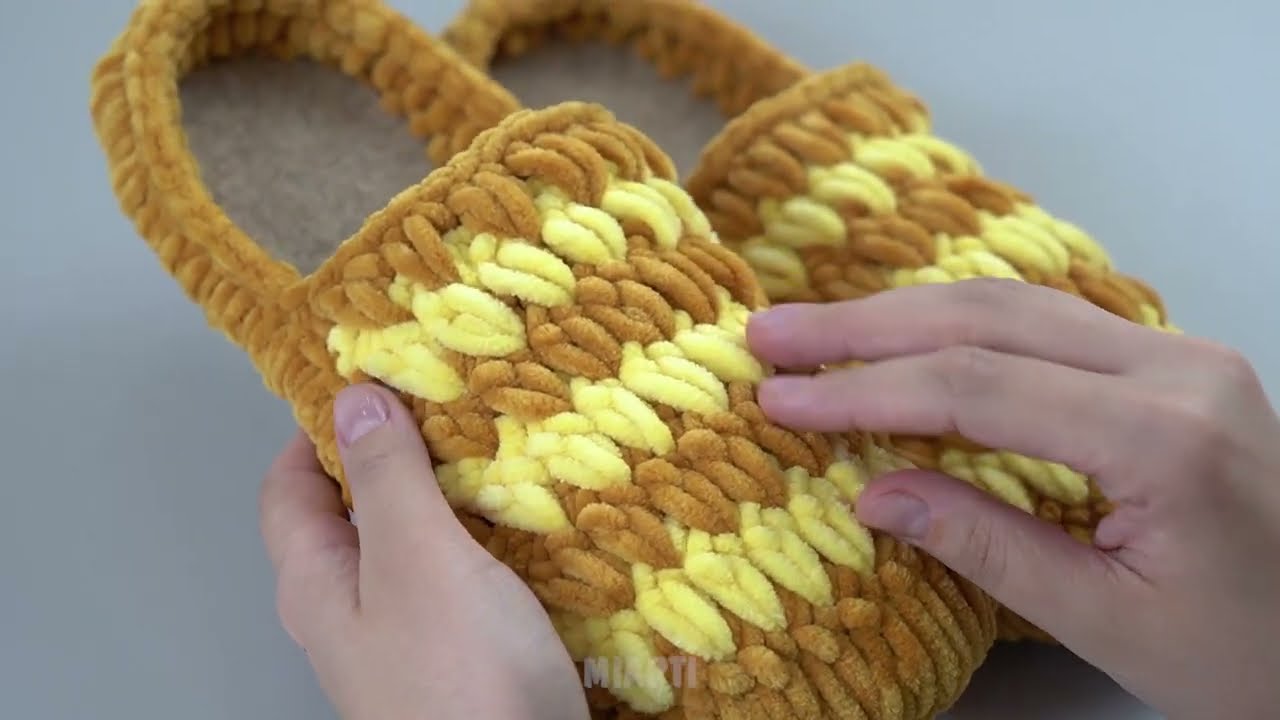
Step 4: Shape the Toe
-
When you reach the top of the foot, decrease evenly to narrow the opening.
-
Continue decreasing for a few rounds until the slipper forms a snug toe area.
Step 5: Finish the Top and Opening
-
Crochet a simple border around the top edge.
-
Fasten off and weave in all ends neatly.
Optional Finishing Touches ✨
-
Add a decorative border in contrasting yarn
-
Make pom-poms or bows to attach on top
-
Add non-slip dots or felt to the sole
-
Use chunky yarn to speed up the project
Easy Sizing Adjustments
-
Longer foot: Start with more chains for the sole
-
Wider foot: Add more increase rounds along the sole
-
Thicker slipper: Use bulkier yarn and larger hook
This method works for children, women, and men with simple adjustments.
Final Thoughts
Making crochet home slippers starting from the sole is easy, fast, and satisfying. Even beginners can create a cozy, warm pair of slippers in just a few hours. Starting from the sole ensures a perfect fit and gives a sturdy foundation for the foot.
These slippers are ideal for relaxing at home, giving as gifts, or creating a fun handmade project.
If you want, I can also write a full step-by-step beginner-friendly pattern with exact stitch counts and rounds for these crochet slippers so you can follow it easily.
Watch video: