 by
by Absolutely! Let’s break this down step by step. I’ll make it super beginner-friendly so even if you’ve never picked up knitting needles, you can follow along.
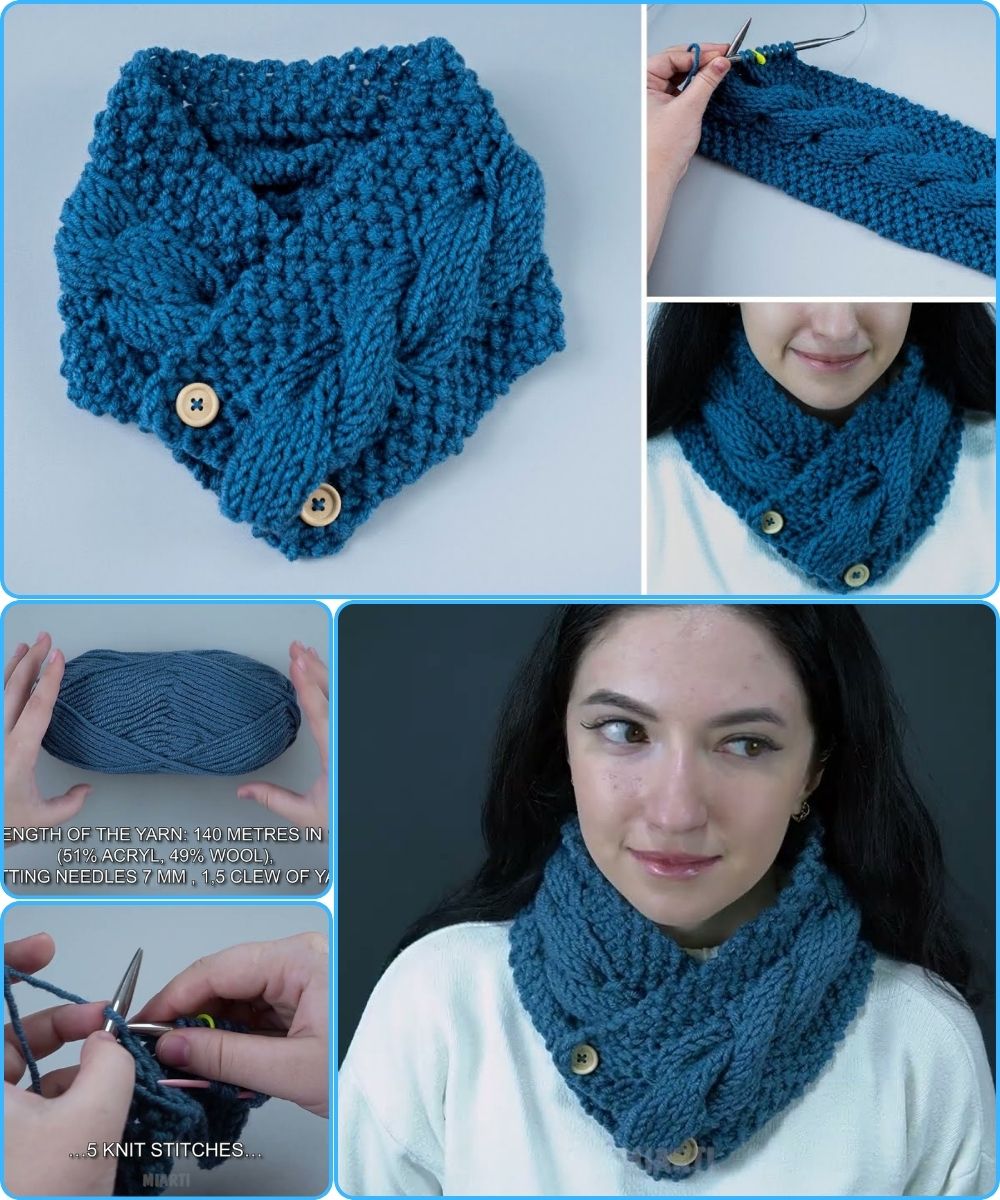
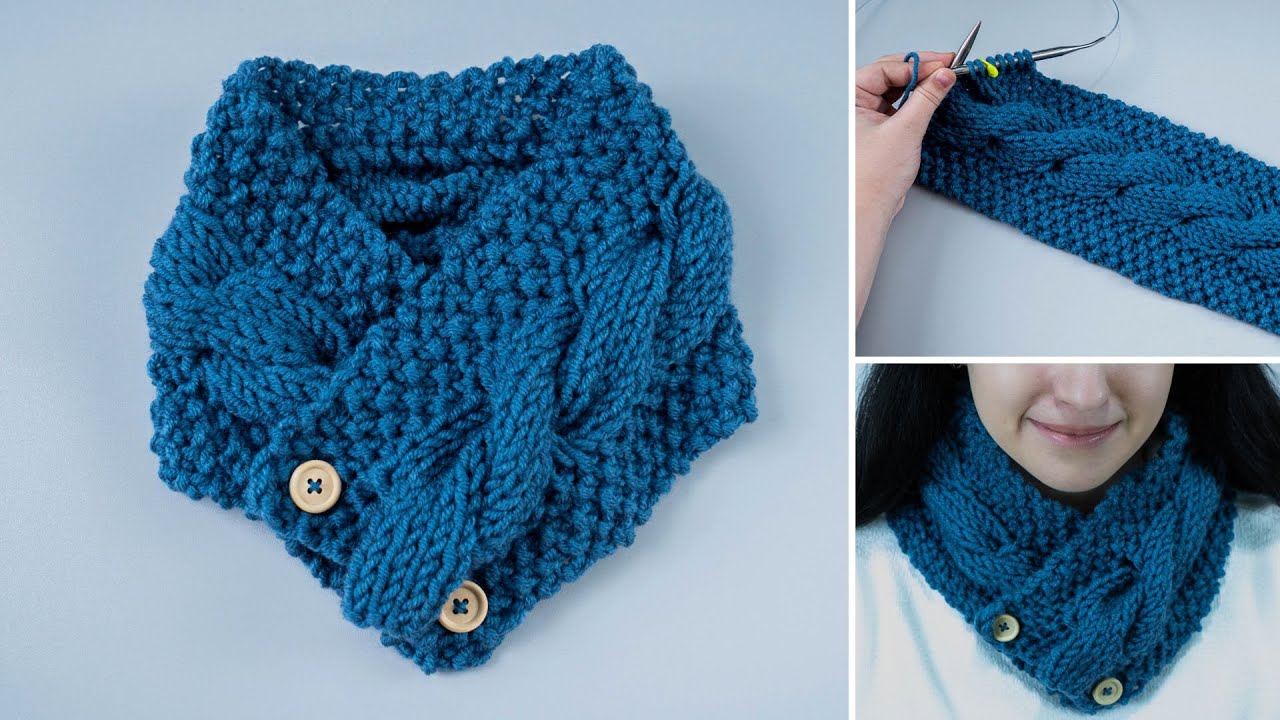
How to Make a Simple Knitted Scarf-Snood (Beginner-Friendly)
A snood is basically a circular scarf that you slip over your head—super cozy and trendy. We’ll make one using basic knitting stitches.
Materials You’ll Need:
-
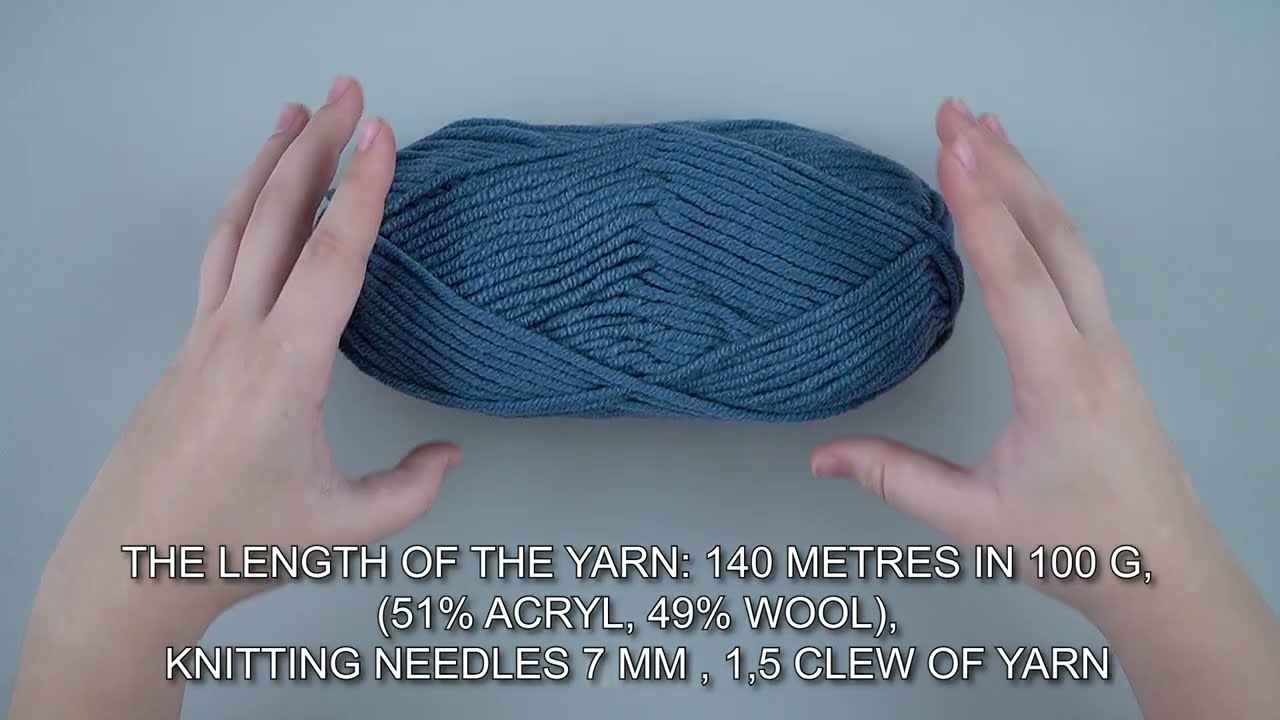
Yarn: Choose chunky or bulky yarn (this makes your project faster and warmer). Around 200–300 grams should be enough.
-
Knitting needles: Usually size 8–10 mm (or whatever the yarn label suggests). Circular needles are optional, but straight needles work fine for beginners.
-
Scissors
-
Tapestry needle (for weaving in ends)
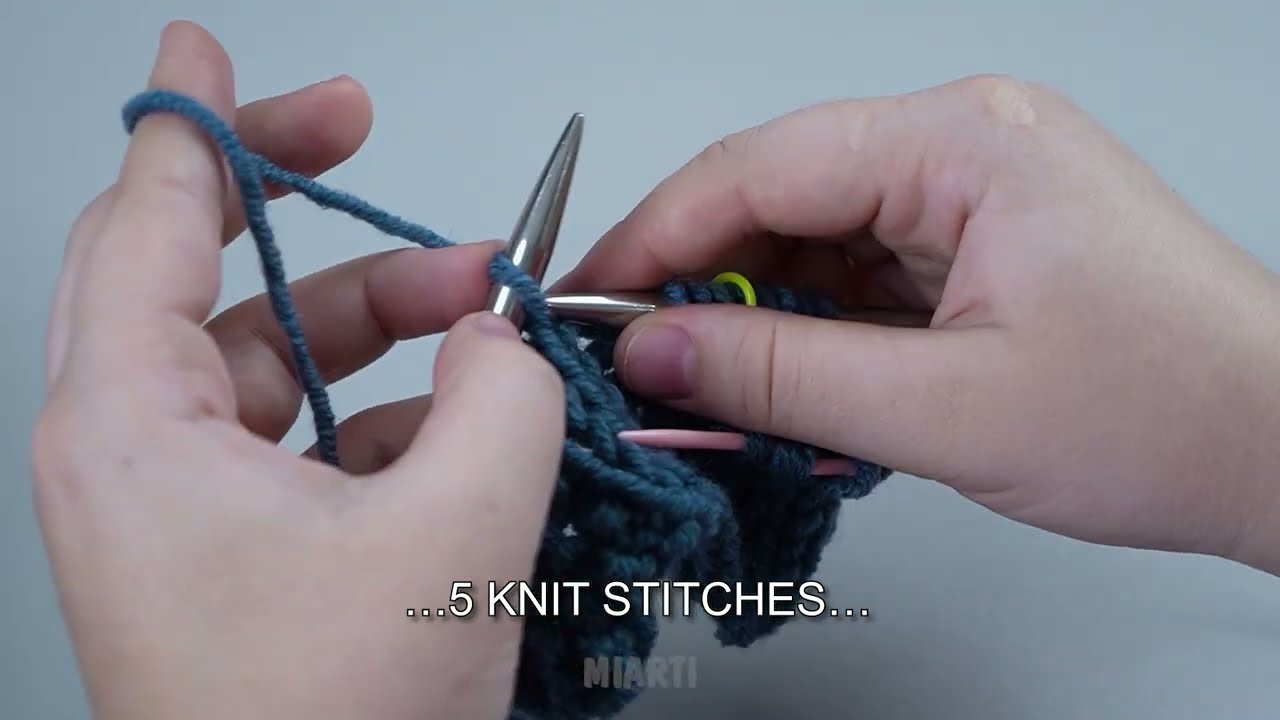
Step 1: Choose Your Stitch
For beginners, the garter stitch is perfect. It’s just knit every row! This creates a stretchy, squishy fabric that looks great.
-
Knit stitch (K): Insert your needle, wrap the yarn, pull through, done!
-
If you want to be fancy, you can alternate knit and purl rows to make stockinette stitch, but garter is easiest.

Step 2: Cast On
-
Decide how wide you want your snood. About 20–25 cm (8–10 inches) is standard.
-
Use a long-tail cast-on or any beginner-friendly cast-on method to put enough stitches on your needle for the desired width.
Example: For chunky yarn and size 10 mm needles, 30 stitches usually works well.
Step 3: Start Knitting
-
Hold the needle with cast-on stitches in your left hand.
-
Use your right-hand needle to knit every stitch across the row.
-
Turn the work around and repeat.
Keep knitting until your piece is long enough to wrap around your neck comfortably—usually 120–150 cm (about 48–60 inches) for a snood.
Tip: Keep your tension even—don’t pull too tight or too loose.
Step 4: Bind Off
-
Once your scarf is the right length, it’s time to finish.
-
Knit the first two stitches, then lift the first stitch over the second and off the needle. Repeat across the row until one stitch remains. Cut the yarn and pull it through the last stitch to secure.
Step 5: Join Ends (Optional)
Since a snood is circular, you need to sew the two ends together:
-
Lay your knitted piece flat.
-
Use a tapestry needle and yarn to seam the short edges together, inside out if you want a cleaner look.
-
Turn it right side out, and voilà—your snood is ready!
Step 6: Finishing Touches
-
Weave in any loose yarn ends with the tapestry needle.
-
Give your snood a gentle stretch—your stitches will relax and even out.
Tips for Beginners:
-
Chunky yarn + big needles = faster knitting and fewer mistakes.
-
Keep your stitches loose at first; tight stitches are harder to fix.
-
Mistakes? Don’t panic! You can unravel rows and redo them.
💡 Optional Fun Variations:
-
Add stripes using different colored yarns.
-
Use a rib stitch (K1, P1) for extra stretchiness.
-
Add a simple fringe if you prefer an open scarf instead of a snood.
If you want, I can make a mini diagram showing step by step with needles and yarn, so you can literally “see” how to knit your first snood. It’s like a visual cheat sheet for beginners.
Watch video: