 by
by Here’s a beginner-friendly, detailed guide on how to make comfortable slippers using 2 knitting needles. This method is simple, uses basic stitches, and is great if you’re just starting out.

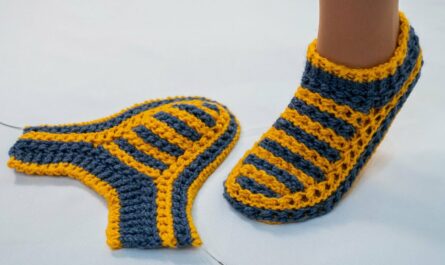
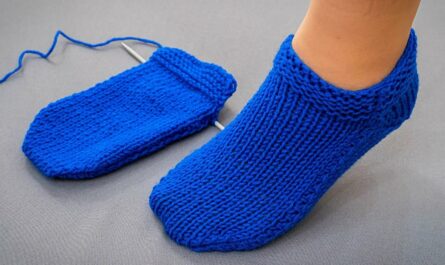
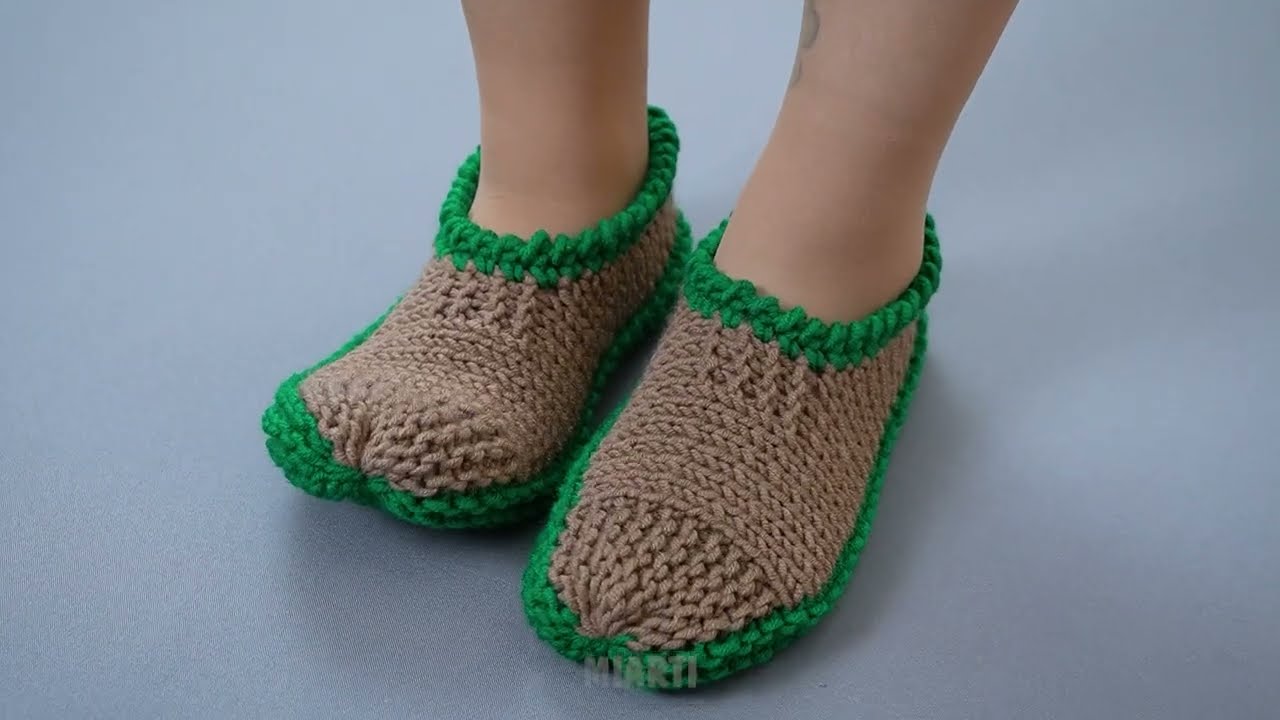
How to Make Comfortable Slippers on 2 Knitting Needles (Beginner Guide)
Knitted slippers are cozy, practical, and fun to make. This pattern is worked flat on two needles and then sewn together—no circular needles or advanced skills needed.
🧶 Materials You’ll Need
-
Yarn: Medium or bulky yarn (worsted weight or chunky works best for beginners)
-
Knitting needles: Size 8–10 mm (US 8–10), depending on your yarn label
-
Tapestry needle: For sewing seams
-
Scissors
-
Measuring tape (optional but helpful)
Tip: Thicker yarn makes warmer, faster slippers and is easier to handle for beginners.
🪡 Basic Knitting Skills Required
Before starting, you should know how to:
-
Cast on
-
Knit stitch (K)
-
Purl stitch (P)
-
Bind off (cast off)
That’s it!
📏 Step 1: Cast On
Cast on 30–40 stitches (for an average adult foot).
-
Fewer stitches = smaller slipper
-
More stitches = wider slipper
For beginners, 36 stitches is a good starting point.
🧵 Step 2: Knit the Sole (Rectangle)
This rectangle will form the sole and sides of the slipper.
-
Knit every row (this is called garter stitch)
-
Continue knitting until the piece measures:
-
About 9–10 inches (23–25 cm) for adults
-
Or the same length as the foot
-
Garter stitch makes the slippers thick, stretchy, and comfortable.
👣 Step 3: Shape the Toe
Now you’ll create the rounded toe.
-
Row 1: Knit 2 together (K2tog) across the row
-
Row 2: Knit all stitches
-
Repeat these 2 rows 2–3 times
You’ll see the fabric narrowing at one end—this forms the toe.
✂️ Step 4: Bind Off
-
Bind off all stitches loosely
-
Cut the yarn, leaving a long tail for sewing
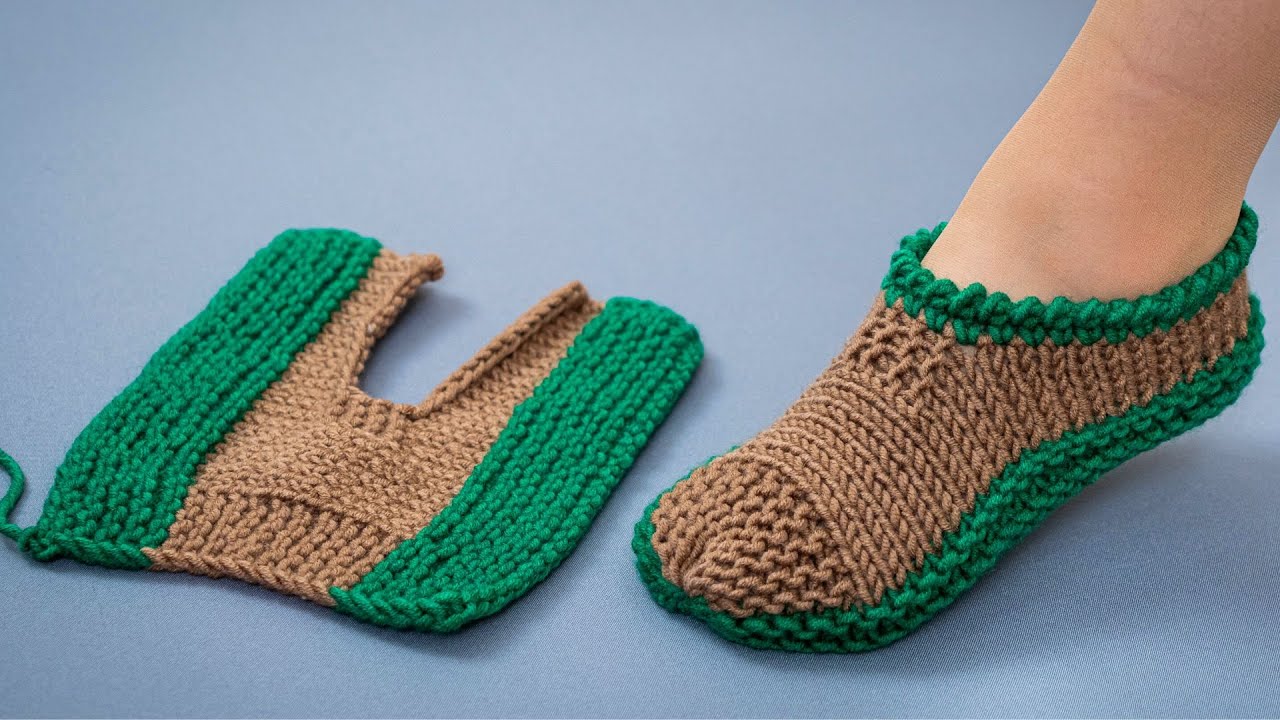
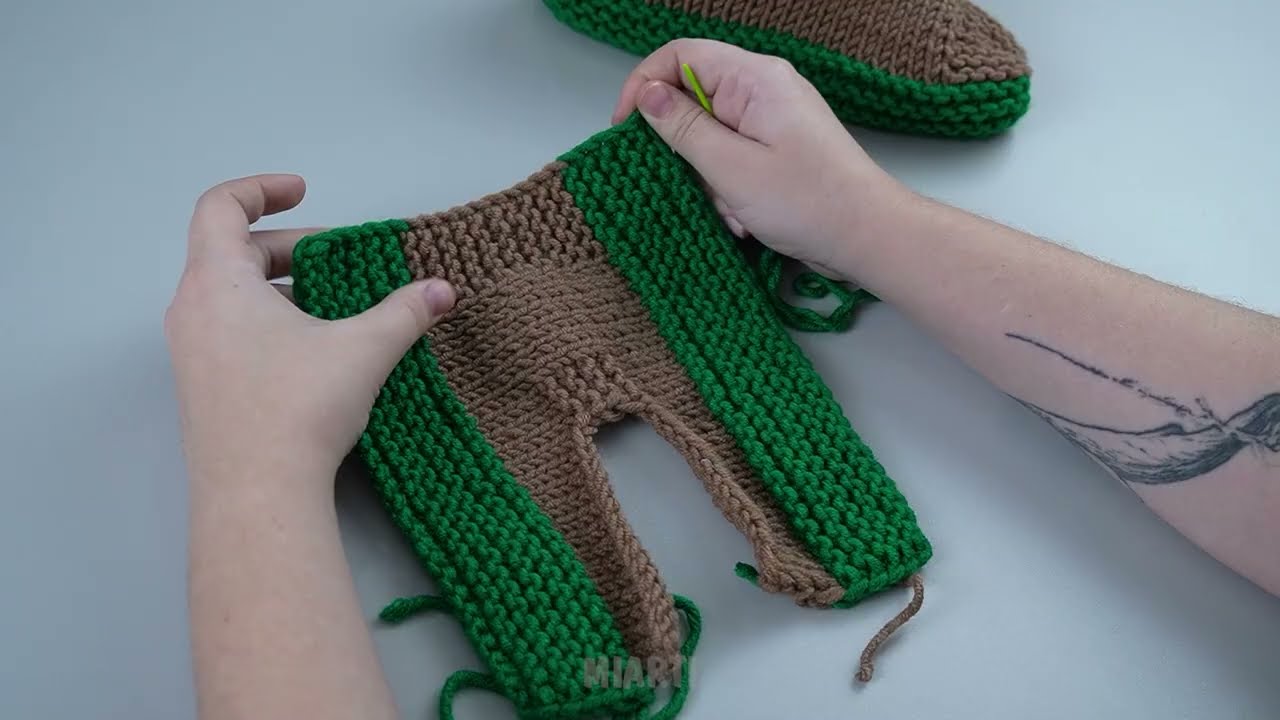
🪡 Step 5: Sew the Slipper Together
-
Toe seam:
-
Use the yarn tail to gather and sew the narrow end closed
-
-
Heel seam:
-
Fold the rectangle in half
-
Sew up the back to form the heel
-
-
Turn the slipper right side out
Repeat the same steps for the second slipper.
🧦 Step 6: Optional Finishing Touches
You can personalize your slippers by adding:
-
A folded cuff at the top
-
Pom-poms or buttons (sew securely)
-
Non-slip fabric or dots on the sole
🌟 Tips for Beginners
-
Don’t worry if your stitches aren’t perfect—slippers are forgiving!
-
Use light-colored yarn to see stitches more clearly
-
Count your rows to make both slippers the same size
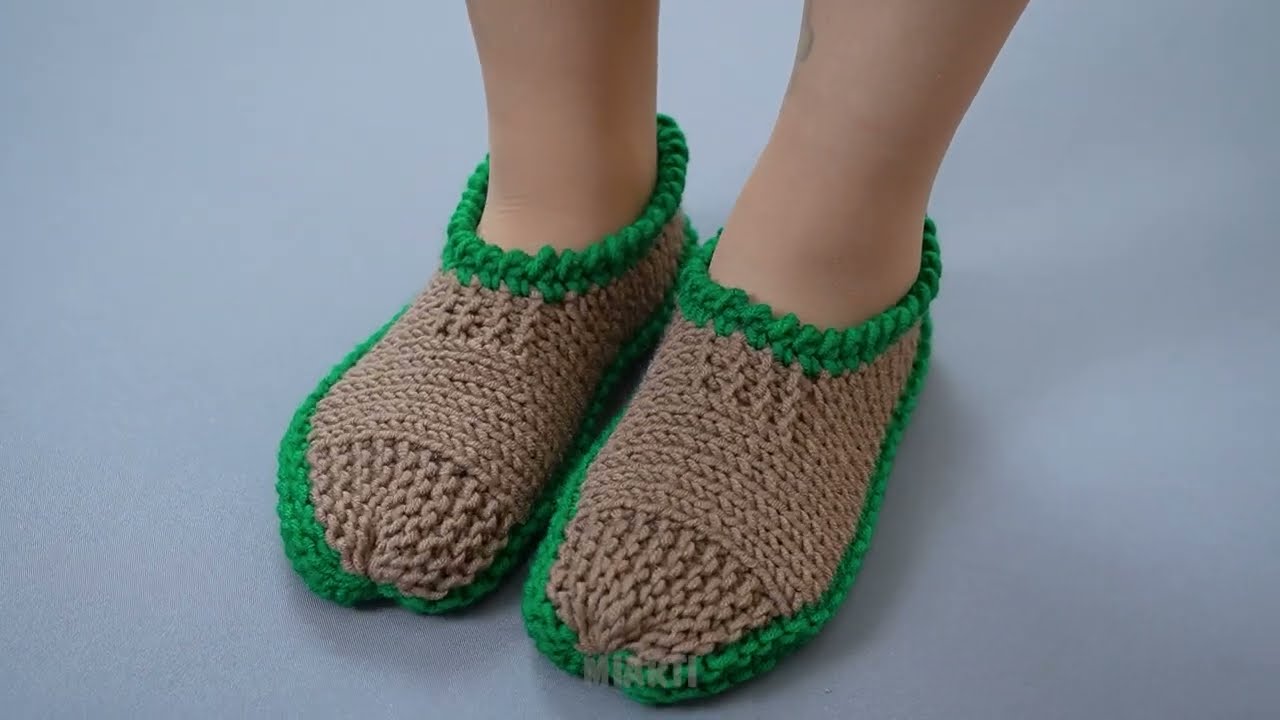
🎉 Final Result
You’ll have a pair of soft, warm, and comfortable knitted slippers, perfect for home use or as a handmade gift.
If you’d like, I can also:
-
Adjust the pattern for kids or adults
-
Add pictures or diagrams
-
Turn this into a school project write-up
Just tell me! 😊
Watch tutorial: