 by
by Here is a clear, detailed, and beginner-friendly guide on How to Make Crochet Granny Square Slippers Easily. You can use this for a project, blog, or homework.
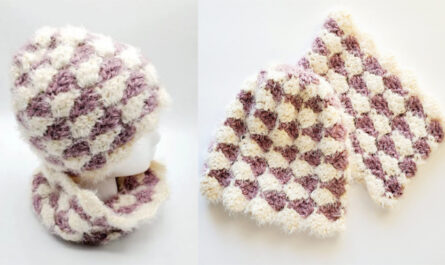
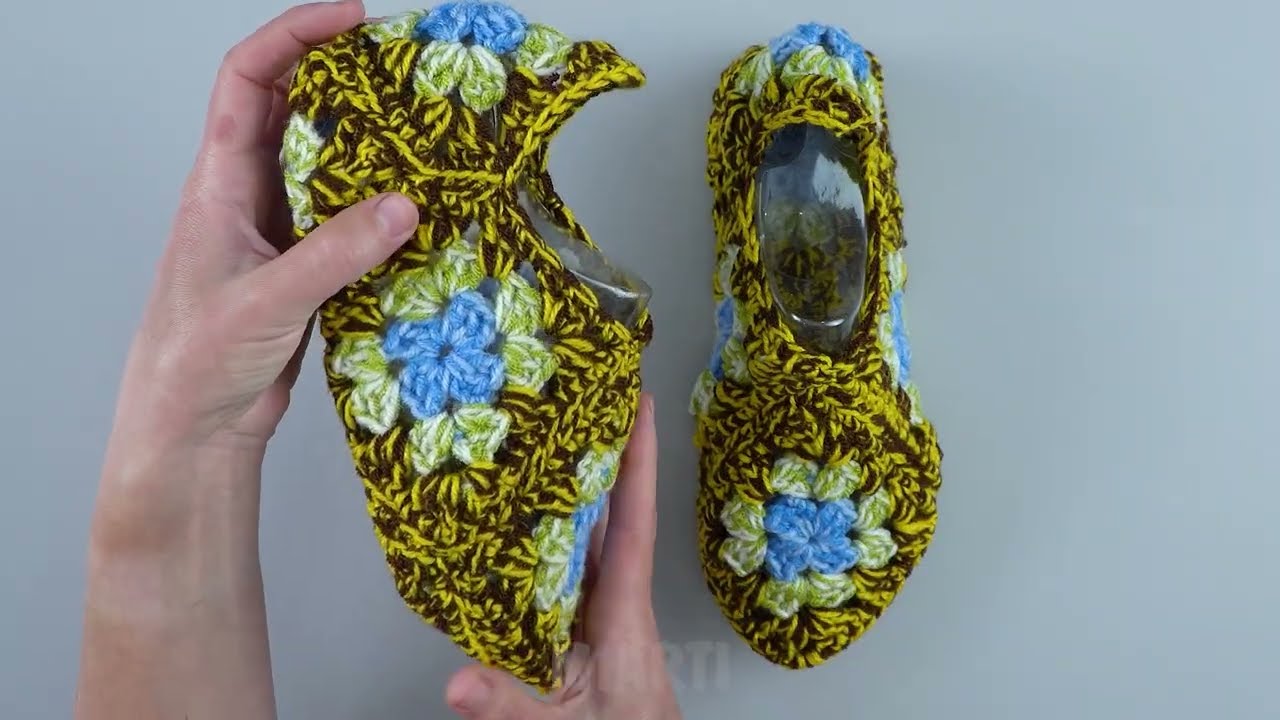
How to Make Crochet Granny Square Slippers Easily
Crochet granny square slippers are cozy, stylish, and perfect for beginners. They are made by crocheting simple granny squares and joining them together to form slippers. With basic crochet skills and a little patience, anyone can make a pair at home.
Materials Needed
-
Medium-weight yarn (acrylic or wool works well)
-
Crochet hook (usually 4.5 mm–5.5 mm, depending on yarn)
-
Scissors
-
Yarn needle
-
Stitch marker (optional)
-
Non-slip fabric or glue (optional, for soles)
Basic Crochet Skills Required
Before starting, you should know:
-
Slip knot
-
Chain stitch (ch)
-
Slip stitch (sl st)
-
Double crochet (dc)
-
Magic ring or chain circle
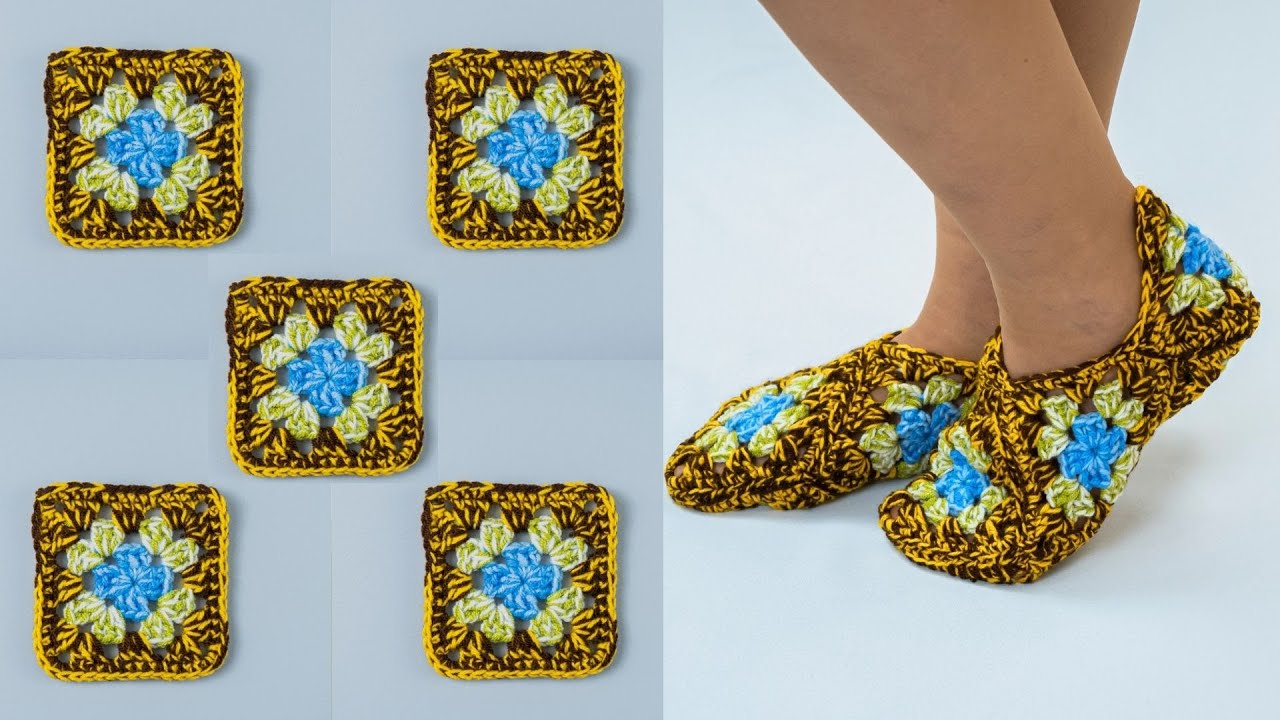
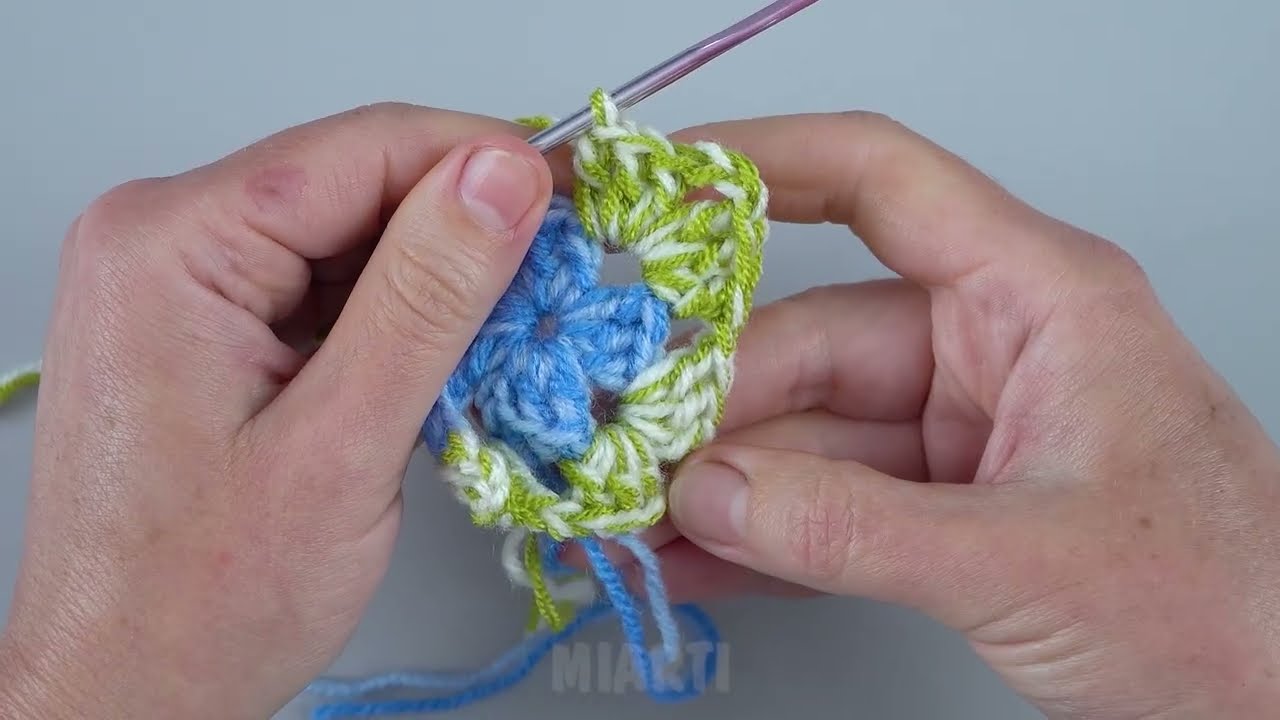
Step 1: Crochet the Granny Squares
Each slipper is made from multiple granny squares (usually 5–6 squares per foot).
How to make one granny square:
-
Start with a magic ring or chain 4 and join to form a circle.
-
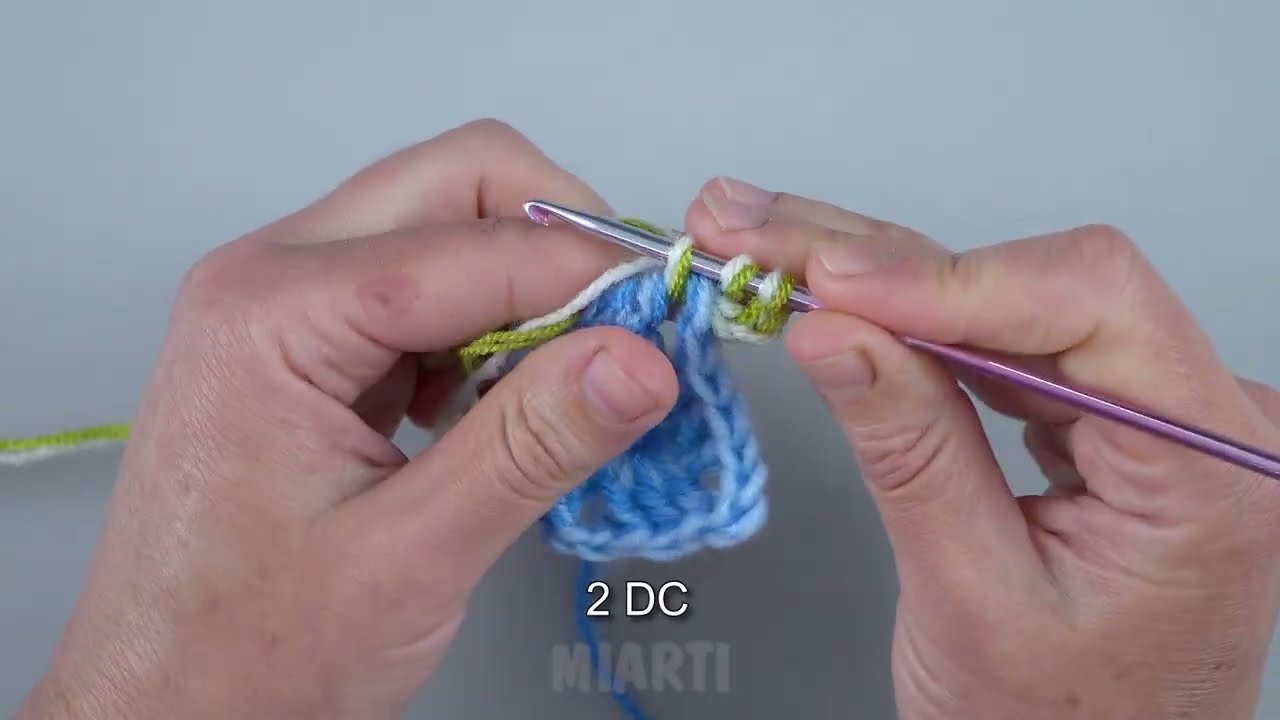
Chain 3 (counts as first double crochet).
-
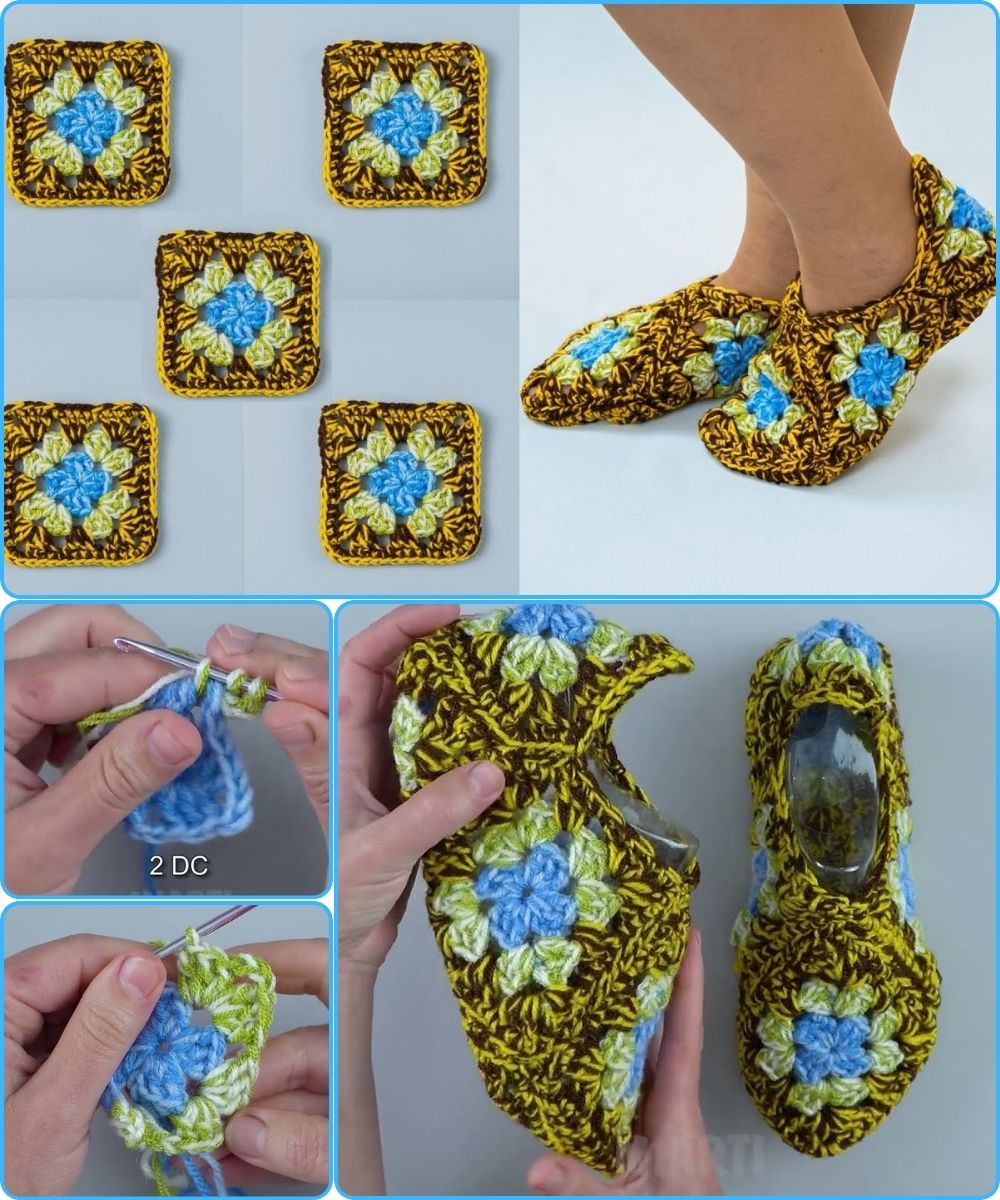
Work 2 double crochets into the ring.
-
Chain 2.
-
Repeat the pattern (3 dc, ch 2) three more times.
-
Join with a slip stitch to the top of the starting chain.
-
Continue adding rounds until the square fits your foot size.
-
Fasten off and weave in ends.
Make enough squares for both slippers.
Step 2: Arrange the Squares
Lay the squares flat to form the slipper shape:
-
One square for the toe
-
Two for the sides
-
One for the heel
-
One for the top (optional for warmth)
This layout helps you visualize how the slipper will look before joining.
Step 3: Join the Squares
You can join squares using:
-
Slip stitch
-
Single crochet
-
Whip stitch (with a needle)
Join the squares along their edges according to the slipper shape. Make sure the seams are neat and secure.
Step 4: Shape the Slipper
Once joined:
-
Fold the squares into slipper form
-
Stitch the heel closed
-
Try it on to check the fit
-
Adjust tightness if needed
Step 5: Add Edging
Crochet a round of single crochet around the opening of the slipper. This gives a neat finish and helps the slipper stay on your foot.
Optional:
-
Add a decorative border
-
Attach a button or bow
Step 6: Make the Sole (Optional)
For extra durability:
-
Crochet a thick sole and sew it on
-
Or attach non-slip fabric or dots to the bottom
Tips for Beginners
-
Use light-colored yarn to see stitches clearly
-
Count stitches to keep squares even
-
Make a test square before starting
-
Keep tension relaxed for comfort
Conclusion
Granny square slippers are easy, fun, and customizable. You can change colors, sizes, and styles to match your taste. With just basic crochet stitches, you can create warm and comfortable slippers for yourself or as a handmade gift.
If you want, I can also:
-
Simplify this for kids
-
Add pictures instructions (described)
-
Write a short version
-
Create a printable PDF style guide
Just tell me 😊
Watch video: