 by
by Absolutely! I can guide you step by step on how to make simple, seamless-soled slippers from leftover yarn. This method is perfect if you want cozy slippers without complicated sewing. I’ll assume we’re working with crochet (though I can also give a knitting version if you want).
Materials Needed
-
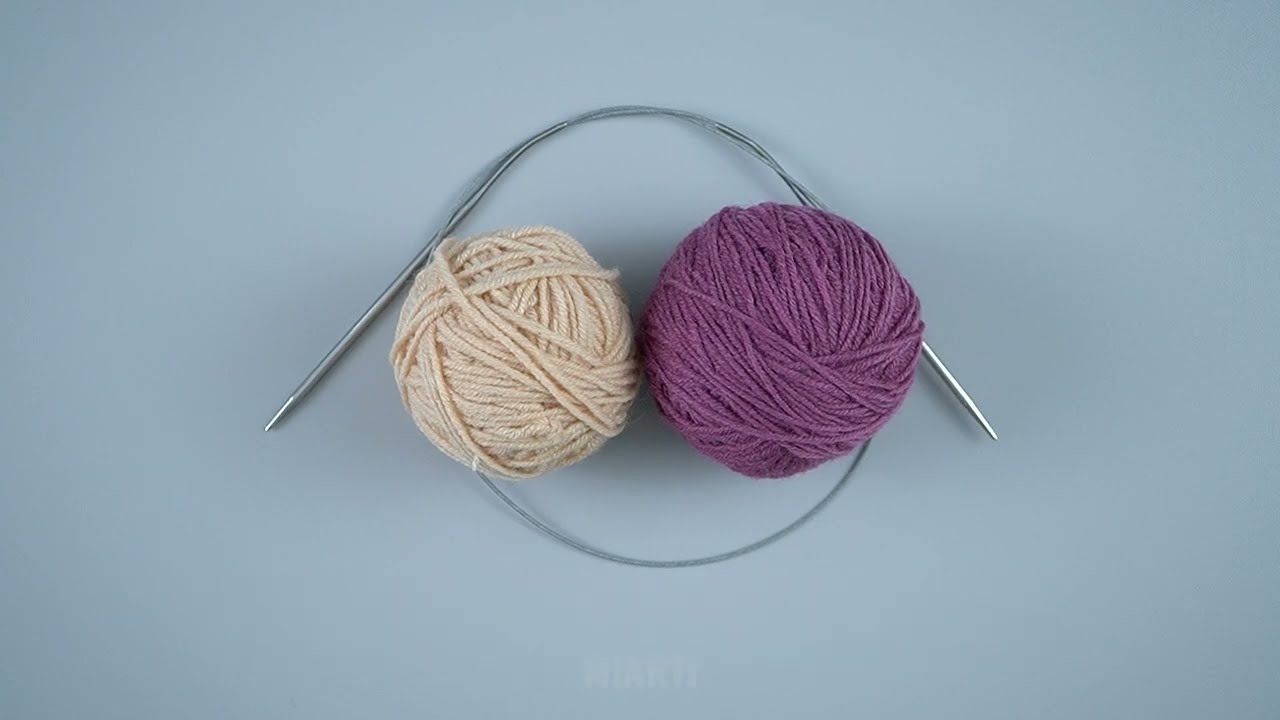
Leftover yarn (any weight works, but thicker yarn makes sturdier slippers).
-
Crochet hook (size suitable for your yarn; check the yarn label or slightly smaller for a denser fabric).
-
Scissors.
-
Yarn needle (for weaving in ends).
-
Optional: Non-slip fabric paint or felt for the bottom if you want extra grip.
Step-by-Step Instructions: Seamless Sole Slippers (Crochet)
Step 1: Make a Slipknot & Start the Sole
-
Make a slipknot and chain a small foundation chain, about the length of your foot.
-
Example: For women’s small/medium, chain ~12–14.
-
For larger sizes, chain ~16–18.
-
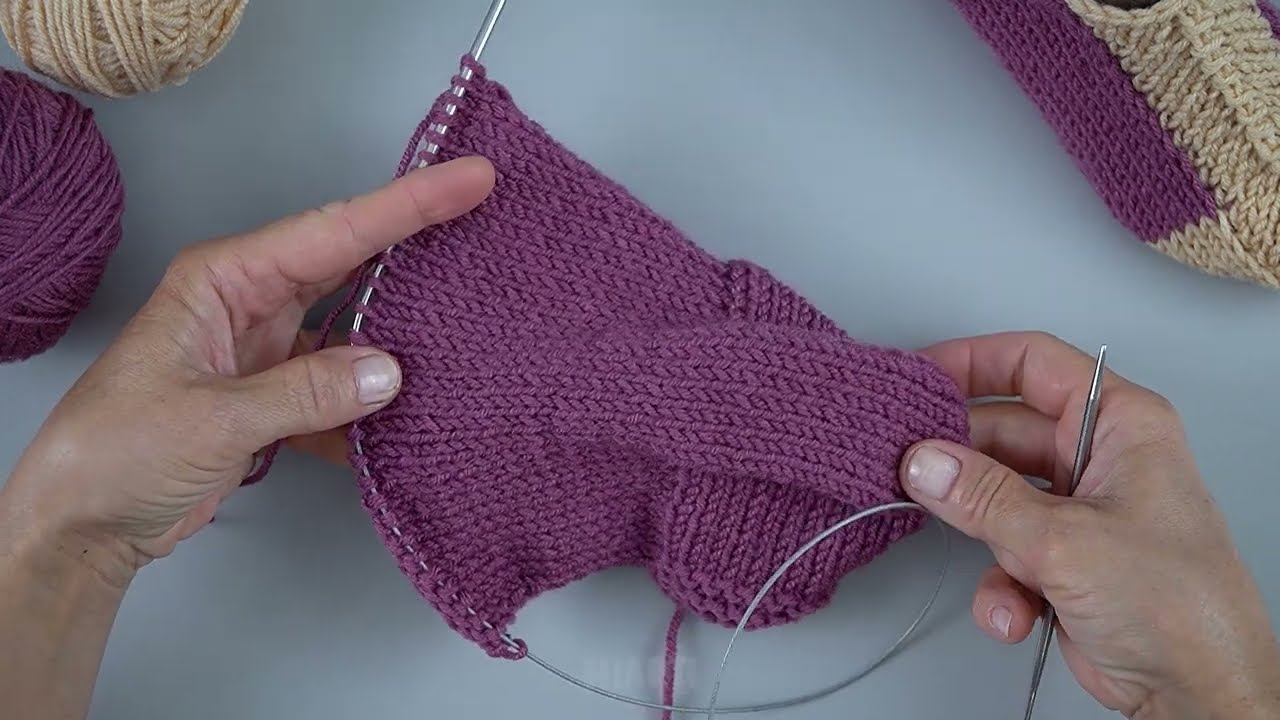
Step 2: Crochet the Sole in One Piece
-
Round 1: Work single crochets (SC) along the chain. When you reach the end, instead of turning, work along the other side of the chain back to the start.
-
At the beginning of the chain, make 3 SC in the same stitch to curve the tip of the slipper. This rounds off the toe without seams.
-
Round 2+:
-
SC all around, adding increases at the curved ends (usually 2 SC in one stitch at each end) to keep the shape flat.
-
Keep working until the sole matches the length and width of your foot.
-
Tip: You can try it on as you go for a perfect fit.
-
Step 3: Build the Sides
-
After the sole is done, start working in continuous rounds (no turning).
-
SC around the edge of the sole to begin building the sides.
-
Work 4–6 rounds (or more if you want taller slippers) to cover the sides of the foot.
-
For a snug fit: You can decrease a stitch or two at the heel.
Step 4: Optional Upper Foot Cover (Instep)
-
For a closed slipper, you can crochet across the top of the foot:
-
Decide how much of the top you want covered.
-
SC back and forth in rows from one side to the other.
-
Then continue working SC around the edge to join back to the sole, keeping it seamless.
-
Step 5: Finishing
-
Fasten off the yarn.
-
Use a yarn needle to weave in all ends securely.
-
Optional: Add non-slip grips to the sole with fabric paint or cut felt glued to the bottom.
Tips
-
Thicker yarn makes sturdier slippers, thinner yarn gives a softer slipper.
-
Stretchy fabric: You can mix two yarns for extra softness.
-
Custom fit: Try the slipper on your foot as you go. You can adjust width and height.
-
No-seam advantage: Crocheting in continuous rounds avoids a seam, which often irritates the sole of the foot.
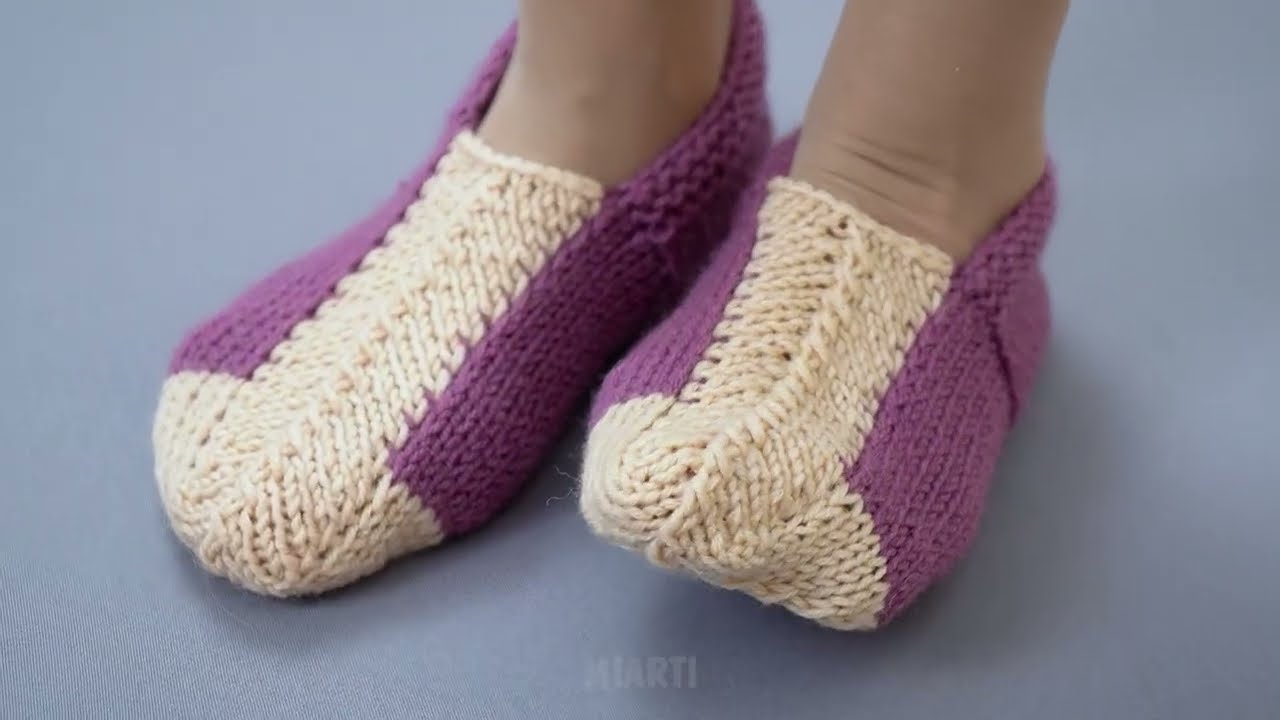
✅ End Result: You’ll have a simple, cozy, seamless slipper perfect for lounging, made entirely from leftover yarn!
If you want, I can also draw a clear diagram showing the sole shape and how to crochet around it—it makes following this method much easier.
Do you want me to do that?
Watch video: