 by
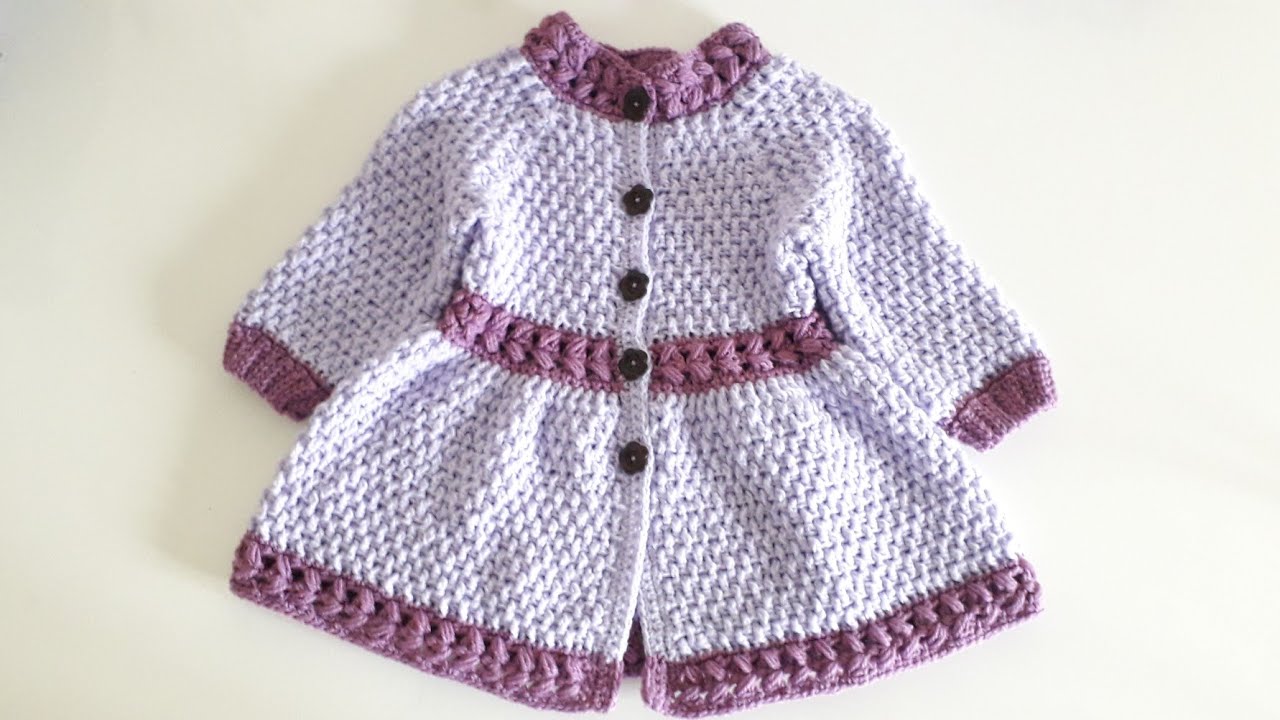
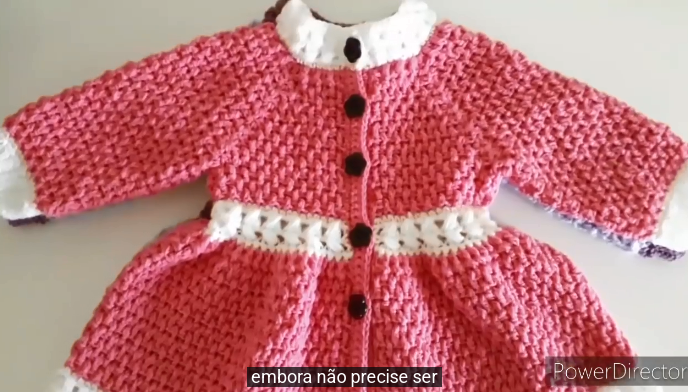
by Sure! Here’s a detailed guide on how to crochet a “Springtime” girl’s coat, perfect for mild weather. This project is ideal for intermediate-level crocheters, though determined beginners can follow along too. The coat will feature light layering, cheerful colors, and a pretty, lacy texture—great for spring!
🌸 How to Crochet a “Springtime” Girl’s Coat – Step-by-Step Guide
🧵 Supplies You’ll Need:
-
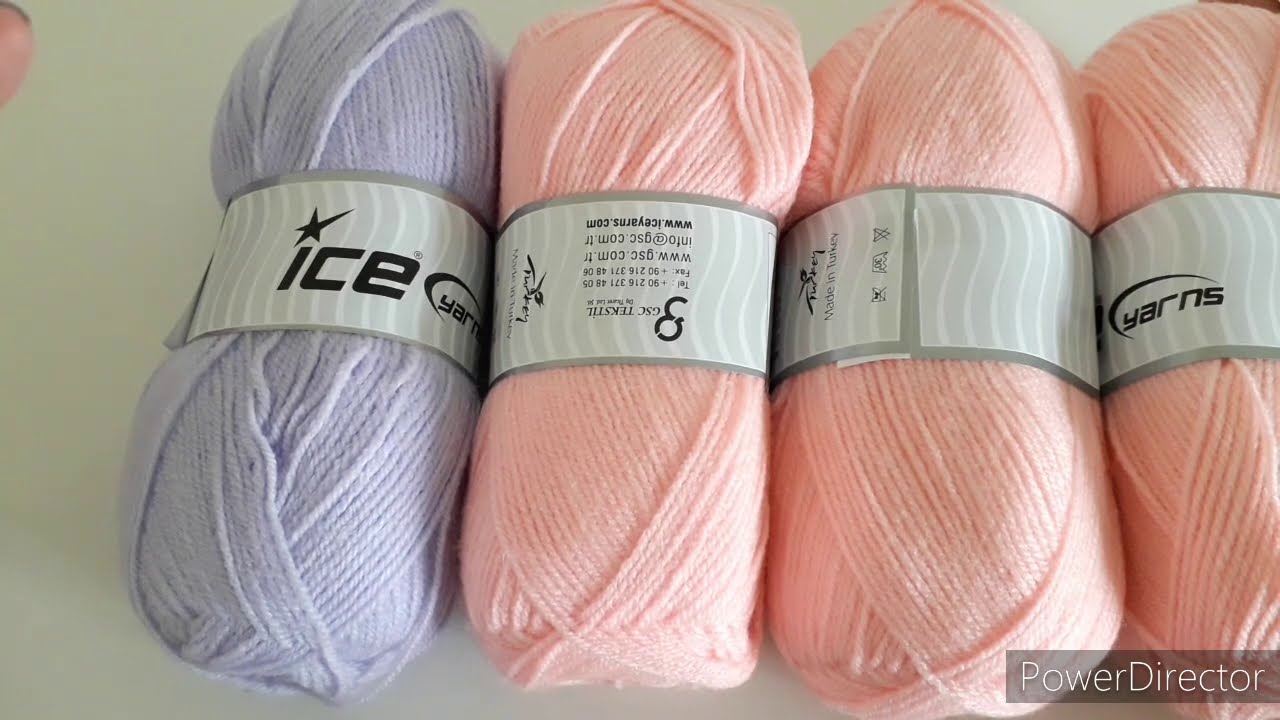
Yarn: DK weight or light worsted cotton or soft acrylic blend
– Example: Stylecraft Special DK, Paintbox DK, or Caron Simply Soft
– Yardage: Approx. 800–1000 yards depending on size (2T–6T) -
Hook Size: 4.0 mm (G/6) or size to meet gauge
-
Buttons: 3 to 5 medium-sized buttons for front closure
-
Stitch markers
-
Tapestry needle
-
Scissors
📏 Size Options:
-
2T (3T, 4T, 5T, 6T)
-
You can adjust the coat’s length and width as needed.
🧶 Stitch Abbreviations (US Terms):
-
ch – chain
-
sc – single crochet
-
dc – double crochet
-
sl st – slip stitch
-
sk – skip
-
inc – increase (2 sts in 1)
-
dec – decrease (combine 2 sts into 1)
👗 Construction Overview:
The coat is worked top down, raglan-style, in one piece for the yoke. Then the body is worked flat and the sleeves are worked in the round. Add edging, decorative touches, and buttons last.
🔹 STEP 1: YOKE (TOP PART)
-
Foundation Chain
Ch 64 (adjust in multiples of 8 if sizing up). -
Row 1: Setup
Dc in 4th ch from hook and each ch across. (61 dc)
Mark stitch counts for sleeve/body placement:
10 (front) | 10 (sleeve) | 21 (back) | 10 (sleeve) | 10 (front) -
Rows 2–8: Raglan Increases
Work dc in each st, increasing 2 sts at each marked corner (raglan points) every row.
Continue for 6–8 rows, or until the yoke fits across child’s shoulders.
🔹 STEP 2: BODY
-
Separate Sleeves:
Chain underarm stitches (ch 6–8), skip sleeve stitches, and join front to back. -
Work Even Rows:
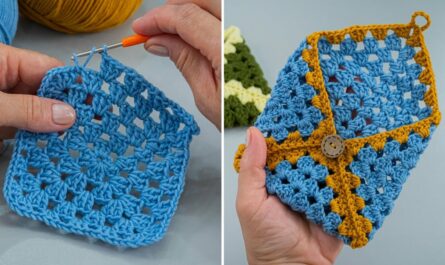
Continue in double crochet or switch to a lacy stitch pattern for a springy look. Examples:-
V-stitch: (dc, ch 1, dc) in one st, sk 1
-
Shell stitch: 5 dc in same stitch, sk 2
-
-
Length:
Repeat rows until the coat reaches desired length (waist or mid-thigh).
End with a row of sc for stability.
🔹 STEP 3: SLEEVES
-
Join yarn at underarm, work in rounds.
-
Decrease gradually for taper, or leave straight for puff sleeves.
-
Finish with 1–2 rounds of sc or shell edging.
🔹 STEP 4: HOOD or COLLAR (Optional)
Collar:
-
Work 4–6 rows of sc or dc around the neckline.
-
Shape into a Peter Pan or ruffled collar if desired.
Hood:
-
From neckline, ch up and work rows of dc back and forth.
-
Seam the top when desired height is reached.
🔹 STEP 5: EDGING & FINISHING
-
Button Band:
Work sc along front edges, spacing buttonholes every 6–8 rows on one side. -
Sleeve and Bottom Edging:
Add picot, shell, or ruffle edging for a feminine look. -
Weave in ends with tapestry needle.
🧼 Washing & Blocking
-
Gently wash in cool water.
-
Lay flat to dry.
-
Steam block for shape, especially around edges and button band.
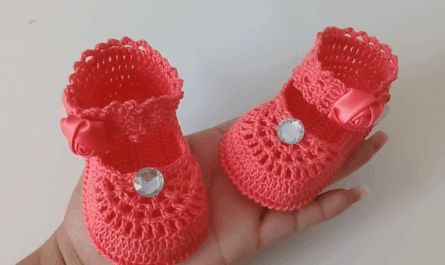
🌷 Optional Embellishments:
-
Crochet flower appliqués
-
Ribbon ties
-
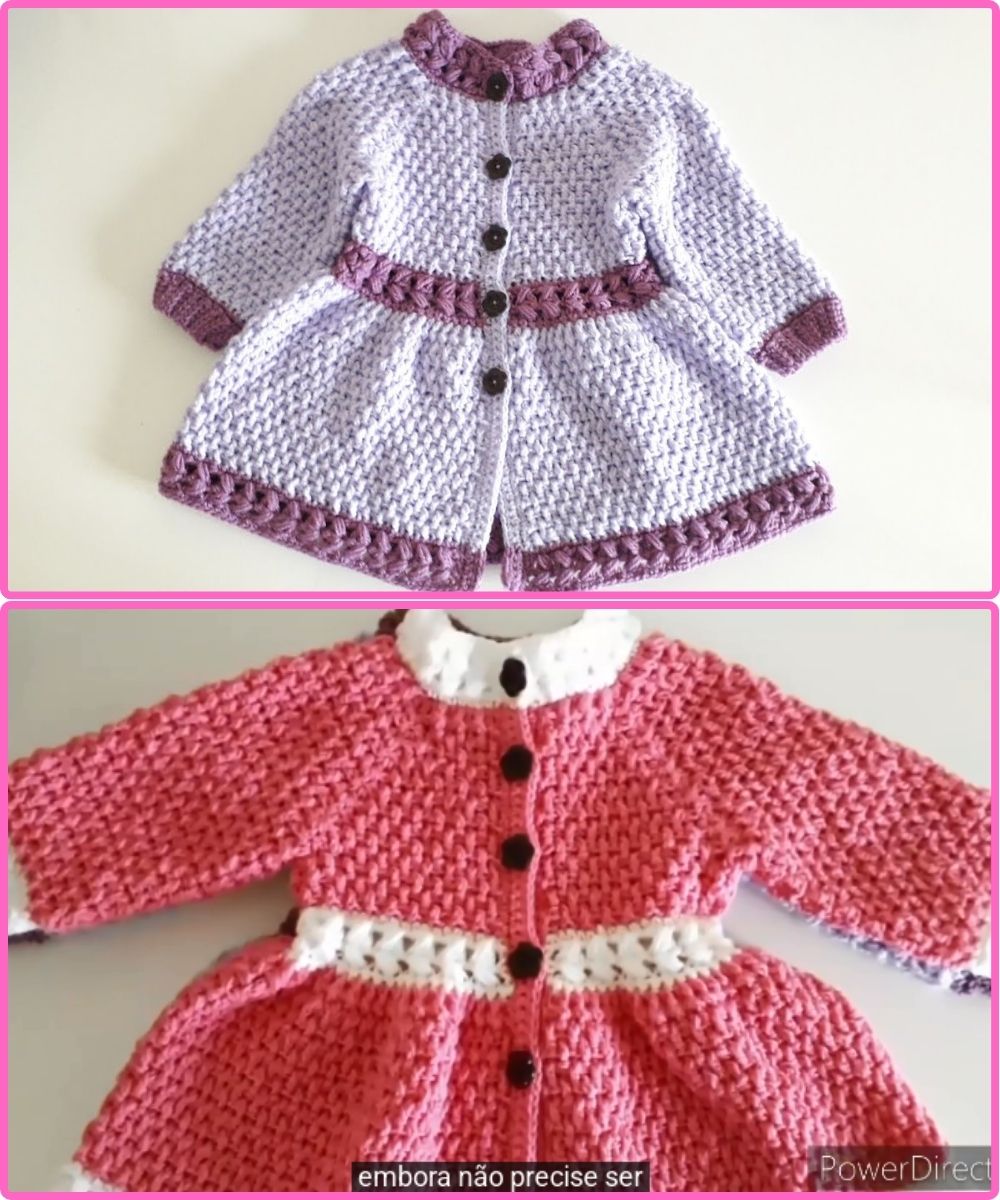
Contrasting border colors
-
Puff stitch trim
-
Scalloped edges
📸 Final Tips
-
Always check gauge before starting.
-
Use stitch markers for raglan lines.
-
Keep a notebook for row and stitch counts.
-
Customize color stripes for extra spring flair!
Watch video: