 by
by Sure! Here’s a detailed guide on how to make a beautiful cape using the crochet puff stitch — a super easy and stylish project for beginners and experienced crocheters alike.
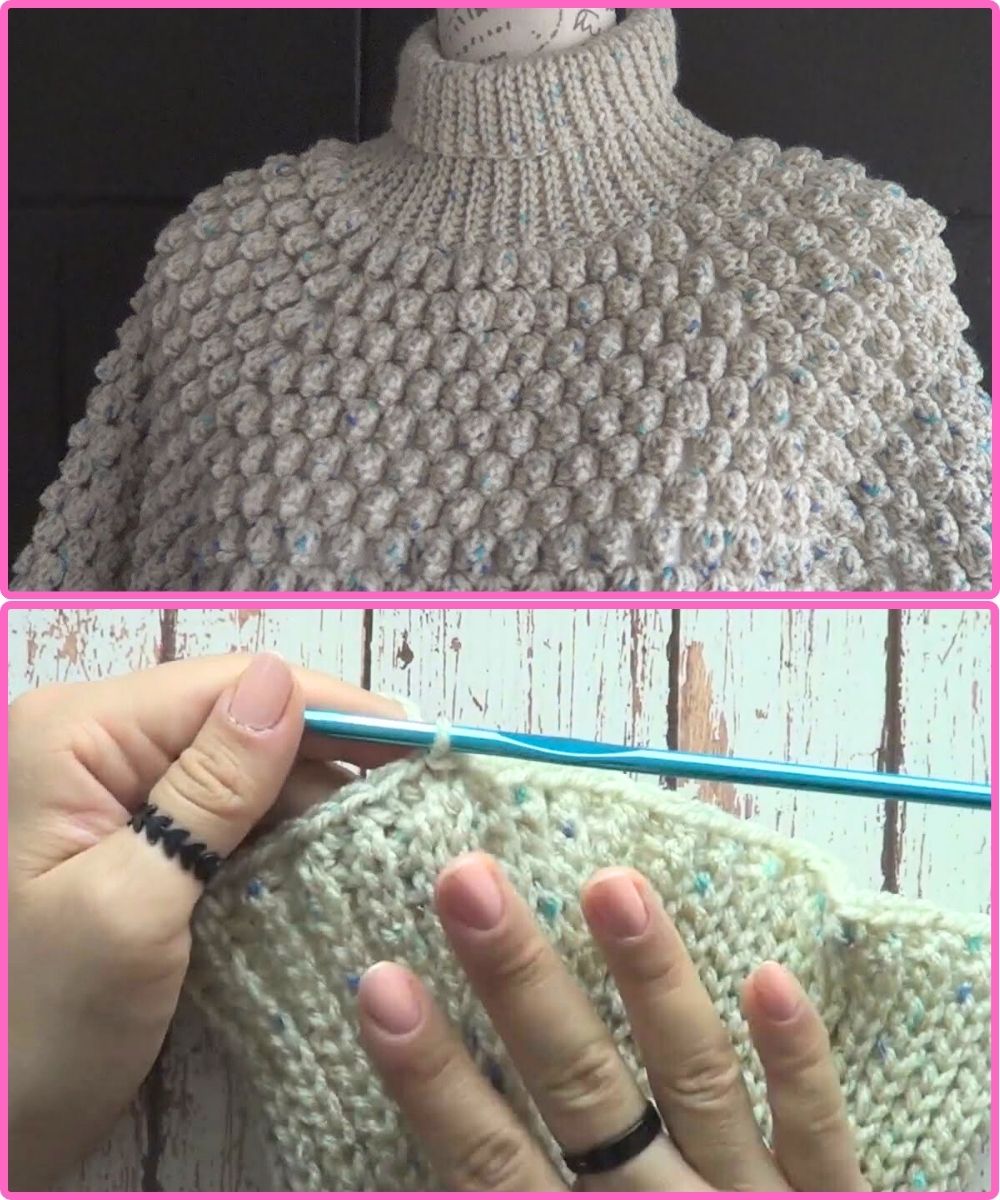
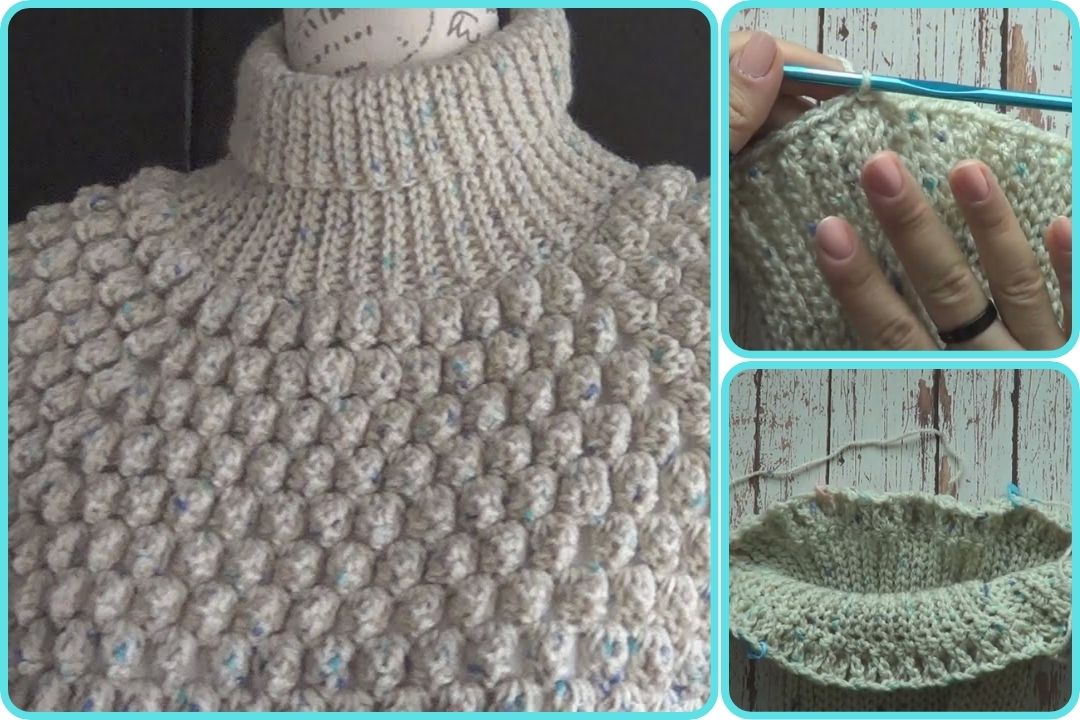
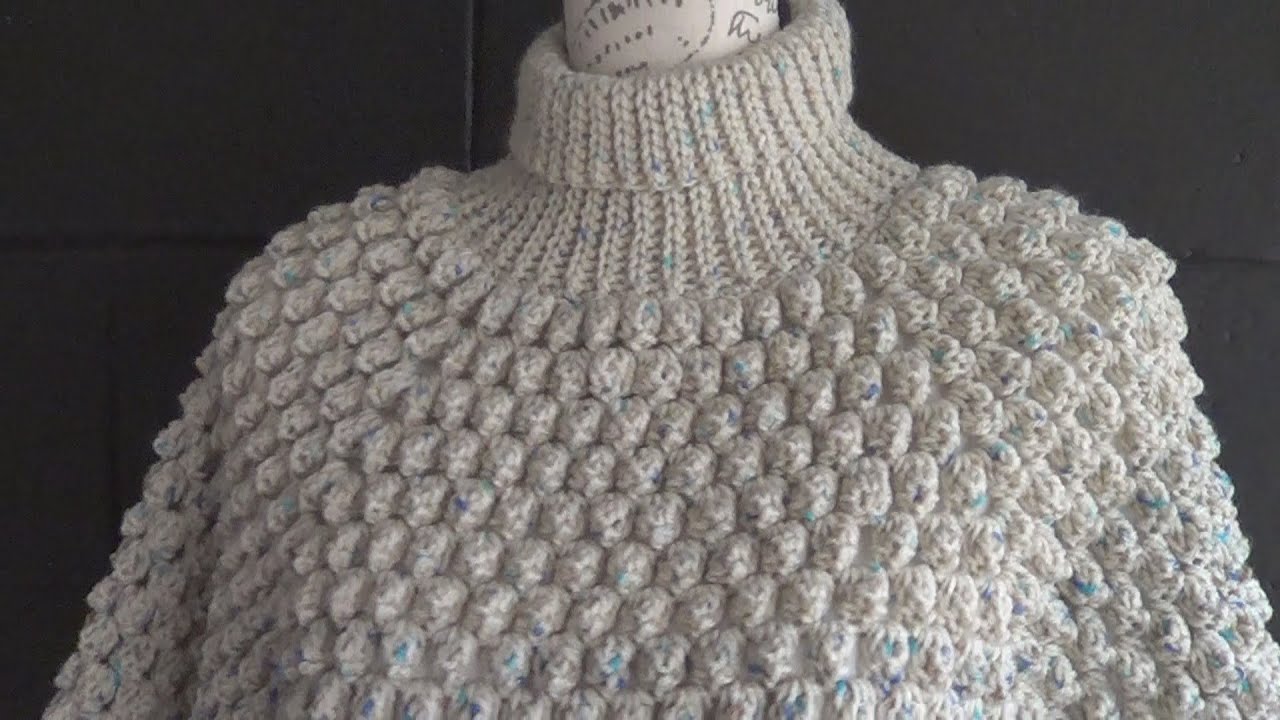
🧶 How to Make a Beautiful Crochet Cape in Puff Stitch – Super Easy!
🧵 Materials Needed:
-
Yarn: Medium weight yarn (Category 4) or any yarn of your choice
Acrylic or wool blends work well for capes -
Crochet Hook: Use the size recommended on your yarn label (usually 5mm or 5.5mm)
-
Scissors
-
Yarn needle (for weaving in ends)
-
Measuring tape
-
Buttons (optional, if you want a button closure)
✨ What is the Puff Stitch?
The puff stitch creates a textured, cozy, and elegant look. It’s great for capes because it gives volume without being too heavy.
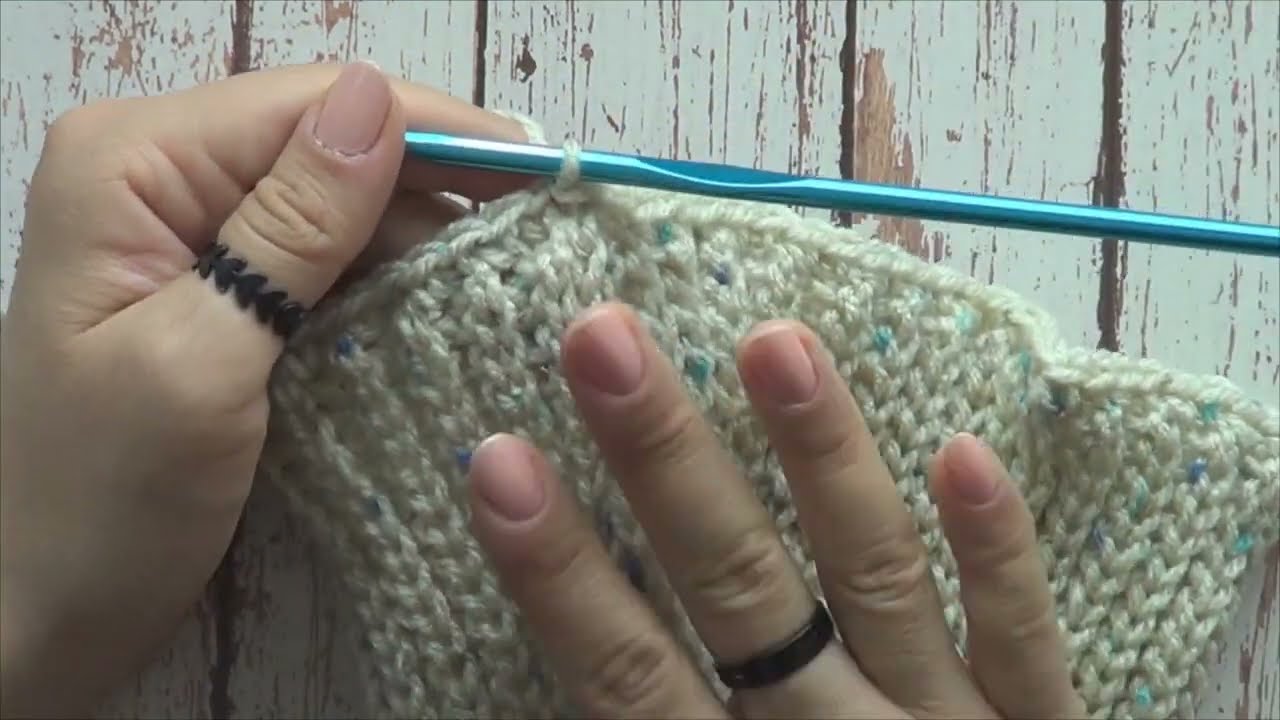
Basic Puff Stitch:
-
Yarn over, insert hook into the stitch
-
Yarn over and pull up a loop (3 loops on hook)
-
Repeat step 1 two more times (you’ll have 7 loops on the hook)
-
Yarn over and pull through all 7 loops
-
Chain 1 to close the puff
👗 Step-by-Step Instructions to Crochet a Puff Stitch Cape
🪡 Step 1: Measure and Chain
-
Measure from your neck down to the desired cape length.
-
Create a foundation chain long enough to go around your shoulders comfortably.
-
Example: Chain 100–120 depending on size (child, teen, adult).
-
Make sure the number of chains is a multiple of 2 + 1 extra.
-
🪡 Step 2: Create the First Row
-
In the second chain from hook, make a puff stitch.
-
Skip 1 chain, and make another puff in the next chain.
-
Repeat across the row.
-
Chain 2 and turn.
🪡 Step 3: Work the Body
-
For Row 2 and beyond:
-
Make a puff stitch in the chain-1 space of each puff stitch from the previous row.
-
Continue until your cape is the length you want.
-
Try 15–20 rows for a short capelet, or 30+ rows for a full cape.
-
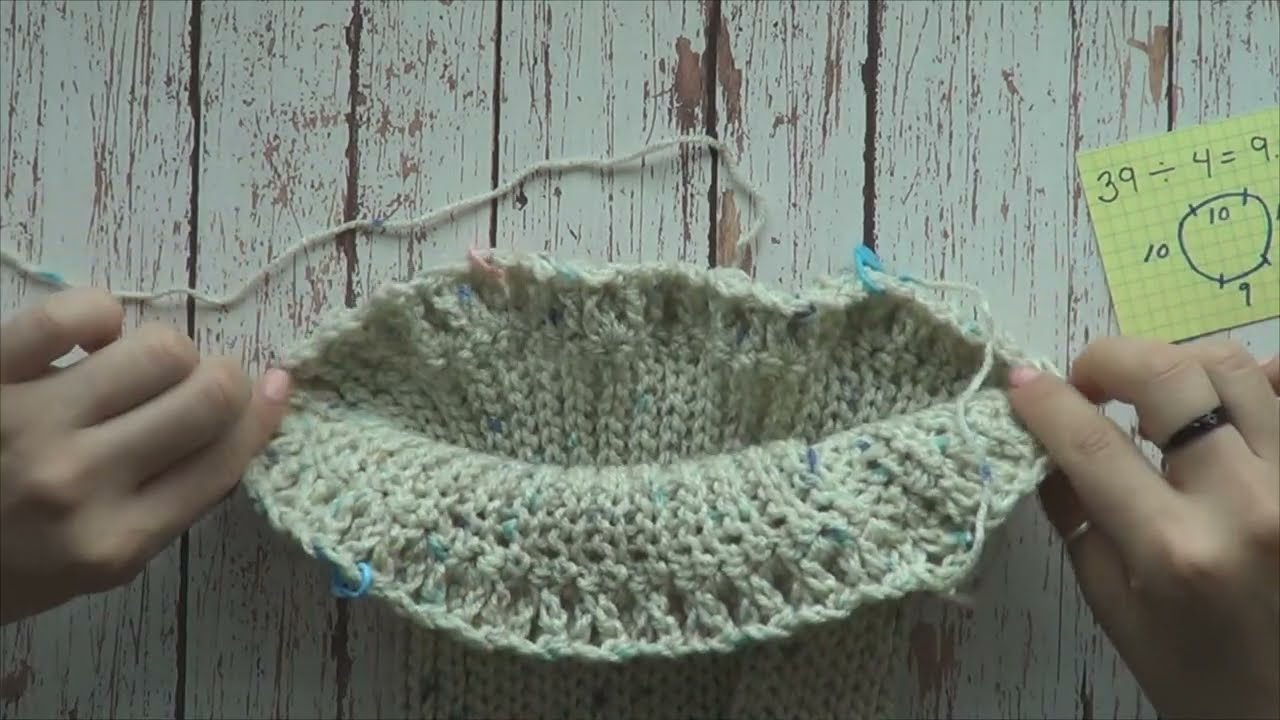
🪡 Step 4: Shape the Neckline (Optional)
-
To make the neckline snug, decrease puff stitches gradually near the top.
-
Example: In the last 4–5 rows, decrease by skipping extra spaces between puffs.
-
-
Or add a ribbed collar using front/back post double crochet for stretch.
🪡 Step 5: Finishing Touches
-
Weave in all loose ends using the yarn needle.
-
Optionally, add a button or tie closure:
-
Sew a button and create a small chain loop to fasten.
-
Or, chain a long string and weave it through the neckline to tie it closed.
-
🌟 Tips for Success
-
Keep your tension even to make your puff stitches uniform.
-
Use a lighter yarn for spring/summer versions or chunky yarn for winter capes.
-
Add stripes or alternate colors for extra flair!
-
Try faux fur trim or fringe along the bottom edge for a dramatic effect.
📺 Bonus: Video Recommendation
Want to follow along visually? Search YouTube for:
“Crochet Puff Stitch Cape Tutorial – Easy for Beginners”
Look for creators like:
-
Bag-O-Day Crochet
-
Blossom Crochet
-
Nastazia
Would you like me to write a printable pattern for a specific size or with a button closure? Or do you want an illustrated step-by-step PDF or chart?
Watch video: