 by
by Sure! Here’s a detailed, beginner-friendly guide on how to make easy crochet shoes (sometimes called crochet slippers or house shoes). This tutorial will cover materials, basic steps, and a simple pattern suitable for those new to crocheting.
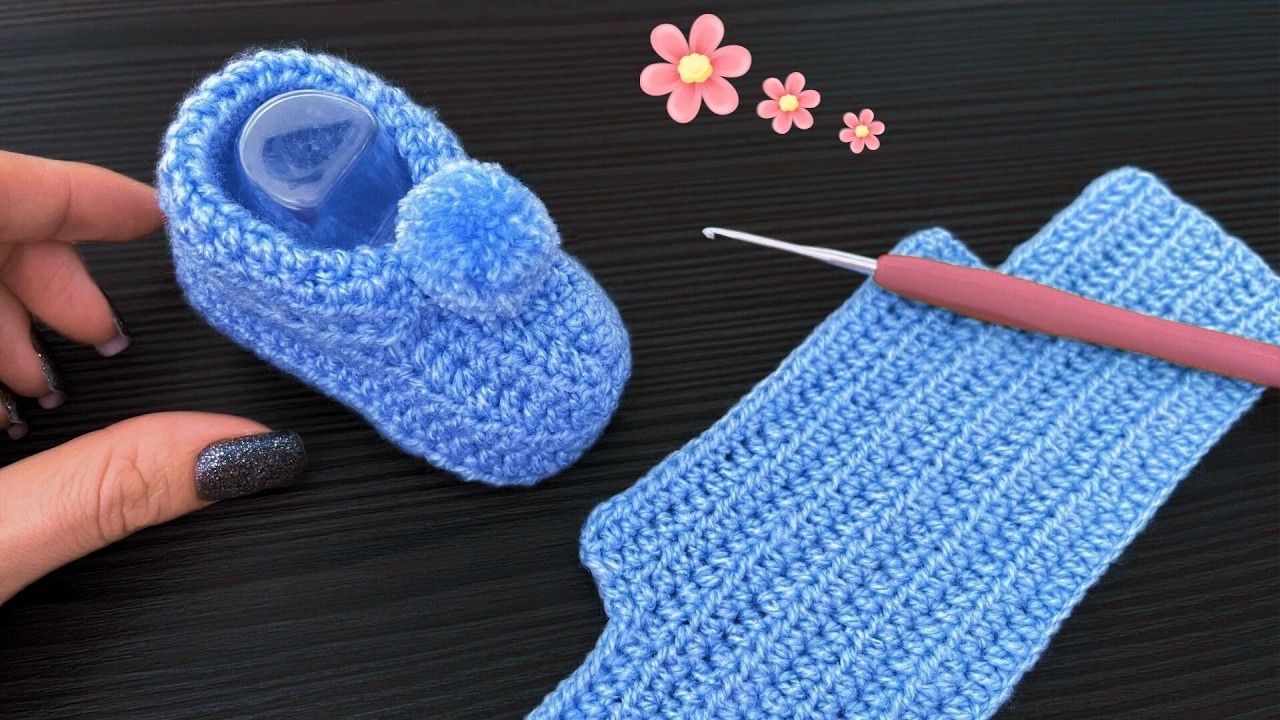
🧵 How to Make Crochet Shoes (Easy for Beginners)
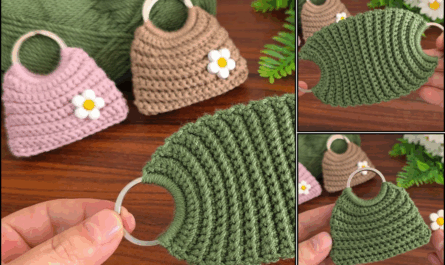
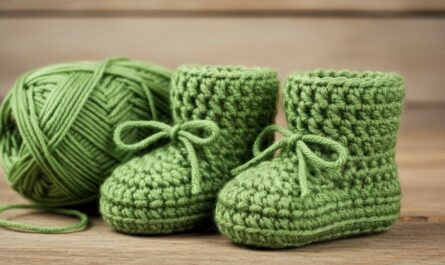
👟 What Are Crochet Shoes?
Crochet shoes are cozy, soft footwear made using yarn and a crochet hook. They’re perfect for indoor use, like slippers, and can also be adapted for outdoor use with the right sole.
🧰 Materials You’ll Need:
-
Yarn: Medium weight (category 4) yarn like acrylic or cotton.
-
Crochet Hook: Usually 4.0 mm to 5.5 mm (check yarn label).
-
Tapestry Needle: For weaving in ends.
-
Scissors
-
Measuring Tape (optional)
-
Non-slip soles or puff paint (optional, for added grip)
🧶 Basic Crochet Skills Required:
-
Chain stitch (ch)
-
Single crochet (sc)
-
Half double crochet (hdc) (optional)
-
Slip stitch (sl st)
If you’re not familiar with these, I can provide a quick tutorial or links to learn them!
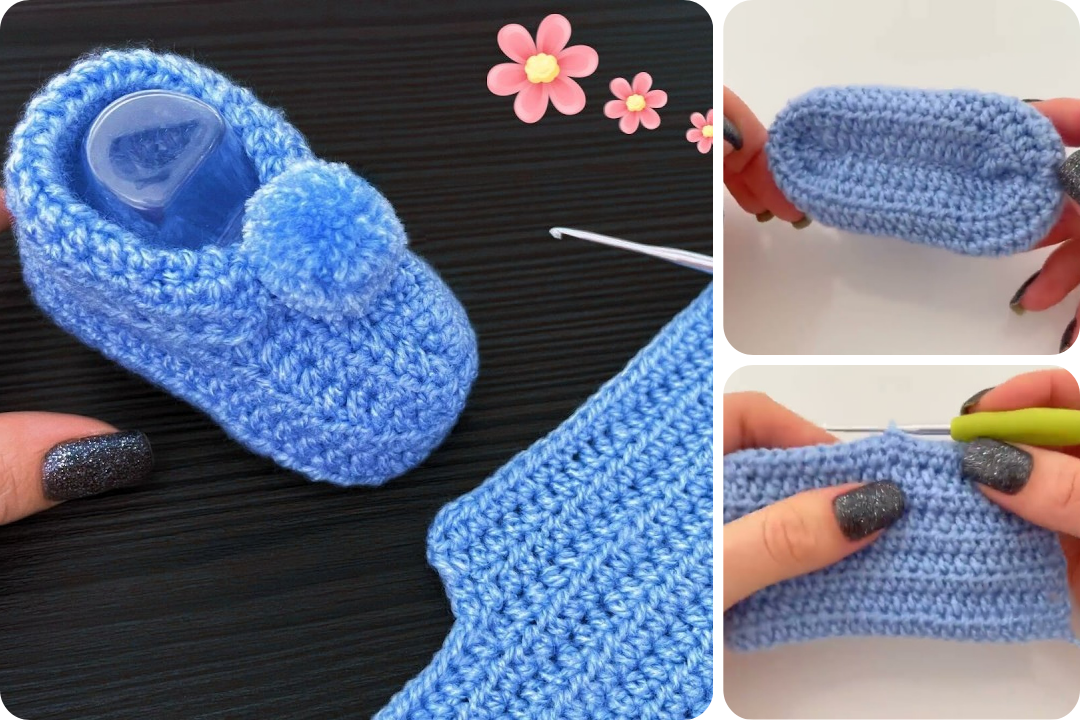
📏 Step-by-Step Instructions to Crochet Basic Shoes
🥾 STEP 1: Make the Sole
This is the base of your shoe. Here’s a simple adult-sized sole pattern:
You can adjust the size by adding more chain stitches in the beginning and adjusting the increases accordingly.
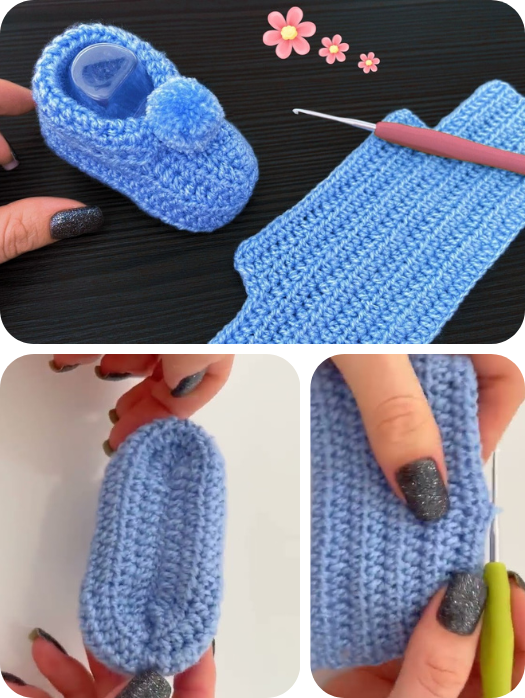
🧦 STEP 2: Build the Sides of the Shoe
After the sole, work around it in rounds to build the sides.
You can add more rounds to make the shoe taller.
👢 STEP 3: Shape the Toe
Here’s how to taper the front:
🪡 STEP 4: Finish
-
Weave in all yarn ends.
-
Optionally, add puff paint or fabric glue dots to the soles for anti-slip grip.
-
Decorate with buttons, bows, or patches if you like!
🧼 Washing Instructions
-
Machine wash cold on gentle.
-
Air dry to maintain shape.
📝 Notes:
-
You can also attach your crochet upper to a flip-flop sole for outdoor shoes.
-
To make a custom size, measure the foot length and width and adjust the sole pattern.
Watch video: