 by
by Of course! 🧶
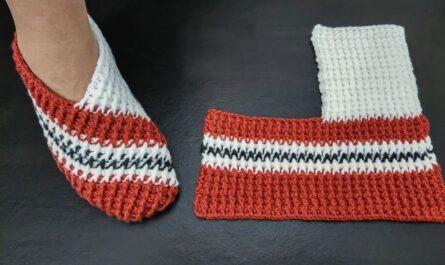
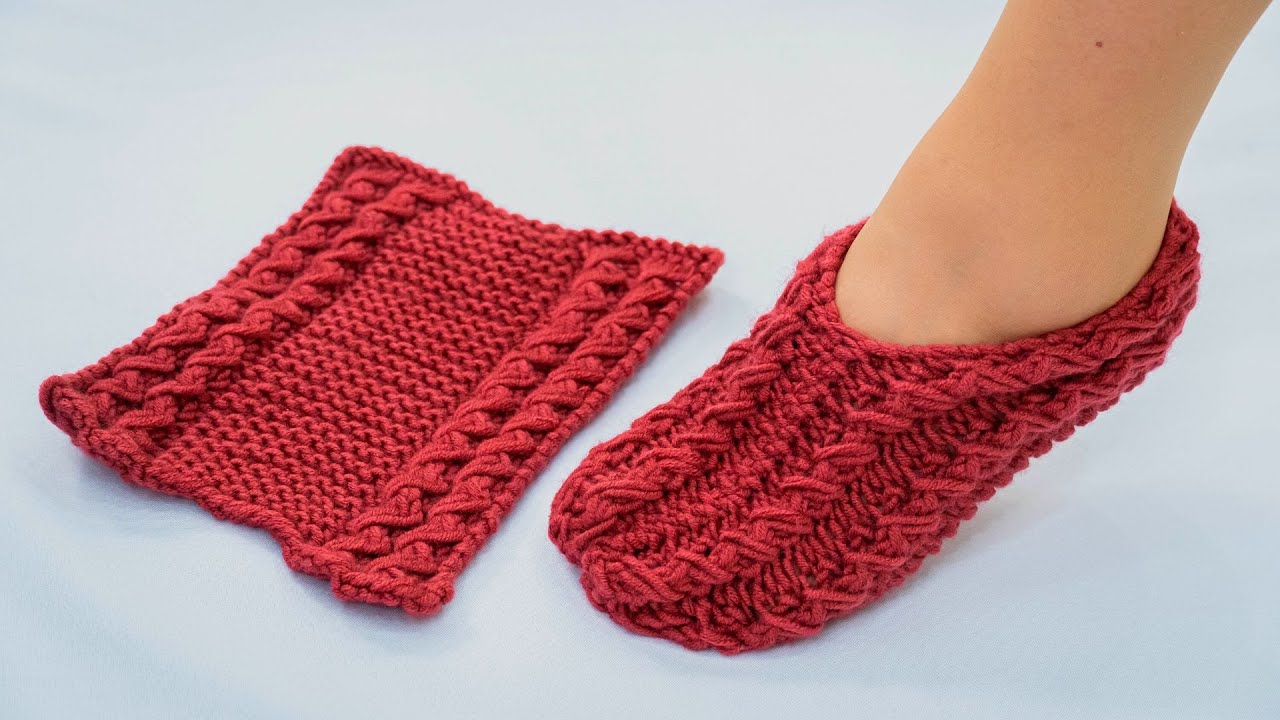
Here’s a clear, beginner-friendly, detailed guide for making slippers on 2 knitting needles with NO seam on the sole. The only sewing is a tiny seam at the back (heel), so the bottom stays smooth and comfy.
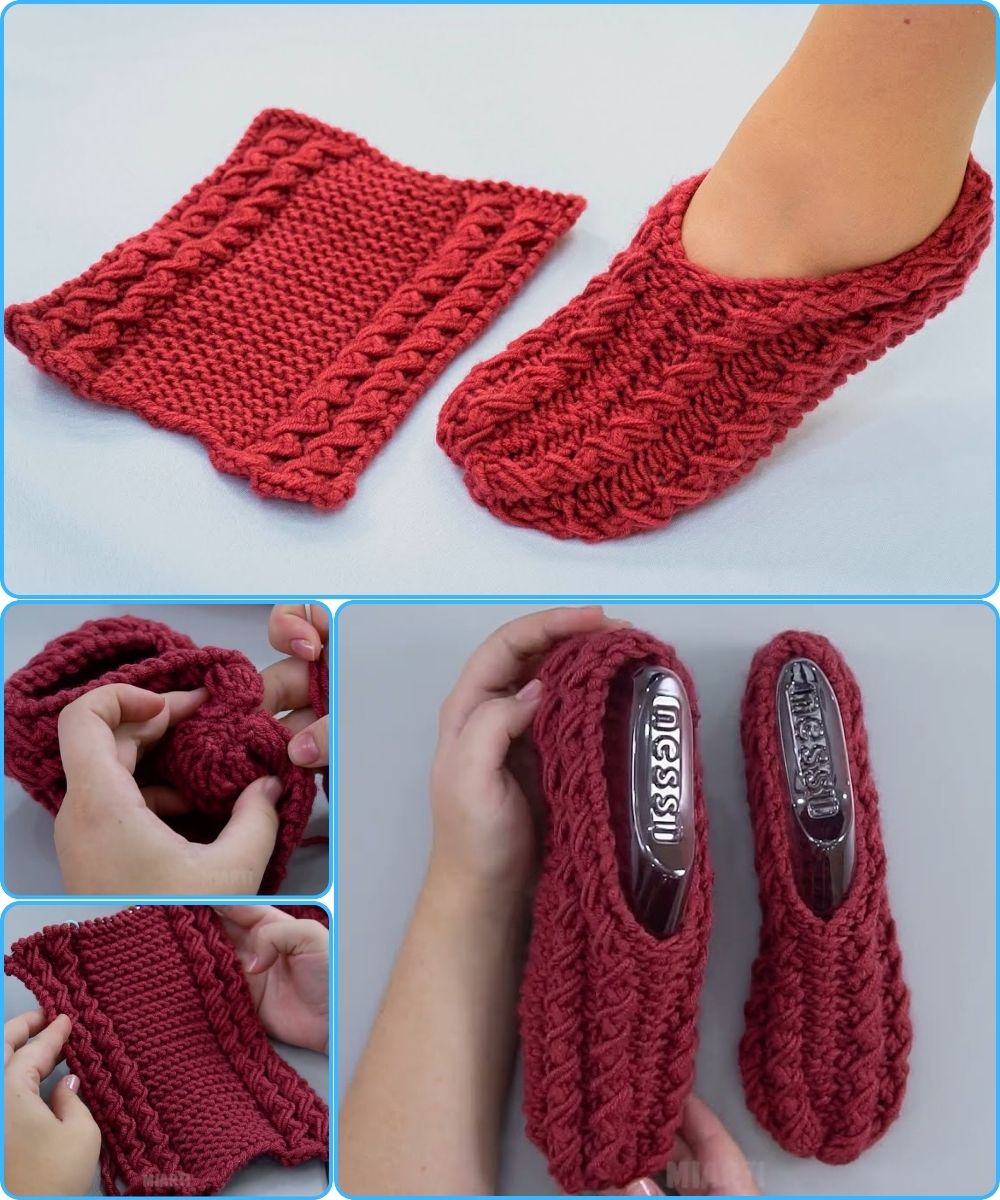
How to Make Slippers on 2 Knitting Needles
No Seam on the Sole – Beginner Friendly!
These slippers are worked flat on two needles, shaped cleverly so the sole is seamless, making them extra comfortable and durable. Perfect for beginners who want a polished result without complicated techniques.
1. What You’ll Need
🧶 Materials
-
Yarn:
-
Medium / worsted weight yarn
-
Wool or wool blend works best (warm + stretchy)
-
About 100–150 g
-
-
Knitting needles:
-
Size 5 mm (US 8) straight needles
-
-
Other tools:
-
Tapestry needle
-
Scissors
-
Stitch markers (optional)
-
2. Size Guide (Adult – Easy to Adjust)
This pattern fits an average adult foot (EU 38–40 / US 7–9).
To adjust size:
-
More stitches = wider slipper
-
More rows = longer slipper
3. Stitches & Skills Used
Perfect for beginners—you only need:
-
Knit stitch
-
Purl stitch
-
Increase (knit front & back)
-
Decrease (knit 2 together)
-
Basic seaming (heel only)
Stitch patterns:
-
Garter stitch (knit every row)
-
Stockinette stitch (knit one row, purl one row)
4. Gauge (Approximate)
-
18 stitches = 10 cm (4 in) in garter stitch
Exact gauge is not critical for slippers 👍
5. Step-by-Step Instructions
STEP 1: Cast On (Toe Section – Seamless Sole Begins Here)
-
Cast on 12 stitches
-
Knit every row (garter stitch) for 6 rows
This creates the toe and starts the sole with no seam.
STEP 2: Increase for Foot Width
Now we shape the foot gradually.
-
Knit 1
-
Increase 1 stitch
-
Knit to last stitch
-
Increase 1 stitch
-
Knit 1
Repeat this increase row every right-side row until you have 36–40 stitches (depending on how wide you want the slipper).
👉 This shaping creates a smooth, seamless sole.
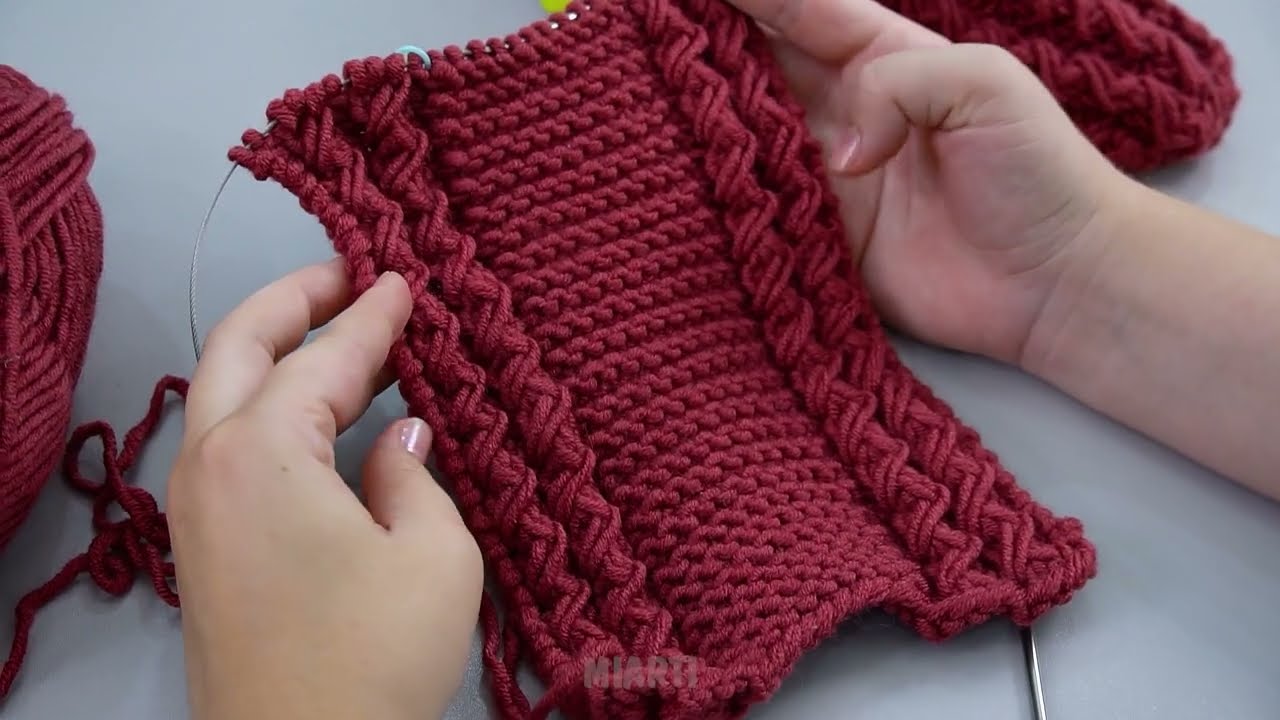
STEP 3: Knit the Foot Length
-
Continue knitting straight in garter stitch
-
Knit until the piece measures about 22–24 cm (8.5–9.5 in) from the toe
Tip: Hold it against your foot—the knitting should reach just below the ankle.
STEP 4: Shape the Heel (Still No Sole Seam!)
Switch to stockinette stitch:
-
Right side: knit
-
Wrong side: purl
Heel shaping:
-
Knit to the middle of the row
-
Knit 2 together (centered decrease)
-
Continue decreasing 1 stitch at the center every right-side row
-
Continue until 12 stitches remain
This forms the heel cup.
STEP 5: Bind Off
-
Bind off loosely
-
Do not cut yarn too short—you’ll use it for sewing
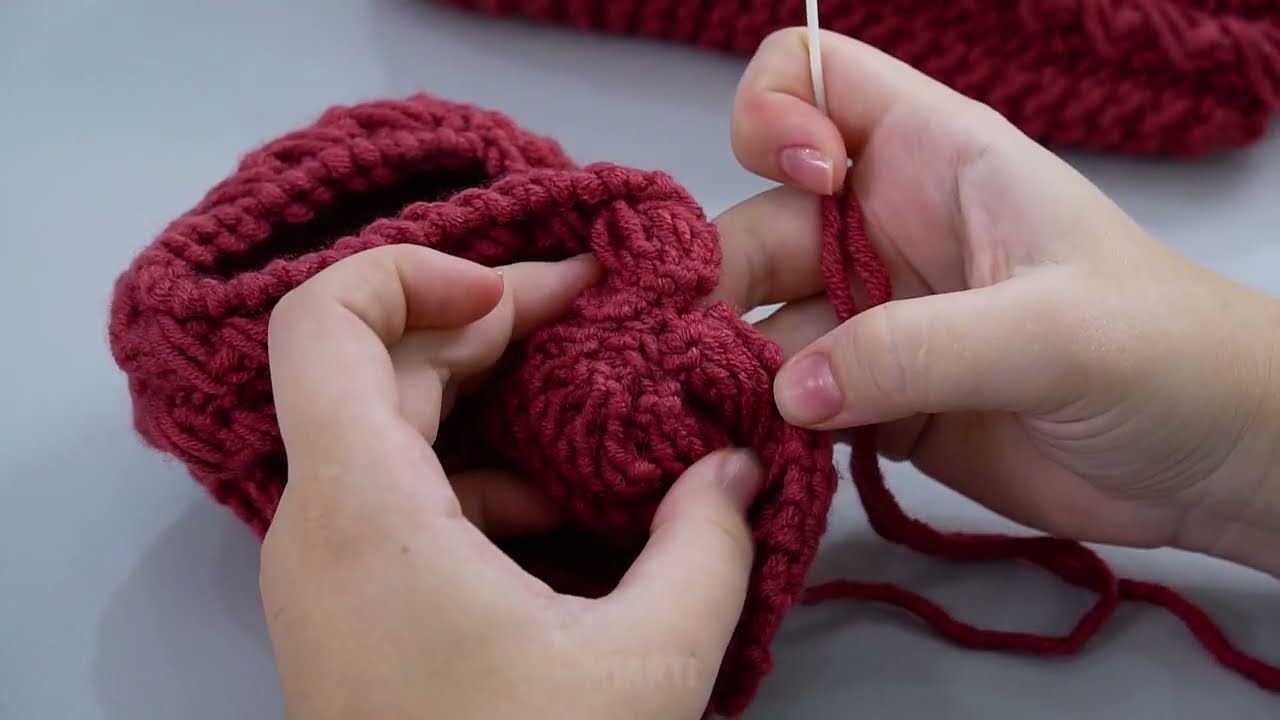
6. Finishing – Only ONE Small Seam!
Heel Seam (Only Sewing Required)
-
Fold slipper in half
-
Sew only the back heel seam
-
Do not sew the bottom — the sole is already seamless 🎉
Weave in all ends.
7. Optional Cuff (Easy Upgrade!)
Want ankle coverage?
-
Pick up stitches around the opening
-
Knit 6–10 rows in rib stitch (k1, p1)
-
Bind off loosely
8. Beginner Tips 💡
-
Use garter stitch for a squishy, non-slip sole
-
Wool yarn helps slippers keep their shape
-
Knit tightly at the toe for durability
-
If slippers feel loose, felt them lightly in warm water
9. Customization Ideas ✨
-
Add pom-poms or buttons
-
Knit stripes or color blocks
-
Embroider initials
-
Add a leather or suede sole patch for extra grip
Final Thoughts
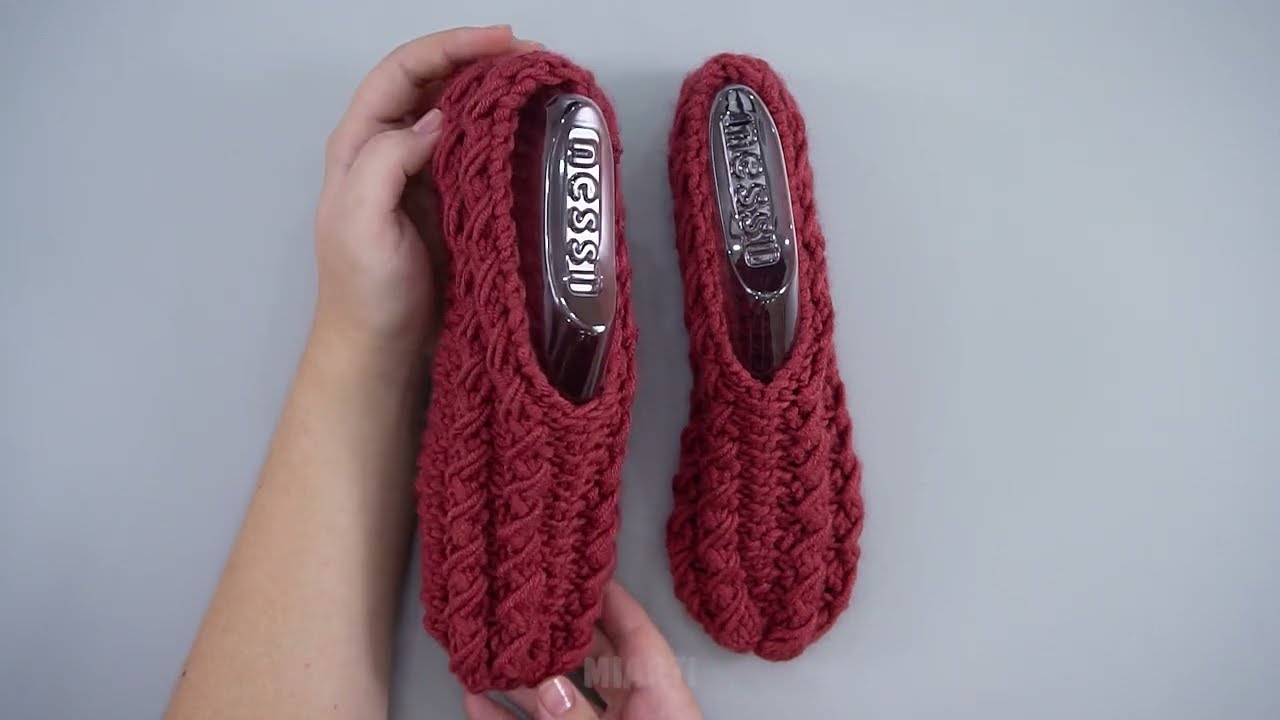
These slippers are:
✅ Made on 2 needles
✅ No seam on the sole
✅ Beginner-friendly
✅ Warm, comfy, and durable
Once you make one pair, they’re incredibly addictive 😄
If you’d like, I can also:
-
Adjust this for men’s / children’s sizes
-
Turn it into a printable pattern
-
Show a photo-style step breakdown
-
Convert it to chunky yarn
Watch video: