 by
by Here’s a detailed, beginner-friendly guide on How to Make Simple Slippers on 2 Knitting Needles with an Original Pattern. This pattern is cozy, easy to follow, and includes a creative twist so your slippers will stand out! 🧶✨
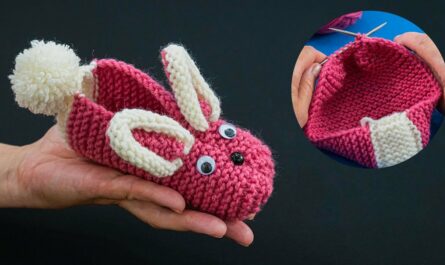
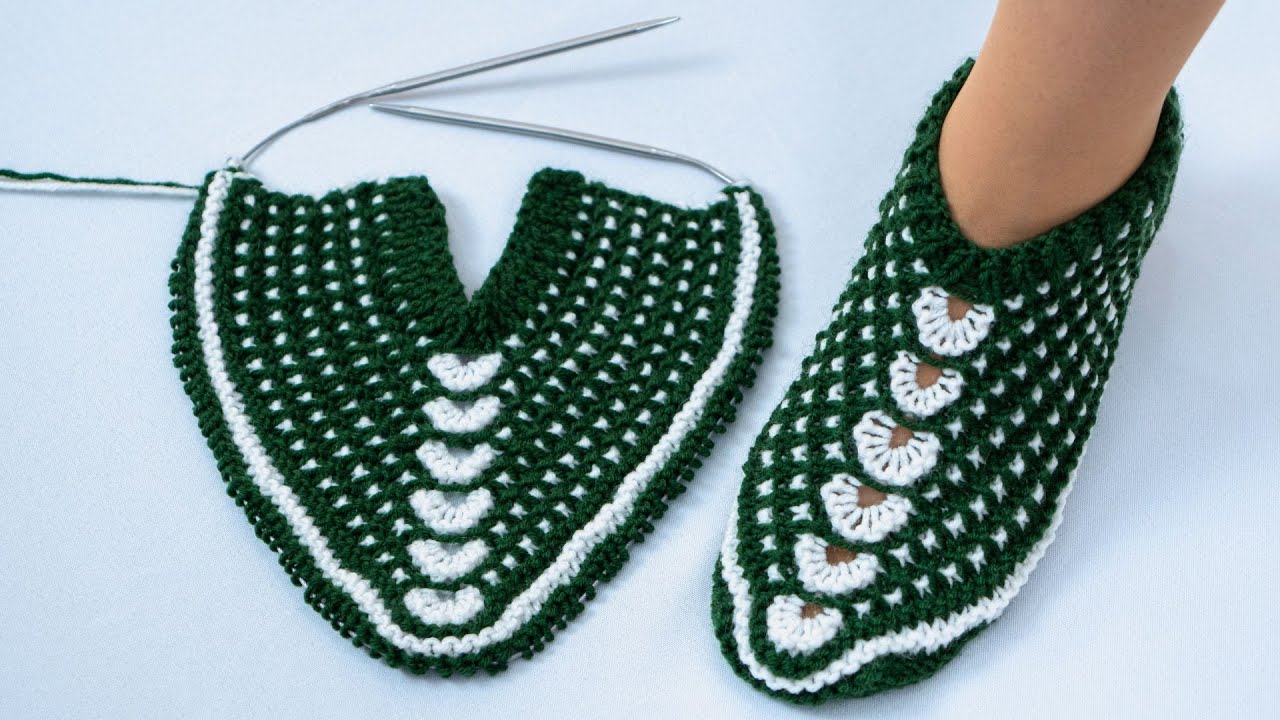
How to Make Simple Slippers on 2 Knitting Needles – Original Pattern
These slippers are worked flat on two needles and folded into shape, making them perfect for beginners. The original touch comes from a simple textured stitch on the upper part that adds style without complexity.
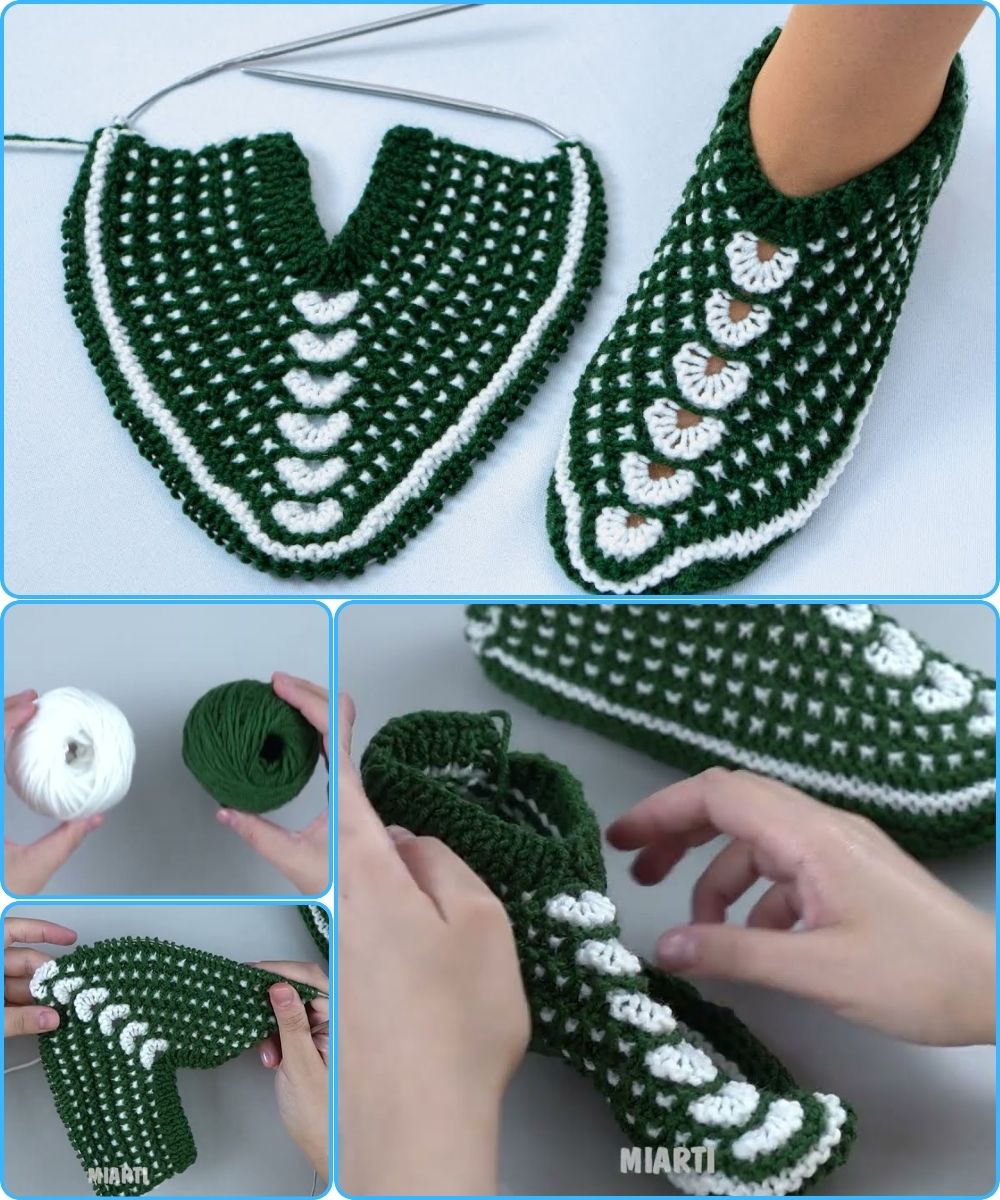
Materials You’ll Need
-
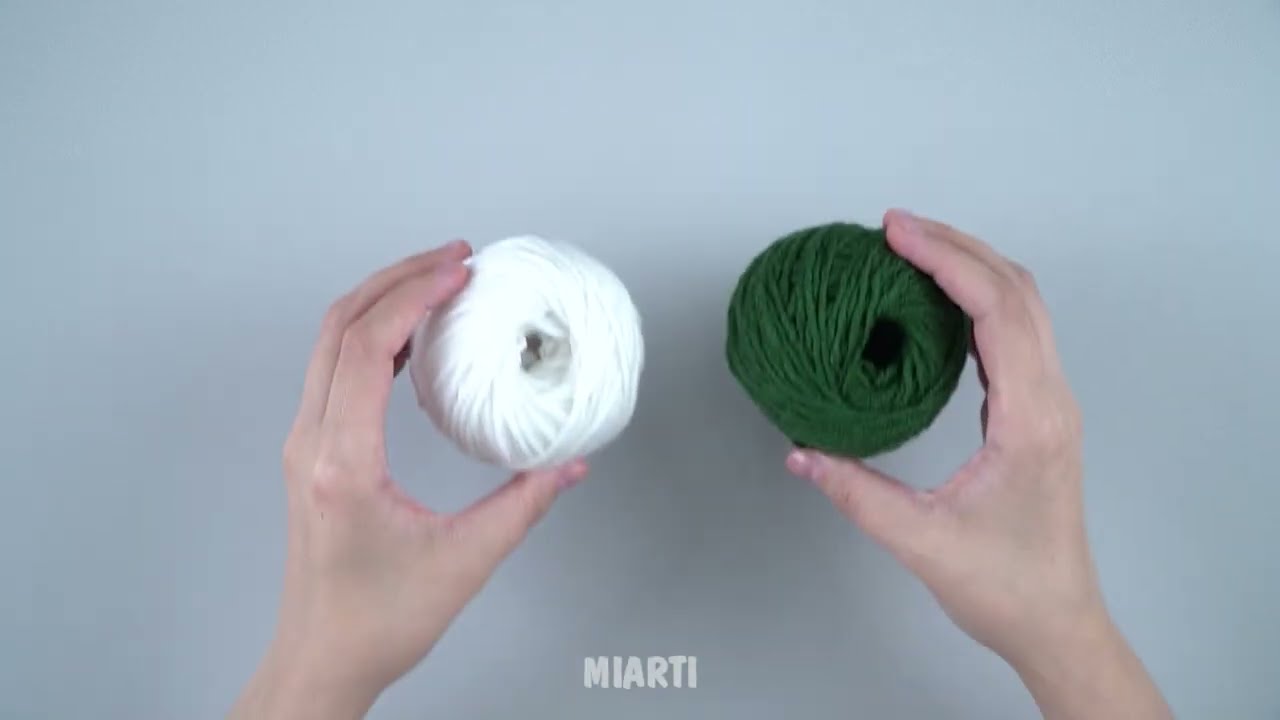
Yarn:
-
Medium or bulky weight yarn (Category 4–5)
-
Wool blend or soft acrylic for warmth
-
-
Knitting Needles:
-
5–6 mm (US 8–10), straight needles
-
-
Scissors
-
Yarn needle
-
Measuring tape
✨ Using bulky yarn and larger needles makes the project faster and cozier.
Stitches Used
-
Knit (K)
-
Purl (P)
-
Knit Two Together (K2tog)
-
Cast on & Bind off
Original Pattern Element:
-
Textured “ripple” panel on the top using K2, P2 ribbing in the center of the slipper.
Sizes
-
Adjustable for any adult foot.
-
For average women’s size: cast on 36 stitches, width ~10 cm (4 in).
-
Adjust stitches for smaller/larger feet.
Step-by-Step Instructions
Step 1: Cast On
-
Cast on 36 stitches (or your adjusted width).
-
Knit 4 rows in garter stitch (K every row).
This forms the soft sole edge.
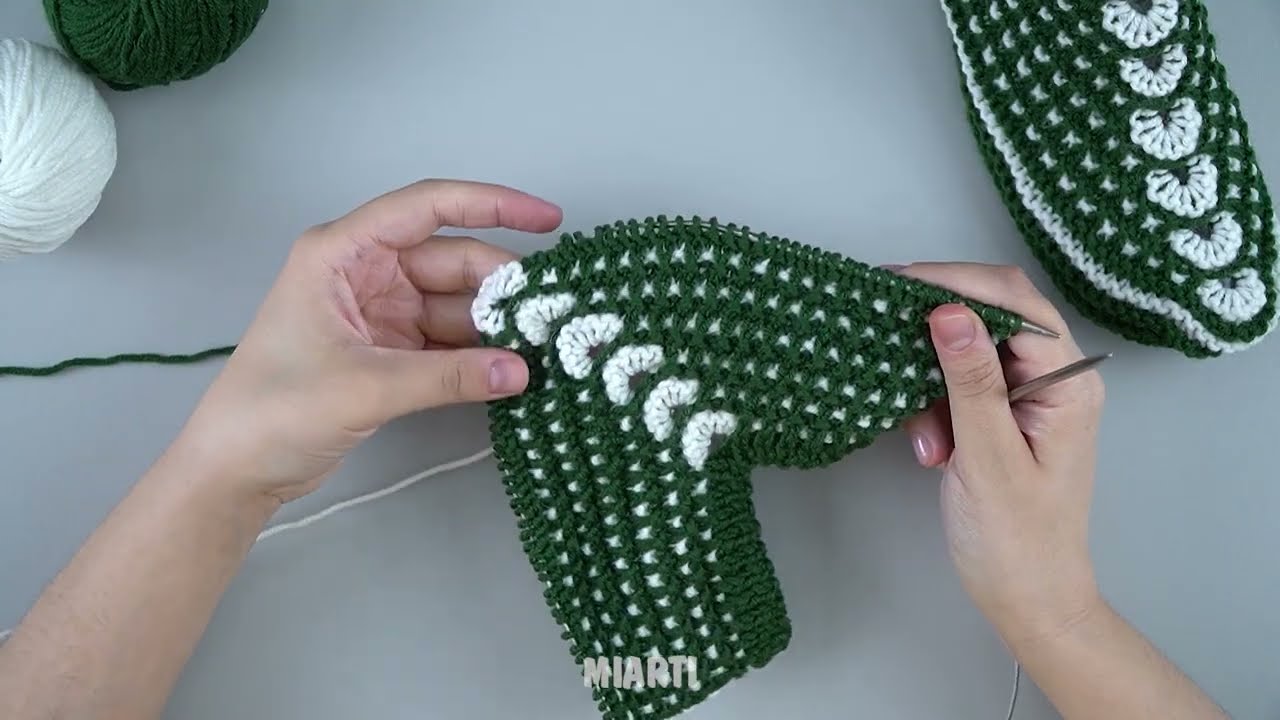
Step 2: Start the Upper Part with Original Pattern
-
Switch to stockinette stitch (K1 row, P1 row).
-
Add a textured ripple panel in the center 12 stitches:
-
Row 1 (RS): K2, P2 across panel, K remaining stitches
-
Row 2 (WS): P2, K2 across panel, P remaining stitches
-
-
Repeat until the piece reaches the length of your foot minus 2 cm.
✨ This creates a decorative textured stripe that makes the slippers look unique.
Step 3: Shape the Toe
-
On every right-side row, K2tog at the beginning and end.
-
Continue until 12 stitches remain.
The toe forms naturally with minimal effort.
Step 4: Bind Off
-
Bind off loosely.
-
Leave a long tail for sewing.
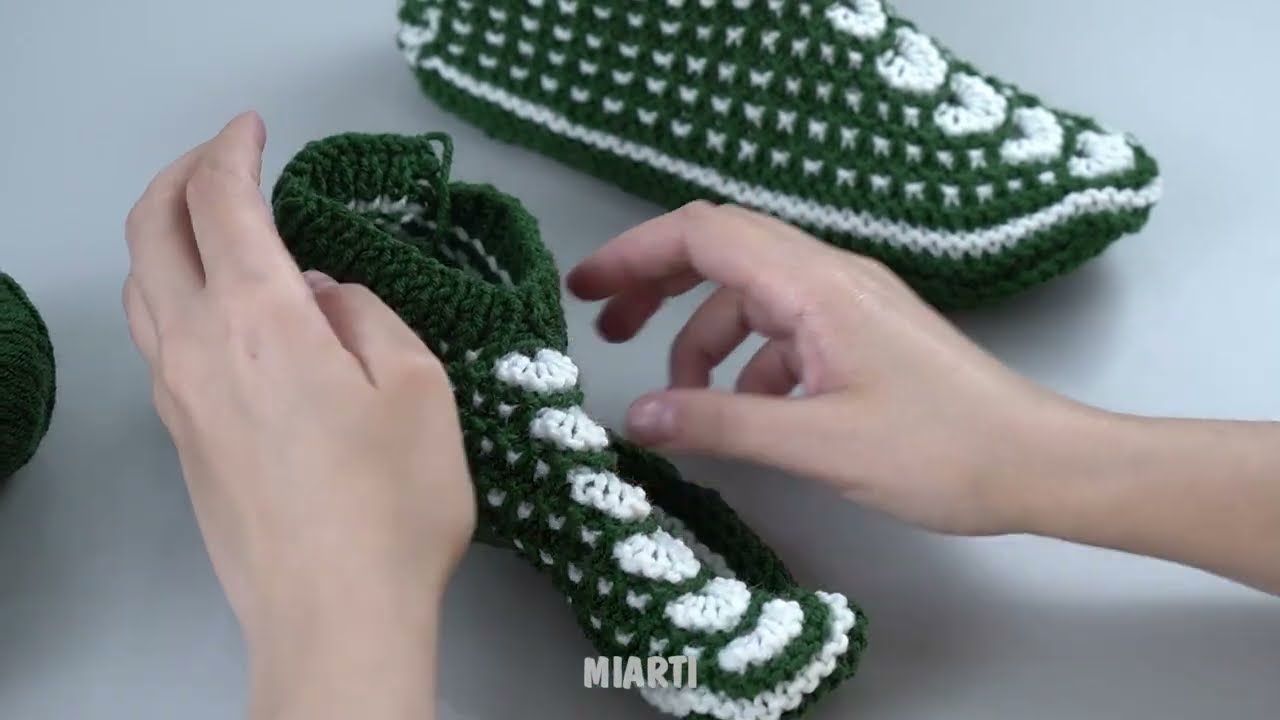
Step 5: Assemble the Slippers
-
Fold the piece lengthwise with the textured panel on top.
-
Sew the toe seam and then the heel seam.
-
Turn right side out.
Repeat for the second slipper.
Step 6: Optional Cuff
-
Pick up stitches around the opening.
-
Knit K1, P1 rib for 5–6 rows.
-
Bind off loosely.
This adds a cozy finish and keeps the slippers snug.
Tips for Beginners
-
Bulky yarn makes slippers quicker to knit.
-
Keep stitches relaxed for comfort.
-
Measure frequently for a perfect fit.
-
Use colorful yarn for a playful effect.
Variations & Original Touch Ideas
-
Add stripes along the ripple panel for a fun look.
-
Use different colors for the cuff.
-
Embroider small flowers or initials on the ripple panel.
-
Add a non-slip sole with fabric paint or felt.
Why This Pattern Works
-
Simple and easy for beginners.
-
Uses only 2 knitting needles.
-
Minimal sewing required.
-
Original textured stripe adds style without complexity.
-
Adjustable for any foot size.
Final Thoughts
This original pattern for simple knitted slippers is perfect for cozy home footwear and makes a great handmade gift. You can finish a pair in just a few hours, and the ripple stripe adds a unique touch that stands out.
If you like, I can also create:
-
A printable step-by-step pattern
-
Sizes for men, women, and children
-
A photo guide or video-style tutorial
Do you want me to make the exact stitch counts and row numbers for small, medium, and large sizes so you can follow it precisely?
Watch video: