 by
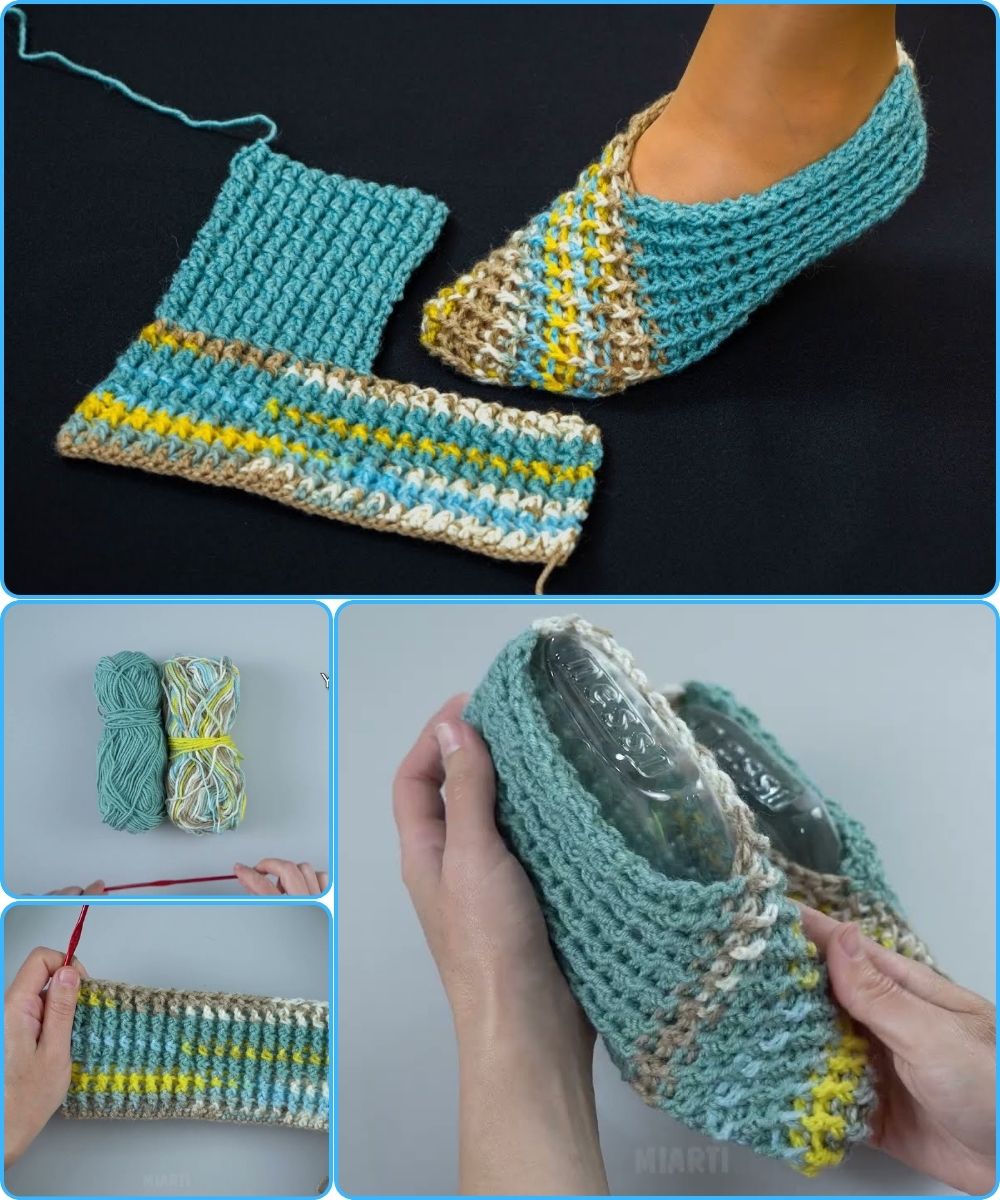
by Absolutely! I can give you a detailed, step-by-step guide for making easy one-piece crochet slippers for beginners. I’ll keep it simple, use beginner-friendly stitches, and explain everything clearly. 🧶
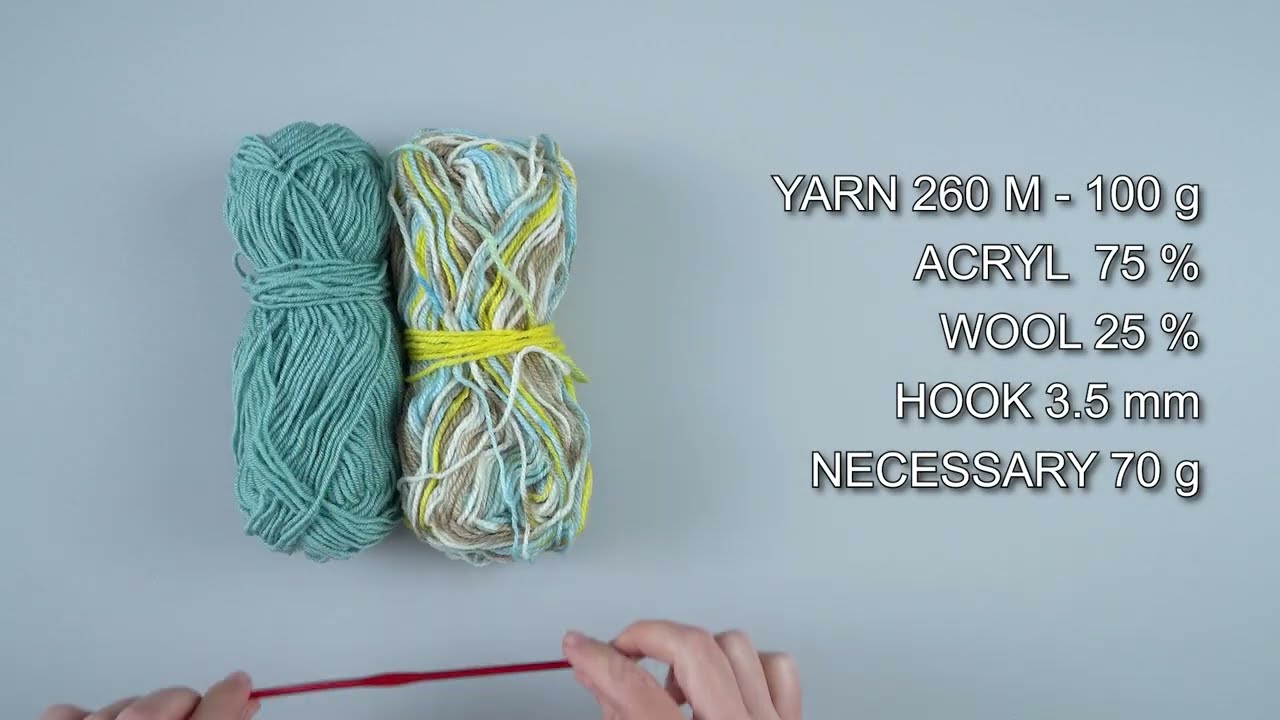
Materials Needed
-
Yarn: Medium-weight (worsted, category 4) yarn is easiest for beginners. Choose a soft, washable yarn.
-
Crochet Hook: Size recommended on your yarn label, usually 5.0–6.0 mm (H–I).
-
Scissors
-
Tapestry Needle for weaving in ends.
-
Optional: Stitch marker to mark rounds.
Basic Stitches Used
-
Chain (ch): Creates the starting foundation.
-
Slip Stitch (sl st): Joins rounds or moves along stitches.
-
Single Crochet (sc): The main stitch for beginners.
-
Half Double Crochet (hdc) (optional): For a slightly taller stitch.
Step-by-Step Instructions
Step 1: Make the Sole
-
Start with a foundation chain. The number depends on the slipper size:
-
Small: 10–12 ch
-
Medium: 12–14 ch
-
Large: 14–16 ch
-
-
Work single crochets (sc) in each chain across.
-
At the end, work 3 sc into the last chain (for the curve at the toe).
-
Continue along the other side of the chain, working sc back, adding 3 sc at the start chain for the other curve.
-
Join with a slip stitch to the first sc.
You now have a flat oval sole.
Step 2: Start the Upper Part
-
Chain 1 (does not count as a stitch).
-
Work sc evenly around the sole, placing 2 sc in the corners if needed to keep the shape flat.
-
Join with a sl st.
Step 3: Build the Sides
-
Chain 1, then single crochet in each stitch around.
-
Repeat for 4–6 rounds, or until the sides are tall enough to cover your foot comfortably.
-
Optional: To shape the toe area, you can decrease 1 sc on each side of the toe in the last round.
Step 4: Shape the Top Opening
-
When your slipper is tall enough, mark the middle front stitches for the top opening.
-
Crochet around the slipper, but stop and skip the marked stitches to make the top opening.
-
Continue around and join with sl st.
-
You can make 1–2 more rounds around the slipper edge for a neat finish.
Step 5: Finishing
-
Cut yarn, leaving a 6-inch tail.
-
Use a tapestry needle to weave in ends.
-
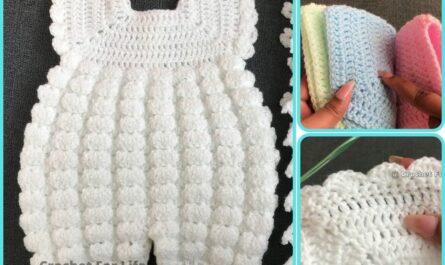
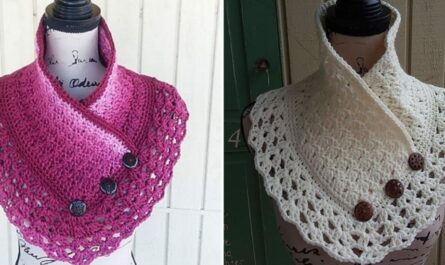
Optional: Add a decorative crochet flower, button, or cuff.

Tips for Beginners
-
Keep your tension even; too tight makes it stiff, too loose makes it floppy.
-
Use stitch markers to track rounds.
-
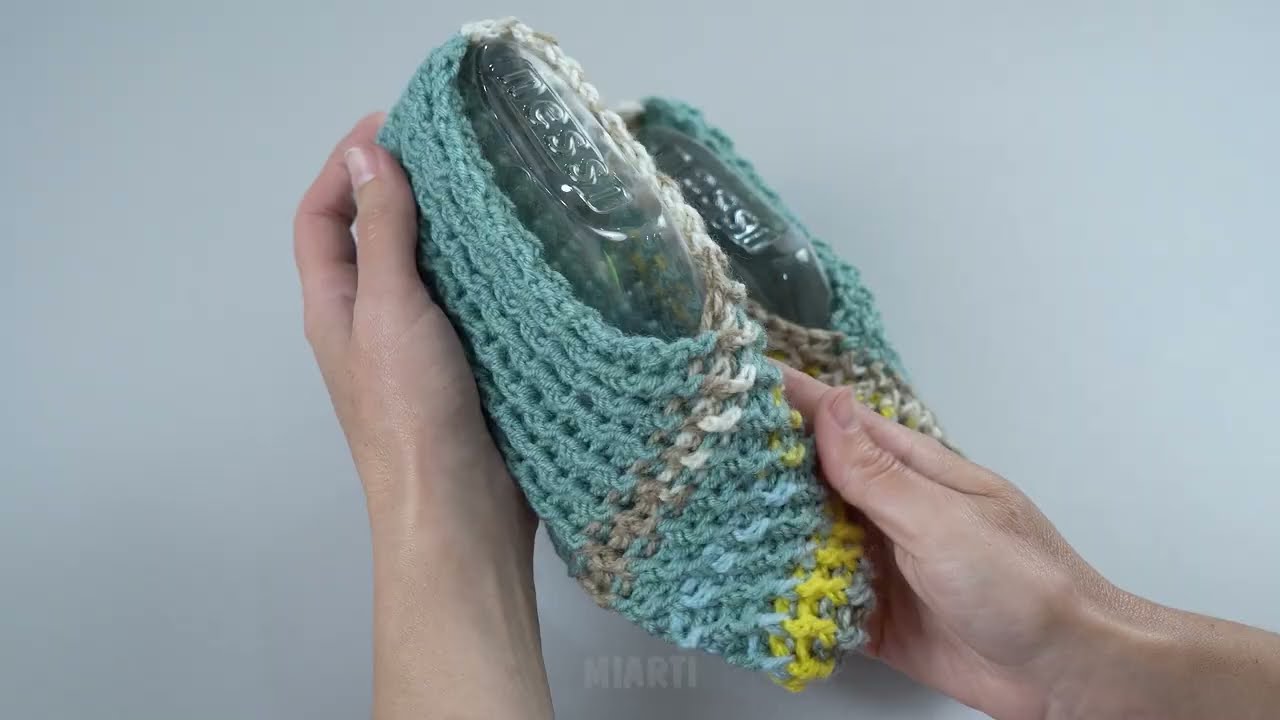
Try the slipper on as you go to adjust width and length.
-
Practice on scrap yarn first to get the sole shape right.
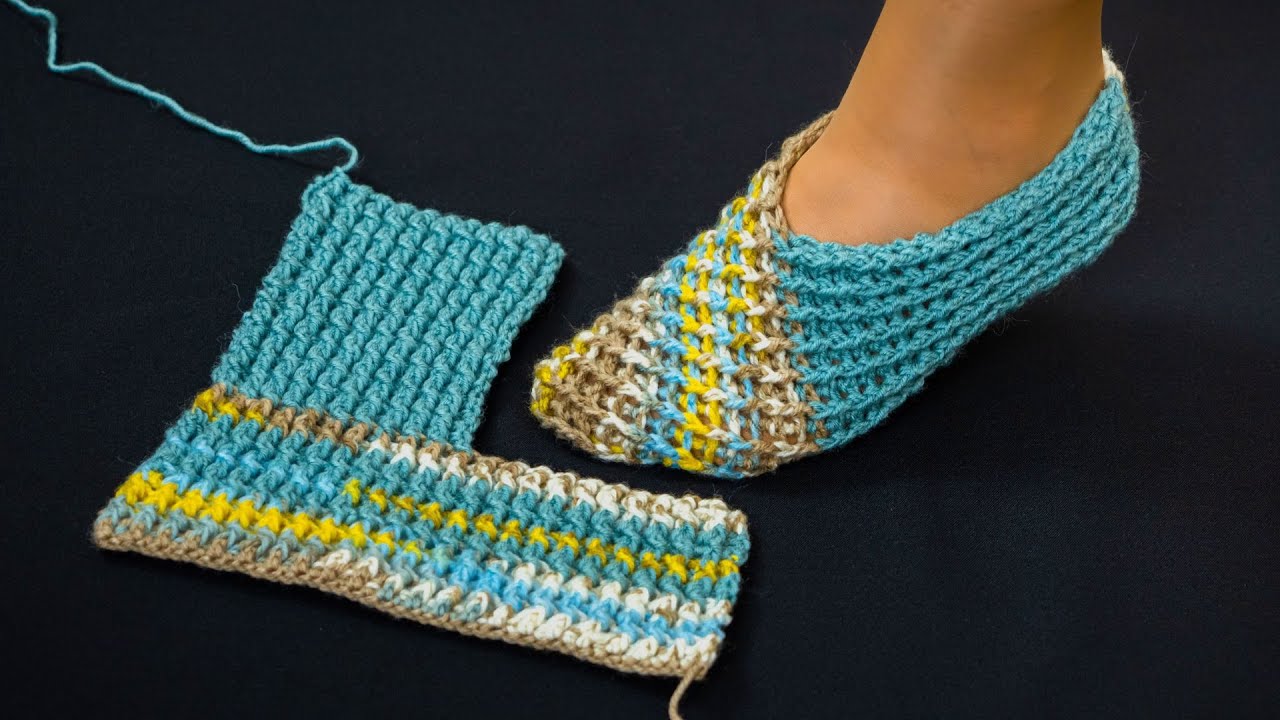
✅ Result: A cute, cozy, one-piece crochet slipper that doesn’t need sewing—perfect for beginners!
If you want, I can also draw a simple diagram showing the slipper step-by-step—it makes it super easy to follow visually.
Watch video: