 by
by Here is a detailed, beginner-friendly tutorial you can use for a blog, class handout, or video description.
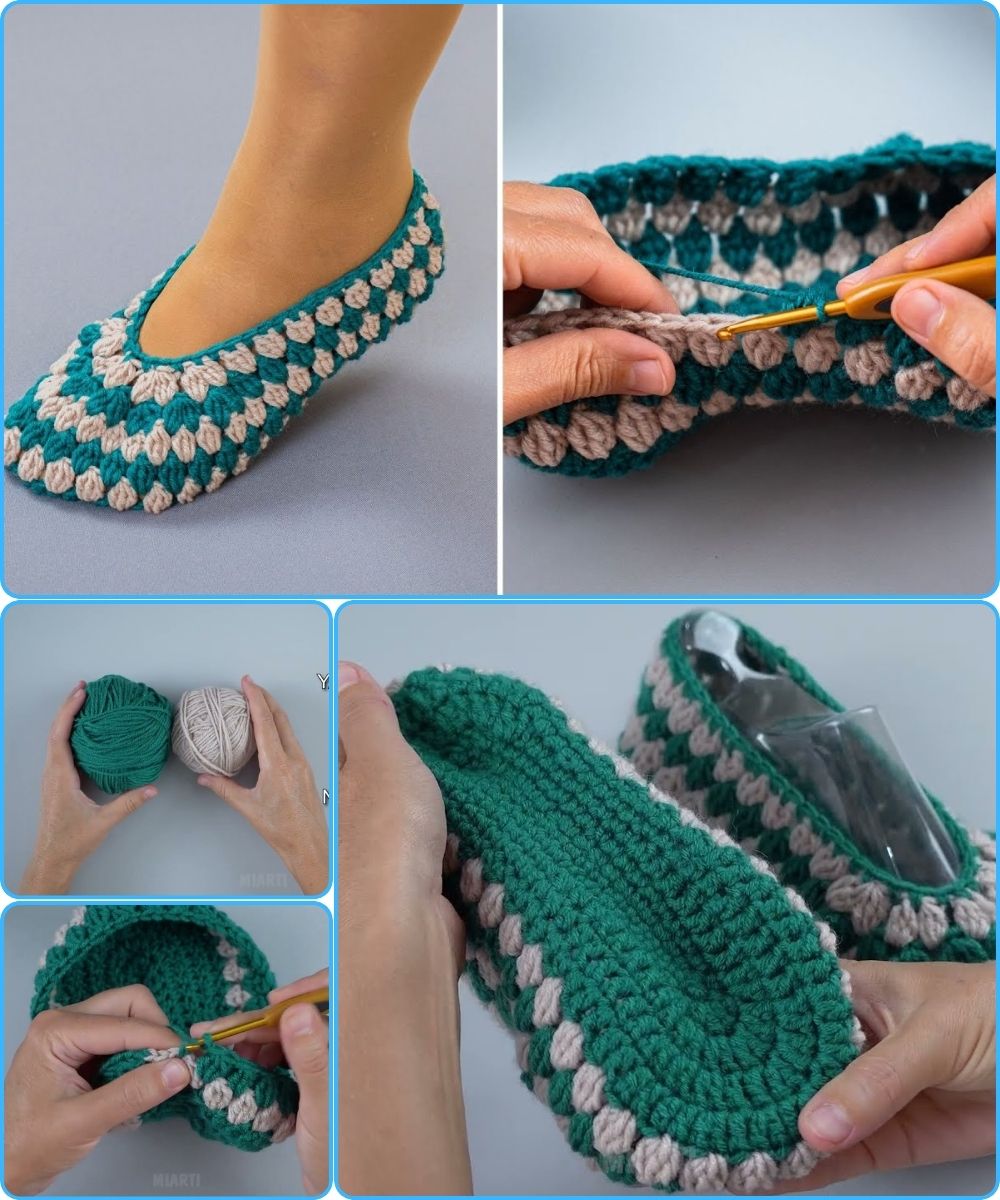
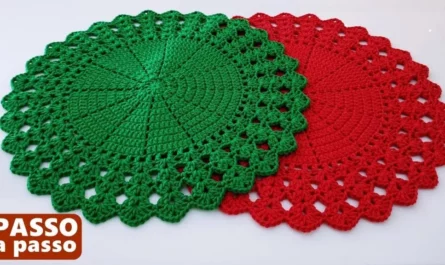
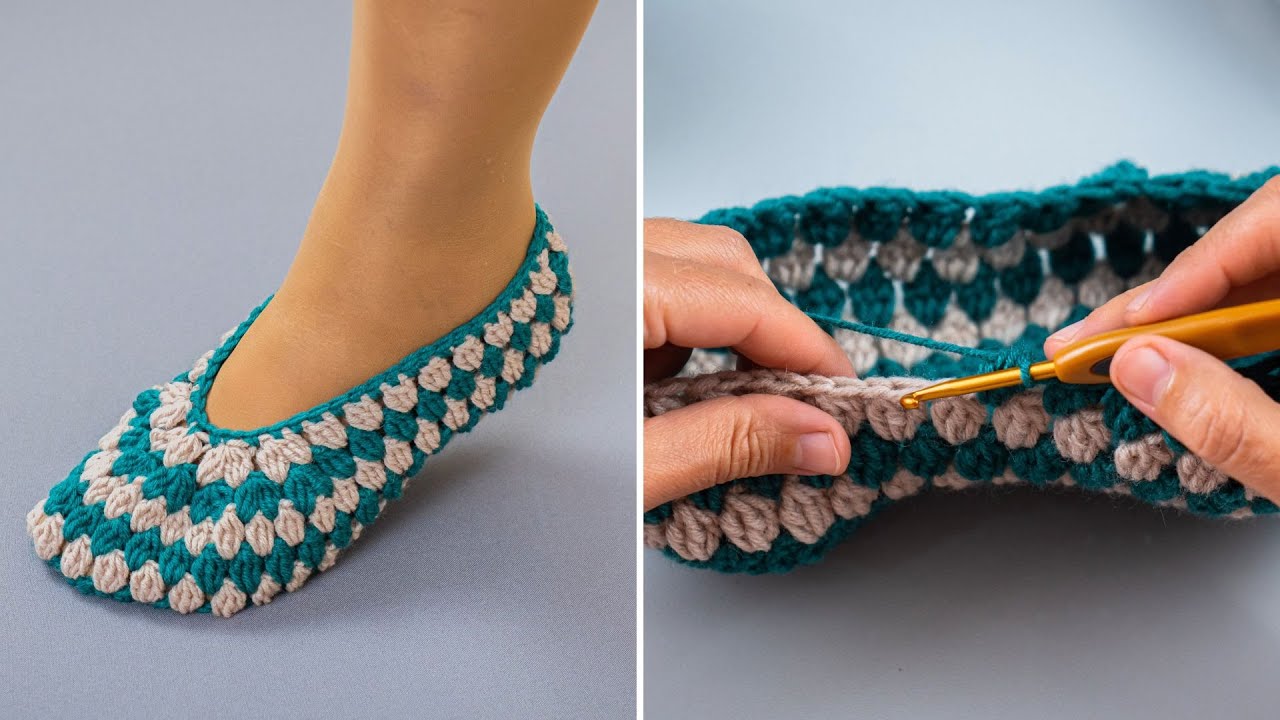
How to Make Easy Model Knitted Slippers
A Step-by-Step Tutorial for Beginners
Knitted slippers are a perfect project for beginners because they are quick to make, practical, and require only basic knitting skills. This easy slipper model is comfortable, warm, and can be customized in many colors and sizes. Even if you are new to knitting, you can complete this project with confidence.
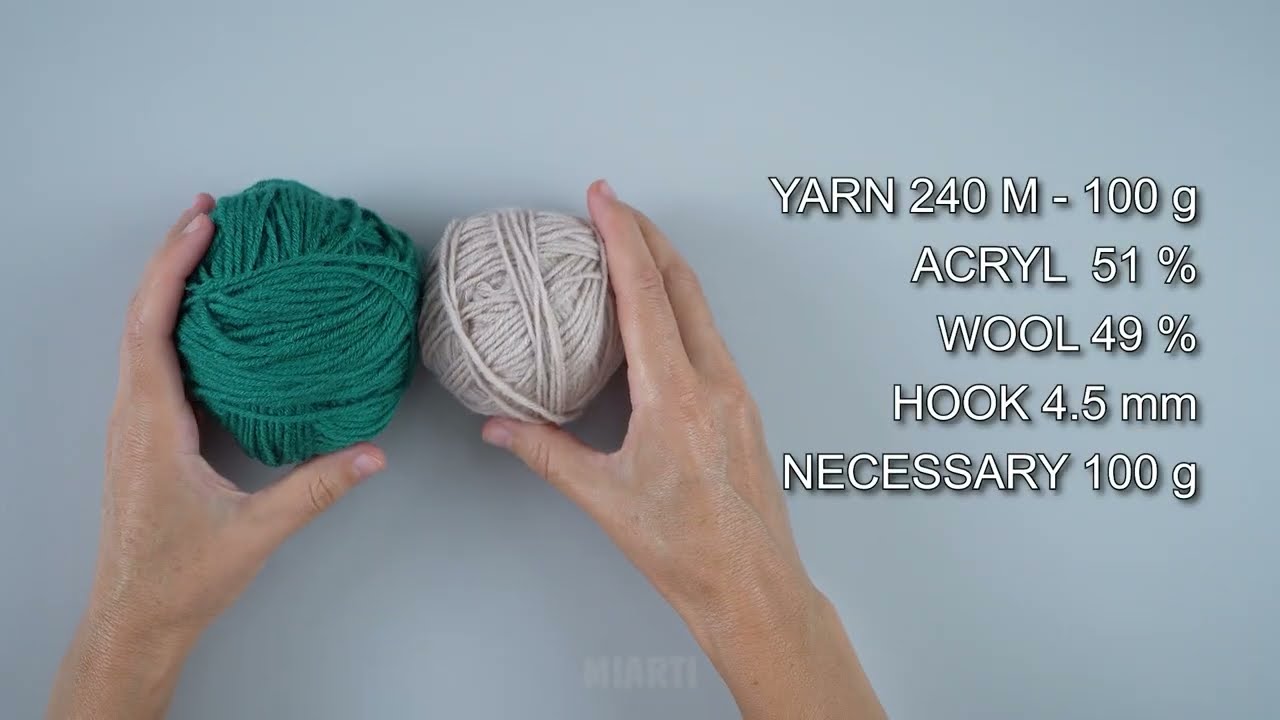
Materials Needed
Before starting, gather the following materials:
-
Yarn: Medium-weight (worsted) yarn or any soft, warm yarn
-
Knitting needles: Size 4.5–5 mm (US 7–8), straight needles
-
Scissors
-
Yarn needle (for sewing seams)
-
Measuring tape
Tip: Wool or wool-blend yarn works best for warmth and durability.
Basic Skills Required
This slipper model is suitable for beginners and only requires these basic skills:
-
Casting on stitches
-
Knit stitch
-
Purl stitch
-
Binding off
-
Simple sewing
If you can knit and purl, you can make these slippers.
Step 1: Cast On Stitches
Cast on the required number of stitches based on your foot size:
-
Small (EU 36–37 / US 5–6): 36 stitches
-
Medium (EU 38–39 / US 7–8): 40 stitches
-
Large (EU 40–41 / US 9–10): 44 stitches
Make sure the stitches are not too tight.
Step 2: Knit the Sole
-
Knit in garter stitch (knit every row) for about 18–22 cm (7–9 inches).
-
This section forms the sole of the slipper.
-
Measure against your foot to ensure the length fits comfortably.
Step 3: Shape the Top of the Slipper
-
Switch to stockinette stitch:
-
Knit one row
-
Purl the next row
-
-
Continue this pattern for about 6–8 cm (2.5–3 inches).
This creates the top part of the slipper and gives it a smooth, neat look.
Step 4: Create the Toe Shaping
-
Begin decreasing stitches at the start and end of every knit row:
-
Knit 2 together at the beginning
-
Knit 2 together at the end
-
-
Continue decreasing until about 10–12 stitches remain.
This step shapes the toe and gives the slipper its rounded front.
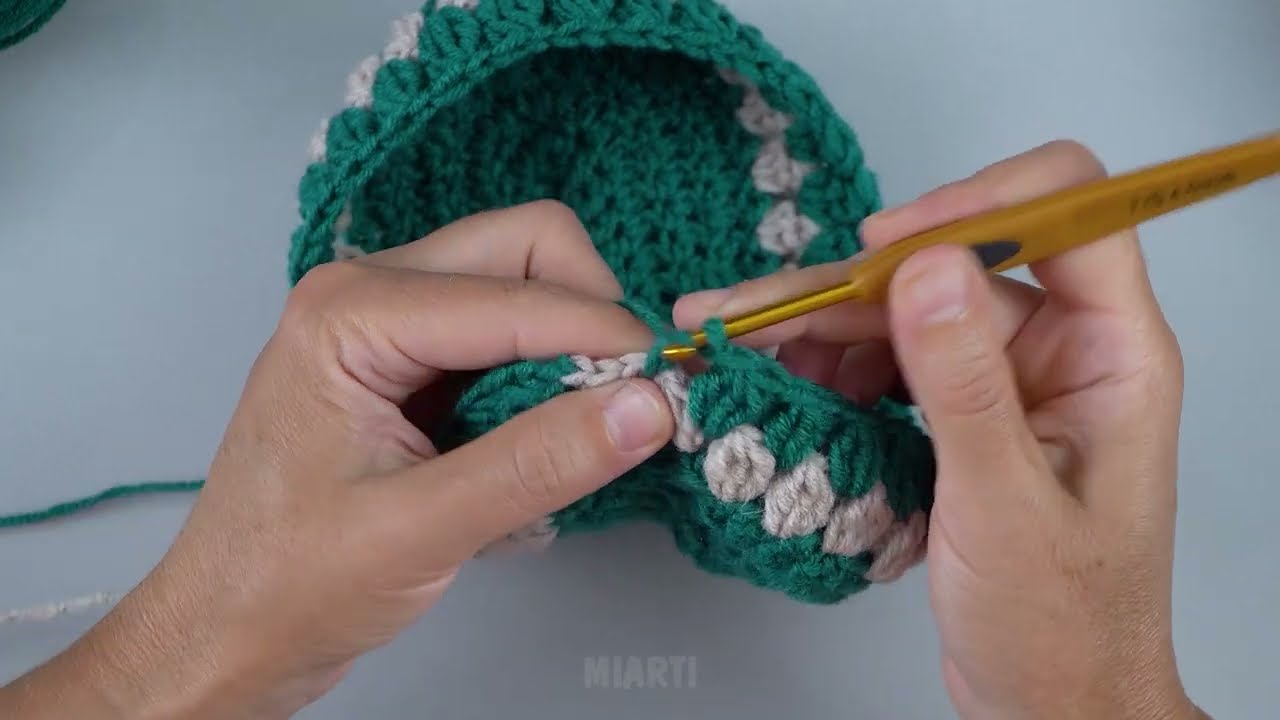
Step 5: Bind Off and Sew
-
Bind off the remaining stitches.
-
Fold the knitted piece in half.
-
Use a yarn needle to sew:
-
The toe seam
-
The heel seam
-
Make sure seams are secure but not too tight.
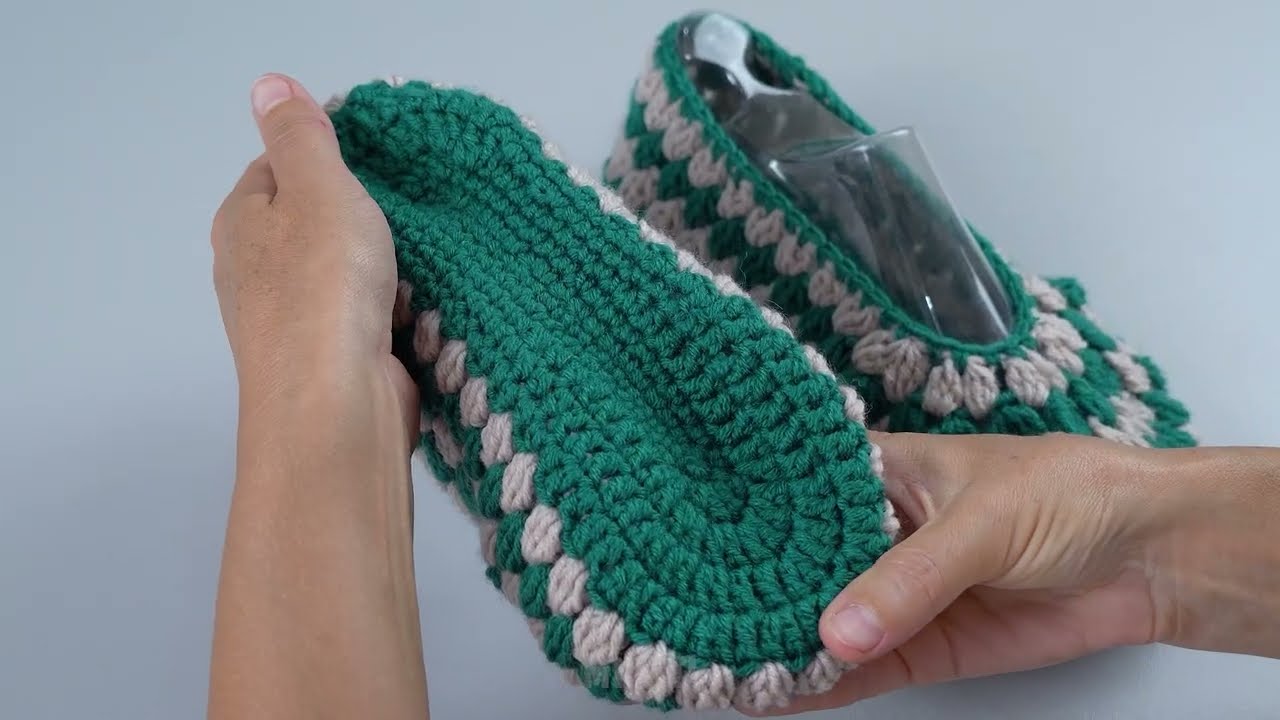
Step 6: Finishing Touches
-
Turn the slipper right side out
-
Weave in loose yarn ends
-
Repeat the same steps to make the second slipper
Optional decorations:
-
Pom-poms
-
Buttons
-
Crochet edging
-
Simple embroidery
Tips for Beginners
-
Practice tension so the slippers are not too loose or tight
-
Try the slipper on while knitting to check the fit
-
Use thicker yarn for warmer slippers
-
Add a non-slip sole if needed
Conclusion
This easy model knitted slipper is an excellent project for beginners. It teaches basic shaping techniques while creating something warm and useful. With a little practice, you can make beautiful slippers for yourself or as thoughtful handmade gifts.
Happy knitting! 🧶
If you want, I can also:
-
Simplify this into a short pattern
-
Adjust it for children’s sizes
-
Rewrite it for a YouTube tutorial or blog post
Watch tutorial: