 by
by Absolutely! Here’s a detailed step-by-step guide on how to crochet an easy and beautiful princess-style baby dress — perfect for a baby shower, first birthday, or photo shoot. This guide is aimed at confident beginners and intermediates.
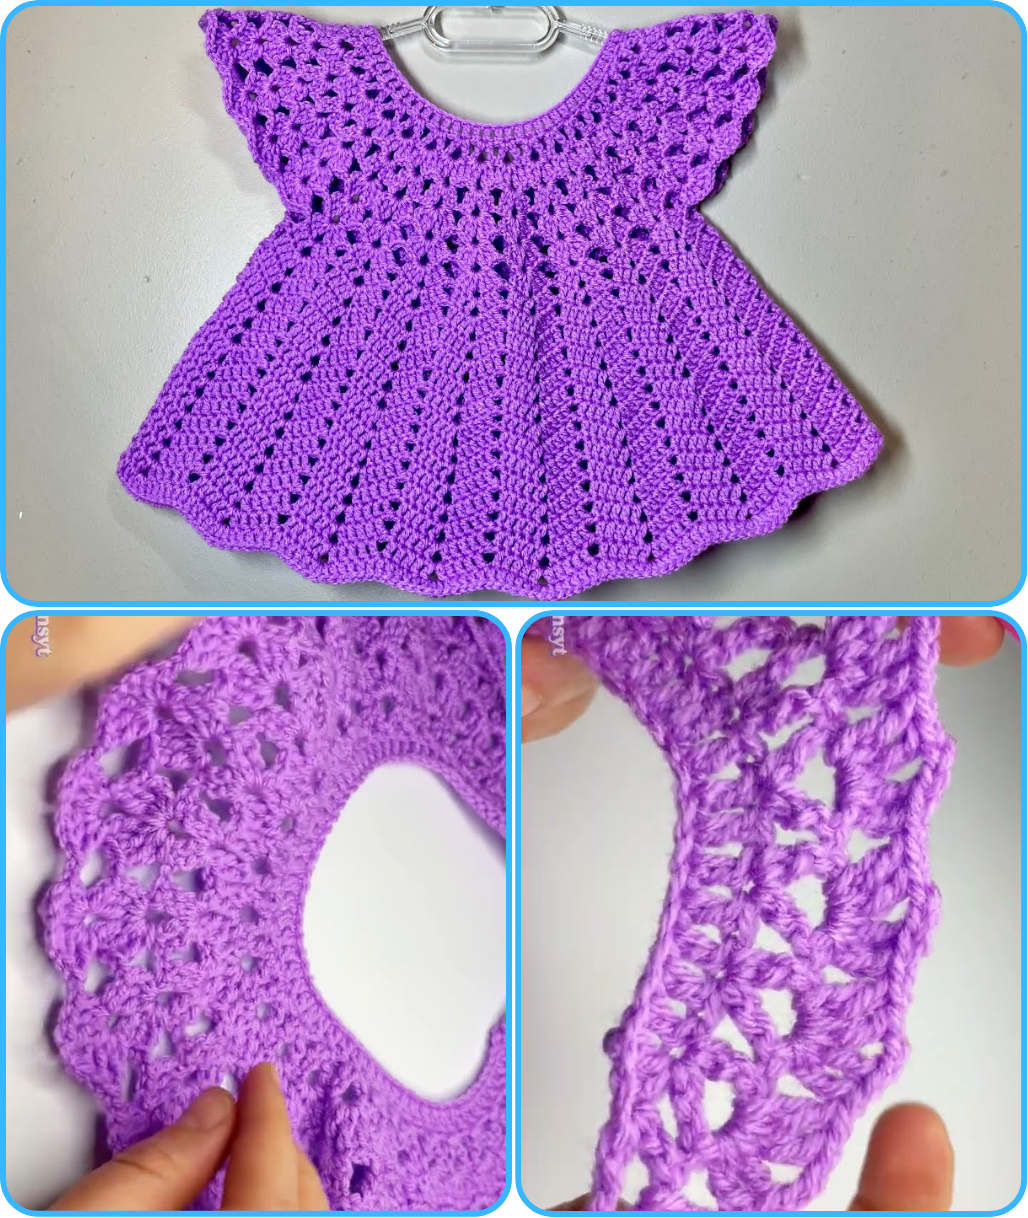
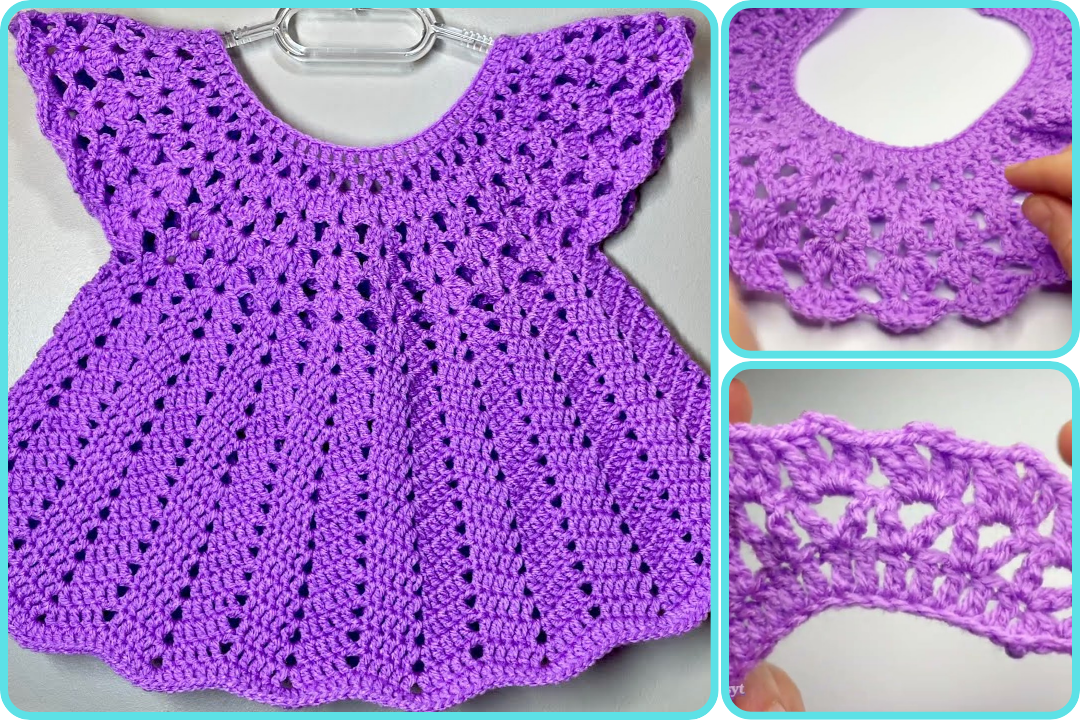
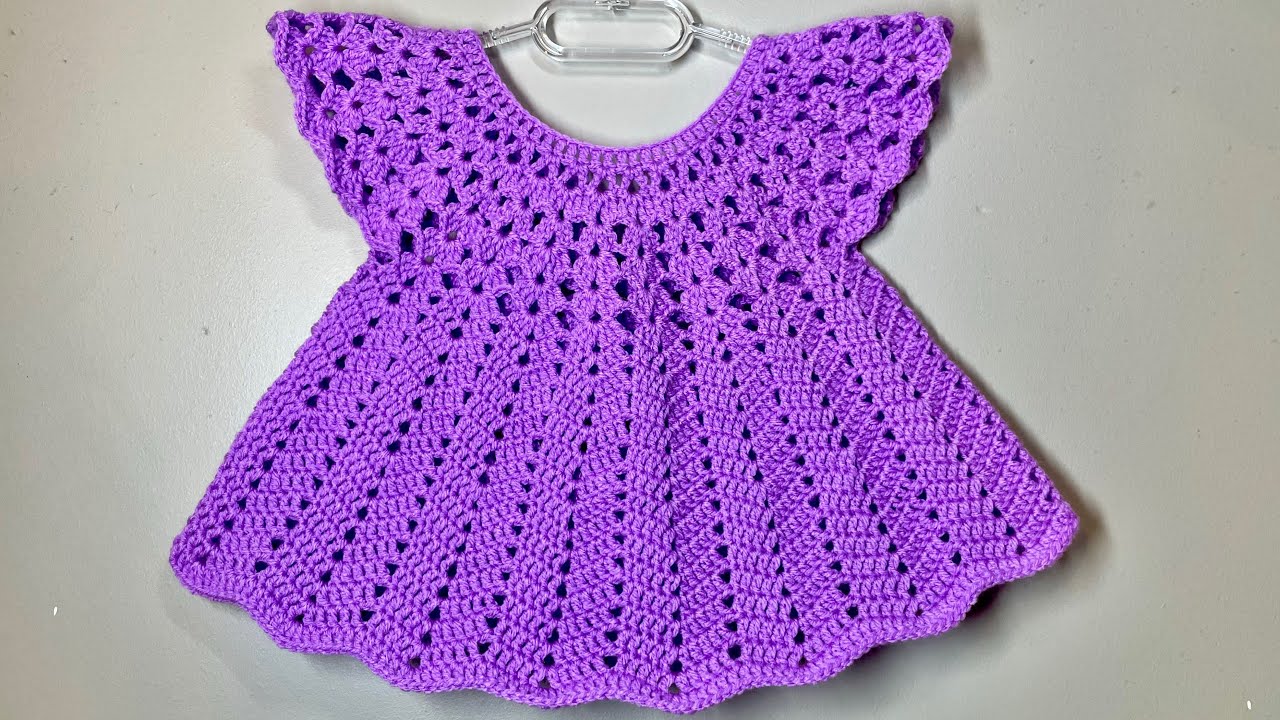
👑 How to Crochet a Beautiful Princess Baby Dress
🧵 Materials Needed:
-
Yarn: Soft baby yarn or light worsted weight (Category 3 or 4), approx. 300–400g (color of your choice)
-
Hook: 4.0mm (G/6) or size recommended for your yarn
-
Scissors
-
Tapestry needle
-
Stitch markers
-
Buttons or ribbons for closure/decor
-
Optional: beads, lace edging, or applique for embellishment
📏 Size Guide:
This pattern can be adjusted for multiple sizes. Here’s a general guideline (chest circumference):
-
0–3 months: 16 inches (40.5 cm)
-
3–6 months: 17 inches (43 cm)
-
6–12 months: 18 inches (45.5 cm)
We’ll write this for 0–3 months, and you can size up by adding more chains and increasing rows.
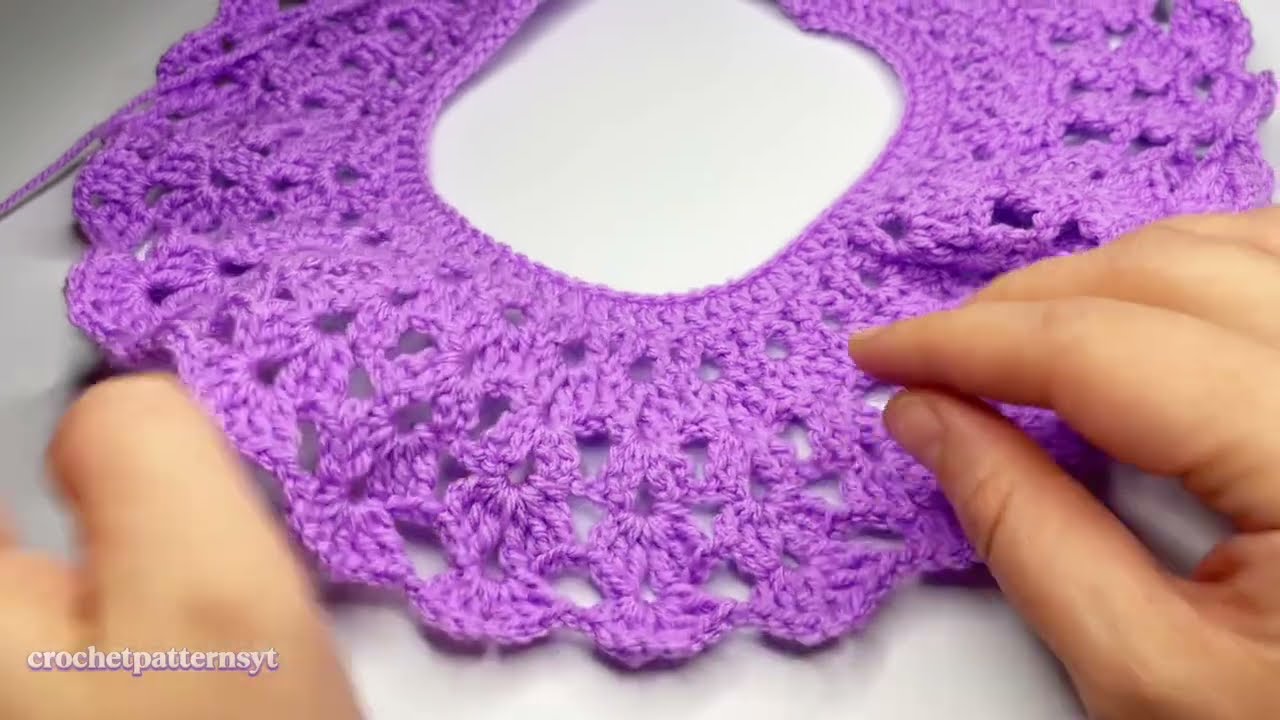
🧶 Part 1: Bodice (Top of the Dress)
Step 1: Foundation Chain
Make a chain long enough to fit around the chest (approx. 50 chains for 0–3 months). Join with a slip stitch to form a ring. Be careful not to twist.
Step 2: Ribbed Yoke (Optional but pretty)
-
Row 1: Ch 2, dc in next st, repeat all around. Join with sl st.
-
Row 2–4: Repeat dc rows. You can alternate with front and back post dc for ribbing texture.
Step 3: Increase for Armholes
We will work in rounds now, adding stitches to form armholes:
-
Divide the circle into 4 parts with stitch markers: Front, Back, and two sleeves.
-
Example: 12 stitches each for front/back, 6 for sleeves.
-
Increases go at the 4 corners (use stitch markers).
Round 1: Ch 2, dc to first marker, (dc, ch 2, dc) in marked stitch, repeat for each marker, dc around, sl st to join.
Repeat 4–5 more rounds, increasing at each corner to widen the bodice. The “V” shape will form the yoke.
👗 Part 2: Skirt
Step 4: Separate for Sleeves
-
When bodice is long enough (approx. 4 inches for 0–3 months), you’ll skip stitches between the armhole markers, joining front and back only.
-
Chain a few stitches under each armhole for comfort (4–6 chains).
Step 5: Start Skirt
Now we work in rounds to build a flared skirt.
Round 1: Dc all around (including chain underarms), sl st to join.
Round 2 (Increase): Ch 2, (2 dc in next st, 1 dc in next 2) repeat — this adds a gentle flare.
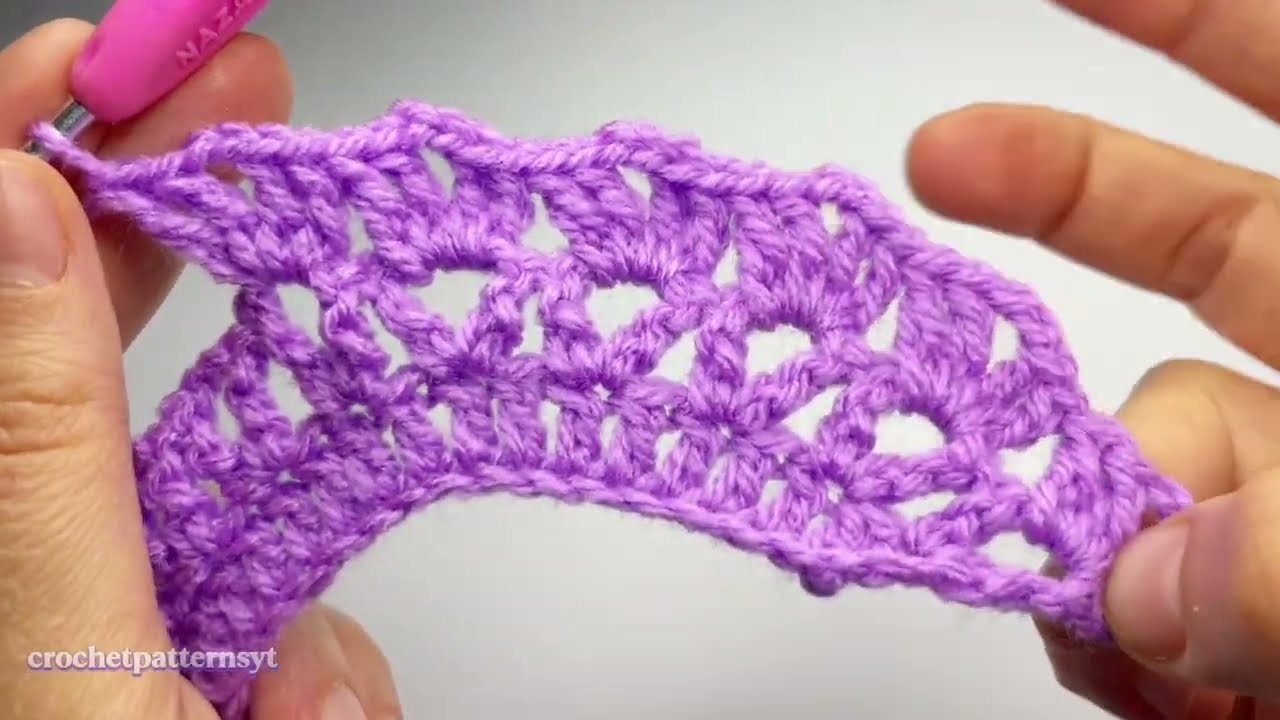
Continue in dc or shells (for lacy look):
-
Shell pattern: Skip 2, 5 dc in next st (shell), skip 2, sc in next, repeat.
You can alternate rows of shells and sc for a delicate lace effect.
Crochet to your desired length (typically 6–8 inches for 0–3 months).
🎀 Part 3: Finishing Touches
Sleeves (Optional Ruffle):
-
Attach yarn to armhole.
-
Ch 2, work 2 dc in each st around the sleeve for a ruffled effect. Sl st to join. Finish off.
Neckline Edging:
-
Add scalloped or picot edge to neckline with sc or shell stitch for decoration.
Add Buttons or Ribbon:
-
Sew buttons on the back (leave gaps between dc as buttonholes), or weave ribbon through neckline for a tie closure.
💡 Tips:
-
Always check your gauge if size accuracy is important.
-
Block the dress lightly to smooth out edges.
-
Use stitch markers to keep increases and symmetry even.
-
Embellish with flowers, bows, or appliqué for a real princess touch.
🧵 Suggested Stitches to Learn First:
-
Chain (ch)
-
Slip Stitch (sl st)
-
Single Crochet (sc)
-
Double Crochet (dc)
-
Shell Stitch
-
Front/Back Post DC (for texture)
Watch video: