 by
by Absolutely! 🧶✨
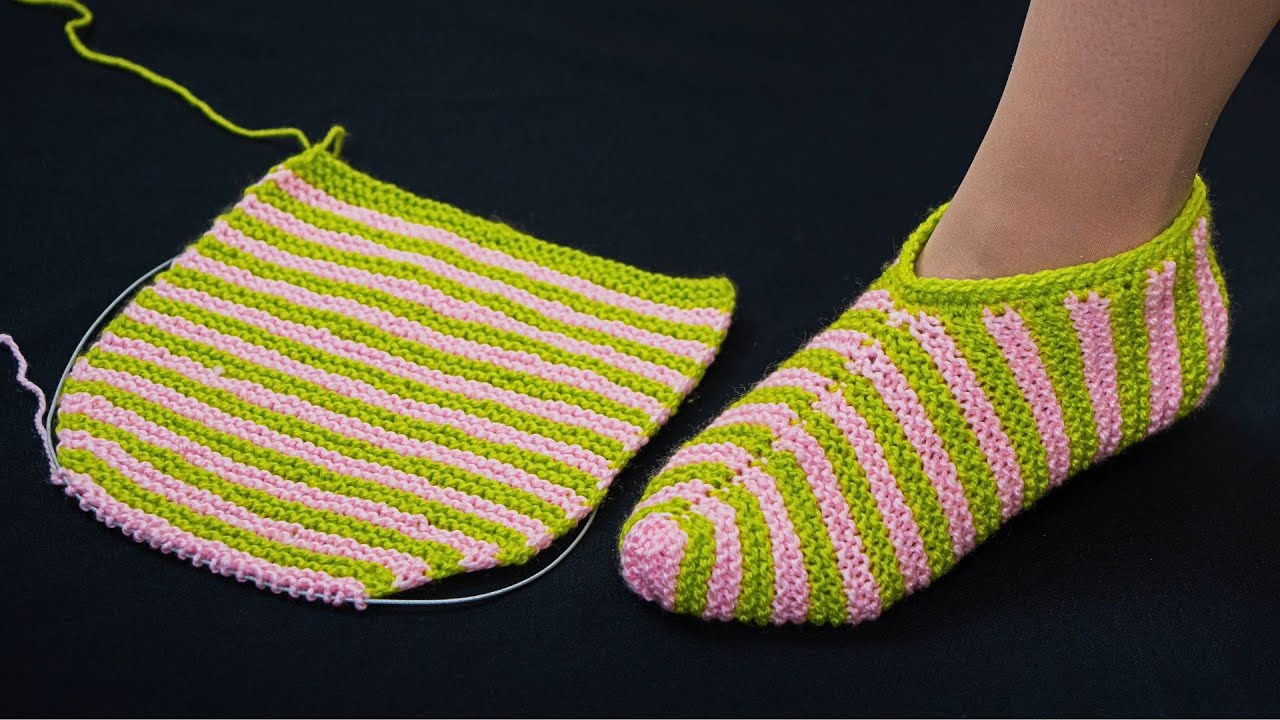
Here’s a detailed, beginner-friendly guide for making simple knitted slippers. These slippers are easy, cozy, and perfect for first-time knitters, requiring only basic stitches and minimal shaping.
How to Make Simple Knitted Slippers
Easy Enough for Beginners
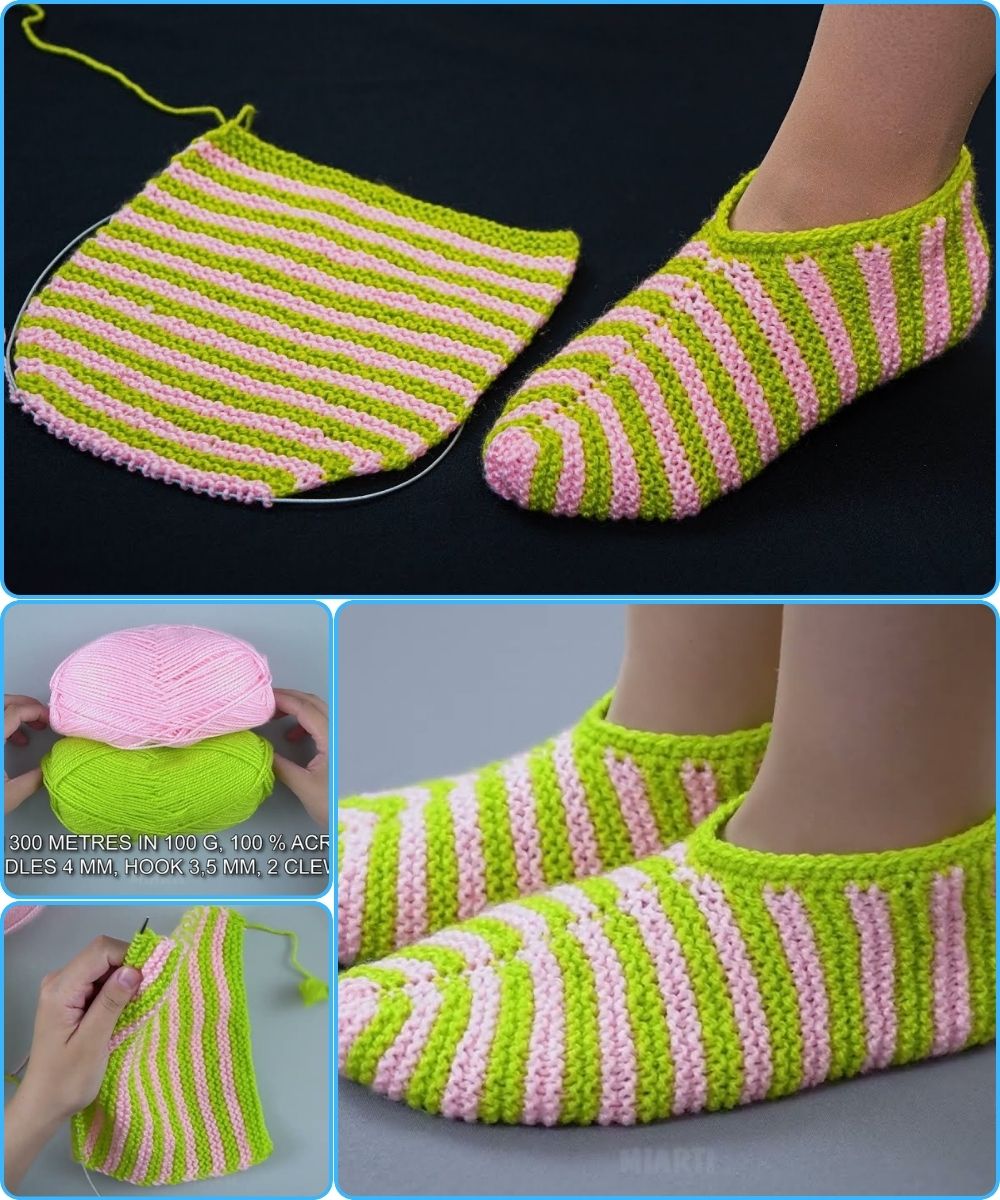
These slippers are worked flat on two needles and then folded or sewn to create a cozy, fitted slipper. No complicated shaping, no stress—just knit, fold, and finish!
1. What You’ll Need
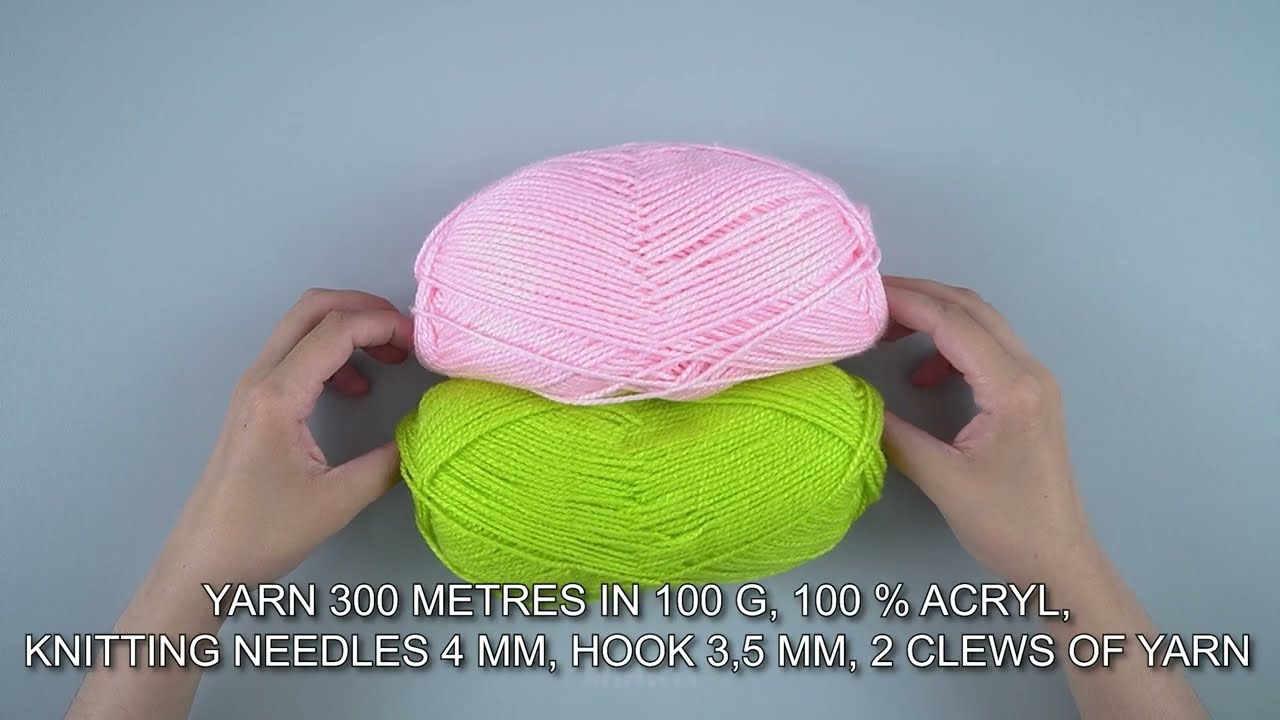
🧶 Materials
-
Yarn:
-
Medium/worsted weight yarn (wool or wool blend works best)
-
About 100–150 g
-
-
Knitting needles:
-
Size 5 mm (US 8) straight needles
-
-
Other tools:
-
Tapestry needle
-
Scissors
-
Stitch markers (optional)
-
2. Size Guide (Adult – Adjustable)
-
Foot length: 23–25 cm (9–10 in)
-
Foot width: 20–22 cm (8–8.5 in)
To adjust size:
-
More stitches = wider slipper
-
More rows = longer slipper
3. Stitches & Skills Used
Perfect for beginners:
-
Knit stitch
-
Purl stitch
-
Yarn over (increase)
-
Knit 2 together (decrease)
-
Cast on & bind off
Stitch patterns:
-
Garter stitch (knit every row) – cushioned sole, stretchy
-
Stockinette stitch (knit one row, purl one row) – smooth top
-
Rib stitch (k1, p1) – optional cuff
4. Gauge (Not Critical)
-
18–20 stitches = 10 cm (4 in)
Slippers are forgiving, so exact gauge isn’t essential.
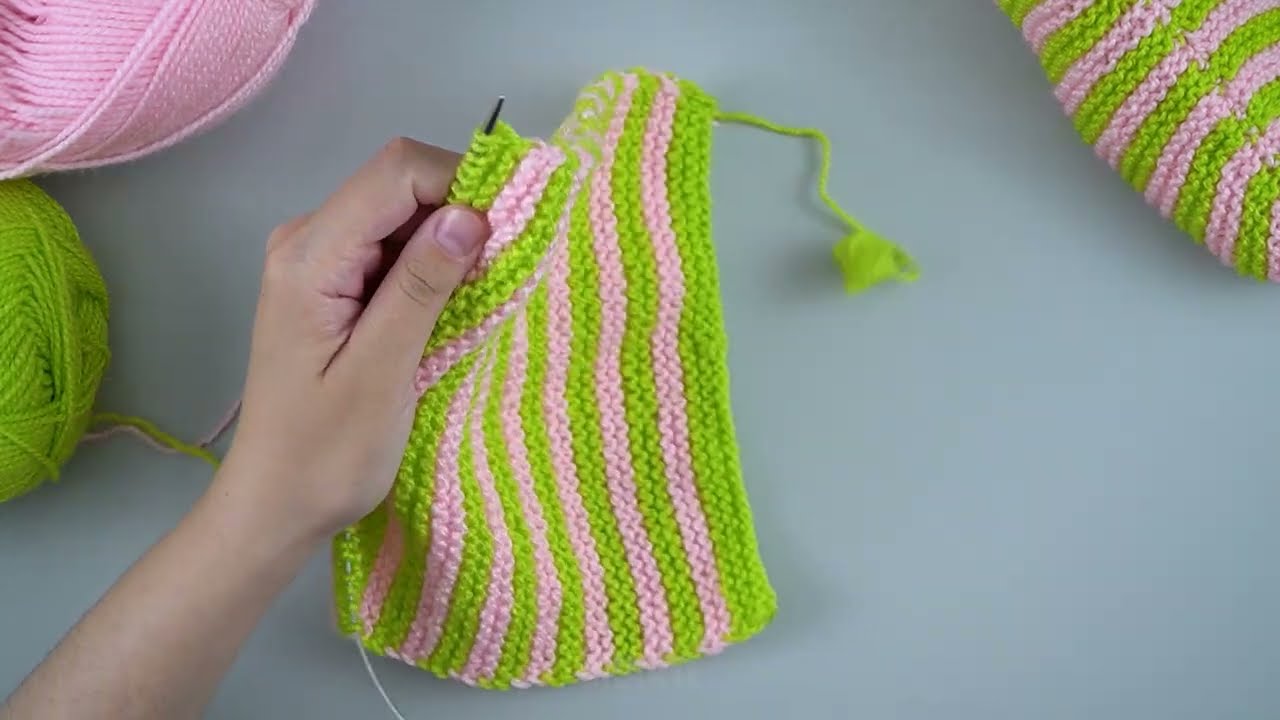
5. Step-by-Step Instructions
STEP 1: Cast On – Start at the Toe
-
Cast on 8–10 stitches
-
Knit every row (garter stitch) for 6 rows
This creates a small, rounded toe.
STEP 2: Increase for Foot Width
On right-side rows only:
-
Knit 1
-
Increase 1 stitch
-
Knit to last stitch
-
Increase 1 stitch
-
Knit 1
Wrong-side rows: knit all stitches.
-
Repeat until you have 36–40 stitches, depending on foot width.
This forms the sole with no seam on the bottom.
STEP 3: Knit the Foot Length
-
Continue knitting garter stitch for the sole
-
Optional: stockinette stitch on the top
-
Knit until the piece measures 18–20 cm (7–8 in) from the toe.
STEP 4: Shape the Heel
-
Knit to the center of the row
-
Knit 2 together
-
Turn work
-
Purl to center, purl 2 together
-
Turn
Repeat until the heel is shaped. Minimal sewing required.
STEP 5: Knit the Ankle / Cuff (Optional)
-
Switch to rib stitch (k1, p1)
-
Knit 4–5 cm (1.5–2 in)
-
Bind off loosely
This creates a stretchy, comfortable ankle cuff.
STEP 6: Finishing
-
Fold slipper and sew the heel seam if needed
-
Weave in all loose ends
-
Turn right side out
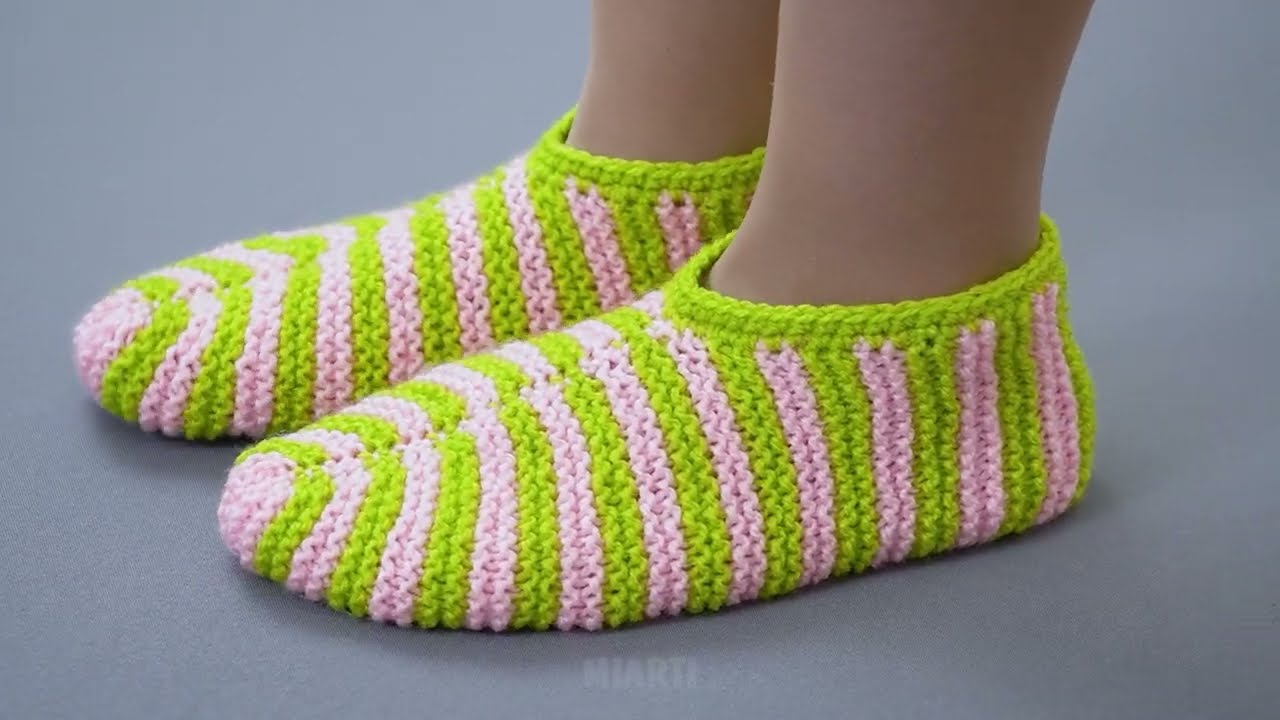
🎉 Your simple knitted slippers are ready!
6. Beginner Tips 🌱
-
Use wool yarn for warmth and stretch
-
Keep increases even for a smooth toe
-
Try the slipper on as you knit
-
Don’t worry if it’s slightly imperfect—the charm is handmade!
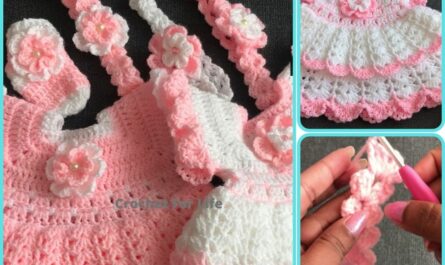
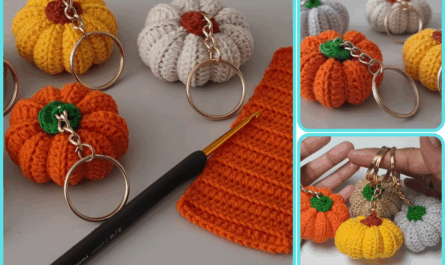
7. Customization Ideas ✨
-
Use stripes or color blocks
-
Add pom-poms or tassels
-
Embroider initials or flowers
-
Make slippers chunky for winter
Final Thoughts
These simple knitted slippers are:
✅ Beginner-friendly
✅ Cozy and practical
✅ Quick to knit
✅ Stylish and customizable
They’re the perfect project if you want a rewarding knit without frustration.
If you want, I can also make a step-by-step version with row-by-row instructions for kids, adults, or chunky yarn for even faster results.
Watch video: