 by
by Here’s a detailed, beginner-friendly guide for making socks or slippers on 2 knitting needles without a seam on the sole—simple, cozy, and perfect for beginners.
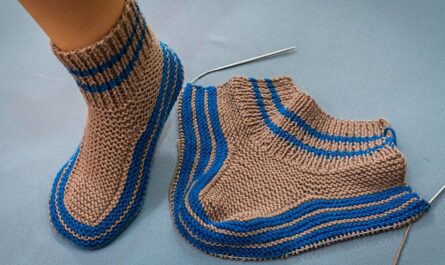
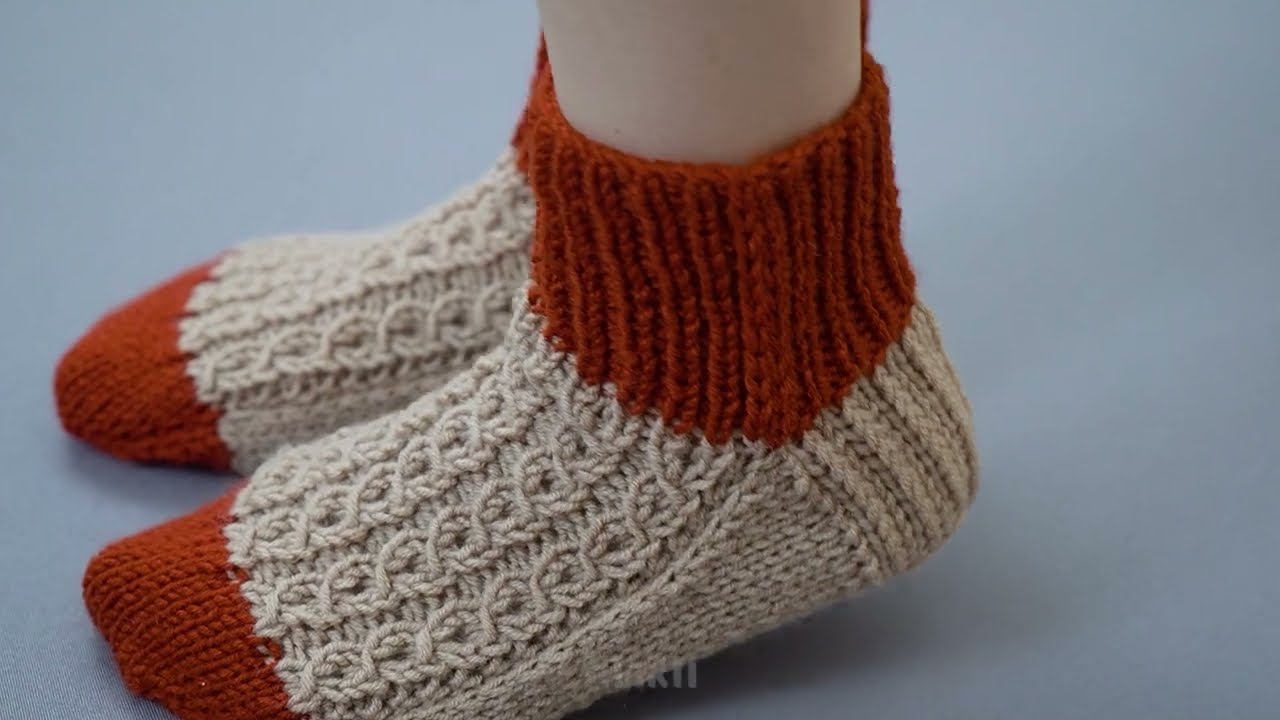
How to Make Socks/Slippers on 2 Knitting Needles Without a Seam on the Sole – Simple and Easy
Knitting socks or slippers without a seam on the sole creates a smooth, comfortable finish, perfect for lounging at home. Using just two knitting needles, you can make a cozy, stretchy pair that feels great underfoot. This method is simple, fast, and beginner-friendly—no complicated shaping or sewing required.
Why Seamless Sole Socks/Slippers Are Ideal 🧶
-
✔ Comfortable: no rough seam underfoot
-
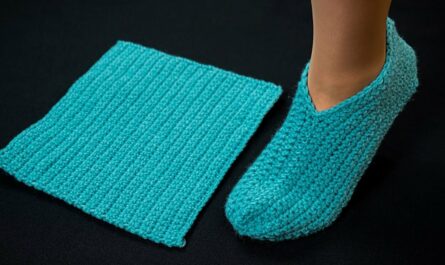
✔ Easy: knit flat, then fold and finish
-
✔ Quick: small project, perfect for leftover yarn
-
✔ Beginner-friendly: uses only basic knitting skills
-
✔ Customizable: fits men, women, and children
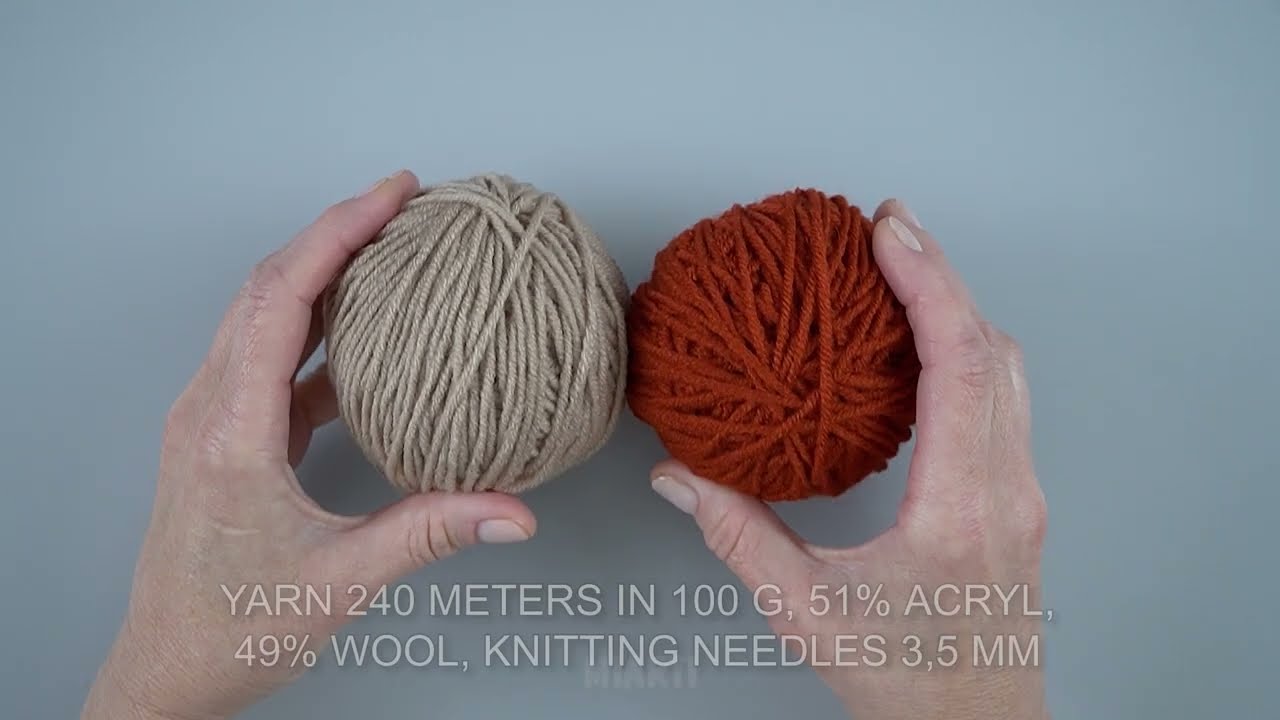
Materials You’ll Need
-
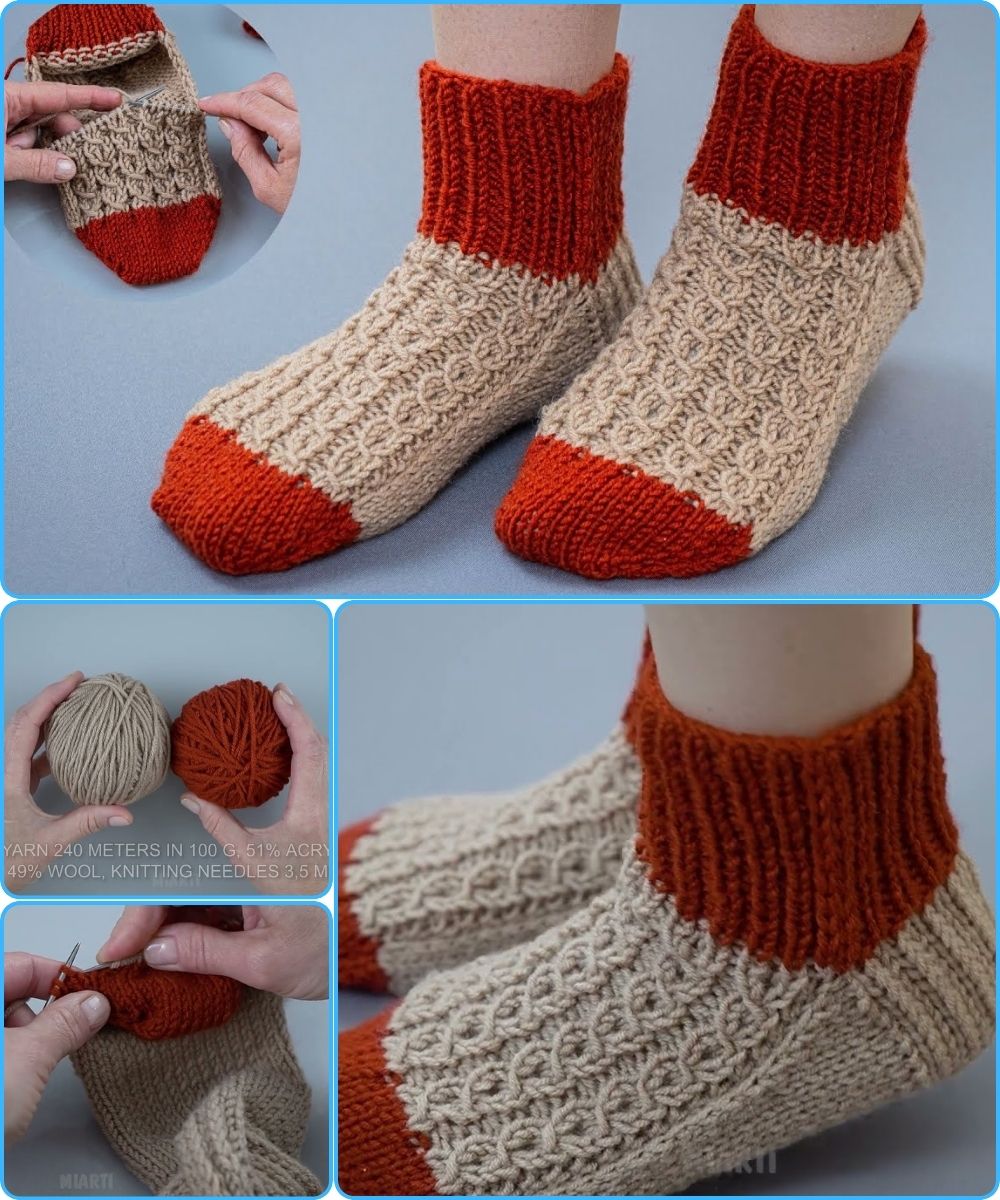
Yarn: Medium (worsted) or bulky yarn
-
Knitting needles: 5–6 mm (US 8–10), straight needles
-
Tapestry needle for finishing
-
Scissors
Optional:
-
Non-slip fabric paint or felt for the sole
Basic Knitting Skills Required
-
Casting on
-
Knit stitch (k)
-
Purl stitch (p)
-
Knit two together (k2tog)
-
Increasing stitches (kfb)
-
Binding off
-
Simple folding and sewing
Step-by-Step Instructions
Step 1: Cast On for the Toe
-
Cast on 8–12 stitches, depending on foot width.
-
These stitches form the tip of the toe.
Tip: A slightly stretchy cast-on makes it easier to fit.
Step 2: Knit the Toe Seamlessly
-
Knit back and forth in stockinette stitch (k on right side, p on wrong side).
-
Increase 1 stitch at each end every other row until the piece reaches the widest part of the foot (usually 32–36 stitches).
This creates a smooth, rounded toe with no seam under the sole.
Step 3: Knit the Foot
-
Continue knitting flat in stockinette stitch until the piece reaches the beginning of the heel.
-
Try the piece on your foot as you go for a comfortable fit.
Step 4: Shape the Heel
-
Divide the stitches in half.
-
Knit back and forth on the half for short-row heel shaping or a simple flap.
-
Pick up the side stitches and continue knitting across all stitches in stockinette stitch.
The sole remains smooth and seam-free, ensuring maximum comfort.
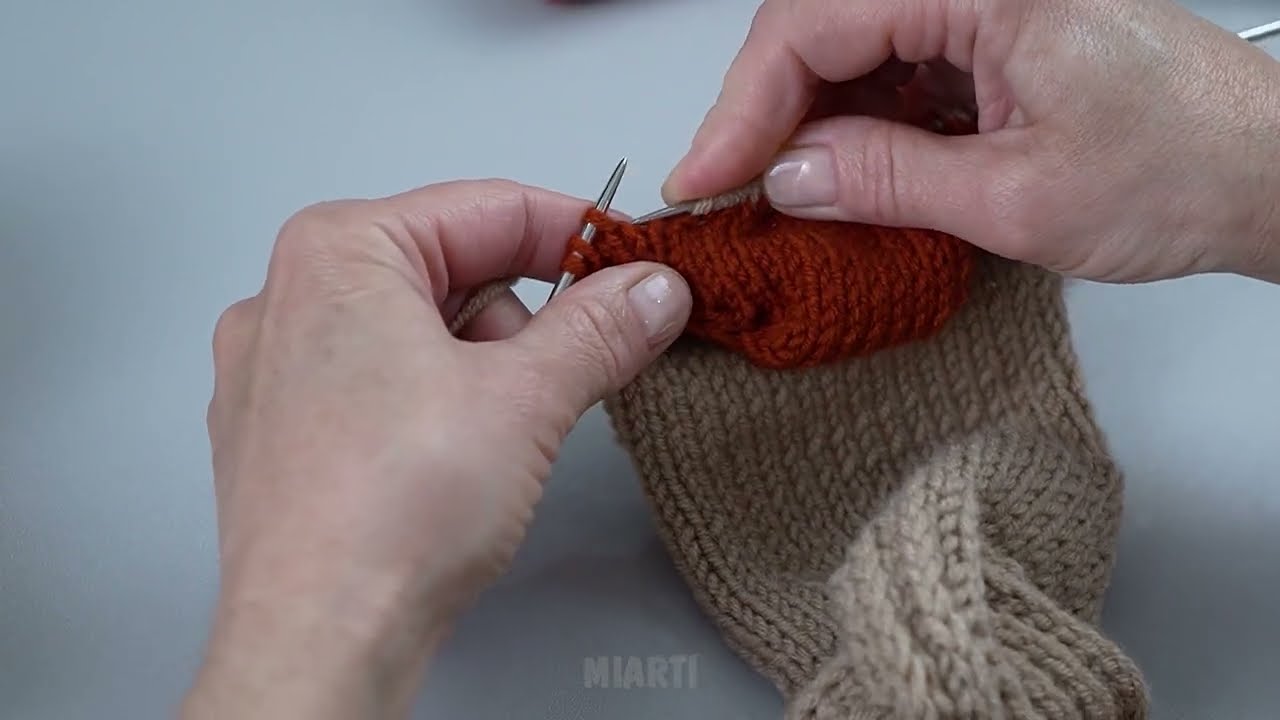
Step 5: Knit the Cuff
-
Work in 1×1 or 2×2 ribbing for 3–5 cm (1–2 inches) for a snug but flexible cuff.
-
Bind off loosely.
Step 6: Finish the Slipper
-
Fold the piece slightly at the heel if needed.
-
Weave in all ends with a tapestry needle.
Optional: Add non-slip dots or felt pads to the sole for extra grip.
Optional Finishing Touches ✨
-
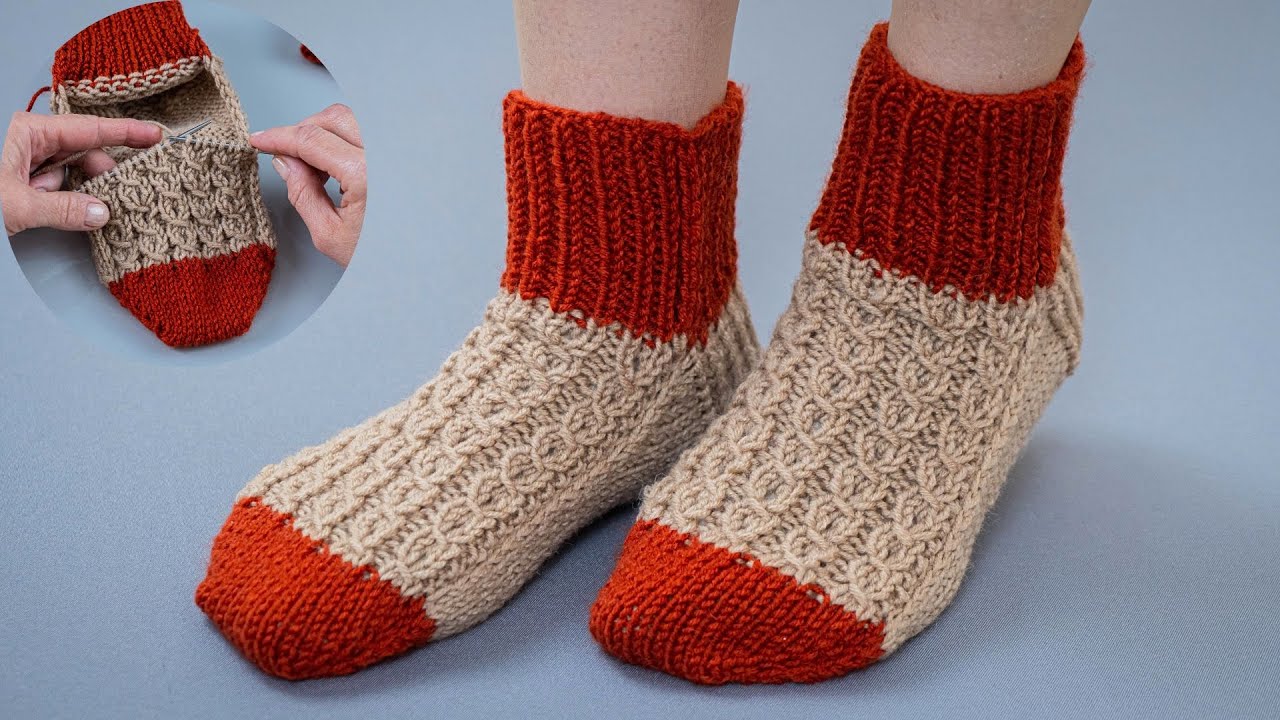
Add a contrasting yarn cuff for decoration
-
Use leftover yarns to make stripes
-
Knit a textured top using simple stitches (seed stitch or garter stitch)
Easy Sizing Tips
-
Longer foot: Knit more rows before the heel
-
Wider foot: Increase more stitches during the toe shaping
-
Thicker slippers: Use bulky yarn or double strands
This method works for men, women, and children with minor adjustments.
Final Thoughts
Knitting socks or slippers on 2 needles without a seam on the sole is simple, fast, and beginner-friendly. You end up with a smooth, cozy, and professional-looking slipper that’s comfortable to wear all day at home.
This project is ideal for using leftover yarn, quick gifts, or practicing basic knitting skills.
If you want, I can create a full beginner-friendly step-by-step pattern with exact stitch counts and sizes for women, men, and kids, so you can knit a perfect pair right away.
Watch video: