 by
by Here’s a clear, beginner-friendly, step-by-step tutorial you can use for learning or sharing 😊
I’ll keep it easy, detailed, and simple to follow, even if you’re new to crochet.
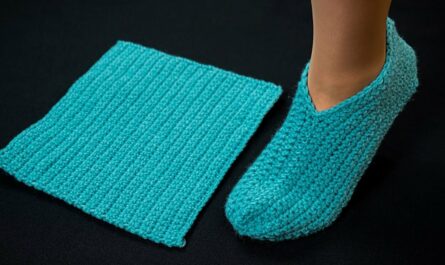
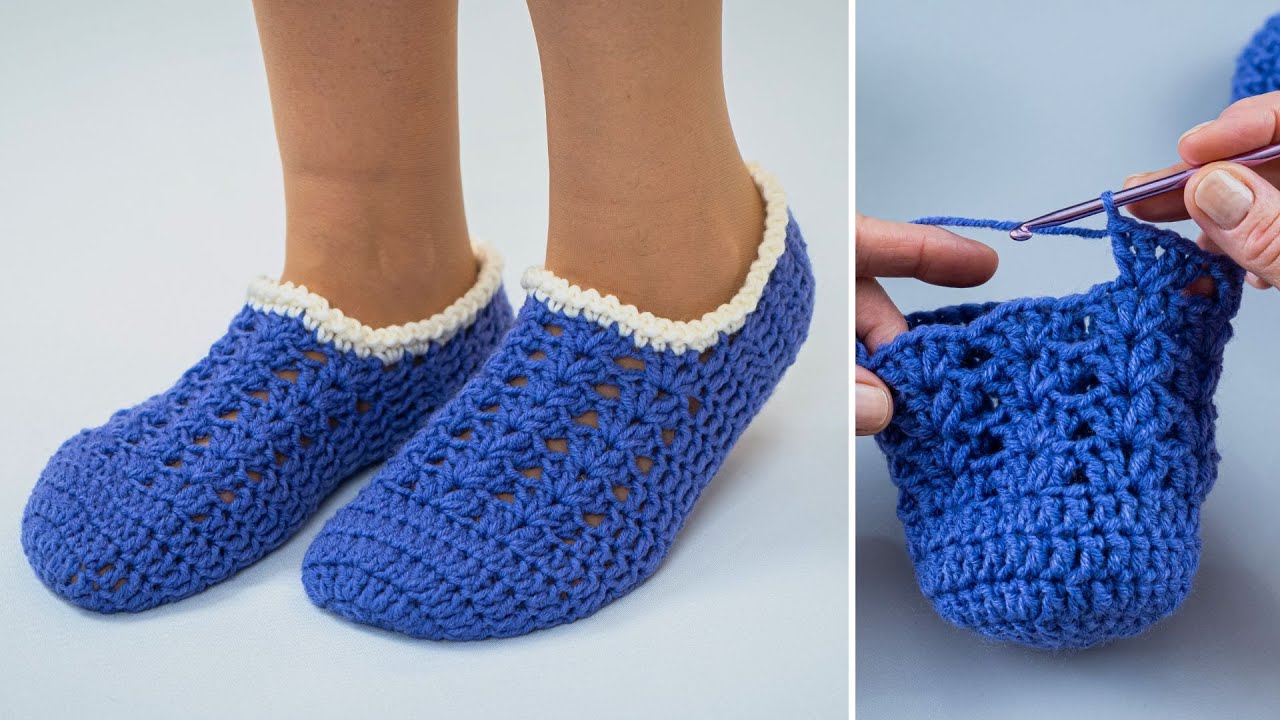
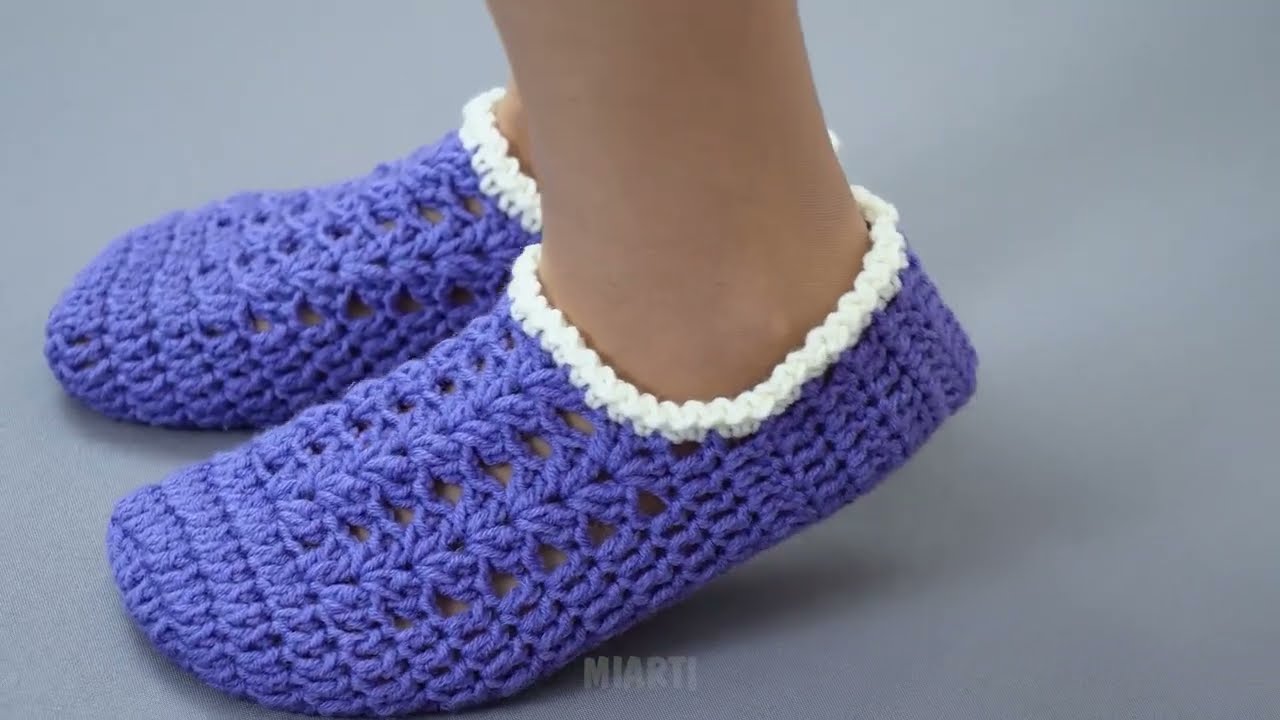
How to Make Easy Crochet Slippers (Step-by-Step Tutorial)
Skill Level
Beginner
Time Needed
About 1–2 hours
Materials You Will Need
-
Medium-weight yarn (worsted weight / size 4)
-
Crochet hook (5.0 mm or size H works well)
-
Yarn needle (for sewing and weaving ends)
-
Scissors
-
Measuring tape (optional)
Crochet Stitches Used
-
Chain (ch)
-
Slip stitch (sl st)
-
Single crochet (sc)
-
Half double crochet (hdc)
-
Double crochet (dc)
(If you know basic stitches, you’re good to go!)
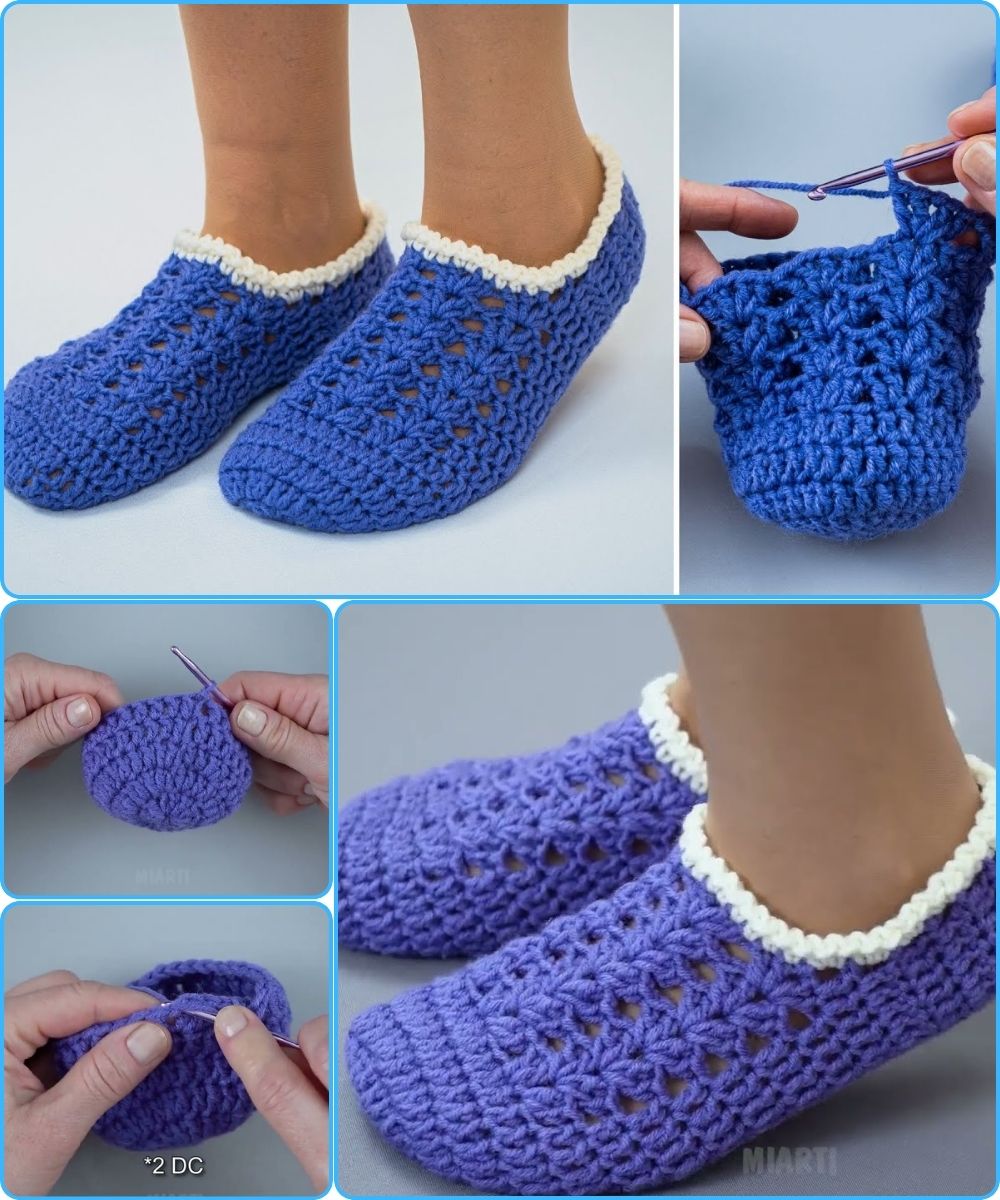
Step 1: Make the Sole (Foundation)
-
Start by making a slip knot.
-
Chain 24 stitches (this fits an average adult foot; adjust for size).
-
Fewer chains = smaller size
-
More chains = larger size
-
-
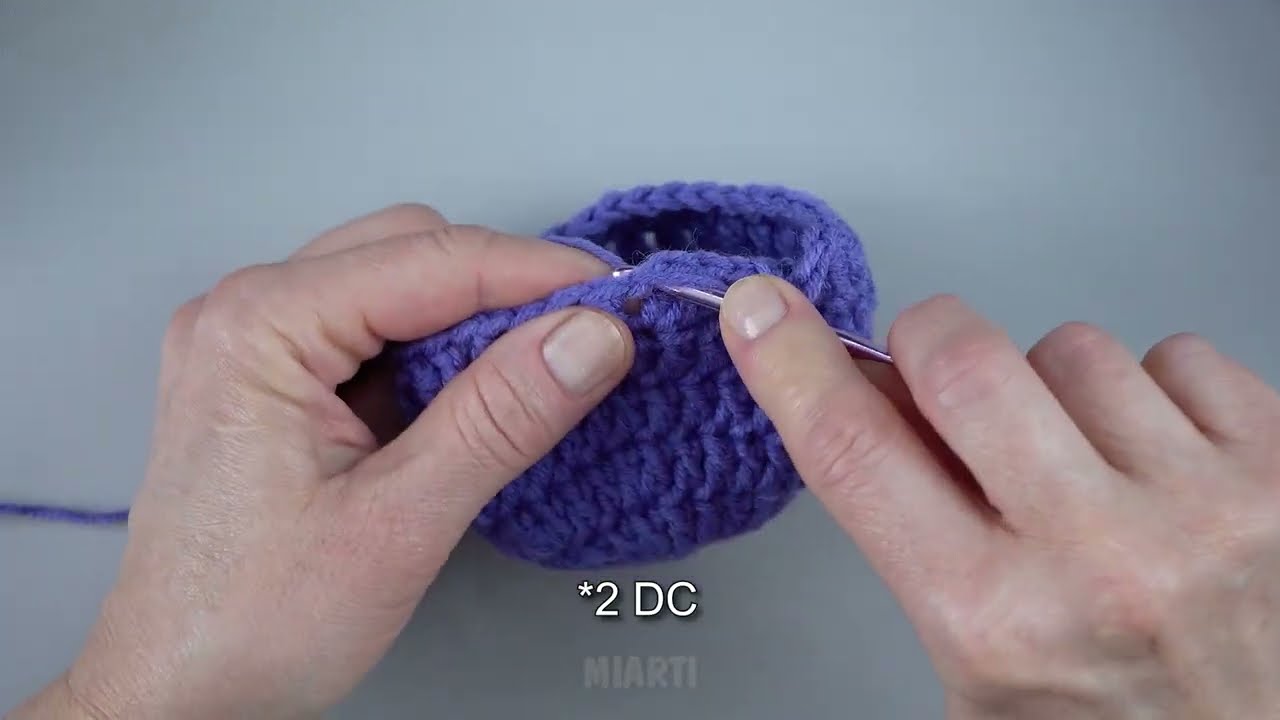
Double crochet (dc) into the 4th chain from the hook.
-
Continue making 1 dc in each chain until the end.
-
At the last chain, make 5 dc in the same stitch to turn the corner.
-
Now work dc along the other side of the chain.
-
At the end, add 2 dc in the last stitch.
-
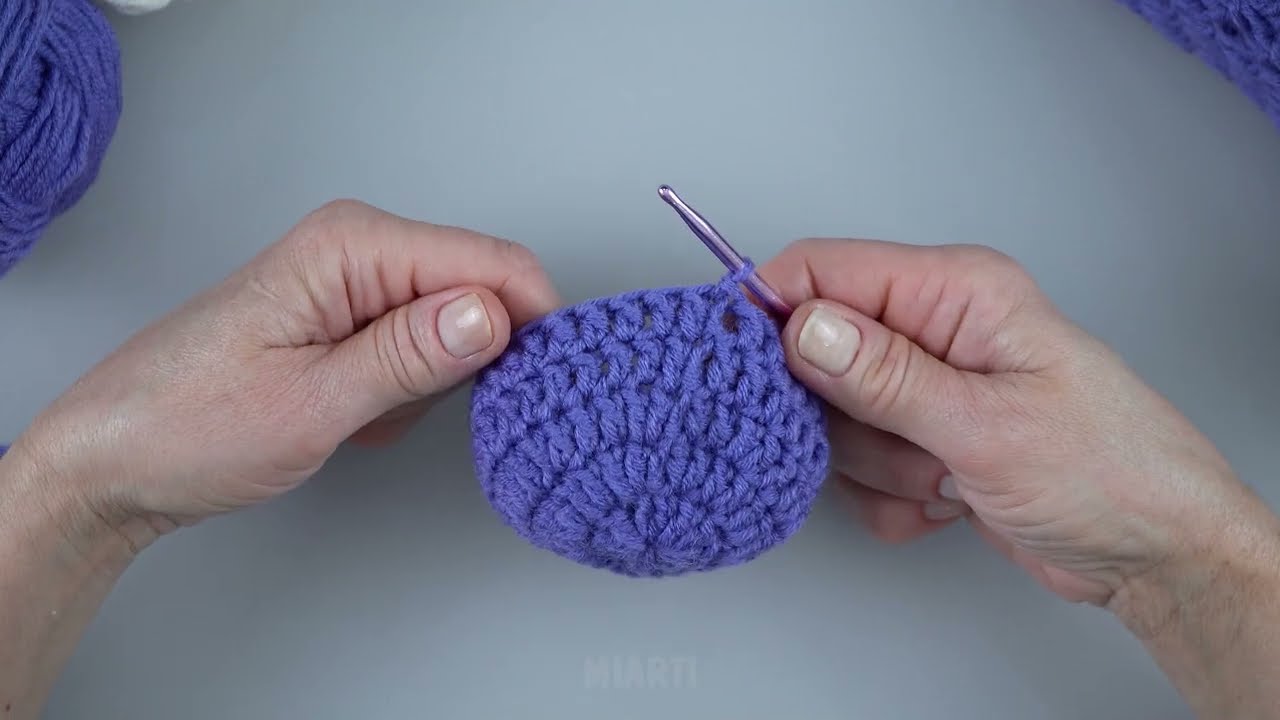
Join with a slip stitch to the top of the first dc.
👉 This creates the oval sole of the slipper.
Step 2: Build the Sides of the Slipper
-
Chain 2 (counts as the first stitch).
-
Make 1 hdc in each stitch around.
-
Do not increase in this round.
-
Join with a slip stitch.
👉 This round starts shaping the slipper upward.
Step 3: Shape the Toe Area
-
Chain 2.
-
Hdc in the next 8 stitches.
-
Decrease by crocheting two stitches together (hdc2tog).
-
Repeat decreases across the toe area.
-
Hdc around the rest of the slipper.
-
Slip stitch to join.
👉 This gives the slipper its toe shape.
Step 4: Finish the Top Edge
-
Chain 1.
-
Single crochet (sc) evenly around the top opening.
-
Slip stitch to join.
-
Fasten off and cut yarn, leaving a small tail.
Step 5: Assemble and Finish
-
Use a yarn needle to weave in all loose ends.
-
Try on the slipper and adjust if needed.
-
Make a second slipper by repeating all steps.
🎉 Your crochet slippers are complete!
Optional Tips
-
Use thicker yarn for warmer slippers.
-
Add non-slip fabric or dots to the sole for safety.
-
Decorate with buttons, bows, or simple crochet flowers.
-
Use a smaller hook for tighter stitches and durability.
If you want, I can:
-
Adjust this for kids’ sizes
-
Rewrite it for a blog, YouTube description, or school project
-
Add pictures guidance or stitch explanations
Watch video: