 by
by Here’s a clear, detailed, beginner-friendly guide on How to Make a Crochet Granny Square Bucket Hat. You can use this for a school project, blog post, or personal learning.
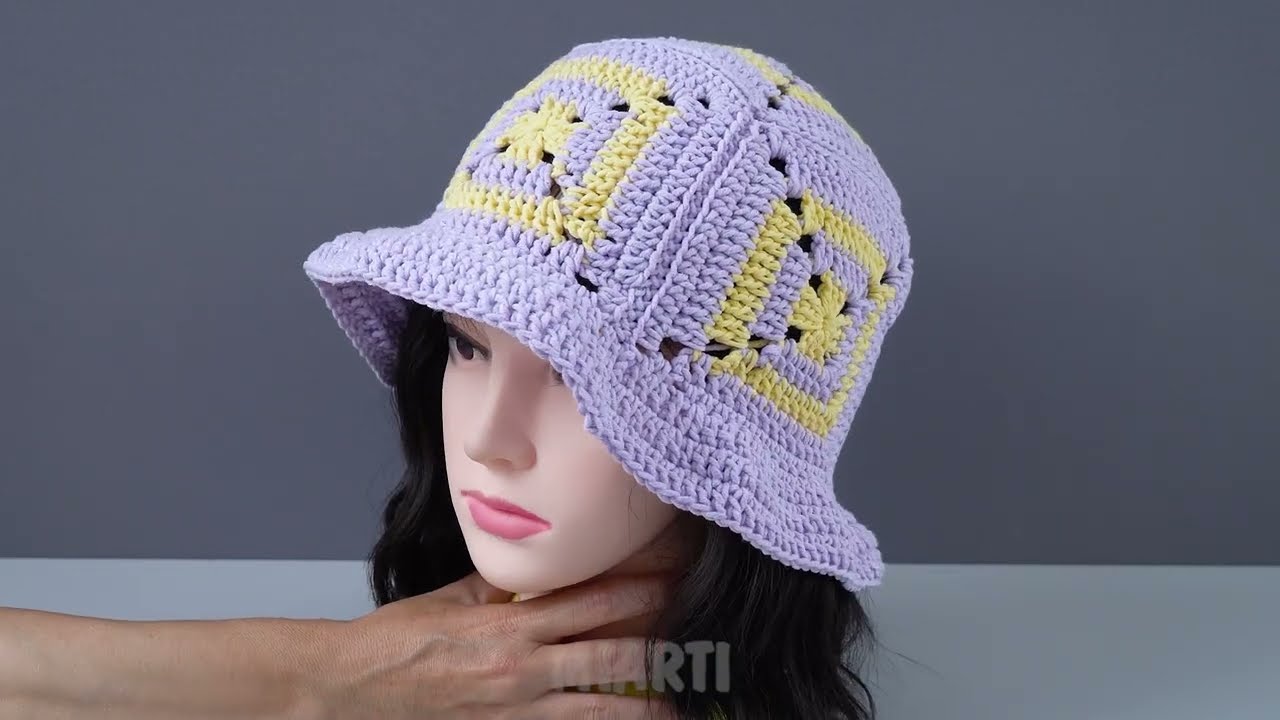
How to Crochet a Granny Square Bucket Hat
A granny square bucket hat is a stylish and fun crochet project made by joining classic granny squares and shaping them into a hat. It’s beginner-friendly and customizable with different colors, sizes, and yarn types.
Materials Needed
-
Medium-weight yarn (cotton or acrylic works best)
-
Crochet hook (usually 4.0–5.0 mm, check yarn label)
-
Scissors
-
Yarn needle
-
Measuring tape
-
Stitch markers (optional)
Crochet Abbreviations (US Terms)
-
ch = chain
-
sl st = slip stitch
-
sc = single crochet
-
dc = double crochet
-
sp = space
-
rnd = round
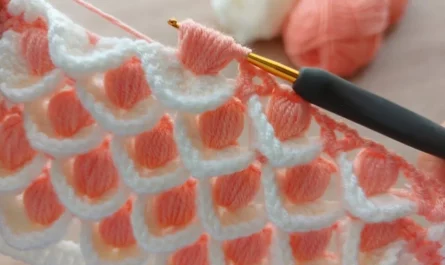
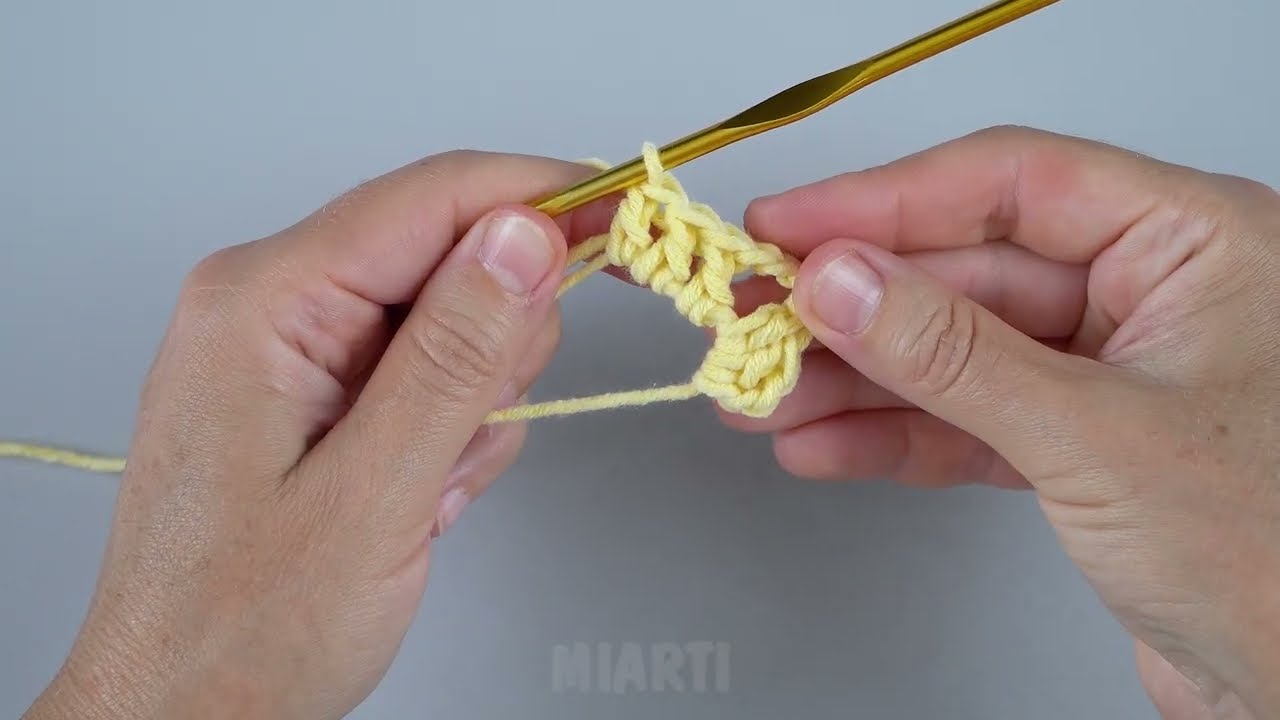
Step 1: Make the Granny Squares
You will usually need 5–7 granny squares, depending on head size and square size.
Basic Granny Square Pattern
-
Magic ring or ch 4, sl st to form a ring.
-
Ch 3 (counts as first dc).
-
Work 2 dc into the ring, ch 2.
-
3 dc, ch 2 — repeat 3 more times.
-
Sl st to the top of the beginning ch 3.
-
For the next rounds, work 3 dc clusters into each corner space with ch 2 between corners.
-
Continue until the square reaches about 4–5 inches wide.
-
Fasten off and weave in ends.
Make all squares the same size.
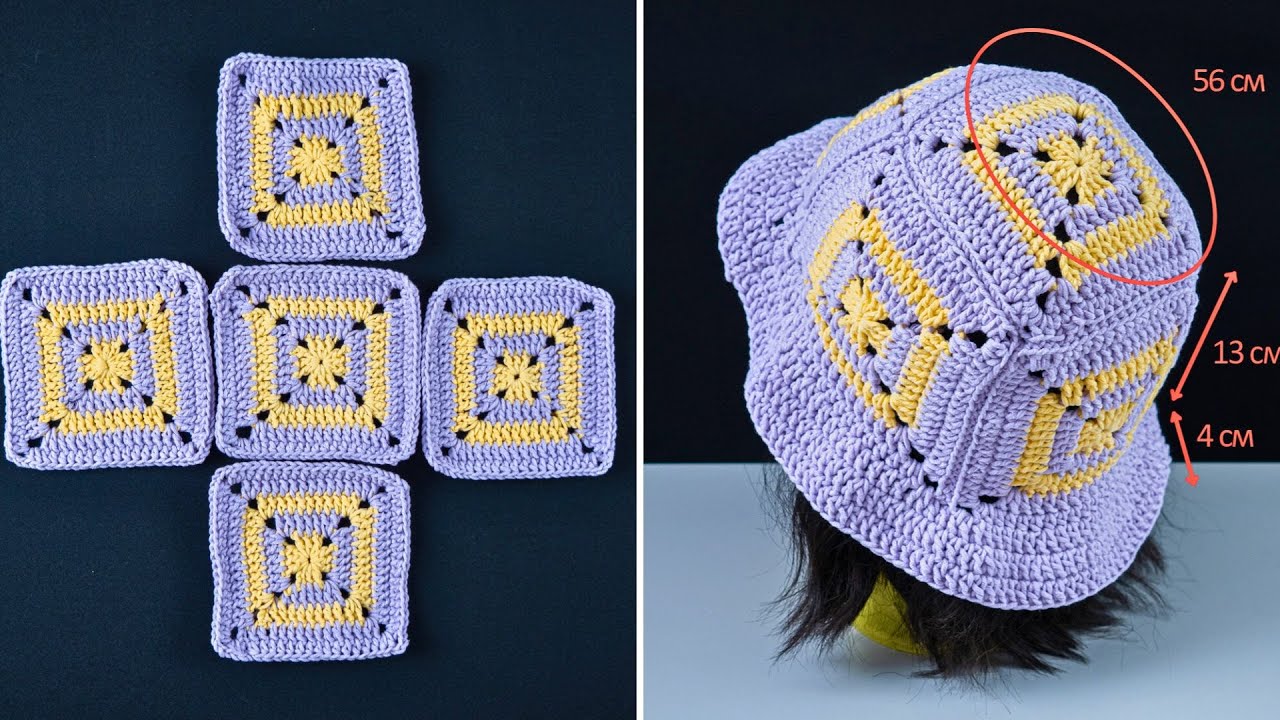
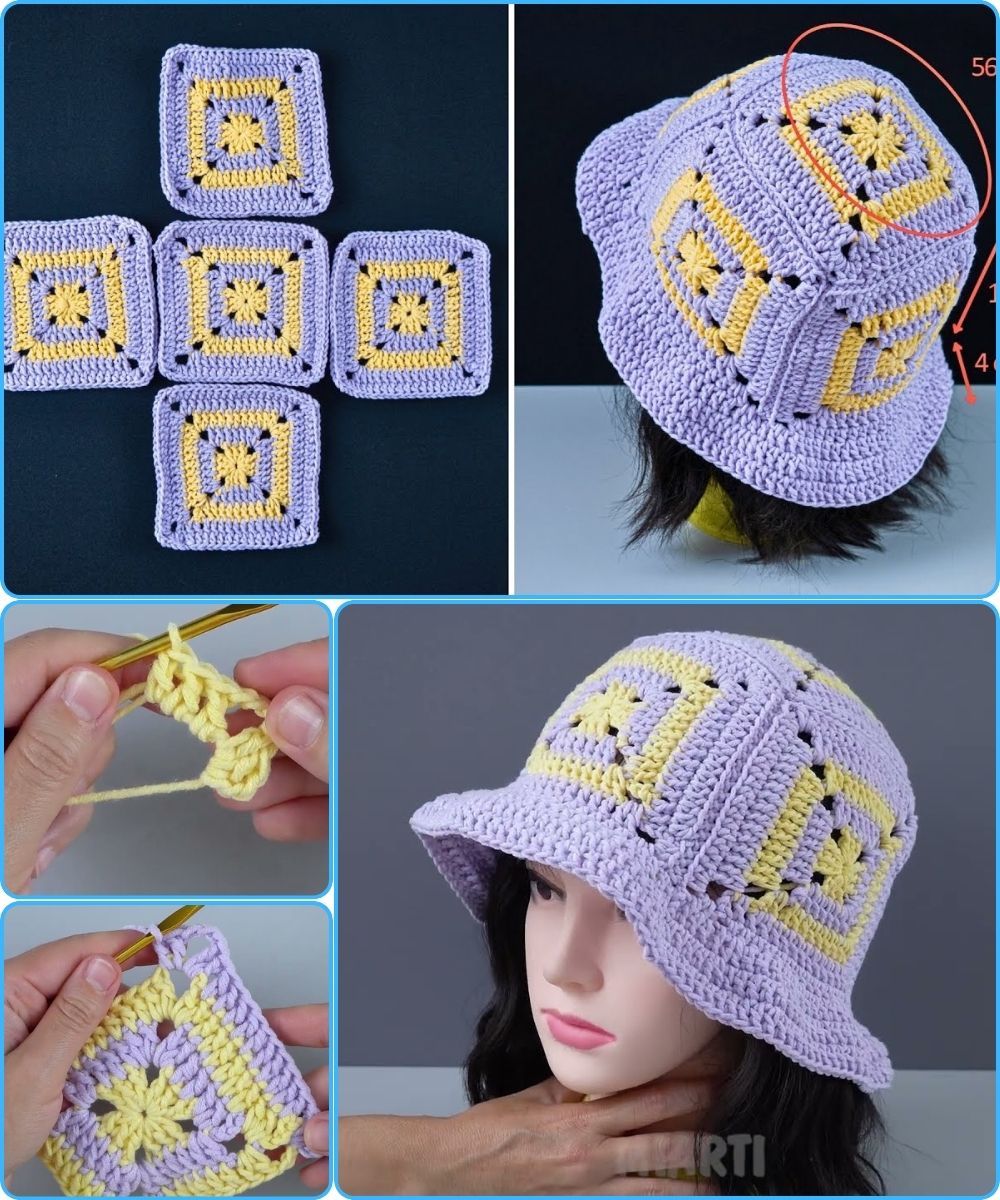
Step 2: Join the Granny Squares
-
Arrange the squares in a circular shape to form the top and sides of the hat.
-
Use slip stitch, single crochet, or whip stitch to join the squares.
-
Make sure the joins are flat and not twisted.
Tip: Joining with single crochet adds a decorative texture.

Step 3: Shape the Hat Body
-
Attach yarn to the bottom edge of the joined squares.
-
Crochet rounds of single crochet or half double crochet evenly around.
-
Try the hat on as you go to check the fit.
-
Continue until the hat reaches just above your ears.
Step 4: Create the Bucket Hat Brim
-
Begin increasing stitches:
-
2 sc in one stitch, 1 sc in next stitch — repeat around.
-
-
On the next round, increase less frequently:
-
2 sc in one stitch, 2 sc in next 2 stitches.
-
-
Continue increasing gradually for 2–4 rounds until the brim flares outward.
-
Adjust brim width based on your style preference.
Step 5: Finish the Hat
-
Add a final round of single crochet for a clean edge.
-
Fasten off and weave in all loose ends.
-
Block the hat if needed to improve shape.
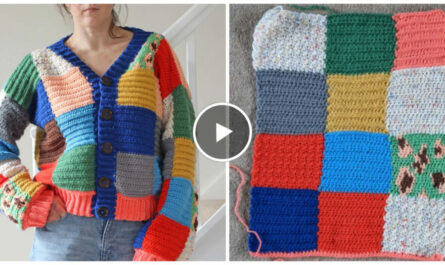
Customization Ideas
-
Use multiple colors for a retro look
-
Add a decorative border to the brim
-
Use cotton yarn for summer or wool for cooler weather
-
Add a lining for extra comfort
Conclusion
Crocheting a granny square bucket hat is a fun and creative project that combines classic crochet techniques with modern fashion. With basic stitches and simple shaping, you can create a unique handmade accessory that fits your personal style.
If you want, I can also:
-
Simplify this for beginners
-
Adjust it for kids or adults
-
Turn it into a short school assignment
-
Add pictures or diagrams (descriptions)
Watch video: