 by
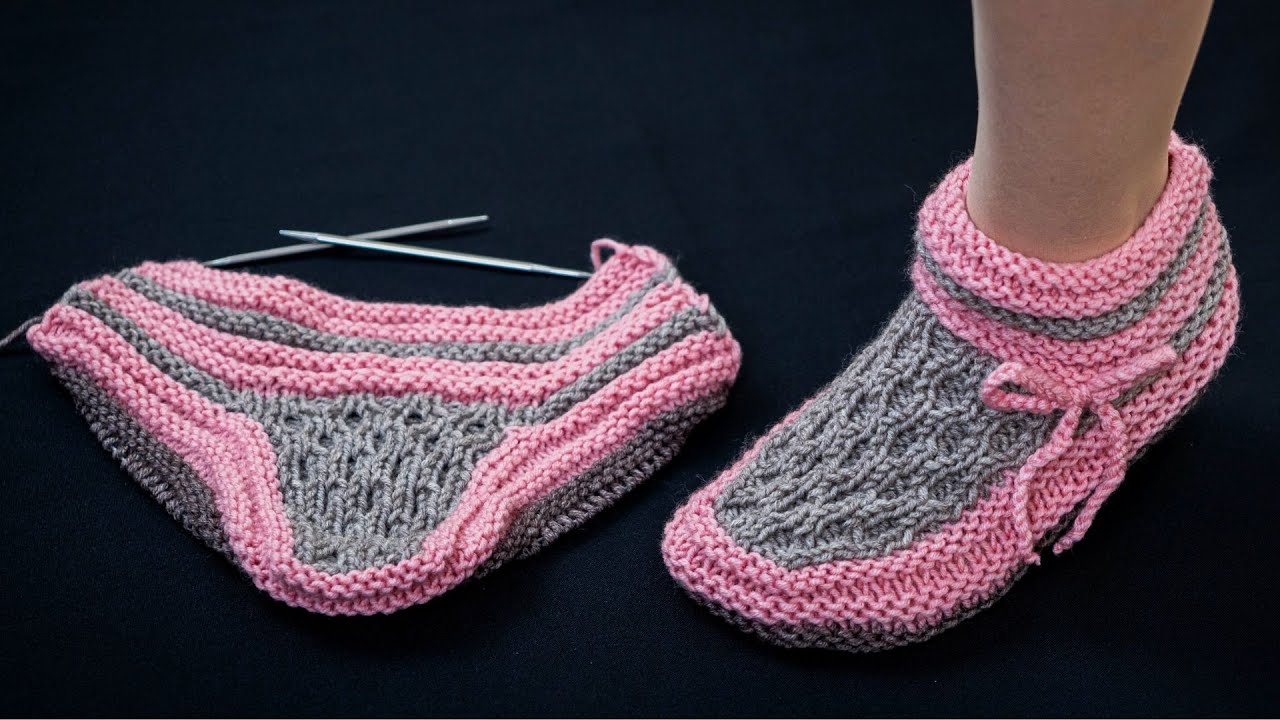
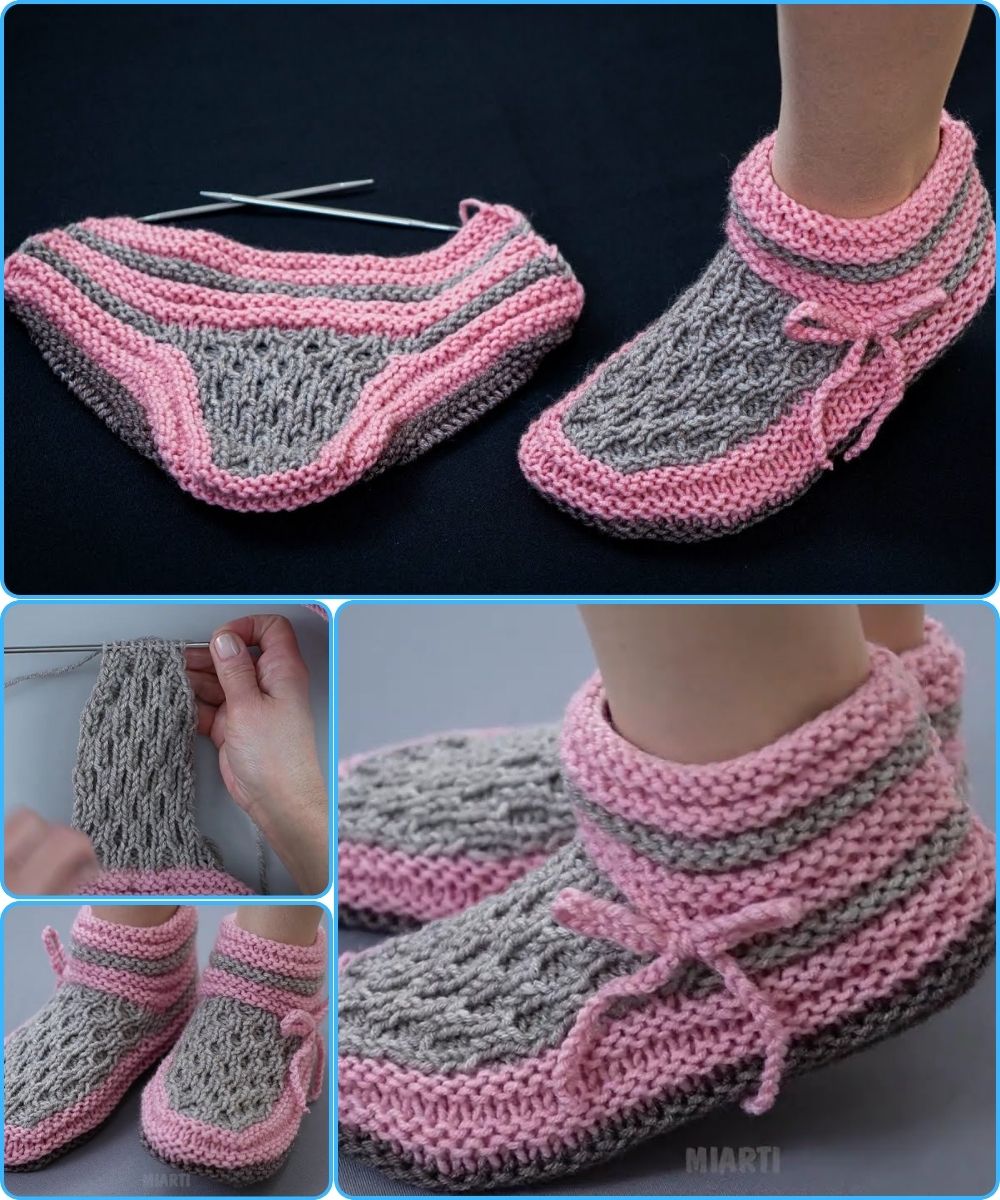
by Absolutely! I can guide you step by step on how to knit seamless slippers on 2 needles with no seam on the sole. This style is often called “flat knitting with seamless soles” and is great because it avoids the uncomfortable seam under the foot. I’ll make this detailed and beginner-friendly.
Materials Needed
-
Yarn – Medium-weight yarn (like worsted weight) works well. Choose a soft one for comfort.
-
Knitting needles – Two needles matching the yarn weight (usually size 4–6 mm for worsted).
-
Tapestry needle – For weaving in ends.
-
Scissors
-
Optional: Stitch markers to help count rows and shape.
Basic Technique
The key idea is to knit the slipper from the top down or from the sole up without creating a seam. You’ll usually use short rows or turning rows to shape the toe and heel, then pick up stitches to finish the sides.
Step-by-Step Instructions
1. Cast On
-
Decide how wide you want the slipper (roughly the width of your foot).
-
Cast on enough stitches for the sole. For an average adult slipper using worsted weight yarn, this is usually 28–36 stitches.
-
Use a stretchy cast-on like long-tail cast-on so the slipper isn’t too tight.
2. Knit the Sole
-
You will knit back and forth in rows (not in the round).
-
Start knitting in garter stitch (knit every row) or stockinette stitch (knit one row, purl one row).
-
Knit until the sole reaches the desired length (the length of your foot).
Tip: You can mark the middle of the sole to make shaping easier.
3. Shape the Toe
-
Use short rows to round the toe without making a seam:
-
Knit to the last 4–6 stitches, wrap and turn.
-
Purl back to the first few stitches, wrap and turn.
-
Continue wrapping and turning every few stitches until the toe is rounded.
-
-
After completing the short rows, pick up and knit the wraps to smooth out the toe.
4. Pick Up Stitches for the Sides
-
From the edges of the sole, pick up stitches along both sides.
-
This will form the upper part of the slipper.
-
The number of stitches picked up depends on the height you want. Usually, about 1.5–2 times the number of sole stitches.
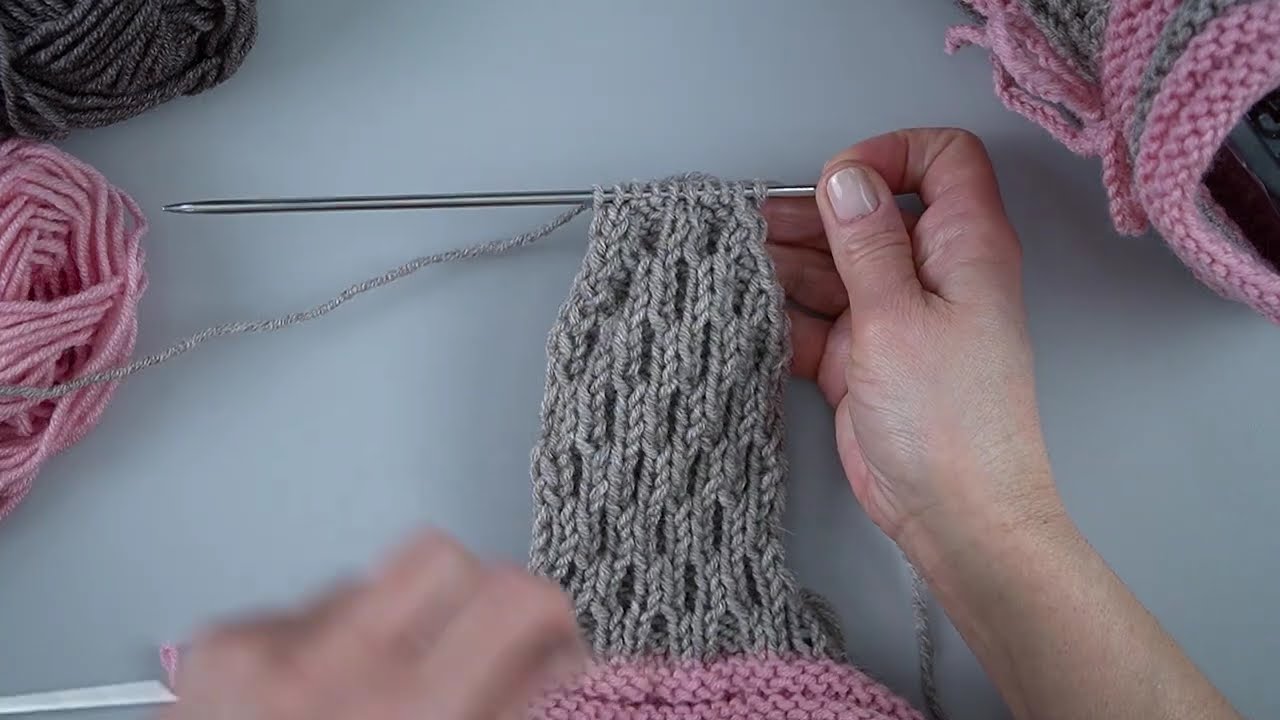
5. Knit the Upper
-
Knit in rows until the slipper reaches the desired height.
-
You can decrease slightly near the heel for a snug fit.
-
Optional: Add ribbing or a decorative stitch at the top edge.
6. Shape the Heel (Optional)
-
If you want a snug heel, you can use short rows again:
-
Knit to a few stitches before the end, wrap and turn.
-
Continue in this way until the heel is rounded.
-
7. Finishing
-
Weave in all yarn ends with a tapestry needle.
-
Optionally, block the slipper gently to even out stitches.
Tips for Success
-
Use elastic or soft yarn for a comfortable fit.
-
Mark the middle of your sole for symmetry.
-
Use short rows carefully – this is the key to avoiding a seam.
-
Keep trying on the slipper as you knit to adjust for your foot size.
If you want, I can draw a clear diagram showing exactly how to shape the sole and sides without a seam—it makes this much easier to follow visually.
Watch video: