 by
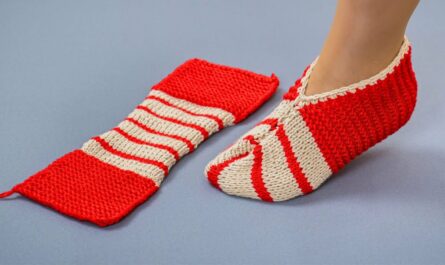
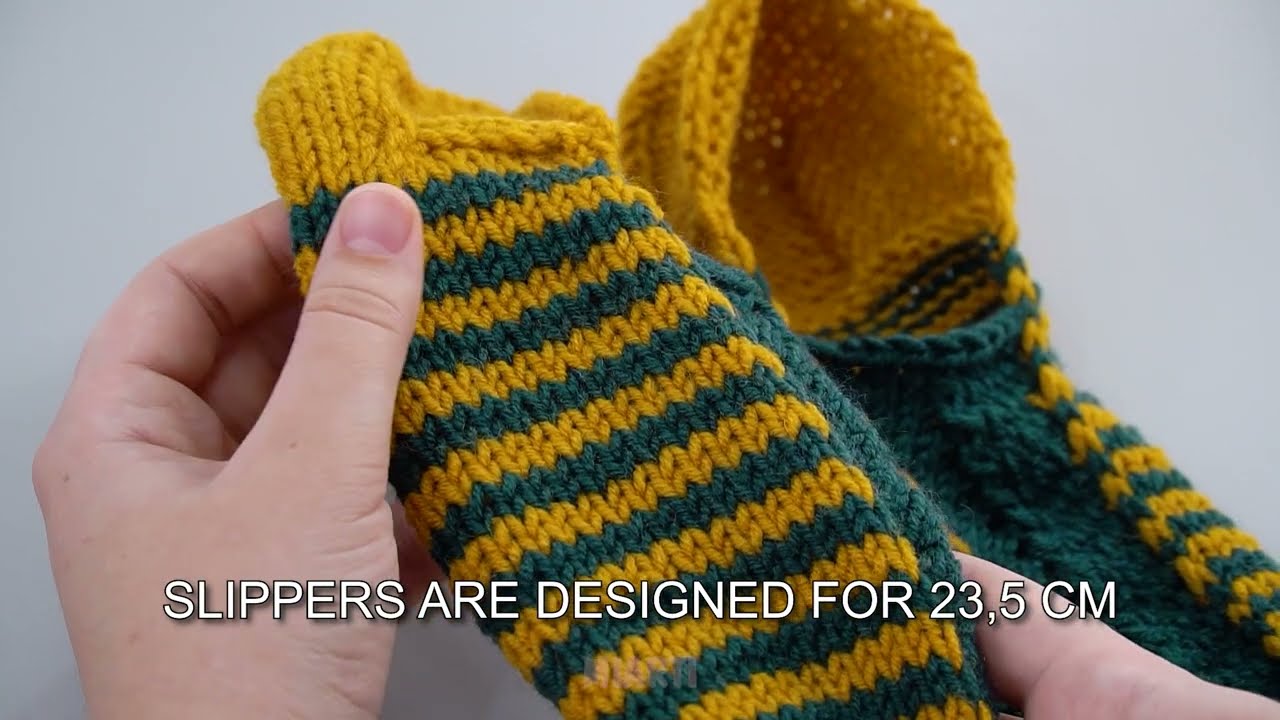
by Absolutely! Let’s go step by step on how to make seamless knitted slippers with knitting needles, in a way that even a beginner can handle. I’ll make it detailed and clear. 🧶
Materials Needed
-
Yarn: Medium-weight (worsted) yarn works well for beginners. Choose a soft, durable yarn.
-
Knitting needles: Circular needles or double-pointed needles (DPNs) size suitable for your yarn (usually US 7–9 / 4.5–5.5 mm).
-
Tapestry needle: For weaving in ends.
-
Scissors: For cutting yarn.
-
Optional: Stitch markers to keep track of sections.
Why Seamless Slippers?
Traditional slippers require sewing pieces together, which can be tricky. Seamless slippers are knitted in the round, so no sewing is needed. This makes them super comfy and beginner-friendly.
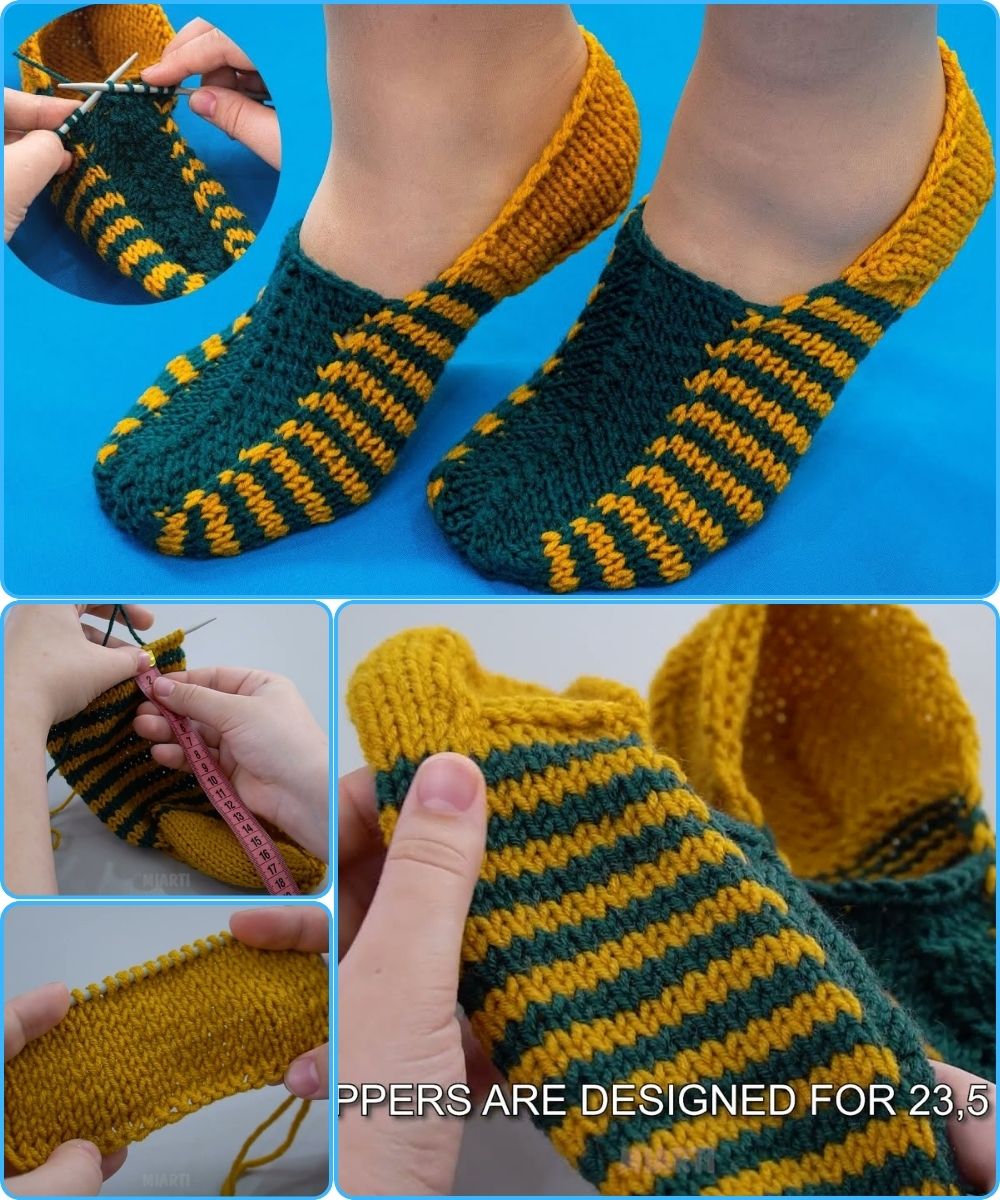
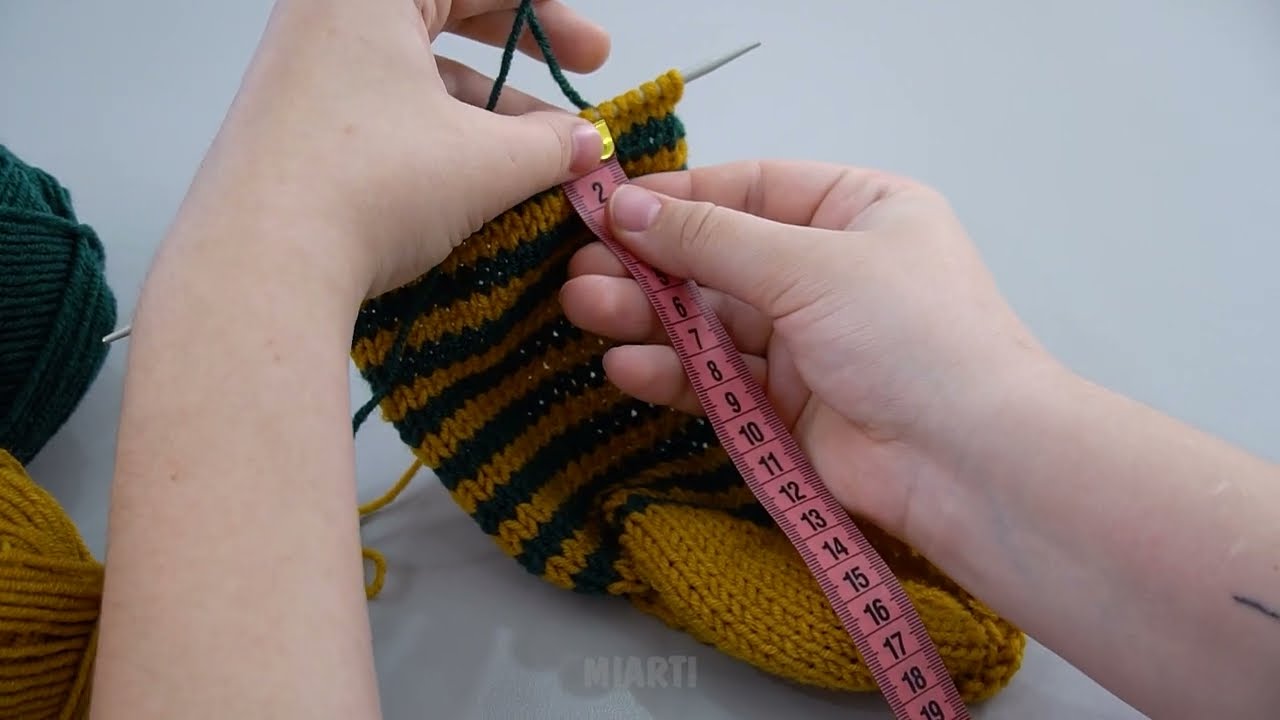
Step 1: Take Measurements
-
Measure the length of your foot from heel to toe.
-
Measure the width of your foot at the widest point.
-
These measurements will guide how many stitches to cast on.
Step 2: Cast On
-
Use a stretchy cast-on, like the long-tail cast-on.
-
For beginners: cast on enough stitches to fit the circumference of the foot.
-
Example: If your foot is 25 cm (10 inches) around and your gauge is 20 sts = 10 cm, you’ll need 50 sts.
-
-
Join in the round carefully, making sure stitches aren’t twisted. Use a stitch marker to mark the start of the round.
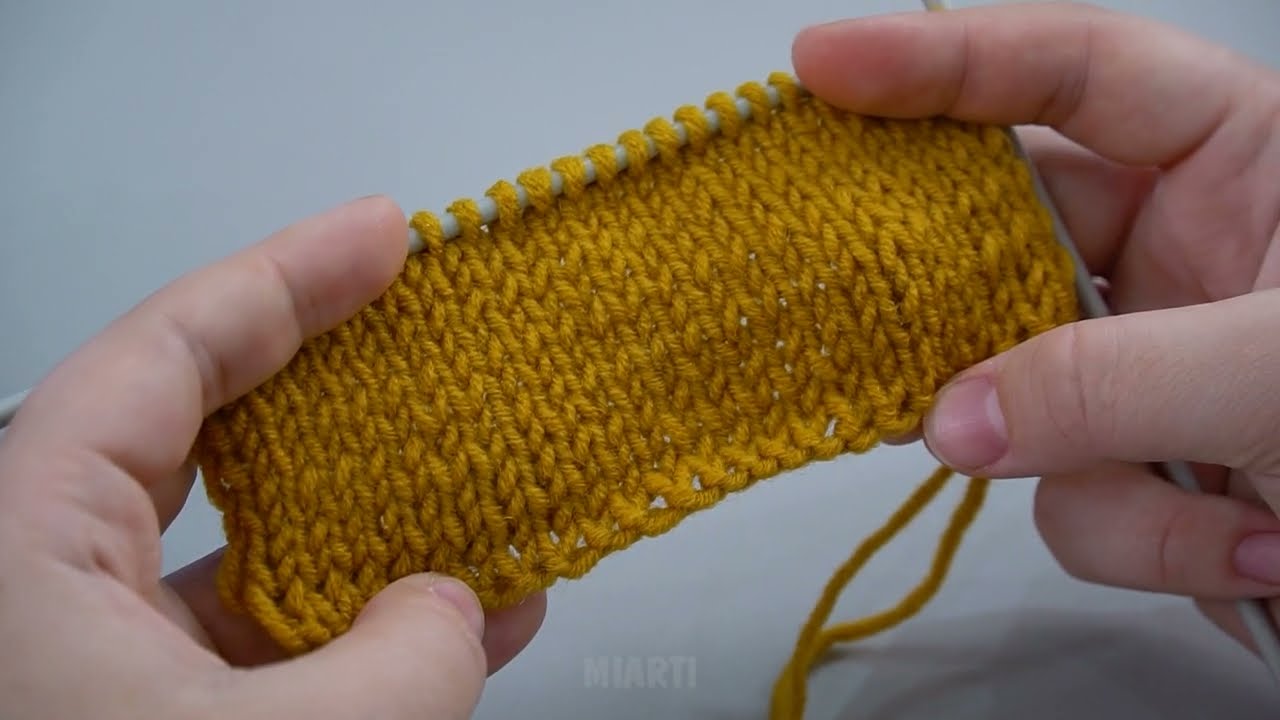
Step 3: Knit the Sole
-
The sole is often knit flat, then joined into a round.
-
Option 1 – Knit in the round directly:
-
Knit all stitches in the round until the length reaches the base of the toes.
-
-
Option 2 – Short-row shaping for the sole:
-
Use short rows to create a rounded heel/sole.
-
Short rows involve knitting only part of the round, turning, then knitting back, gradually building a curve.
-
Step 4: Knit the Toe (Top of Foot)
-
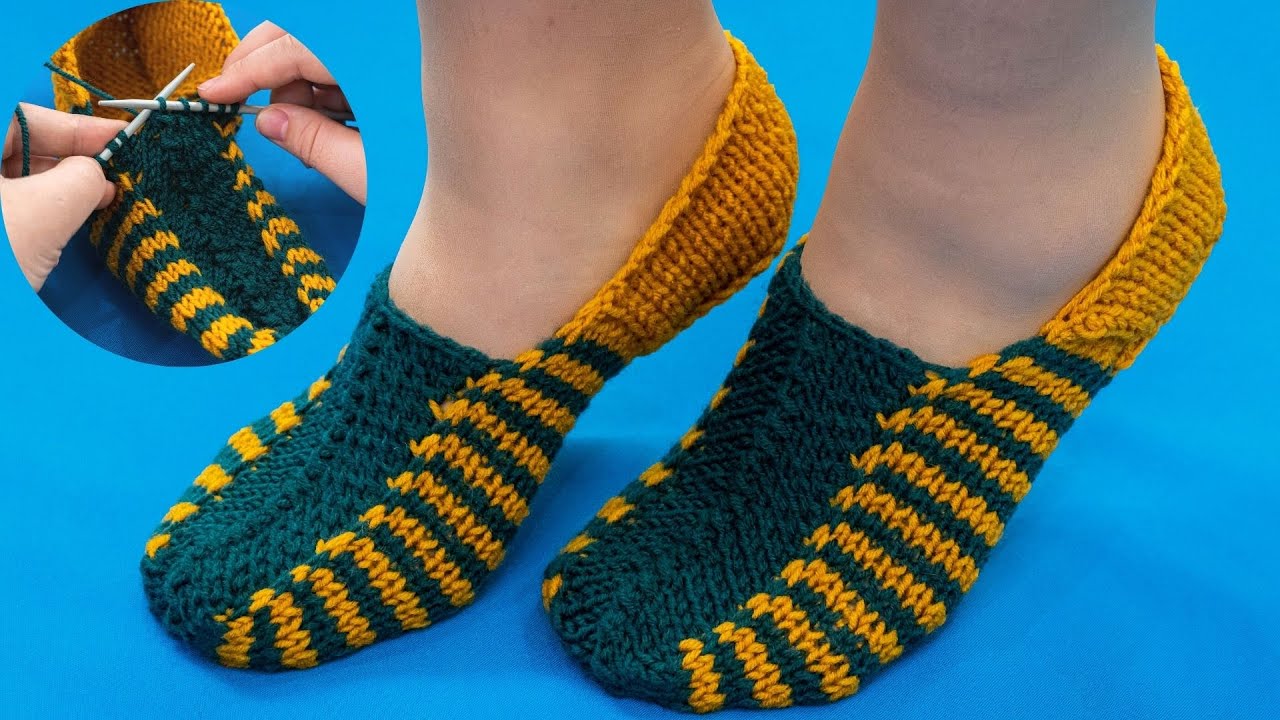
Once the sole is done, start knitting the upper part in the round.
-
Decrease gradually as you go toward the toes:
-
Example: Knit 8, knit 2 together around. Repeat every 2–3 rounds.
-
Adjust the decreases depending on your foot size.
-
-
Keep knitting until the slipper reaches the tip of your toes.
Step 5: Shape the Heel
-
You can knit a heel flap with short rows or just decrease gradually if you’re making a sock-style slipper.
-
Short-row heel:
-
Knit halfway across, turn, purl back, and continue in short rows to create a natural curve.
-
-
This method avoids seams completely.
Step 6: Finishing
-
When your slipper is the right length:
-
Kitchener stitch (grafting) can be used to close the toe invisibly.
-
Or, simply draw the yarn through the remaining stitches and tighten.
-
-
Weave in all ends with a tapestry needle.
Step 7: Optional Extras
-
Ribbed cuff: Knit 1×1 or 2×2 ribbing at the top for stretch and snug fit.
-
Non-slip soles: Use puffy paint or attach craft glue dots.
-
Decorations: Buttons, pompoms, or embroidery.
Tips for Beginners
-
Start with medium yarn and needles – it’s easier to see stitches.
-
Use stitch markers to track the start of rounds.
-
Try on as you go to make sure it fits.
-
Don’t stress about perfection – handmade slippers are cozy by nature!
If you want, I can draw a simple diagram showing the round-knitting method for seamless slippers that’s super beginner-friendly. It will make this tutorial much easier to follow visually.
Watch video: