 by
by Here is a clear, detailed, beginner-friendly guide you can use as an article, blog post, or school project.
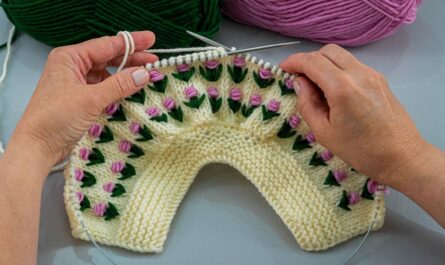
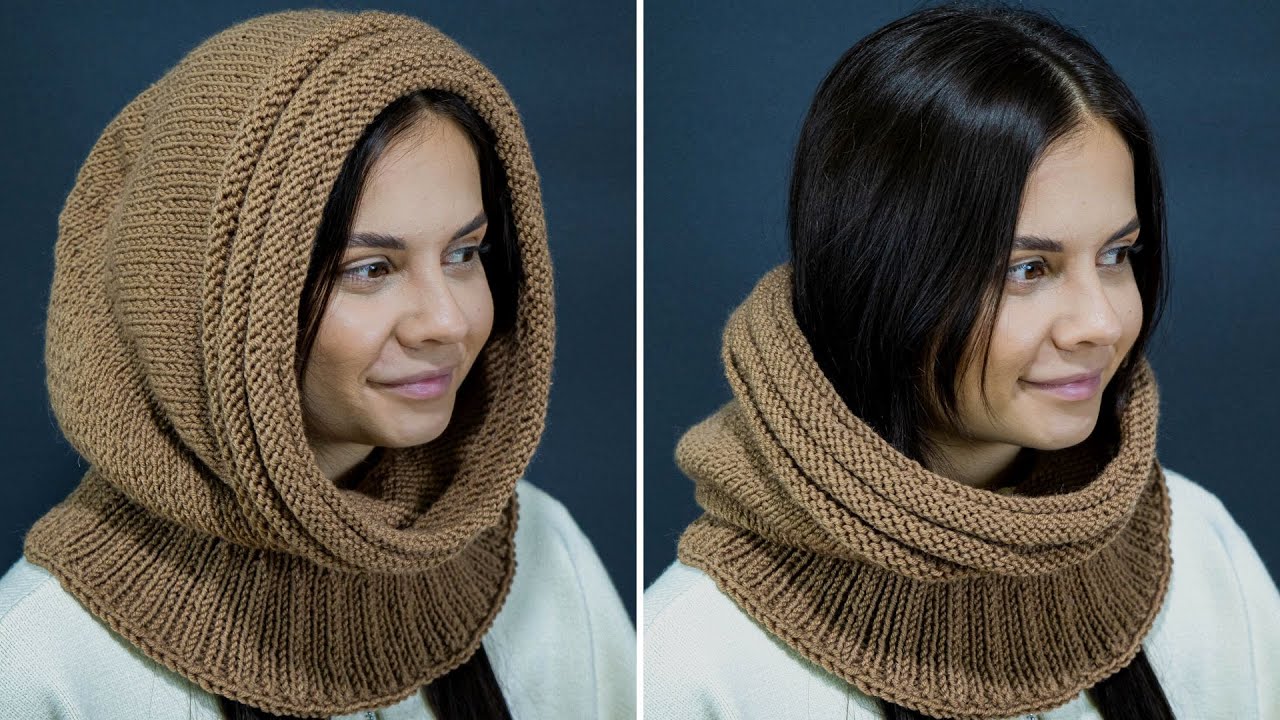
How to Make a Warm Knitted Bonnet or Hood in One Evening
Even a beginner can handle it!
Knitting your own warm bonnet or hood is easier than it looks. With simple stitches and thick yarn, you can finish a cozy, stylish piece in just one evening—even if you’re new to knitting. This project is perfect for cold weather and makes a great handmade gift.
Why This Project Is Perfect for Beginners
-
Uses basic knit stitches only
-
No complicated patterns or shaping
-
Works up quickly with chunky yarn
-
Easy to fix mistakes
-
Can be adjusted to any head size
What You’ll Need
Before you begin, gather these supplies:
-
Chunky or bulky yarn (wool or wool blend is warmest)
-
Knitting needles (size 8–10 mm / US 11–15)
-
Scissors
-
Yarn needle (for sewing and weaving ends)
-
Measuring tape (optional but helpful)
💡 Tip: Chunky yarn and big needles make stitches easier to see and help you finish faster.
Step 1: Choose Your Style
You can make:
-
A bonnet (ties under the chin)
-
A hood (covers head and neck like a soft hoodie)
Both are made almost the same way—just a simple knitted rectangle that’s folded and sewn.
Step 2: Cast On
-
Cast on 30–40 stitches (depending on how wide you want the bonnet).
-
Don’t worry about perfection—slightly loose stitches are fine.
💡 Beginner tip: If your stitches feel tight, try using larger needles.
Step 3: Knit the Rectangle
-
Knit every row using the basic knit stitch.
-
Continue until the piece measures:
-
35–45 cm (14–18 inches) long
-
This creates a soft, stretchy fabric that will wrap comfortably around the head.
⏱️ With chunky yarn, this step usually takes 1–2 hours.
Step 4: Bind Off
-
Bind off loosely so the edge stays flexible.
-
Cut the yarn, leaving a long tail for sewing.
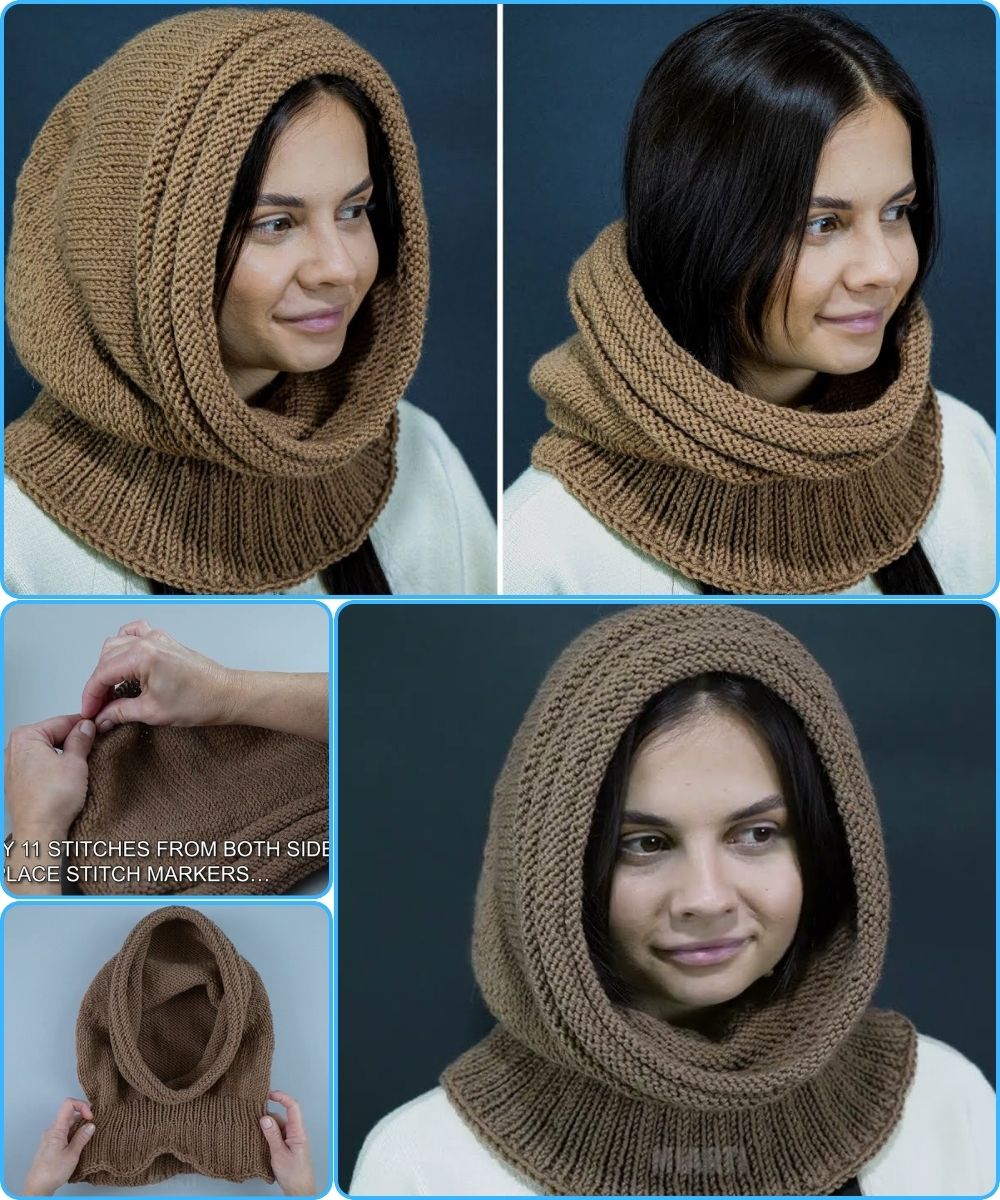
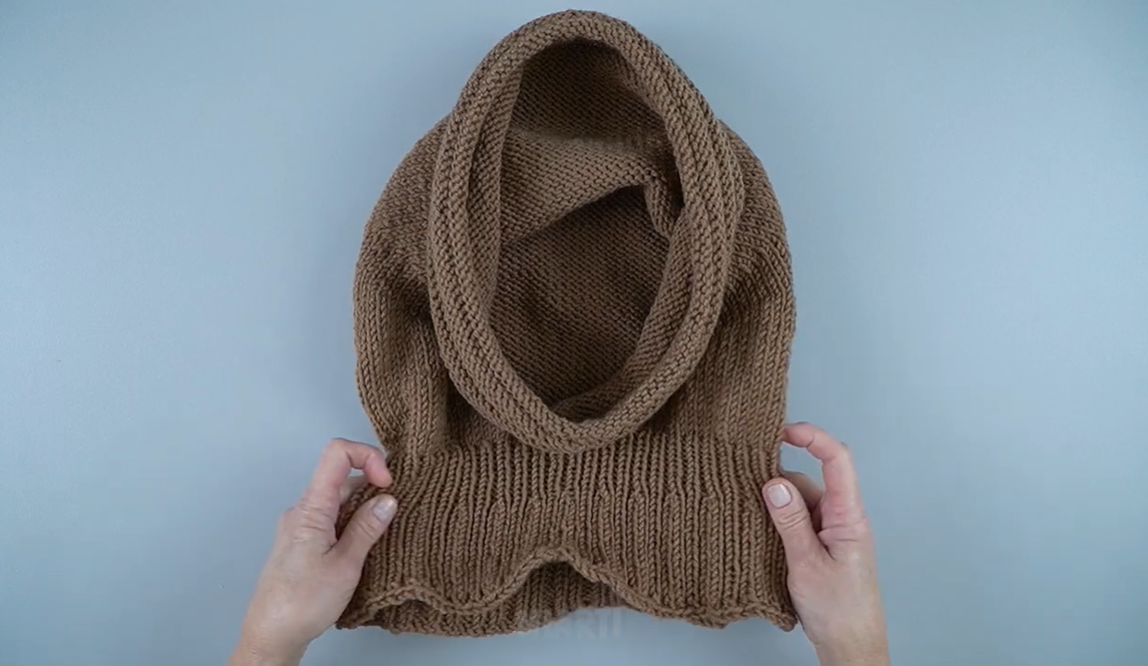
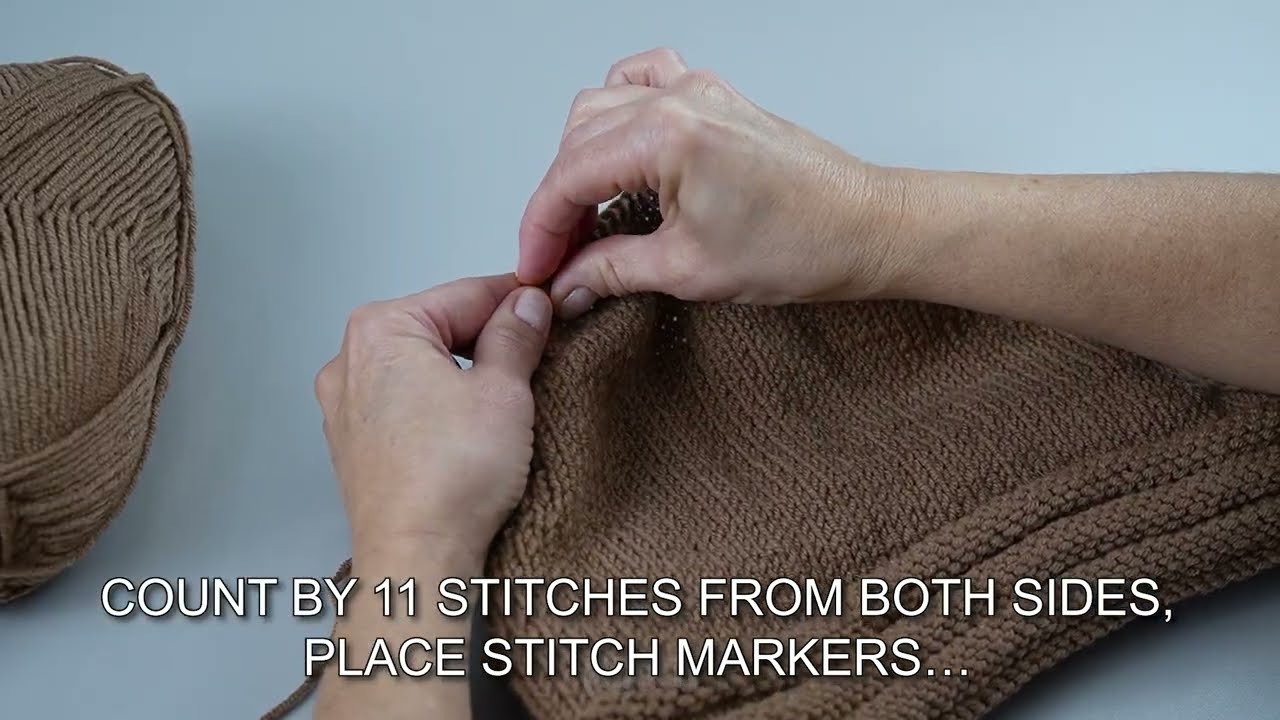
Step 5: Shape the Bonnet or Hood
-
Fold the knitted rectangle in half.
-
Sew the top edge together using a yarn needle.
-
Leave the bottom open for the face.
For a bonnet:
-
Attach two long yarn ties at the bottom corners.
For a hood:
-
Sew slightly lower to create extra neck coverage.
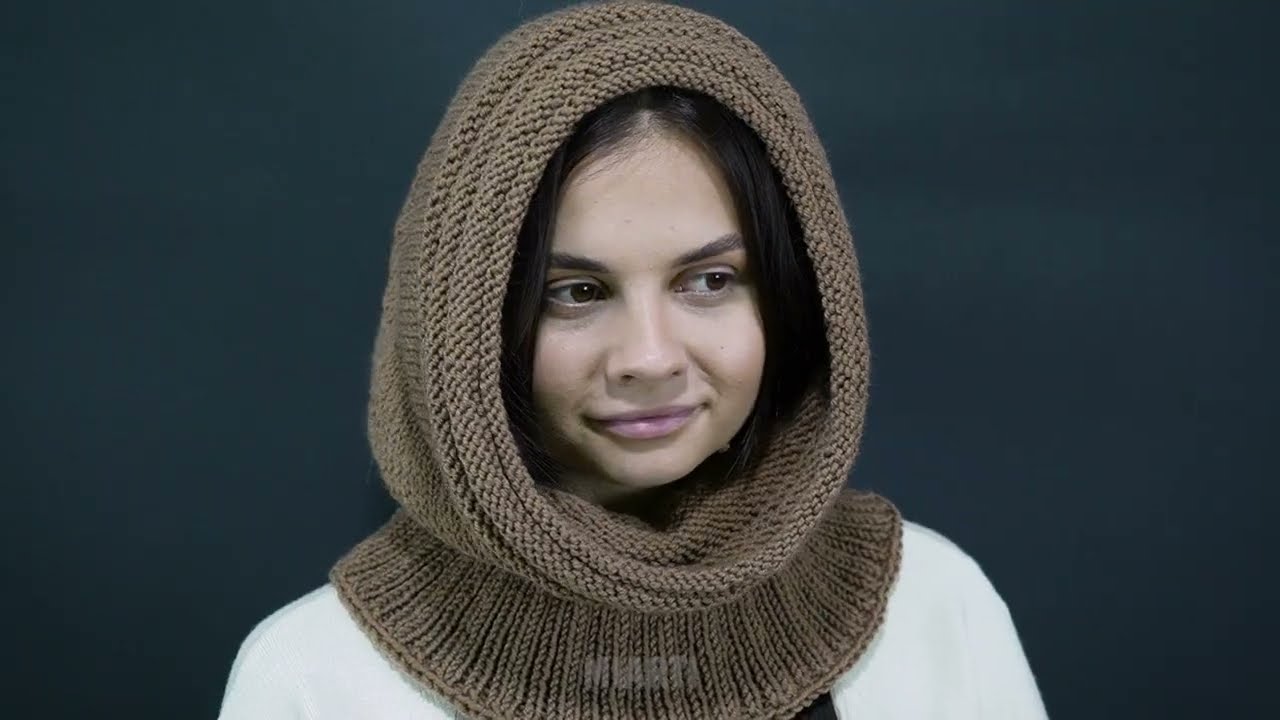
Step 6: Finish and Personalize
-
Weave in loose ends.
-
Add decorations if you like:
-
Pom-poms
-
Buttons
-
Braided ties
-
Ribbed edge or simple border
-
Done in One Evening!
Because the project uses:
-
Thick yarn
-
Simple stitches
-
Minimal shaping
You can easily complete it in one cozy evening while watching TV or listening to music.
Final Thoughts
Making a knitted bonnet or hood is a fun, relaxing project that builds confidence for beginners. You’ll end up with a warm, handmade accessory and the satisfaction of creating something useful with your own hands.
Once you’ve made one, you’ll want to make more—for yourself, friends, or family!
If you want, I can also:
-
Simplify this for younger students
-
Turn it into a step-by-step checklist
-
Add illustrations descriptions
-
Rewrite it for a blog, Etsy listing, or school assignment
Watch video: