by
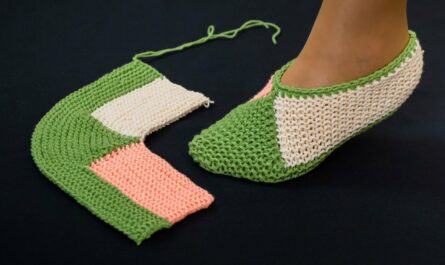
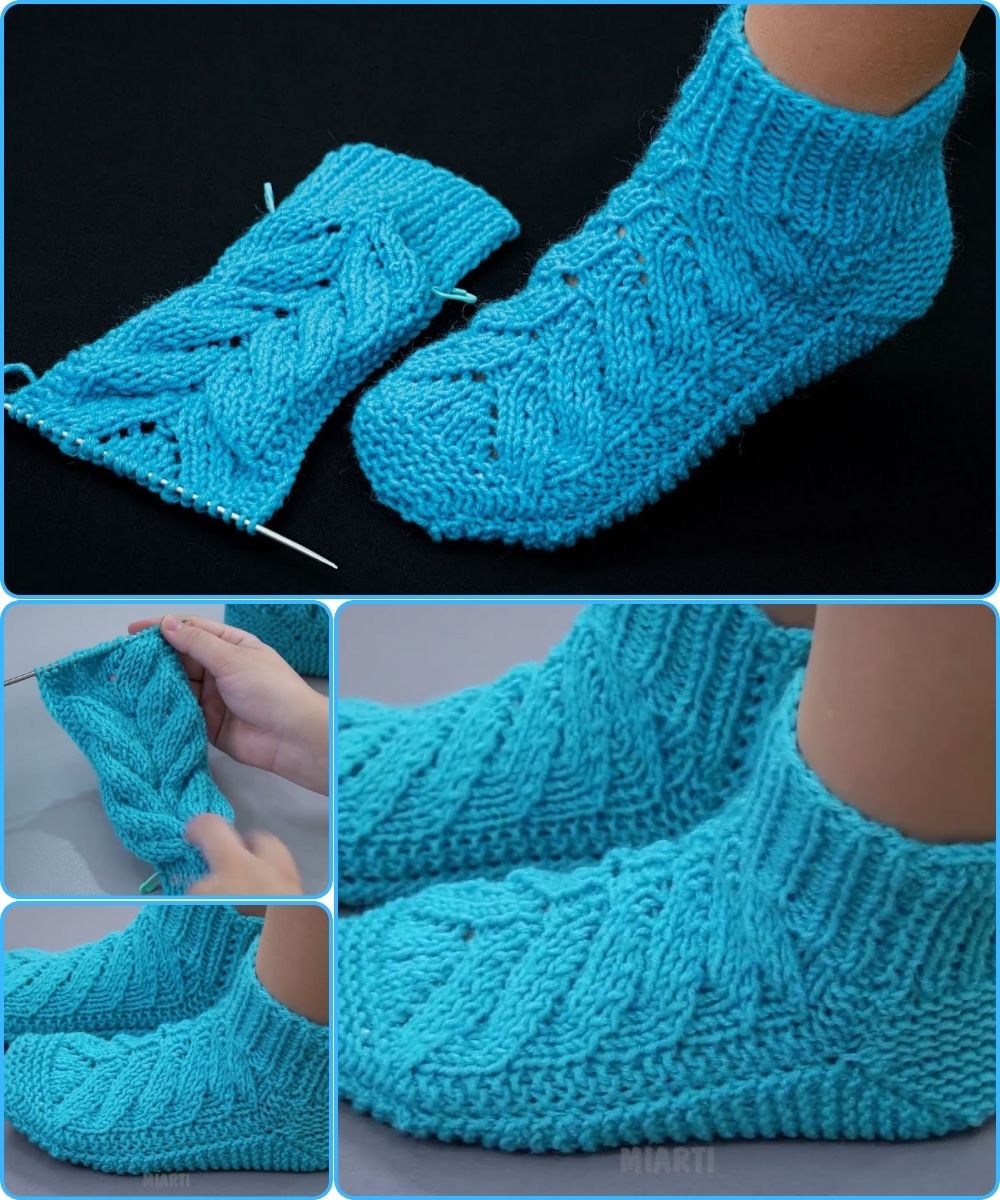
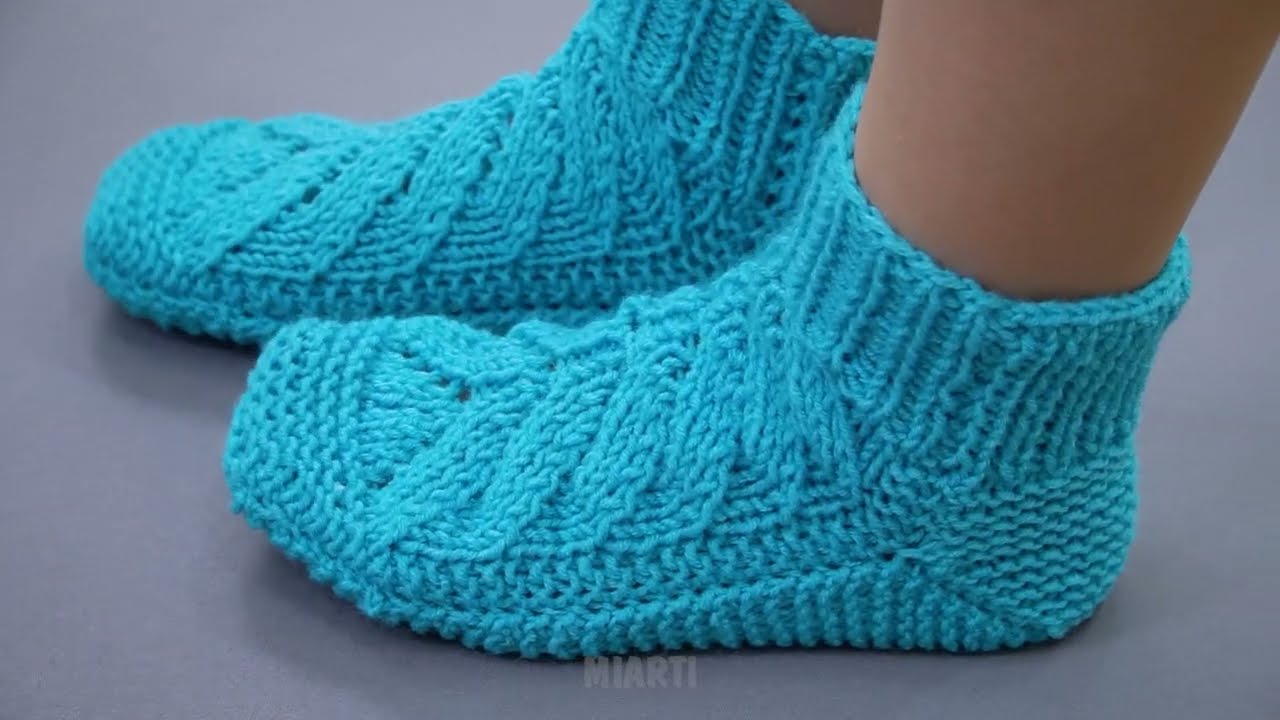
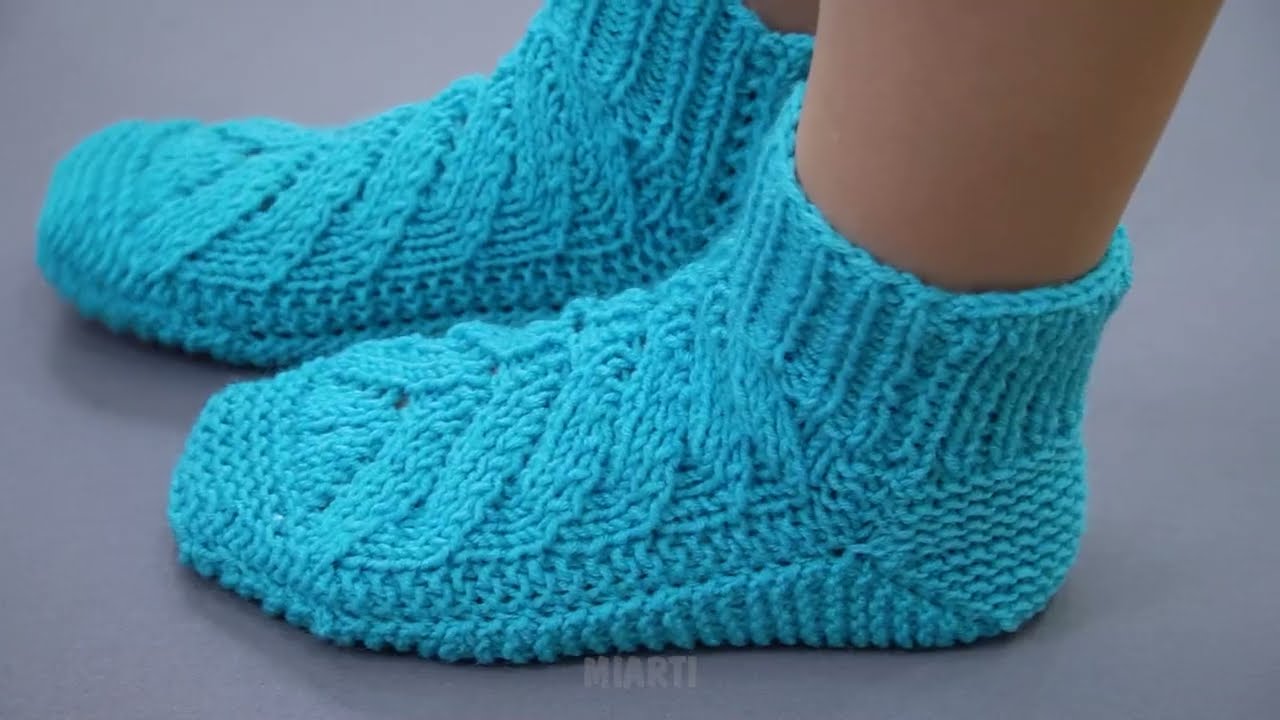
by Absolutely! Let’s go step by step. I’ll give you a detailed guide on how to make warm, seamless knitted slippers or socks with a beautiful cable design, so you can have cozy, stylish footwear that’s perfect for winter.
Materials You’ll Need
-
Yarn: Bulky or DK weight wool yarn (wool or wool blend works best for warmth and stretch).
-
Needles: Double-pointed needles (DPNs) or circular needles (if using the magic loop method), matching your yarn weight.
-
Cable needle (or a small spare needle).
-
Tapestry needle (for weaving in ends).
-
Stitch markers (optional, to mark pattern repeats).
Step 1: Take Measurements
-
Measure the length of your foot (heel to toe).
-
Measure the circumference around the widest part of your foot.
-
This will help you adjust the pattern so the slippers fit snugly but comfortably.
Step 2: Cast On
-
Use a stretchy cast-on, like the long-tail cast-on, to avoid tightness at the cuff.
-
Cast on the number of stitches that fits your foot circumference. Example: for bulky yarn, about 32–40 stitches for an average adult foot.
Step 3: Knit the Cuff
-
Ribbing: Knit 1, Purl 1 (K1, P1) or K2, P2 for 1–2 inches.
-
This ribbing keeps the slipper snug around the ankle.
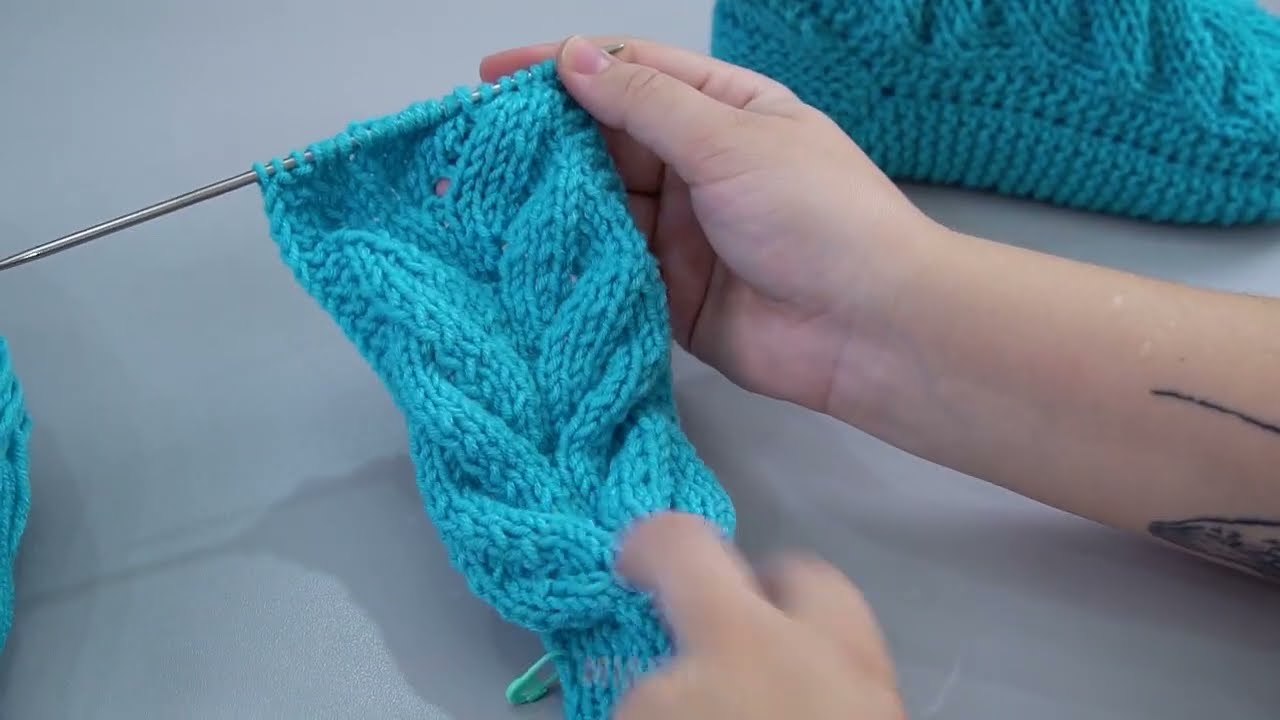
Step 4: Begin the Cable Pattern
-
Decide how wide you want your cable (common: 6-8 stitches).
-
Place the cable in the center of the front of the slipper.
-
Example of a basic cable twist every 6 rows:
-
Row 1 (RS): K2, P2, K6 (cable), P2, K2
-
Row 2 (WS): P2, K2, P6, K2, P2
-
Row 3: Repeat row 1
-
Row 4: Repeat row 2
-
Row 5 (Cable row): Slip 3 stitches to cable needle, hold in front, K3 from left needle, then K3 from cable needle
-
Row 6: Repeat row 2
-
-
Continue until the piece reaches the length of your foot minus the toe area.
Step 5: Knit the Heel
Since you want seamless slippers, the short-row heel method works beautifully:
-
Knit across your stitches until reaching the midpoint of your foot.
-
Work short rows:
-
Knit across to the last few stitches, wrap and turn.
-
Purl back to the start, wrap and turn.
-
Repeat until the heel is formed.
-
-
This creates a rounded, seamless heel.
Step 6: Knit the Foot
-
Continue in the round (or flat if you prefer) with your cable pattern on the top of the foot.
-
Knit until you reach the base of the toes.
Step 7: Shape the Toe
-
Use decreases to shape the toe:
-
Round 1: Knit 2 together (K2tog) at each side of the cable.
-
Round 2: Knit.
-
Repeat until about 8–10 stitches remain.
-
-
Graft the remaining stitches using Kitchener stitch for a seamless toe.
Step 8: Finishing
-
Weave in all ends using the tapestry needle.
-
Optional: Block your slippers lightly to even out the stitches.
-
If you want extra warmth or non-slip grip, sew a thin felt or suede sole on the bottom.
Tips for Gorgeous Cables
-
Use contrasting stitch patterns (like ribbing or seed stitch) on either side of the cable to make it pop.
-
Try twisting your cable every 6–8 rows for a balanced, elegant look.
-
For a more intricate design, you can cross cables in both directions to create a braided effect.
✅ Result: You’ll have cozy, warm slippers with a snug fit, a beautiful seamless cable running down the front, and no uncomfortable seams. Perfect for gifting or keeping your toes toasty all winter!
If you want, I can draw a clear diagram showing exactly how the cable, heel, and toe work together, which makes it super easy to follow visually.
Watch tutorial: