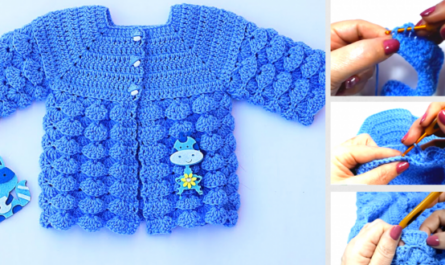
 by
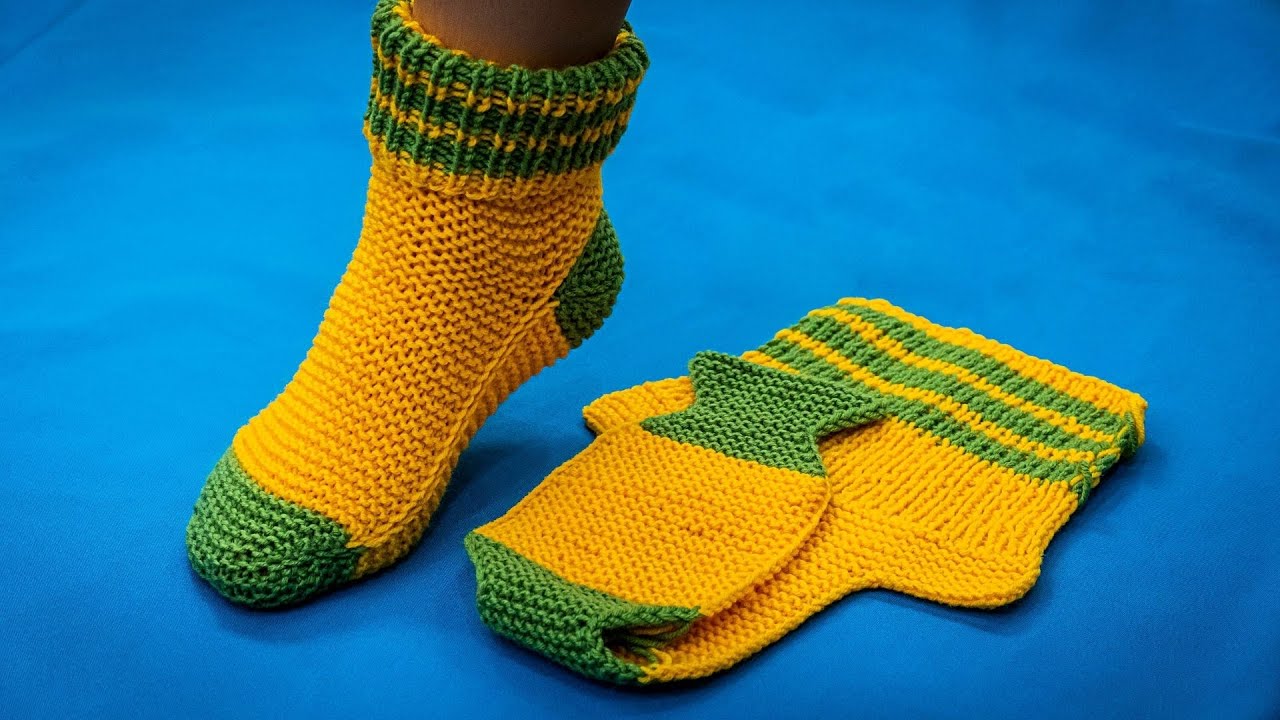
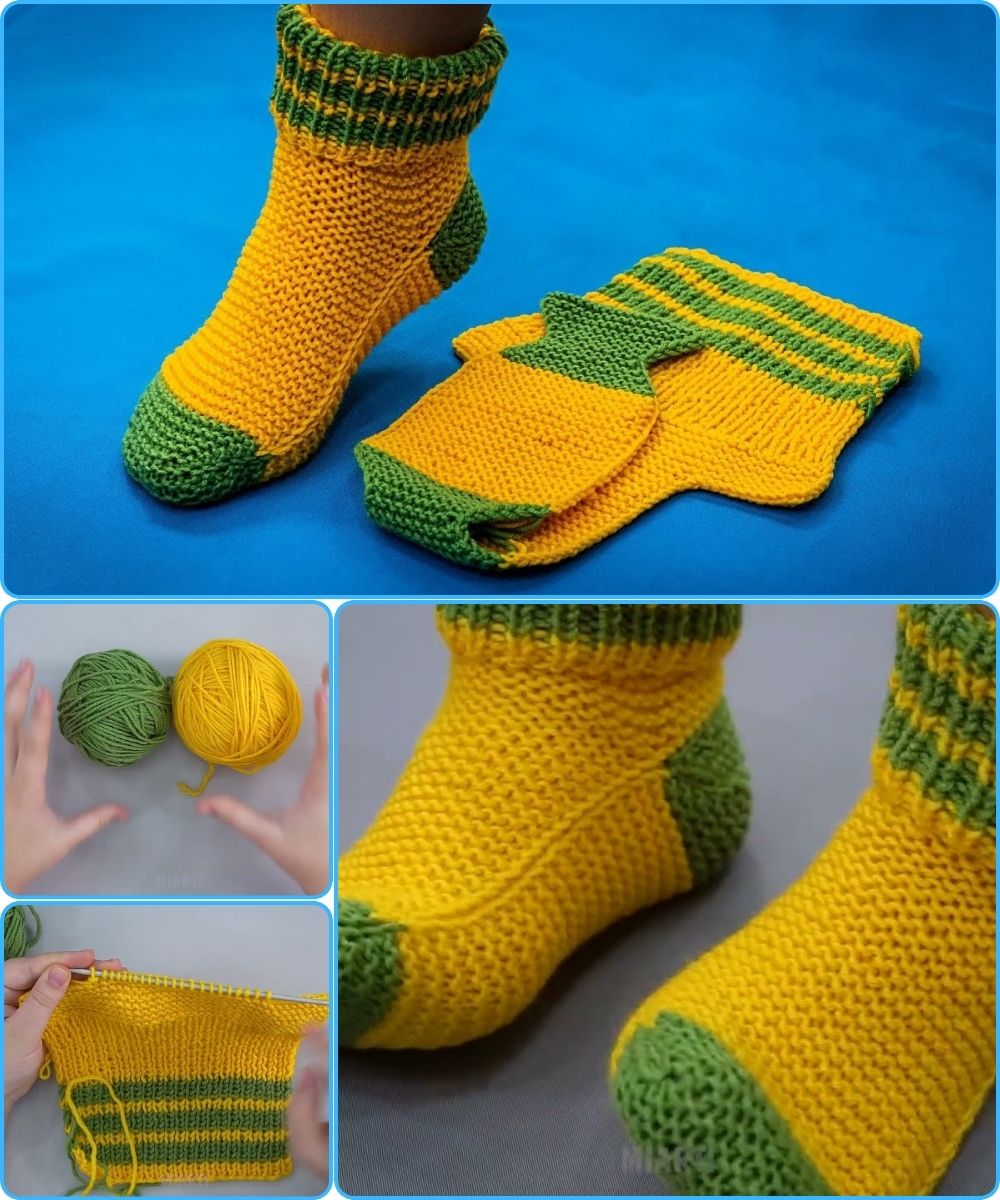
by Absolutely! I can give you a detailed, step-by-step guide on how to knit socks using Turkish-style (or Turkish cast-on) knitting. This method is often used for a seamless, toe-up sock, where you start from the toe and work your way up to the cuff. It’s neat, stretchy, and comfortable. I’ll break it down clearly.
Materials You’ll Need
-
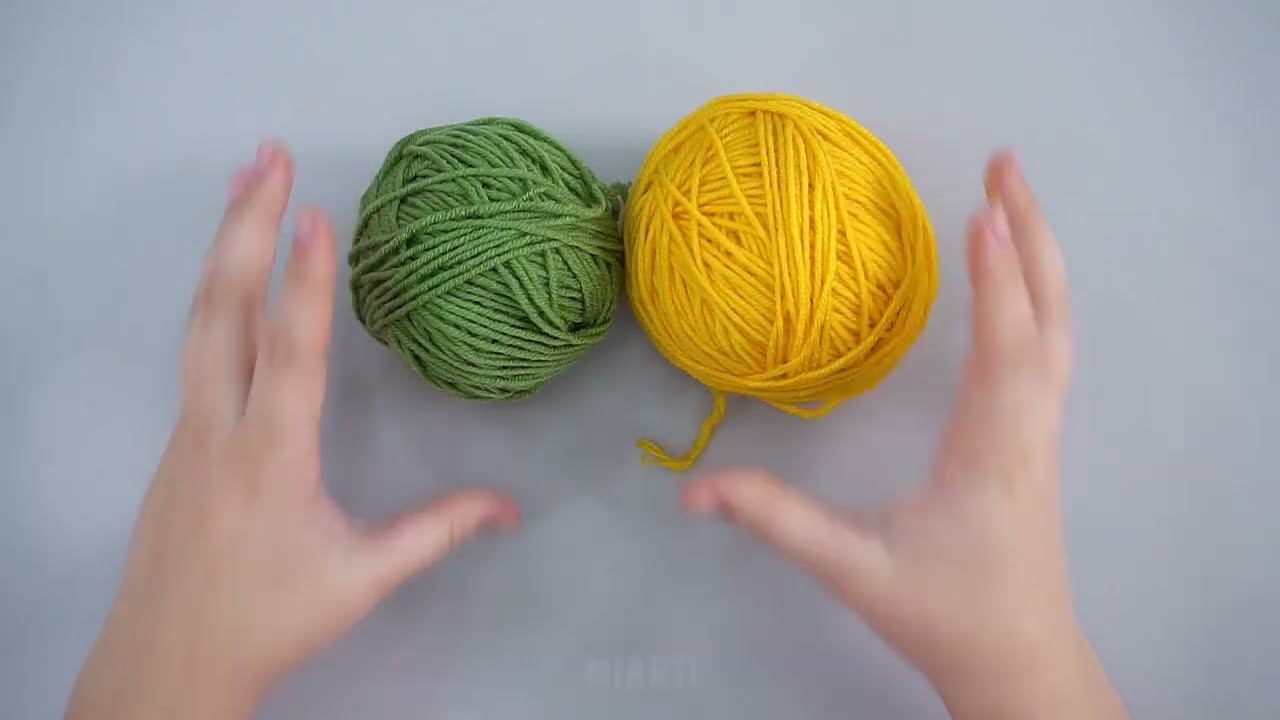
Yarn: Fingering or sock-weight yarn (usually 75% wool, 25% nylon is great)
-
Knitting needles: Double-pointed needles (DPNs), circular needles, or magic loop method, usually size US 1–3 (2.25–3.25 mm) depending on your yarn
-
Stitch markers
-
Tapestry needle
-
Scissors
Step 1: Turkish Cast-On (Toe-Up Start)
The Turkish cast-on is perfect for toe-up socks because it creates a neat, flexible start for the toe.
-
Hold two needles together:
-
You’ll use two circular needles or two double-pointed needles for this method.
-
-
Start the cast-on:
-
Leave a short tail of yarn (about 6–8 inches for small sizes, longer for bigger socks).
-
Wrap the yarn around the tip of the two needles to form a loop.
-
Insert one needle into the loop and pull yarn through to create the first stitch.
-
Repeat until you have the correct number of stitches for your toe (usually 8–16 stitches depending on foot size).
-
-
Join for knitting in the round:
-
Carefully ensure the stitches aren’t twisted on the needles.
-
Place a stitch marker to indicate the start of the round.
-
✅ At this stage, you have a small ring of stitches that will become the toe.
Step 2: Increase for the Toe
Turkish-style toes are usually worked with gradual increases on either side of the toe for a nice, rounded shape.
-
Divide stitches:
-
Half the stitches go on one needle (top of the foot), half on the other (sole of the foot).
-
-
Round 1 (Increase Round):
-
Knit to one stitch before the end of the top needle, then do make one (M1) increase.
-
Knit the first stitch on the sole needle, then do M1.
-
-
Round 2 (Plain Round):
-
Knit all stitches.
-
-
Repeat:
-
Continue one increase round, one plain round until the toe reaches the desired width.
-
Step 3: Knit the Foot
-
Divide for the foot:
-
Continue knitting all stitches in the round.
-
The number of stitches stays the same; no more increases.
-
-
Try for length:
-
Measure the foot from toe to heel.
-
Knit until the sock reaches the beginning of the heel.
-
Step 4: Heel Construction (Turkish or Short Row Heel)
For Turkish-style socks, you can do a short-row heel, which is seamless and smooth:
-
Divide stitches:
-
Place half the stitches on one needle (heel stitches), the other half on the foot.
-
-
Work short rows:
-
Knit across part of the heel stitches.
-
Turn work, leave the rest unworked.
-
Continue knitting back and forth, wrapping the edges to avoid holes.
-
-
Pick up stitches:
-
Once the heel is done, pick up stitches along the sides of the heel flap and continue knitting in the round for the leg.
-
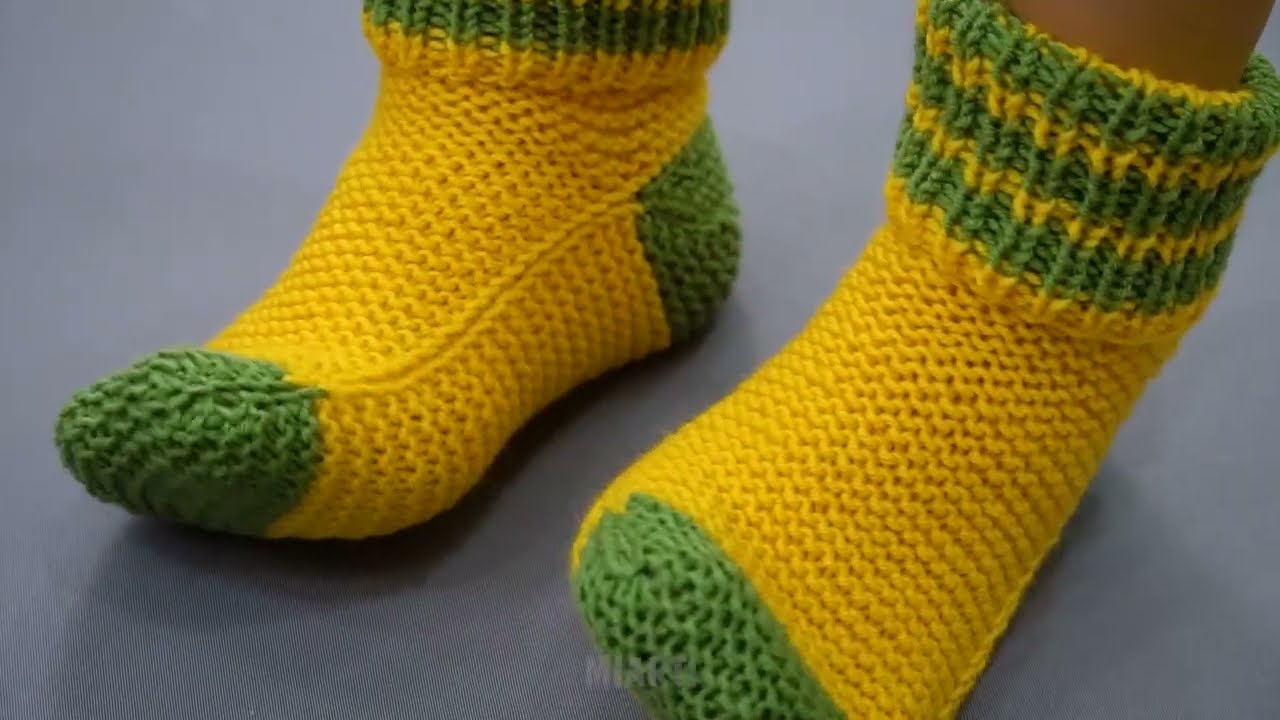
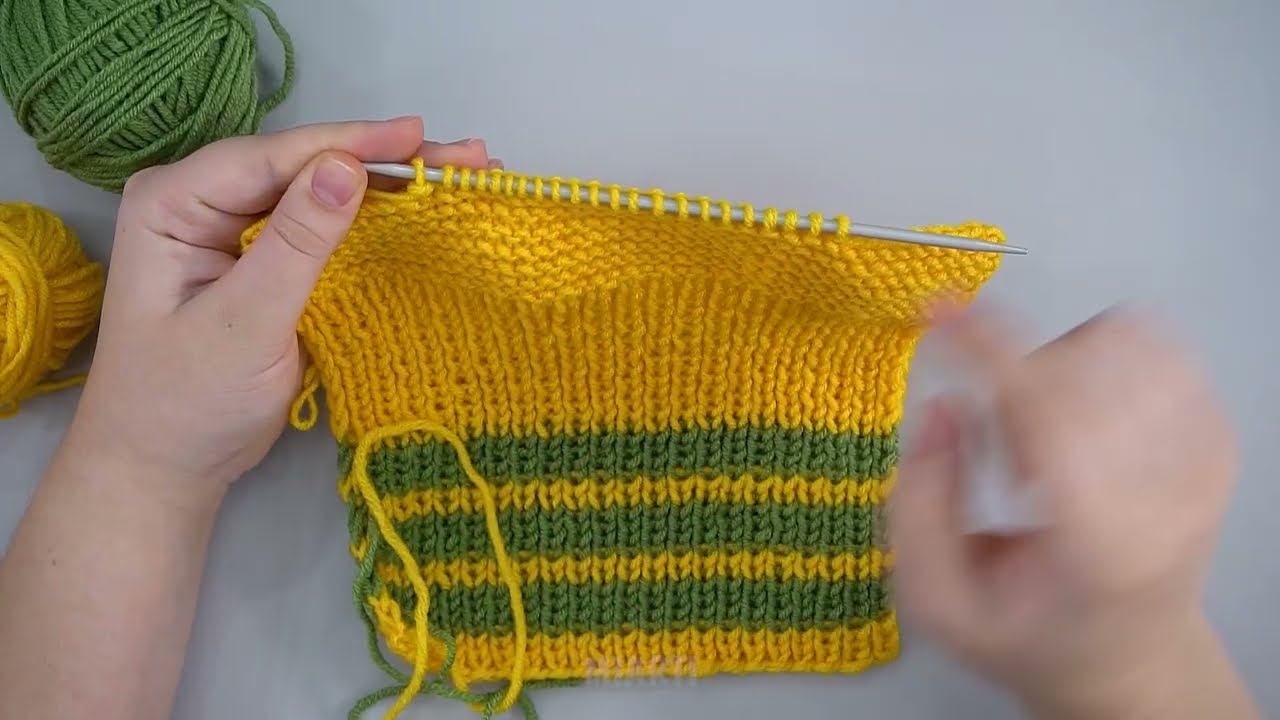
Step 5: Knit the Leg
-
Plain knitting:
-
Continue knitting in the round until the sock reaches the desired height.
-
-
Add patterns (optional):
-
You can add ribbing (K1, P1 or K2, P2), cables, or colorwork.
-
Step 6: Bind Off (Turkish Cuff or Standard)
-
Elastic bind-off:
-
Use a stretchy bind-off like Jeny’s Surprisingly Stretchy Bind-Off.
-
-
Weave in ends:
-
Use a tapestry needle to hide yarn tails.
-
Tips for Success
-
Use stitch markers at key points like increases and heel turns.
-
Try the sock on as you go for perfect fit.
-
Practice the Turkish cast-on on scrap yarn first—it can feel tricky but is very smooth once you get it.
-
Adjust needle size if your fabric is too tight or too loose.
If you want, I can draw a step-by-step diagram showing the Turkish cast-on and the first few rounds of increases—it’s much easier to visualize than just words.
Do you want me to make that diagram?
Watch video: